Select Language:
The Sword & Shield is one of the most recognizable and classic weapon options available in Monster Hunter Wilds. It’s straightforward and user-friendly, yet remarkably effective, making it a reliable choice for players of all skill levels.
Whether you’re just starting out or you’re a seasoned player, the Sword & Shield is your go-to ally for smoother hunts. If you’re looking to take up the Sword & Shield and want to navigate the endgame with ease, here’s a comprehensive guide to help you build your character effectively.
As Monster Hunter Wilds is a newer game, players are continuously fine-tuning their builds to maximize damage output. Therefore, the following Sword & Shield setup may undergo changes over time.
Overview of Sword & Shield Build
The Sword & Shield is very straightforward to wield, but setting up your build requires utilizing both the sword and the shield effectively. You will primarily rely on the sword for dealing damage, so stacking offensive buffs such as Critical Boost and Weakness Exploit is essential.
For the shield, Offensive Guard is crucial as it provides a damage boost when you successfully block enemy attacks. Additionally, mastering the timing for perfect guarding and executing power clashes against monsters can be a game changer. As a general rule, using Offensive Guard can greatly enhance your combat effectiveness whenever you have a shield equipped.
It’s also worth noting that Decorations are limited in Monster Hunter Wilds, categorized by armor and weapons, which means you will need to invest considerable time in farming to collect the necessary Decorations for this build.
For the best loot, it’s advisable to farm Tempered Arkveld and Tempered Gore Magala.
Sword & Shield Build Guide
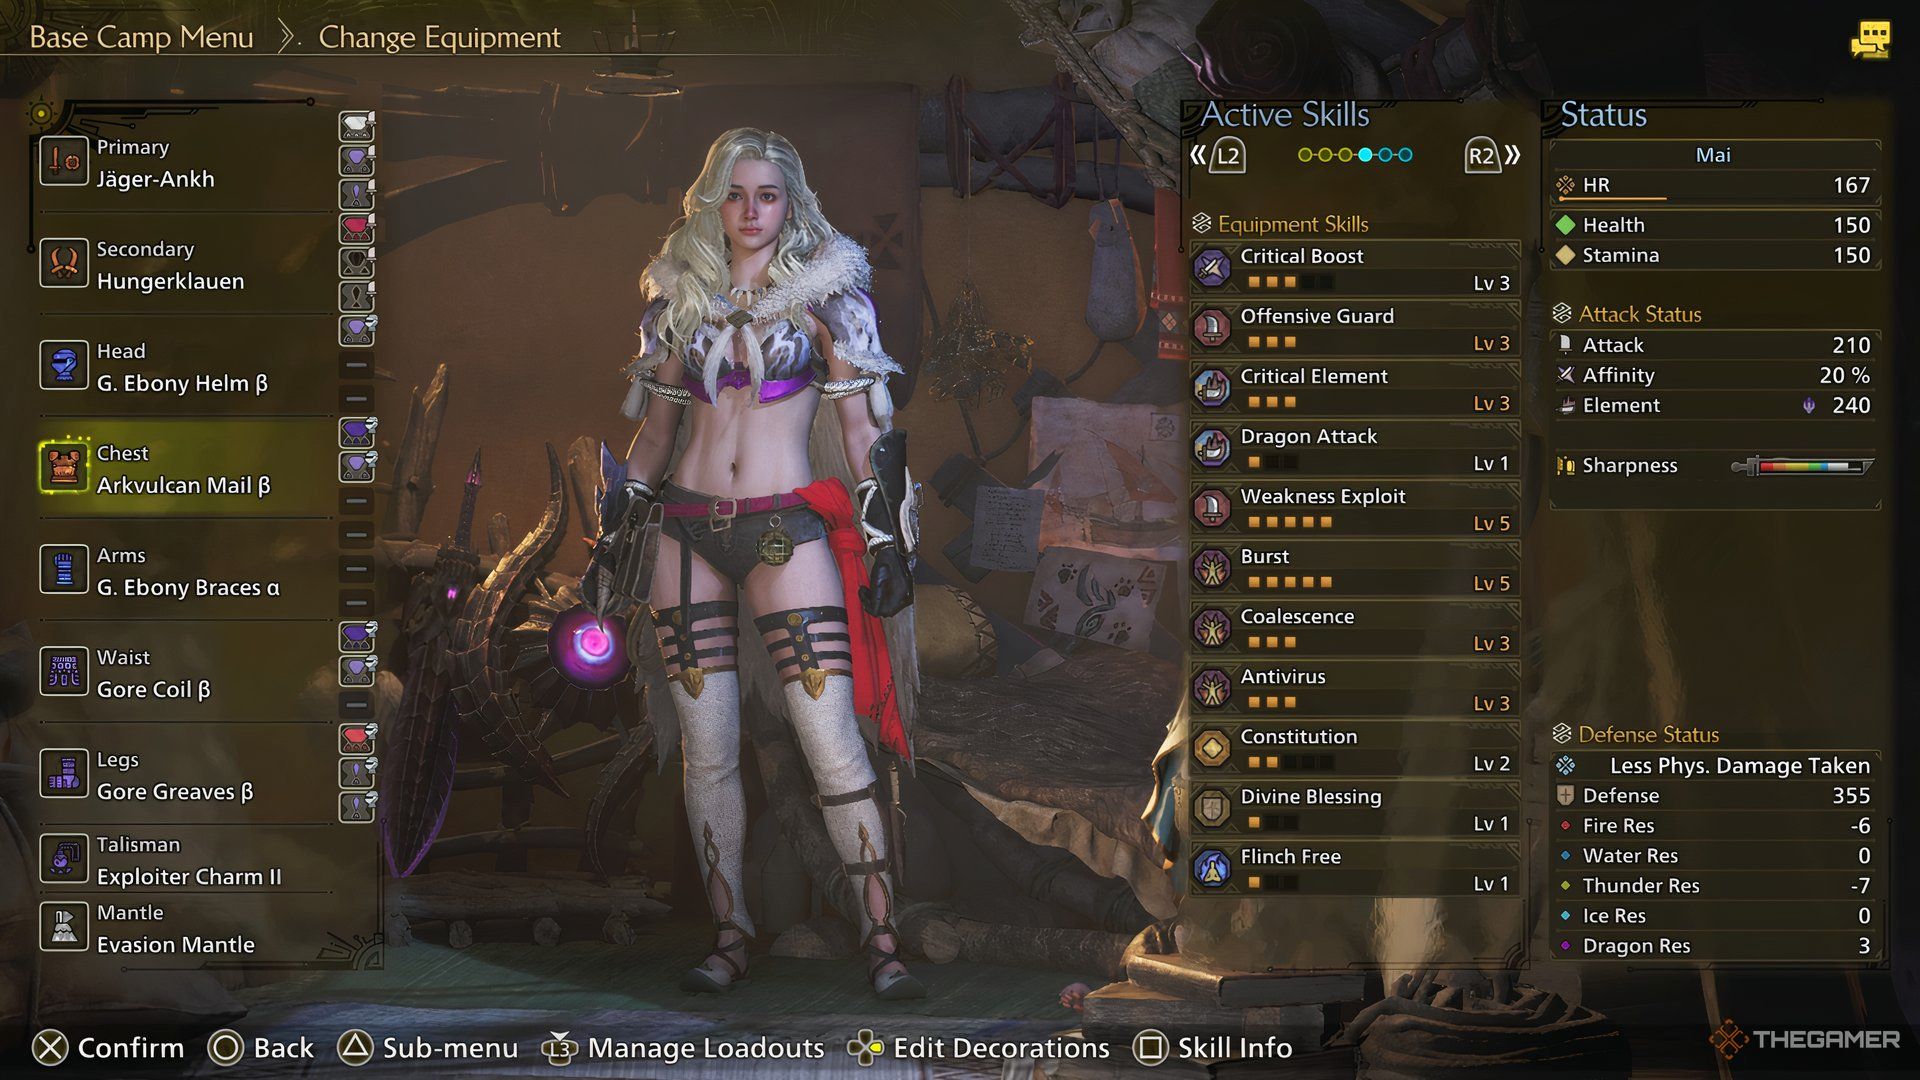
Here’s an outline of the armor and Decorations for an endgame Sword & Shield setup:
|
Gear Slot |
Gear Name ADVERTISEMENT |
Decorations |
|---|---|---|
|
Weapon |
Jager-Ankh (Gore Magala Weapon) |
Guardian/Dragon Jewel (3), Critical Jewel (2), Critical Jewel (1) |
|
Head |
G. Ebony Helm Beta (Guardian Odogaron Gear) |
Phoenix Jewel (2) |
|
Chest |
Arkvulcan Mail Beta (Arkveld Gear) |
Tenderizer Jewel (3), Phoenix Jewel (2) |
|
Hand |
G. Ebony Bracers Alpha (Guardian Odogaron Gear) |
– |
|
Waist |
Gore Coil Beta (Gore Magala Gear) |
Tenderizer Jewel (3), Phoenix Jewel (2) |
|
Legs |
Gore Greaves Beta (Gore Magala Gear) |
Chain Jewel (3), Sane Jewel (1) x2 |
|
Charm |
Exploiter Charm 2 |
– |
Your weapon choice should be the Jager-Ankh, a Sword & Shield from Gore Magala, featuring slots for one Level Three, one Level Two, and one Level One Jewel. Equip it with a Guardian/Dragon Jewel level three for Offensive Guard Level Three and Dragon Attack Level One. Using Critical Jewels will enhance your Critical Boost, which significantly increases your damage output. Alternatively, consider the Artian Sword & Shield for even better damage potential if you want to optimize further.
If you’re looking to maximize Dragon Attack, you can swap out the Guardian/Dragon Jewel for a Dragon Jewel Level Three. However, maintaining the Offensive Guard buff is crucial for maximizing your shield’s effectiveness while blocking.
In the head slot, select the G. Ebony Helm Beta, which comes with a single Level Two Jewel slot. Insert a Phoenix Jewel Two here, which grants the Coalescence buff to boost your elemental damage and status buildup when you cleanse debuffs. Battling monsters like Arkveld will frequently expose you to blights, making this skill easy to knock into action.
For the chest piece, the Arkvulcan Mail Beta should be chosen due to its Level Three Jewel slot and Level Two Jewel slot. Insert a Tenderizer Jewel Level Three for Weakness Exploit and another Phoenix Jewel Level Two to raise the Coalescence level. This armor component also boasts an additional Weakness Exploit Level Two.
In the hand slot, equip the G. Ebony Bracers Alpha for their Burst Level Two and Divine Blessing Level One. While there is no Decoration slot, the protective skills provided by this gear are paramount.
For the waist slot, use Gore Coil Beta, which has a Level Three and a Level Two Jewel slot. Insert another Tenderizer Jewel Level Three and a Phoenix Jewel Level Two to enhance Weakness Exploit and Coalescence.
Finally, for the leg slot, choose Gore Greaves Beta, allowing for the attachment of a Chain Jewel Level Three and two Level One Sane Jewels. The Chain Jewel Level Three boosts your Burst level, while the Sane Jewel adds the Antivirus buff. Alternatively, you can replace the Chain Jewel with a Challenger Jewel Level Three to gain the Agitator buff, enhancing both your attack and Affinity when monsters are enraged.
The Exploiter Charm grants Weakness Exploit Level Two, maximizing your Affinity when targeting weak spots on monsters. If you prefer overall attack and Affinity rather than focusing on weak spots, consider the Challenger Charm 2 for its Agitator benefits.
Gore Magala Gear provides the Black Eclipse buff, which inflicts Frenzy on the player. Clearing this Frenzy results in a 10% Affinity boost and triggers Antivirus, adding an additional 15% Affinity boost. To remove Frenzy, simply attack aggressively during battles.
Skill Overview for Sword & Shield Build
The key skills for the Sword & Shield build include:
- Critical Boost Level 3
- Offensive Guard Level 3
- Critical Element Level 3
- Dragon Attack Level 1
- Weakness Exploit Level 5
- Burst Level 5
- Coalescence Level 3
- Antivirus Level 3
- Constitution Level 2
- Divine Blessing Level 1
- Flinch Free Level 1
Tips for Mastering the Sword & Shield Build
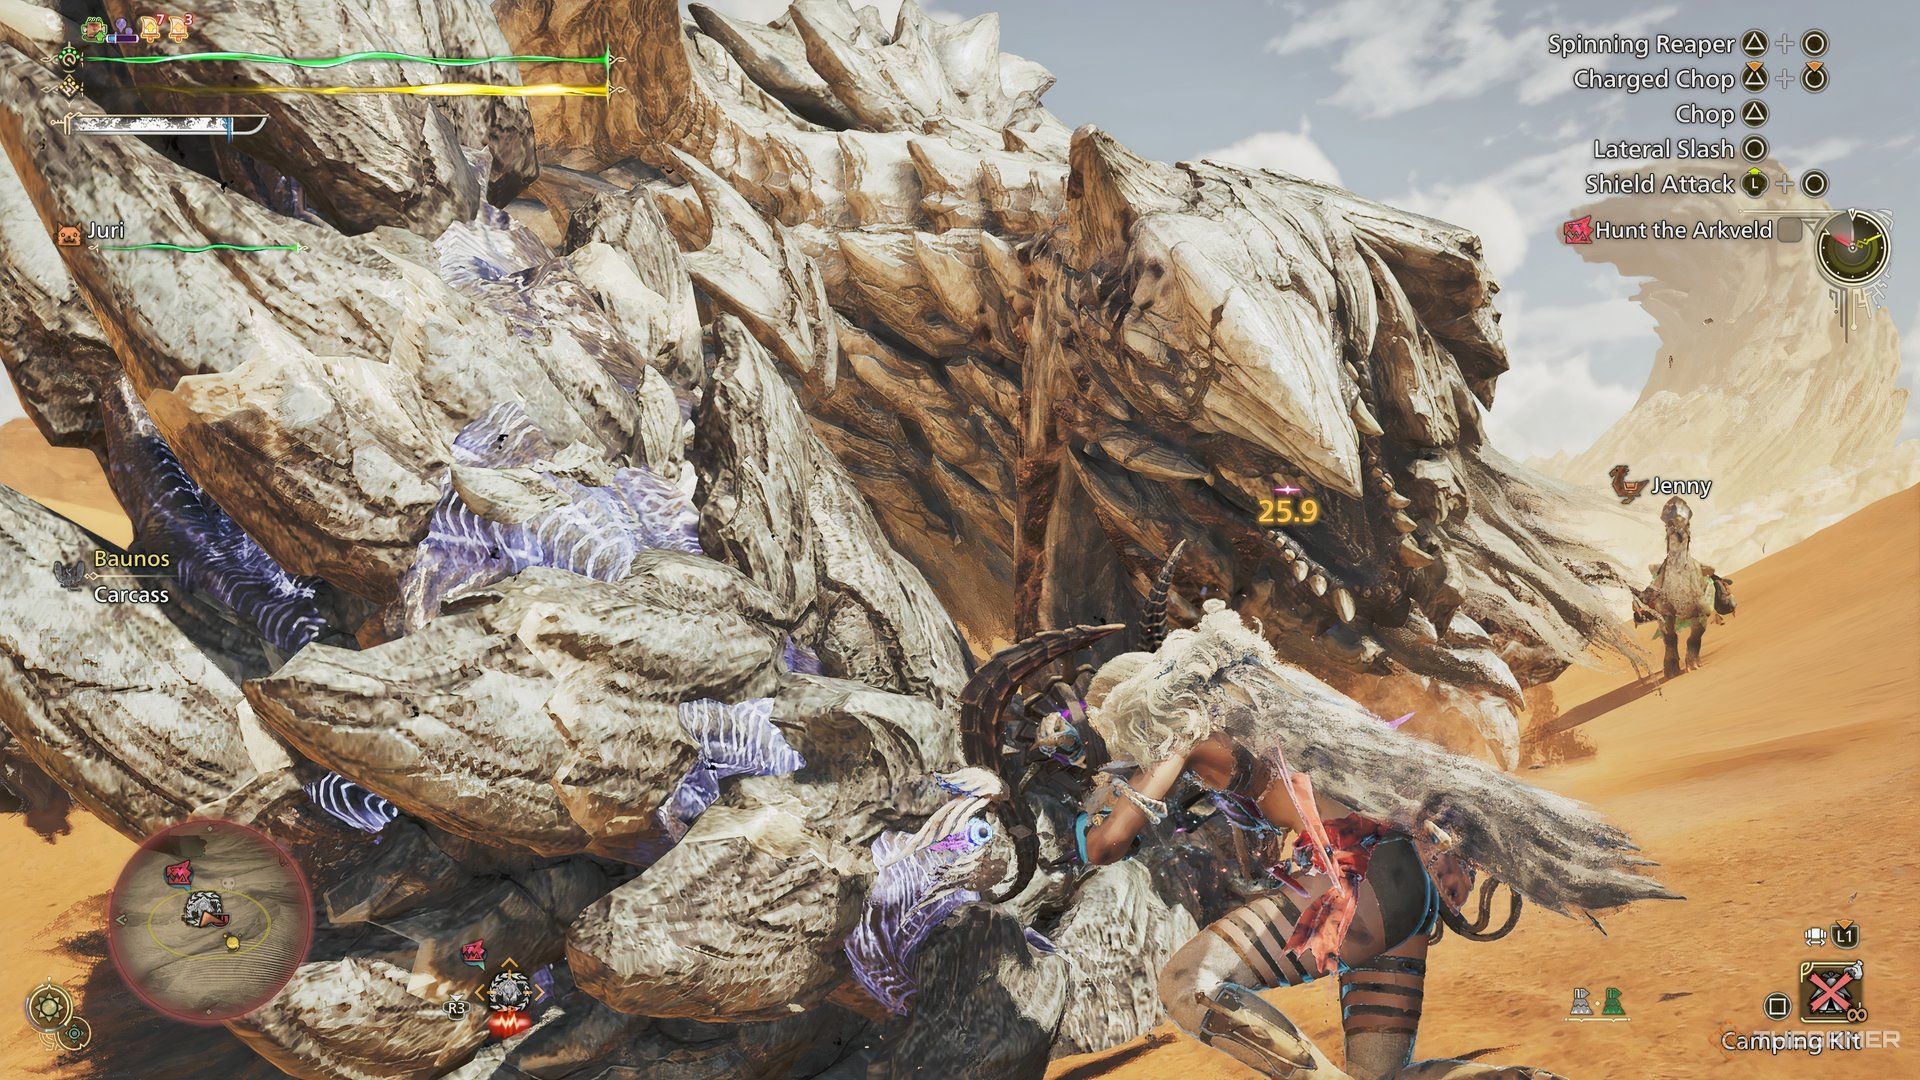
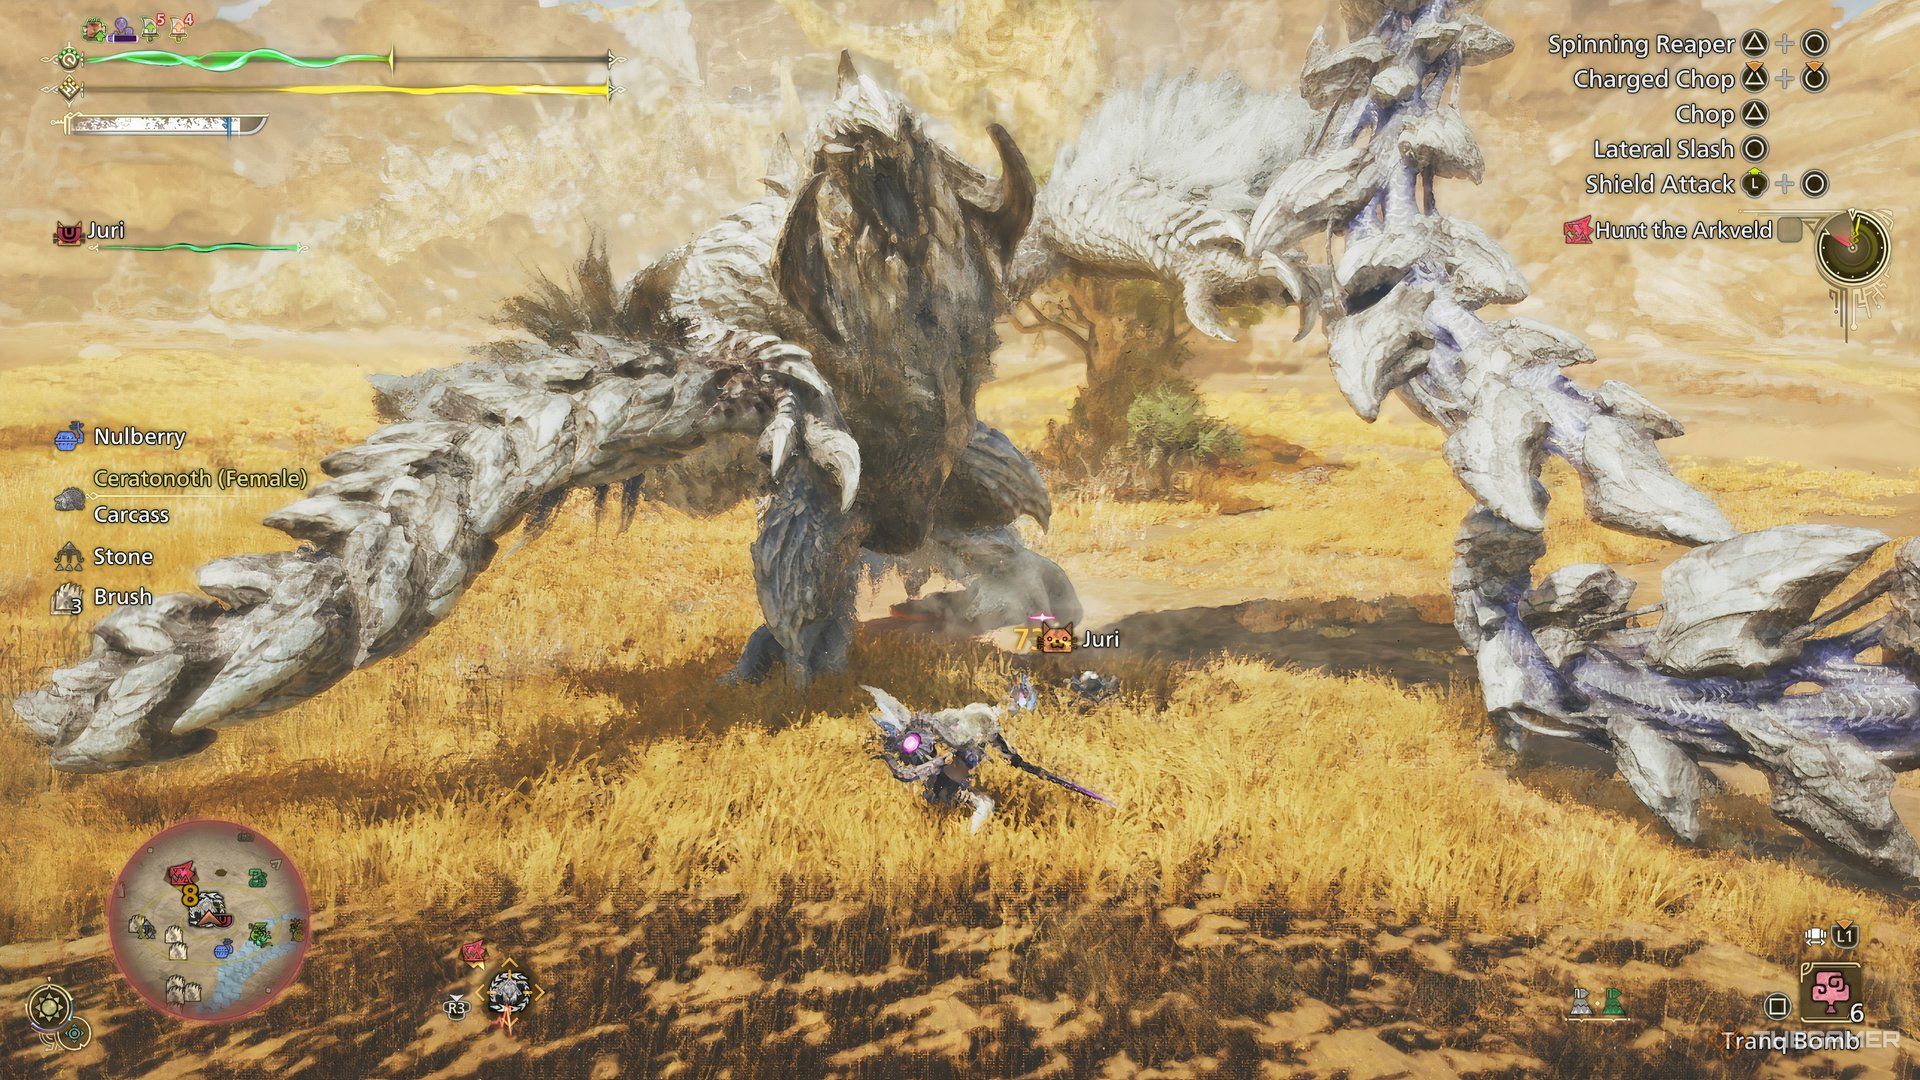
The Sword & Shield is straightforward to master, primarily focusing on two aspects: parrying monster attacks and executing perfect guards. Successfully achieving this activates Offensive Guard, which greatly enhances your attack power.
Additionally, you should practice some basic combos with your Sword & Shield to maintain consistent damage output against foes. The beauty of this weapon lies in its minimal risk while offering high rewards.
A common issue with the Sword & Shield is that it loses Sharpness quickly. If you struggle with that, consider using Razor Sharp instead of Critical Boost. Otherwise, make sure to regularly sharpen your weapon to maintain its effectiveness.
You enjoy the speed of Dual Blades along with the defensive capabilities of a Greatshield, but the advantage is that your combos and attacks require less commitment, which reduces your risk of taking fatal damage. If things start to get tense, blocking can keep you alive until you find a chance to heal.