Select Language:
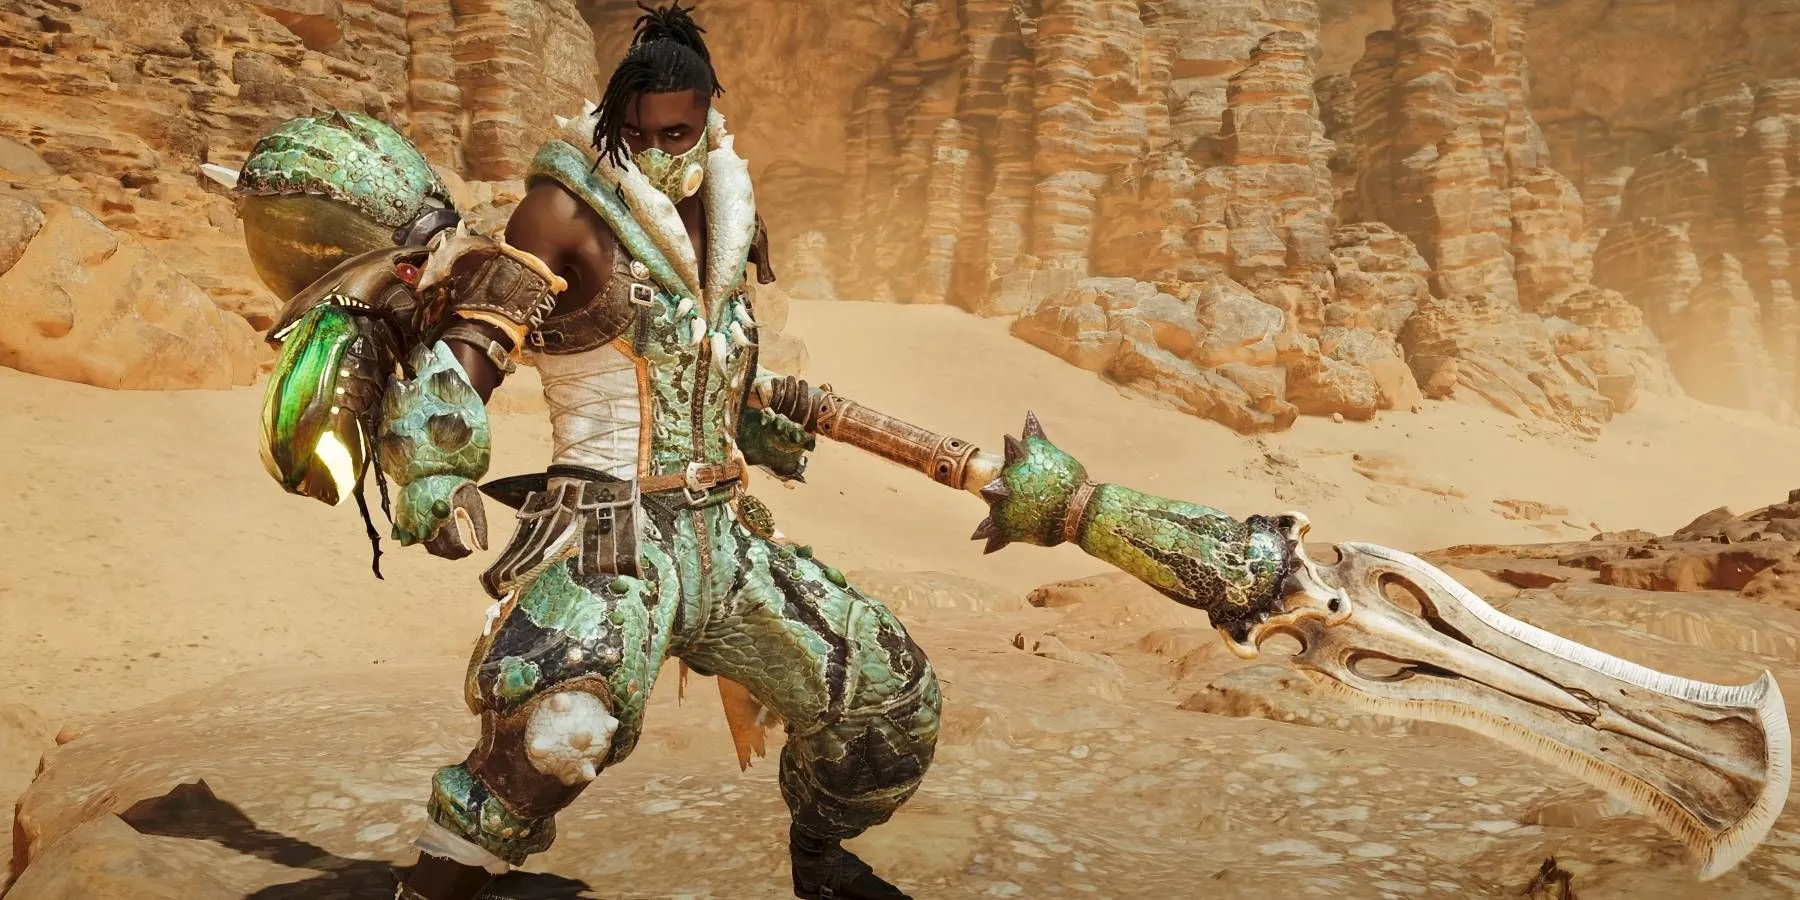
In Monster Hunter Wilds, players have the opportunity to master three ranged weapons, one of which is the Bow. This weapon is straightforward yet formidable, offering unique combos to take down monsters. The Bow allows for high mobility and unleashes powerful arrows that can be charged for greater impact in dynamic mid-range battles. With additional tracing shots that can target monster weak points, the Bow is both precise and versatile, featuring a wide array of moves.
A significant addition to the weapon mechanics in Monster Hunter Wilds is the universal feature known as Focus Mode. By pressing L2 on your controller, you enter a mode that enhances your character’s attack accuracy. While in Focus Mode, you also become aware of the monster’s Open Wounds, indicated by glowing red spots. Targeting these areas with the Bow can amplify your damage and potentially stagger an enemy creature.
Complete List of Bow Moves & How They Function
Charge Arrows to Accumulate Tracer Shots
The Bow’s basic attack is executed by pressing R2 on your controller. It’s important to note that the arrows fired from the Bow consume Stamina, setting it apart from numerous other weapons. This means players need to manage their mobility and attacks using the same energy resource effectively.
By charging your basic shots with the Bow, you can increase your damage output, though this requires more Stamina. More powerful attacks tend to drain Stamina more quickly; however, you can opt to release an arrow sooner to reduce stamina consumption. Other less taxing attacks include the Quick Shot, a technique that launches a spread of arrows over a short distance in front of you.
The Bow’s most Stamina-draining attacks are the Dragon Piercer and Thousand Dragons, so ensure you’re in a safe position or that a monster is vulnerable before executing these moves.
The table below provides details on various Bow moves, including the attacks usable in Focus Mode and the corresponding controller inputs:
| Bow Move | PlayStation 5 Input | Description |
|---|---|---|
| Charge -> Release |
R2 (Hold) -> Release R2 |
This action charges a single arrow, which increases its damage and Stamina cost based on the length of the charge. |
| Aim/Focus Mode |
L2 (Hold) |
This mode stabilizes your aim and displays Open Wounds on monsters. ADVERTISEMENT |
| Quick Shot |
Circle |
This quick move fires three arrows simultaneously, effectively targeting nearby foes. |
| Arc Shot |
(Hold) L2 -> (Hold) R2 + Circle |
Launch an arrow skyward, which then rains down smaller arrows in an area of effect that can be directed as you hold the attack. |
Another notable attack with the Bow is the Focus Strike: Hailstorm, activated by pressing L2 + R1. This move creates a large targeting reticle during Focus Mode that locks onto the Open Wounds on the monster, unleashing a swarm of homing arrows aimed at specific weak points upon releasing R1, with more arrows fired if you’ve charged the attack first.
Utilizing the Trick Arrow Gauge & Tracers
Build Your Gauge to Change Coatings and Use Homing Arrows
As you hit targets with multiple arrows, you’ll accumulate a special resource known as the Trick Arrow Gauge, displayed on the bottom right of your screen. This gauge appears with every bow upgrade in Monster Hunter Wilds and indicates the actions that can be performed.
You can spend one bar of the Trick Arrow Gauge to load Coatings and Tracers onto your Bow, enhancing the capabilities of your next arrows. By pressing R2 + Square to load a Tracer, your next shot will fire a sparkling arrow that embeds itself in the target. While this Tracer remains, subsequent shots will home in on it, allowing you to hit specific weak points more efficiently.
Tracer arrows will explode after a short duration, inflicting stun damage. The best locations to shoot a Tracer arrow are typically vulnerable areas of a monster, such as breakable tails or heads.
To apply Coatings to your next arrows, use the L1 + Triangle/X input. Confirming with Triangle will apply the selected Coating to upcoming shots, with the quantity of shots determined by the Bow type you’re using. Various Bows offer different coating options; here’s a list of the available coatings:
- Power Coating – Enhances overall arrow damage.
- Close-Range Coating – Reduces arrow distance but increases damage.
- Pierce Coating – High piercing damage to monsters.
- Poison Coating – Causes poison buildup in targets.
- Paralysis Coating – Causes paralysis buildup in targets.
- Sleep Coating – Induces sleep buildup in targets.
- Blast Coating – Inflicts blast elemental damage.
- Exhaust Coating – Inflicts stun/exhaust effects on monsters.
Unlike earlier titles in the Monster Hunter series, you no longer need to craft specific Coatings as Bowguns require with ammo types. Instead, each Bow has inherent Coatings integrated into its design. Exploring what coatings each Bow offers will help shape your weapon build.
Top Combos for the Bow
Dash Often and Follow Up with Tracer Arrows
One of the advanced techniques in Monster Hunter Wilds is Dash Dancing, which leverages the Charging Sidestep action. You can cancel nearly any Bow attack animation with the Sidestep, enabling evasions and setup for new shots. For example, fire a Tracer arrow, use Sidestep, and then execute a Quick Shot to hit the Tracer with homing arrows in a rapid sequence.
Here are some effective combos to help you master the Bow:
- Arc Shot → Charging Sidestep → Quick Shot → Power Shot → Power Volley
- Tracer → Charging Sidestep → Quick Shot → Power Shot → Focus Strike: Hailstorm → Dragon Piercer
- Apply Coating → Tracer → Charging Sidestep → Charged Shot → Charging Sidestep → Quick Shot → Thousand Dragons
Utilizing Sidestep after an Arc Shot will lead to great follow-up options, such as executing a Charged Shot or Quick Shot. Aim to conclude most combos with your Focus Strike: Hailstorm to maximize damage against monsters. If you’re low on Stamina from spamming attacks, consider applying a Tracer and then using Charged Shots until your stamina replenishes.
Strategies for Playing a Bow Build
Maintain Stamina and Understand Distance Constraints
To excel with the Bow, grasp the concept of Critical Distance, which is the optimal range from your target for dealing maximum damage. Each Coating type offers a different Critical Distance for peak effectiveness. If the reticle glows orange, that indicates you’re positioned for the highest damage output.
Remember that the Bow can still execute melee attacks when you jump or dismount your Seikret. Use these opportunities to try and mount a monster, staggering it and inflicting new wounds.
Some attacks, like the Dragon Piercer or Thousand Dragons, also have specific ranges where they are most effective. Regardless of which moves you employ, you must manage your Stamina carefully. Overextending yourself can leave you vulnerable without enough stamina to evade incoming attacks from monsters.
Performing a Perfect Dodge will charge your next arrow and supply a charge of the Trick Arrow Gauge. This resource allows for increased damage on your next shot and enables you to load a Tracer or apply a Coating. Timing your dodges correctly is the fastest route to filling the Trick Arrow Gauge, so pay attention to monster patterns.
Finding the right balance between Tracers, Coatings, charged shots, and Stamina management may feel daunting at first. However, those who can establish a rhythm with the Bow in Monster Hunter Wilds will easily execute combos and utilize their most potent attacks to claim victory against formidable foes.