Select Language:
“Romeo Is A Dead Man” is a fast-paced, intense action game filled with lots of combat and exploration from the start. It involves switching between guns and swords, managing multiple resources, and exploring both real space and subspace worlds. The game’s visuals are stylish, but there’s more beneath the surface; understanding its core mechanics early on can greatly improve your gameplay experience. Whether you’re battling hordes of enemies or hunting down space-time criminals across the galaxy, these beginner tips will help you start strong.
Get a HealingSpire Bastard and Keep It Equipped
One of the most crucial early steps is to acquire a HealingSpire Bastard and always keep it equipped. Unlike single-use healing items, this device provides a renewable source of health recovery that you can use anytime during or between fights. It’s a reliable safety net, especially during longer battles or when exploring, so don’t hesitate to use it freely. Don’t hold back—use it whenever your health starts to drop.
Don’t Neglect Food and Drinks
It’s easy to overlook consumables amid the chaos of combat, but food and drinks provide valuable buffs and health regeneration. These items can be conveniently assigned to quick slots for instant use. An early standout is the Mango Lassi, which instantly restores your Blood gauge—crucial for both dealing damage and healing. Make a habit of keeping your quick slots stocked with useful items like this.
Use the Map Often
Not every area has a map available, but when they do, check it regularly. The maps are surprisingly detailed and help you get a good understanding of the layout before entering. Studying the map can also assist in pinpointing where hidden items and points of interest are located. Taking a moment to review it before moving forward can prevent you from missing loot and help you plan more efficient routes.
Save Bloody Summer for Important Moments
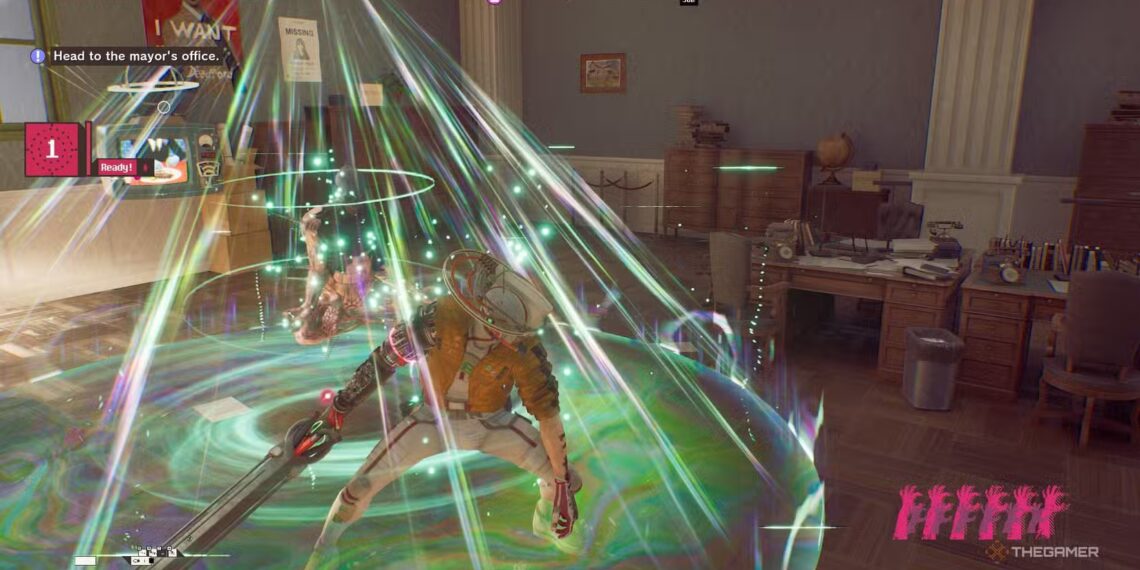
Bloody Summer is one of Romeo’s most powerful tools, but it should be used wisely. It consumes a gauge that builds up during fights, and while it deals huge damage and drains health from enemies, it’s best to think before activating it. Use it to clear out large groups of enemies when overwhelmed, but don’t waste the gauge on weaker foes; save it for critical situations where the healing potential will be most beneficial. Building up multiple charges allows chaining for devastating combos, so patience can pay off.
Don’t Upgrade Every Weapon
Romeo offers a variety of melee and ranged weapons, and it’s tempting to upgrade all of them as you find resources. However, upgrades are time-consuming and costly. Spreading upgrades across weapons you don’t plan to use can slow you down. Instead, test each weapon to find those that match your play style before investing heavily. Once you find favorites, focus your resources on them to maximize effectiveness.
Monitor White Barriers
Throughout your exploration, you’ll encounter white barriers in both real space and subspace areas. Breaking a barrier in subspace also destroys its real-space counterpart. These barriers can often be ignored, but they may hide valuable rewards like badges. Keep track of which barriers you’ve broken and revisit the corresponding locations in real space—you never know what loot might be waiting.
Prioritize Key Stats in DeadGear Cannon Ball
DeadGear Cannon Ball mini-game rewards you with permanent stat upgrades, making it one of the best ways to power up. Focus early on the following stats:
- Regenetizer Carry Limit: Increases the number of healing charges you can hold, making your recovery more reliable.
- HP: Boosts your health pool for better durability in tough fights.
- Reload Speed: Speeds up weapon reloading, reducing exposure and vulnerability during combat.
Focusing on these stats early provides a strong foundation for progressing smoothly.
Choose Weapons Wisely to Upgrade
Given the wide array of weapons, it’s tempting to upgrade all of them equally, but this isn’t practical. Upgrades require resources and time, and spreading them thin across weapons you rarely use can hinder your progress. Instead, experiment with different options to find what suits your style, then focus your upgrades on those. This approach ensures you get the most value from your efforts.
Track White Barriers Carefully
White barriers appear in various zones, and breaking one in subspace will clear the corresponding barrier in real space. While they might seem unrelated to main goals, they often hide valuable items like badges. After breaking barriers in subspace, revisit those locations in real space through your map, as some hidden treasures can significantly aid your progress.
Optimize DeadGear Cannon Ball Upgrades
The DeadGear Cannon Ball mini-game offers chances to improve your stats permanently. The best upgrades early on are:
- Regenetizer Carry Limit: More healing charges equals more survivability.
- HP: Extra health adds a cushion for mistakes.
- Reload Speed: Faster reloading prevents dangerous re-exposures.
Prioritizing these stats will give you a solid boost early in the game.
Farm Resources in Palace Athane
To power up efficiently, head to Palace Athane—the procedurally generated dungeon with four difficulty levels. It’s a straightforward place to farm Sentreys and Emerald Flowsion, essential materials for upgrades. Running the dungeon a few times helps stockpile resources, level up Romeo, and prepare for tougher sections later.


