Select Language:
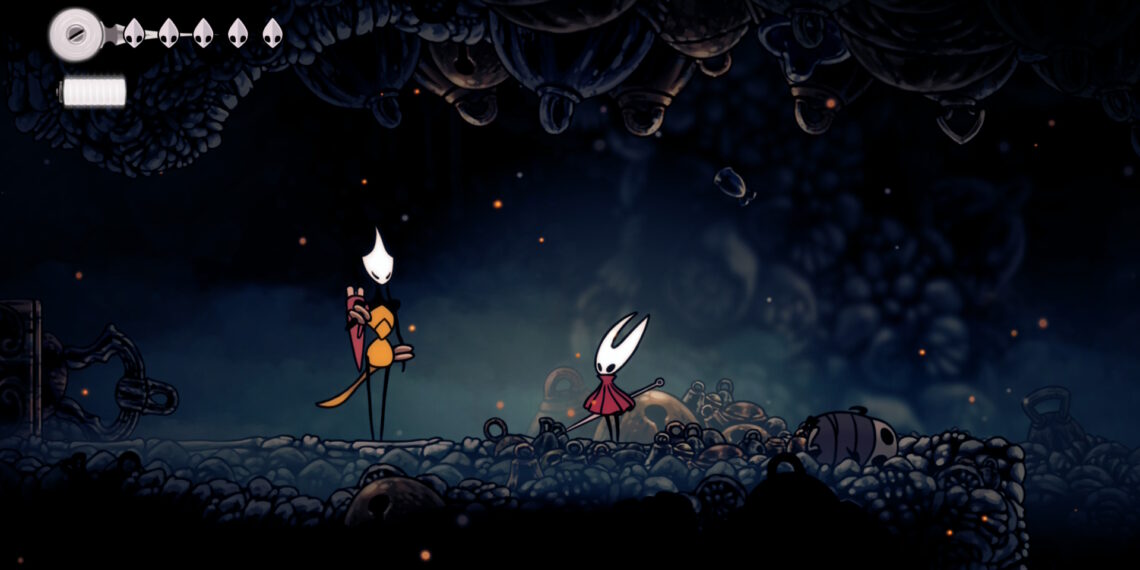
Finding the Hollow Knight Silksong Fleas can be pretty challenging. They often get stuck in the environment or hide in difficult-to-reach spots. Similar to the grubs in the first game, these fleas are collectibles you need to free so they can be reunited with their owners, earning you rewards. I’ve gathered the first five fleas for you, which should keep you busy early on in Silksong, and will also earn you some useful rewards.
How to Find the Lost Fleas in Silksong
Since Hornet doesn’t start with maps or tools to mark locations, it’s best to visit the vendor Shakra in each area to get a map you can fill in as you explore. Marking fleas on your map helps you remember where you’ve seen them, so you can return later. Plus, fleas emit quiet cries and dog-like barks when you enter a room with one, so turn your sound up for easier detection.
How to Begin the Lost Fleas Quest
Some players have found the Fleamaster, Mooshka, on the right side of the Marrows area to start the quest. Others discovered they could grab the quest from the Wish Board in Bone Bottom. Mooshka will ask you to find all 30 fleas, but initially, just collecting the first five will reward you.
Flea Location in The Marrows
In The Marrows, head to the room shown on the map (or by the image above). The flea is hanging above Hornet, and you need to jump across to the left, then work your way back. You’ll spot the flea caught in the wall. Attack it to free it.
Flea in Deep Docks (Location 1)
There are two fleas in Deep Docks. One is easier to find if you know where to swing Hornet’s sword. After arriving, go down and left until the Bell Beast fast travel point. You can break into its pit by smashing a weak wall—just walk into it and attack.
Timing is tricky here; you need to platform across the room while avoiding falling lava. Once you reach the left side, jump to the right and climb up to find the flea on the floor. Attack it to free it, then backtrack to the station.
Flea in Deep Docks (Location 2)
The second flea in Deep Docks is in a different spot, and you’ll need the Swift Step ability to reach it. First, visit the upper parts of Deep Docks and obtain Swift Step, which requires a bit of platforming through a gauntlet with red ants. Use your new skill to climb higher to the room shown in the picture above, then locate the flea at the top. Attack it to free it.
Flea in Hunter’s March
Once you unlock Swift Step, Hunter’s March becomes accessible. Head to the right side of The Marrows, where Grindle is in a cell. Rest at the nearby bench, then go through the door into a long, low-ceilinged room. Defeat the Silksong Skull Ant boss, or dodge around it using Swift Step. Afterward, follow the path to the right, jumping onto the red flowers with your pogo jump to reach higher areas.
Navigate through a dark corridor where Hornet gets caught in a net. Break free and then destroy the flea’s cage at the end, freeing it.
Flea in Far Fields
The Far Fields flea can be hard to access. Go to the area where a Skull Ant and its friend sit by a fire. You can fight or ignore them and use your glide and Swift Step abilities to jump across platforms. Once above them, follow the new path rightward, attacking the wall on the far right to reveal a secret.
Climb the platforms until you see a dark corridor. Use your abilities to get through, then break through the net Hornet is caught in. Finish it off to free the flea in the cage. If your health is low, you can break your own cage first, then free the flea and return later for your cocoon.
Rewards for Collecting Fleas
Rounding up all five fleas unlocks a teleport to a part of Greymoor with the Caravan and a Flea Brew buff drink from Grishkin. For additional Wishes, you’ll need to gather Shell Shards from enemies to unlock more rewards and upgrades.
Exploring and freeing these fleas will not only help you uncover secrets but also earn you useful items that boost your journey.


