Select Language:
Grounded 2 is an open-world survival crafting game that continues a unique mechanic from the first game: it shrinks you down and places you in a world of tiny creatures. The whole map is just a small park—so small that a normal person could probably walk across it in a few steps.
But when you’re tiny, it takes a long time to go from one side to the other. You’ll encounter various bugs and creatures that will challenge you with different kinds of fights. Luckily, there are some helpful tips to make surviving in this tiny world easier.
Grounded 2 is currently in Early Access, so details might change over time.
### You Can Change Your Perspective
When you first start the game and create your world, you’ll be asked to pick a camera view—either first-person or third-person. First-person gives a close-up view, good for aiming and detailed inspection. Third-person lets you see more of your surroundings and helps spot items from a distance. Also, if you’re prone to motion sickness, switching views might reduce discomfort.
You might think this choice is final, but it’s not. You can easily switch views at any time by pressing a specific button. On a keyboard, the default key is U. For controllers, no button is assigned initially, but you can set one in the controller settings under “Camera Toggle.” Since controllers have fewer buttons, it’s easy to switch back and forth. You can also change the camera mode from the main menu in the bottom-left corner of the screen.
### Interact With Everything
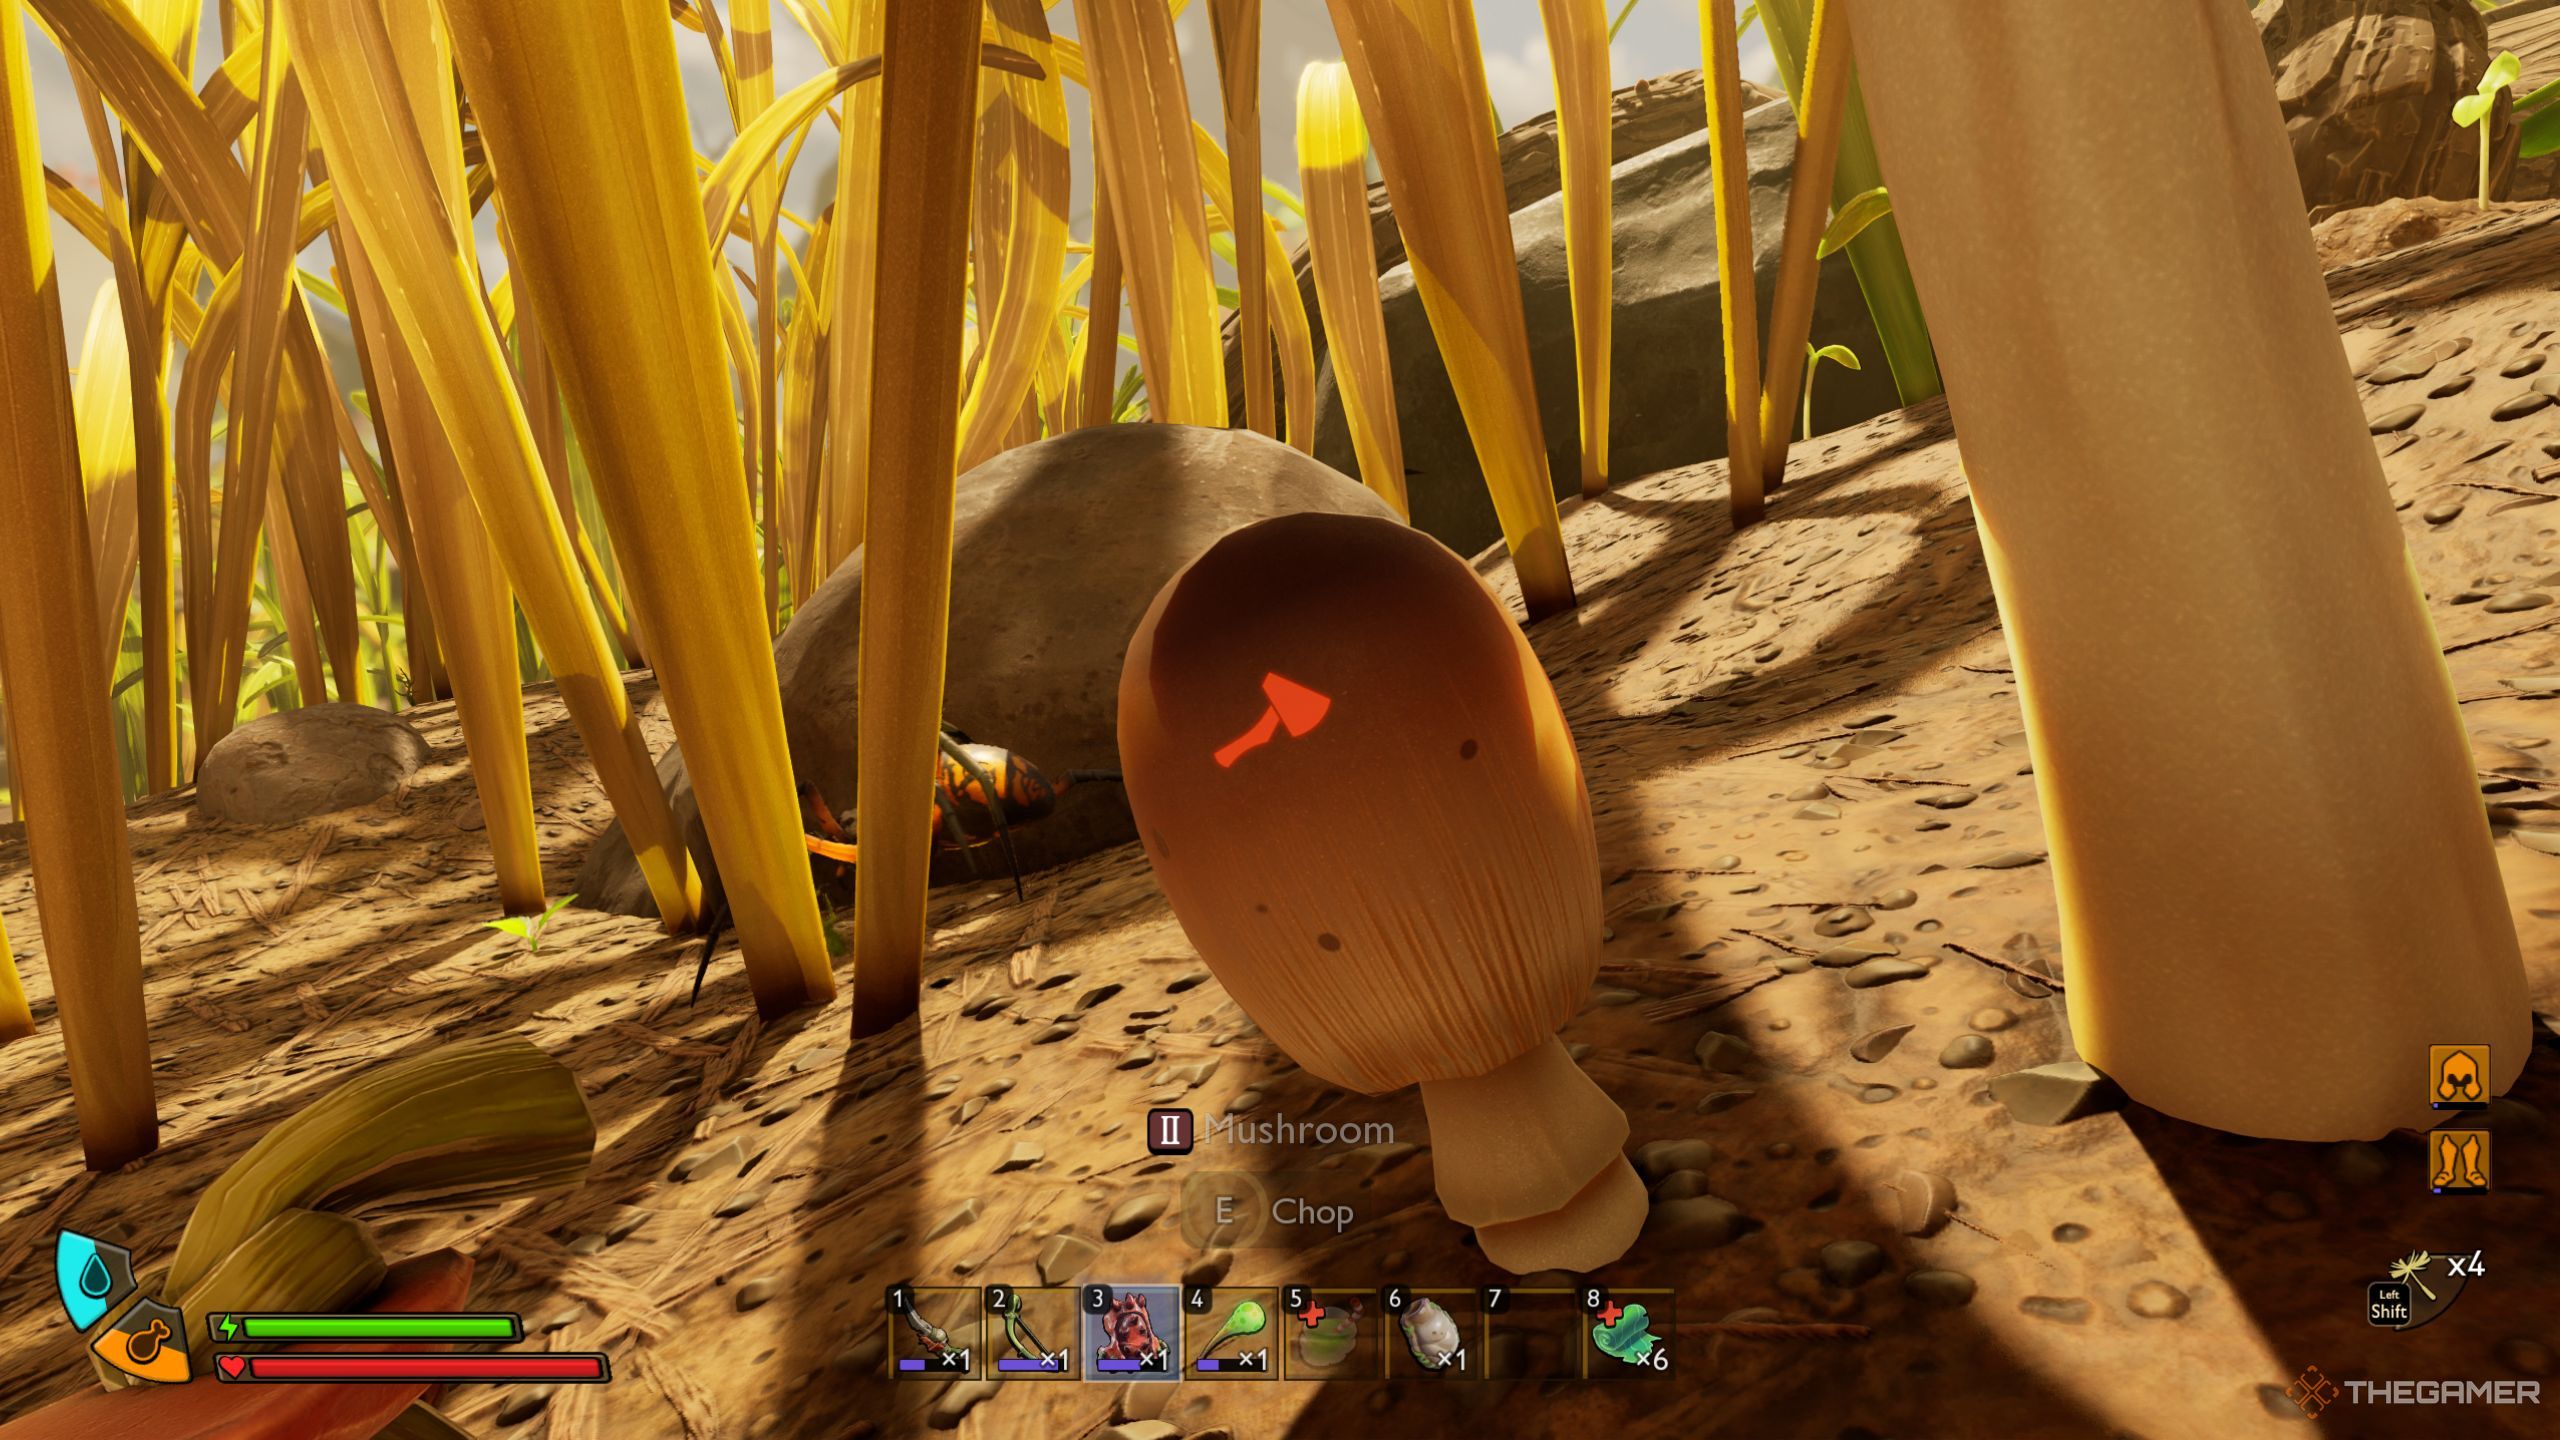
Once you start the game, you’ll find yourself in a facility that teaches you the basics. When you step outside, you’ll enter a huge open world filled with grass, insects, and various objects on the ground and walls.
Though the grass looks the same at first, each type contains different plants that can give you different items. It’s important to approach each new plant or object to see if you can interact with it. Some will require better tools, which you’ll unlock as you upgrade your Omni-Tools. Knowing where to go once you get those upgrades helps you explore effectively.
### Know What You’re Up Against
As you walk through the world, you’ll regularly spot movement in the bushes—most often roaches, bugs, and spiders. Some creatures attack on sight, like spiders and mites, while others might not be aggressive unless provoked, like roaches and small bugs.
You’ll also see ladybugs and snails. These are large but generally peaceful creatures—they won’t attack unless you do first. Understanding how your enemies behave is crucial for survival. For instance, if you see a spider, it’s best to strike first to prevent it from attacking you.
Most creatures can be defeated by climbing onto a nearby leaf or using a bow to shoot them from a safe spot. However, smarter enemies might keep moving around or find cover when they see you aiming at them. Using the environment and knowing your equipment’s power helps you decide whether to fight or flee.
### Watch Your Hunger and Thirst
The game has bars showing your current hunger and thirst on the bottom left of the screen. When these bars turn empty, you’ll start to suffer penalties. For example, if hunger drops too low, your stamina will be cut in half until you eat something.
In easier difficulty modes, you don’t need to worry about hunger or thirst at all. But on standard settings, it’s important to keep these bars full.
There are simple ways to do this:
– For thirst, drink dew drops found scattered around the map. Avoid drinking any water that looks dirty or nasty.
– For hunger, defeat enemies to gather meat, then cook it over a campfire to eat or save for later. Meat spoils over time, so eat it before it goes bad.
### Avoid Exploring in the Dark
Grounded 2 features a day-night cycle—each real-life second equals about a minute in game. You can check the current time in the menu or by looking at your Lean-To. When it’s around 8 p.m., the world darkens considerably, making it hard to see anything.
Early in the game, you can craft basic torches from slime mold stalks found in caves. These don’t provide very much light, so unless it’s urgent, it’s best to stay near your base overnight. Sleeping in your Lean-To is the safest option during nighttime.
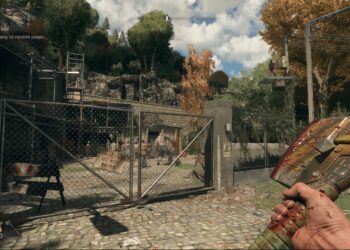
### Build Your Base Near a Ranger Station
Deciding where to set up your home is vital. The map has many landmarks, but ranger outposts are some of the best spots. You’ll revisit one early in the story, as the tutorial guides you there.
These outposts typically have flat ground in front, perfect for building structures. They also include critical equipment like the Resource Analyzer and a machine for upgrading your Omni-Tools. The Resource Analyzer has limited uses, so having a storage nearby makes it easier to manage resources.
### Remember the Locations of Items
Most resources you need will respawn after some time, so farming them repeatedly is possible. To make gathering easier, memorize key locations. For certain items, like Thistle Needles, you can see their position easily on the map.
For items that aren’t marked on the map, use Trail Markers. You can create these in your construction wheel by pressing B on the keyboard or the up arrow on a controller, using materials like clovers, sprigs, and plant fibers. Once placed, these markers will show up on your HUD, helping you find specific spots again.
### Exploration Is Key
Exploring thoroughly is one of the most important strategies. The map is large, full of hidden secrets, useful items, and lore. Exploring different biomes will also reveal tougher enemies, encouraging you to upgrade your weapons and gear.
Sticking solely to the main story might limit your fun and discoveries. Plus, exploring allows you to find many items you’ll need later for crafting advanced tools and equipment. The more you travel and explore, the better prepared you’ll be for the challenges ahead.