Select Language:
The final puzzle in Resident Evil Requiem requires some careful planning. You’ll need to play through the game at least once, making sure to have a doll in your inventory when you finish. Most of the prep involves making that doll appear in the right spot, which can be tricky because there are multiple steps that could go wrong. To save time, it’s best to use separate save files at different points, so if the doll doesn’t show up, you can go back and redo specific steps without starting over entirely.
Start your new game on easy difficulty—it’s easier to manage and ensures you reach the end with the doll in your inventory. The goal is to reach the very end of the game with the doll, so you can complete the Final Puzzle challenge. Now, here’s a step-by-step guide to help you through.
Resident Evil Requiem Final Puzzle Walkthrough
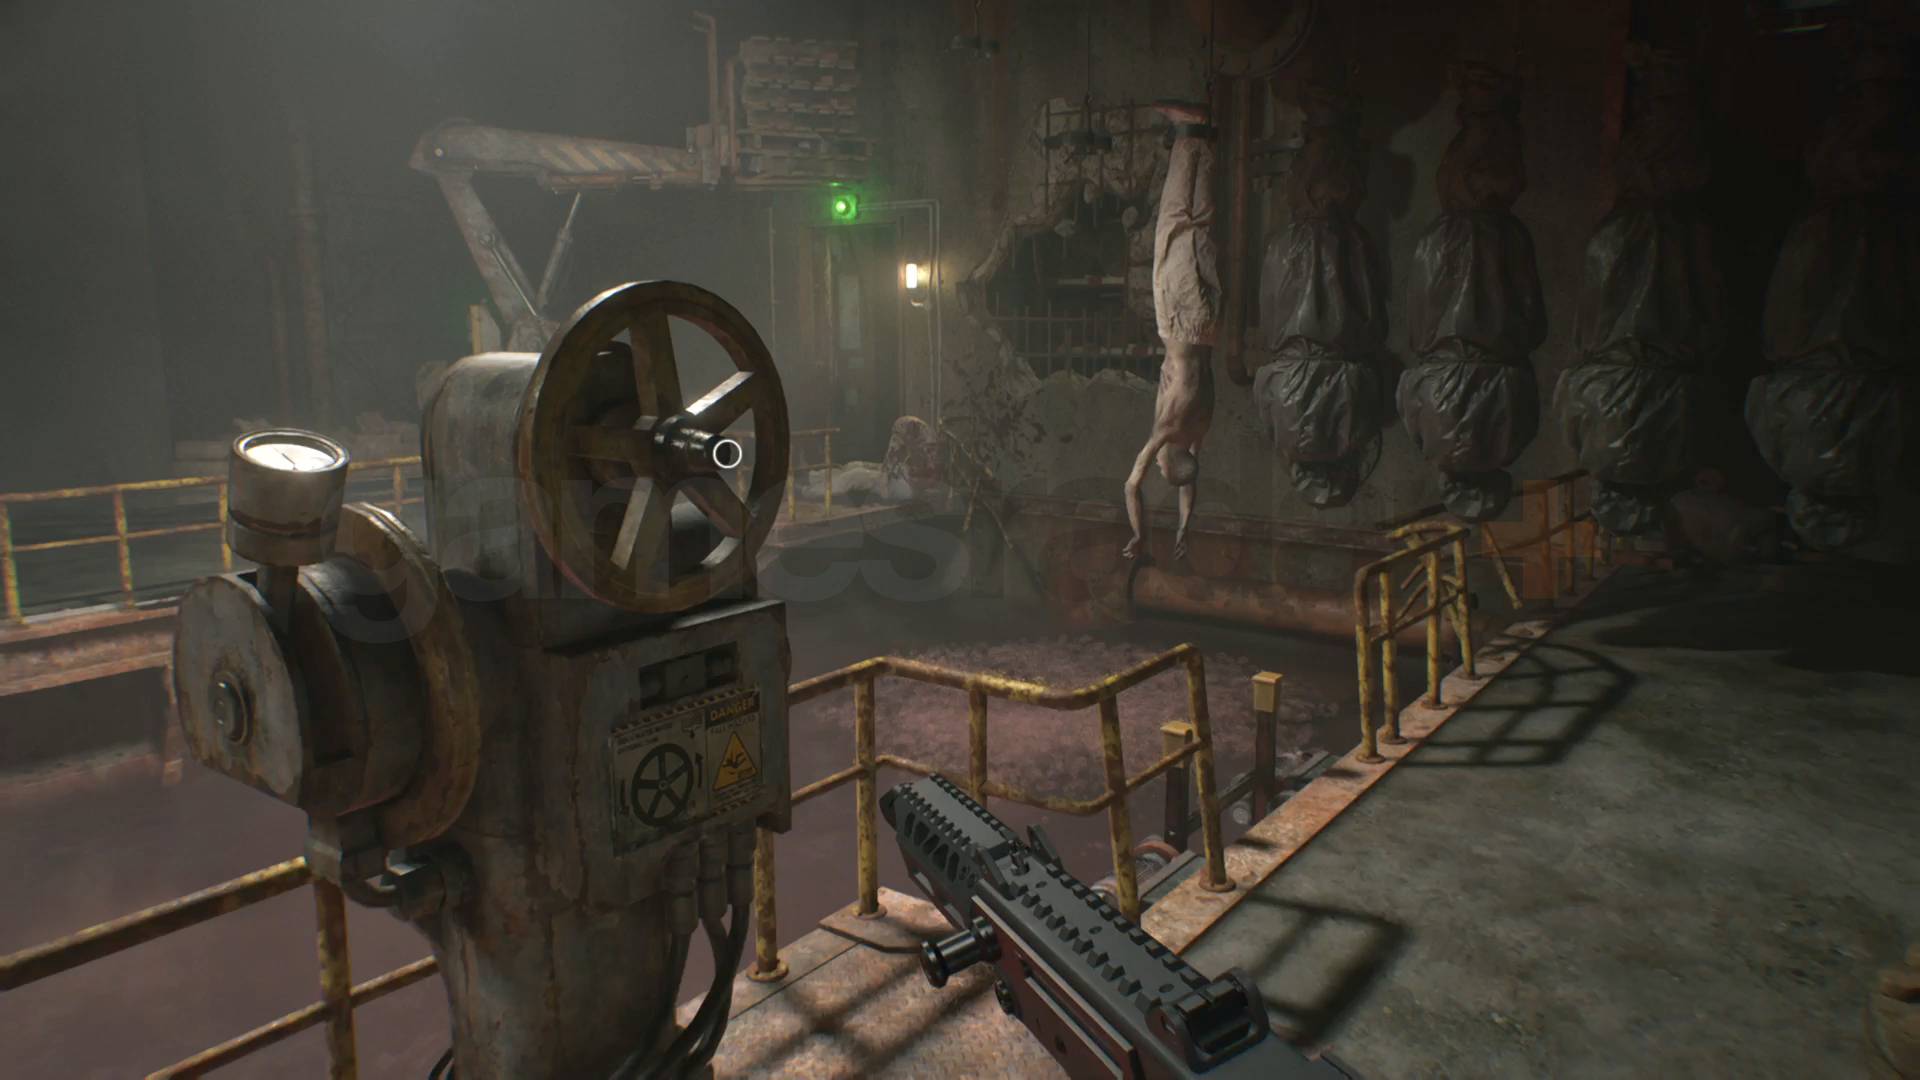
First, head to the Basement Processing Room in Rhodes Hill, where a conveyor belt dumps bodies into a pool of blood. This is part of collecting three Resident Evil Requiem Joint Plugs. Once there, wait at least 15 minutes to let enough bodies fall into the pool, creating enough blood for the later steps. After the wait, turn the crank to drain the pool, then go in to try to pick up the last plug. During this, you’ll need to survive without killing zombies—shoot their legs to disable them and melee to avoid killing them outright. As long as most are gone when the grinder turns off, you’ll be fine; I finished with one zombie still alive and still succeeded.
After escaping with the plug, proceed through the story until you get to the Collection and Testing pool. When you drain and examine the blood, the message should confirm “a ton of blood flowed out”—this indicates you did the step correctly.
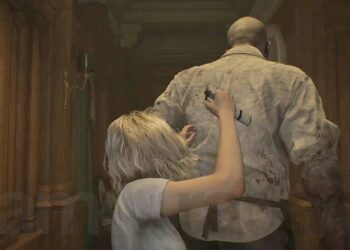
Next, continue until you’re back at the medical center. You’ll receive the girl’s hand, which you need to analyze using one of the blood analyzers. When you scan it, you’ll see the message “let’s play” with an RNA sequence: GGC AAG AUA ACG UGU CAU.
Before leaving the analyzer, check the sticker labeled ‘G = 150000000’—this distance to the sun in kilometers signifies that G equals ‘Sun.’ Keep this in mind, along with clues from other parts of the game, to decode the RNA sequence into a code.
When you examine the hourglass in the office with the wine puzzle, you’ll see it shows ‘U = 380,000’—which is the distance to the moon in kilometers. This means U stands for ‘Moon.’ Similarly, check the file called Grace Ashcroft Blood Analysis Report in the room before the locked door; it states ‘C = 4.2 ly,’ the distance to Proxima Centauri in light-years, meaning C is ‘Star.’
Pay attention to the clues that G = Sun, U = Moon, and C = Star. After analyzing the clues, you’ll find that you need to ignore the A’s in the initial RNA sequence. The correct code becomes GGC GUC GUG UCU. Map each to their meanings: G = Sun, U = Moon, C = Star. The sequence translates to: Sun Sun Star Sun Moon Star Sun Moon Sun Moon Star Moon.
To solve the final puzzle, hold Emily and the doll and input this sequence into the puzzle box. If you do it right, you’ll hear a sinister laugh, and a message will appear confirming the success.
Once completed, check the Challenges menu under Bonuses: the Final Puzzle will be marked as finished, earning you 20,000 CP. With that, you’ve successfully unlocked this secret ending.