Select Language:
Mecha Break is an action-packed mech battle game developed with Unity, featuring thrilling PvP and PvPvE encounters. While its graphics are vibrant and engaging, it’s also surprisingly adaptable; even mid-tier PCs can achieve over 60 FPS with the right configurations.
When diving into Mecha Break on PC, selecting the proper settings for your system can greatly influence your gaming experience, turning frustrating lag into smooth gameplay. This is particularly vital in PvP scenarios, where even a minor performance dip can determine the outcome of a match.
Optimal Settings for PC
Here, we’ll explore some tips for optimizing crucial graphics settings. Tweaking these options allows you to spot enemies quickly, maintain smooth controls, and enhance your competitive edge—all while ensuring your mechs look fantastic.
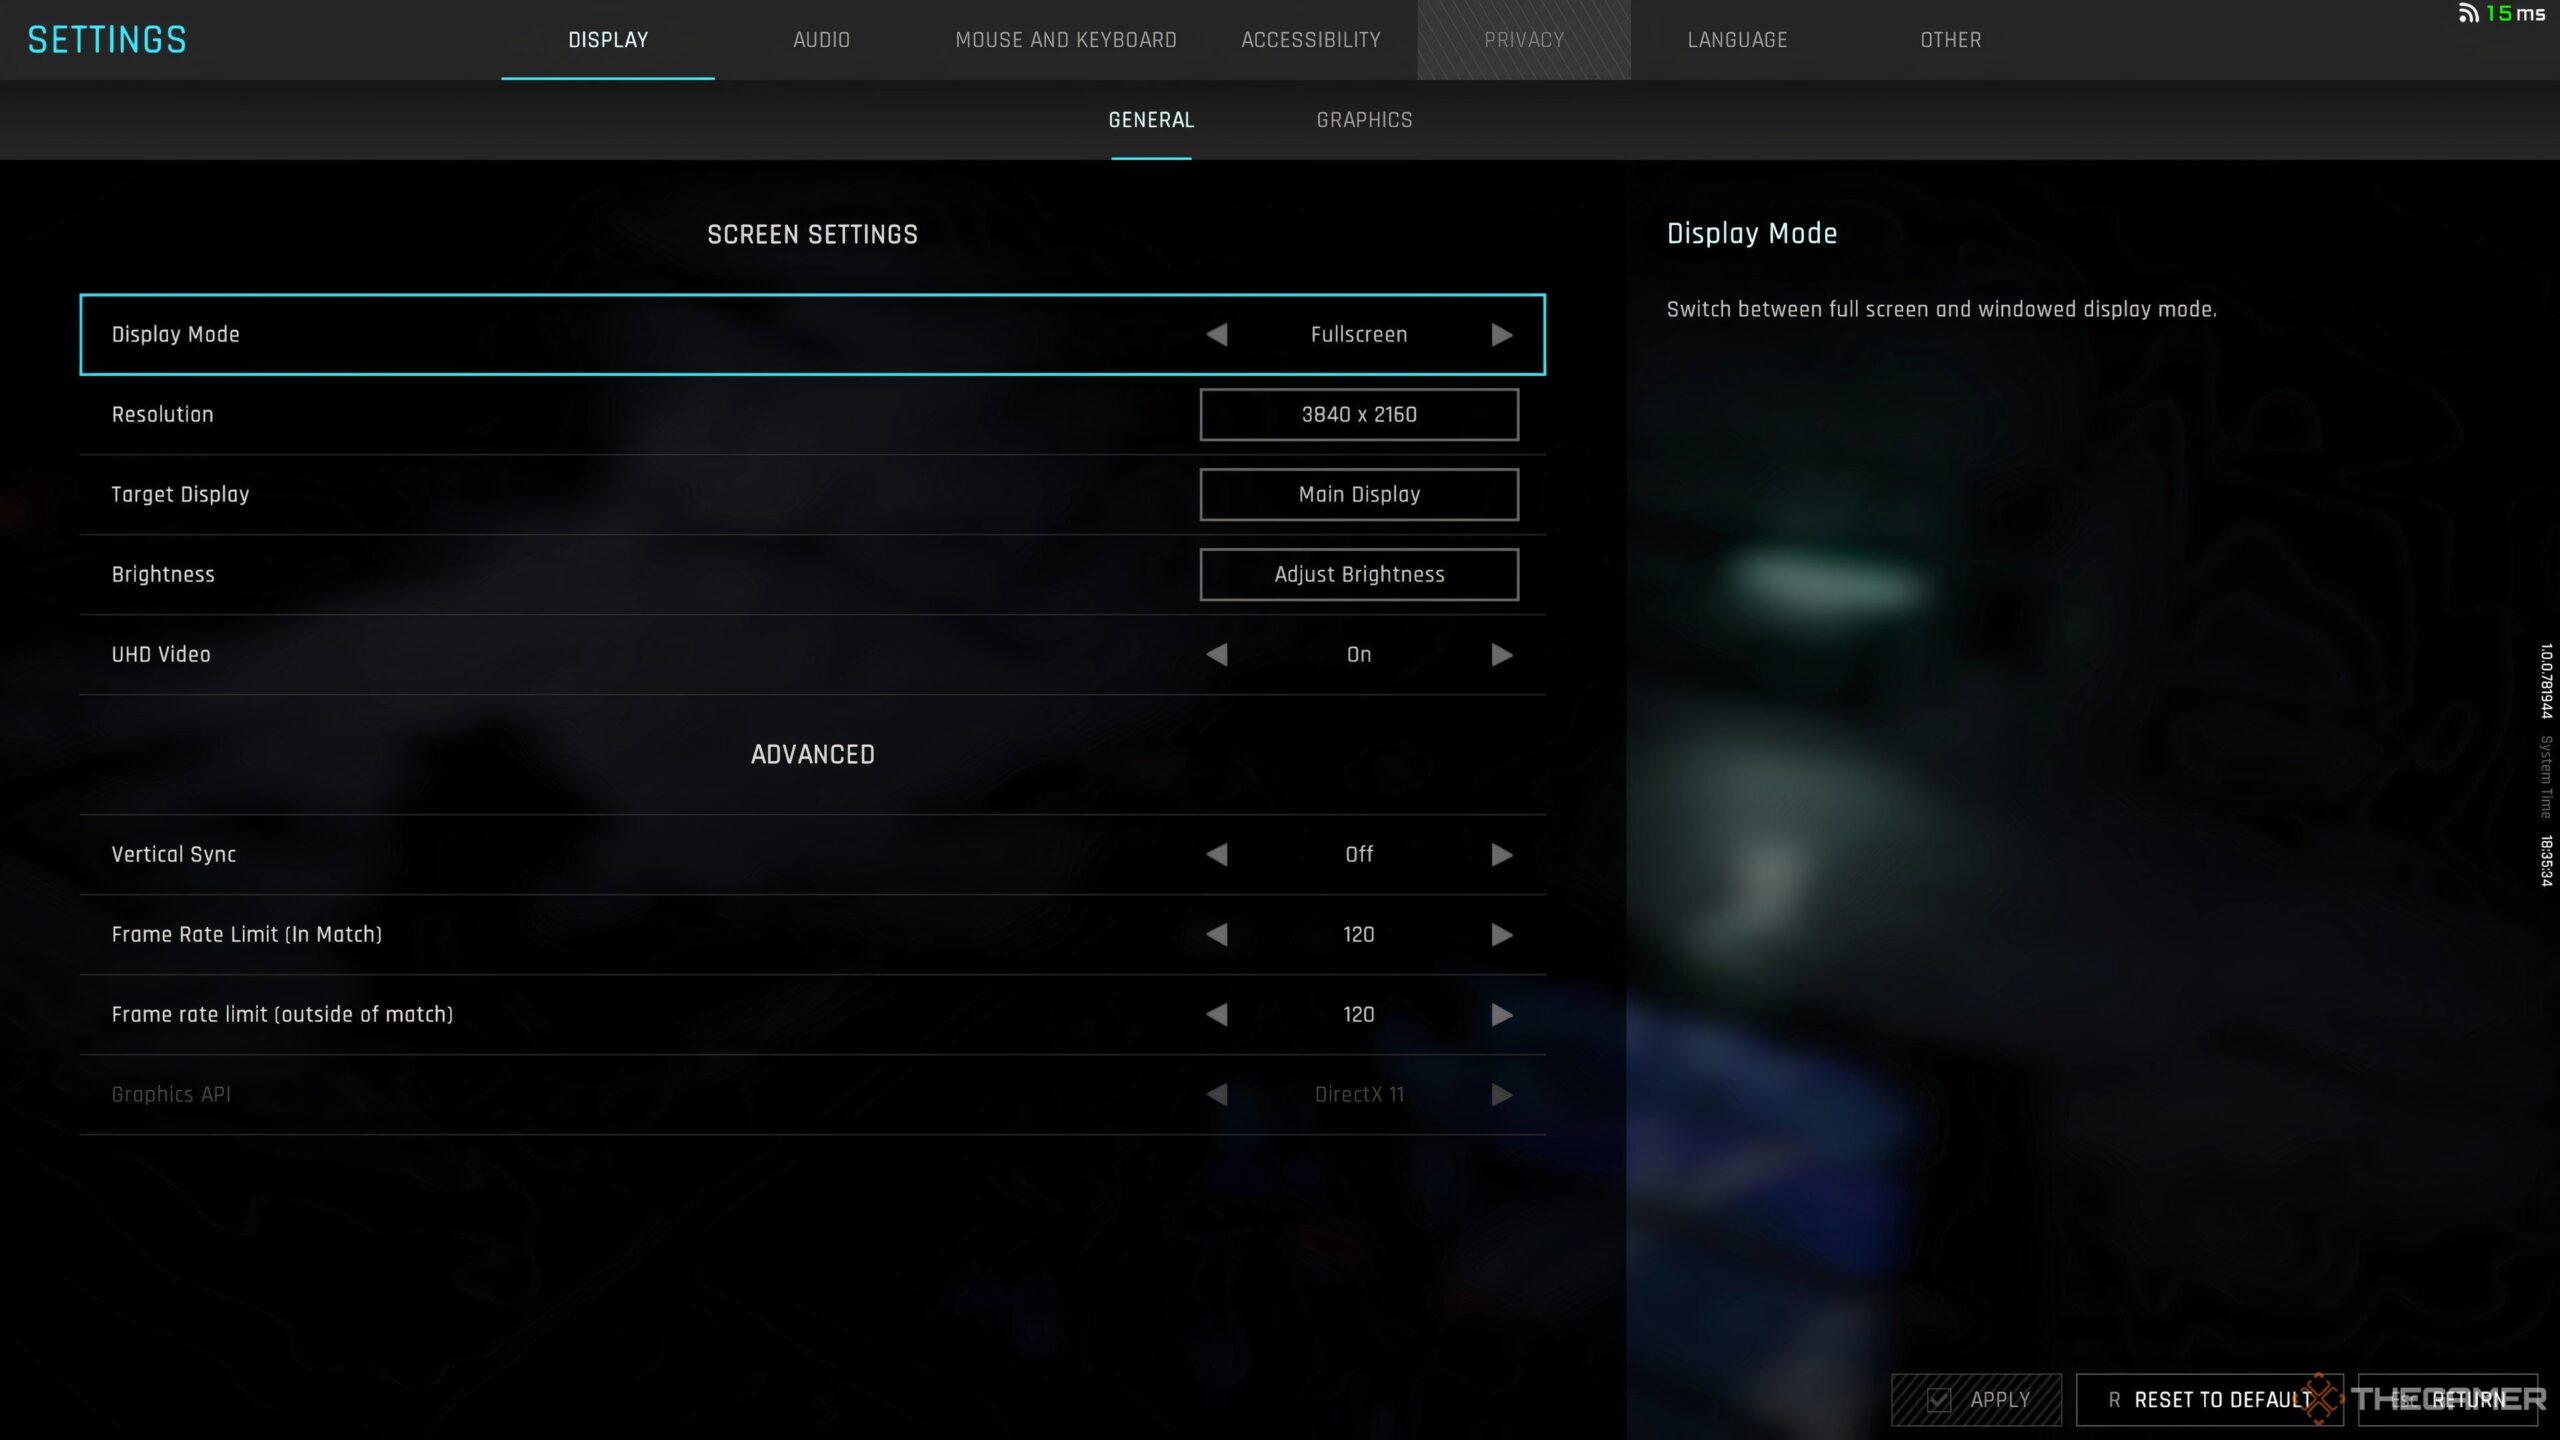
Display Settings
|
Setting |
Recommendation |
Note |
|---|---|---|
|
Display Mode |
Fullscreen |
This option offers the least input delay. |
|
Resolution |
Match your monitor’s resolution |
This ensures the best image quality without blurriness. |
|
Vertical Sync |
Off |
Turning this off minimizes input lag, but enable it if you see screen tearing. |
|
Frame Rate Limit (In Match) |
Set to your monitor’s refresh rate. |
While you can set it to Unlimited, be cautious of other running applications that might impact game performance, especially on laptops. |
|
Frame Rate Limit (Outside Match) |
60 |
This conserves energy and reduces heat while still offering a fluid experience. |
|
Graphics API |
DirectX 11 |
Generally more stable, but choose DirectX 12 if you want to use FSR. |
Switching to DirectX 12 requires at least an Nvidia GeForce RTX 4070 Super and a minimum of 16 GB of RAM.
Graphics Settings
|
Setting |
Recommendation |
Note |
|---|---|---|
|
Super-Resolution Quality |
Quality |
Utilize FSR or DLSS in Quality mode for enhanced performance without losing image clarity. |
|
Frame Generation |
Off |
Activate Frame Generation only if you’re facing FPS issues, as it may introduce input lag in some scenarios. |
|
Textures |
High |
For optimal performance, use Medium or High if you have at least 8 GB of VRAM. |
|
Global Illumination |
Medium to Low |
Lower settings may disable minor lighting effects but maintain basic illumination. |
|
Screen Space Ambient Occlusion |
Off |
Disabling this feature boosts performance significantly with minimal visual impact. |
|
Screen Space Reflection |
Off |
Turning off reflections can enhance your FPS by three to five percent. |
|
Volumetric Fog |
Off |
Rendering fog consumes high performance, so it’s best to disable it. |
|
Weather Effects |
Medium |
This setting doesn’t heavily impact performance; reduce it only if you notice frame drops. |
|
Virtual Geometry Precision |
Medium to Low |
Lowering this setting can result in a five percent FPS boost. |
|
Terrain Precision |
Medium to Low |
This reduces terrain detail without sacrificing too much visual fidelity. |
|
Streamed Texture Quality |
Standard |
Switch to High only if you have sufficient VRAM. |
|
Motion Blur |
Off |
Disabling motion blur is advisable for those who experience motion sickness. |
|
Depth of Field |
Off |
This setting enhances visibility, making it ideal for both PvP and cooperative play. |
|
Radial Blur |
Off |
Similar to Depth of Field, turning this feature off improves your field of vision. |
Check the Mouse and Keyboard/Controller settings to customize inputs for each individual Striker under the Striker tab.
Audio Settings
|
Setting |
Recommendation |
Note |
|---|---|---|
|
Enemy Action Sound Effects |
80+ |
Enhances vital audio cues like enemy movement and weapon fire. |
|
Energy Warning |
80+ |
Clearly indicates your Striker’s low power status. |
Accessibility Settings
|
Setting |
Recommendation |
Note |
|---|---|---|
|
Enable Directional Indicator |
On |
This feature points towards your current target or objective, making it easier to follow during battles. |
|
Squadmate Indicator |
On |
Displays icons over allies to make identifying them faster. |
|
Double-Tap to Evade |
Off |
This feature prevents accidental dodges, ensuring your evading actions are deliberate. |
Utilize the Custom Layout option in Accessibility > General to resize and reposition HUD elements.