Select Language:
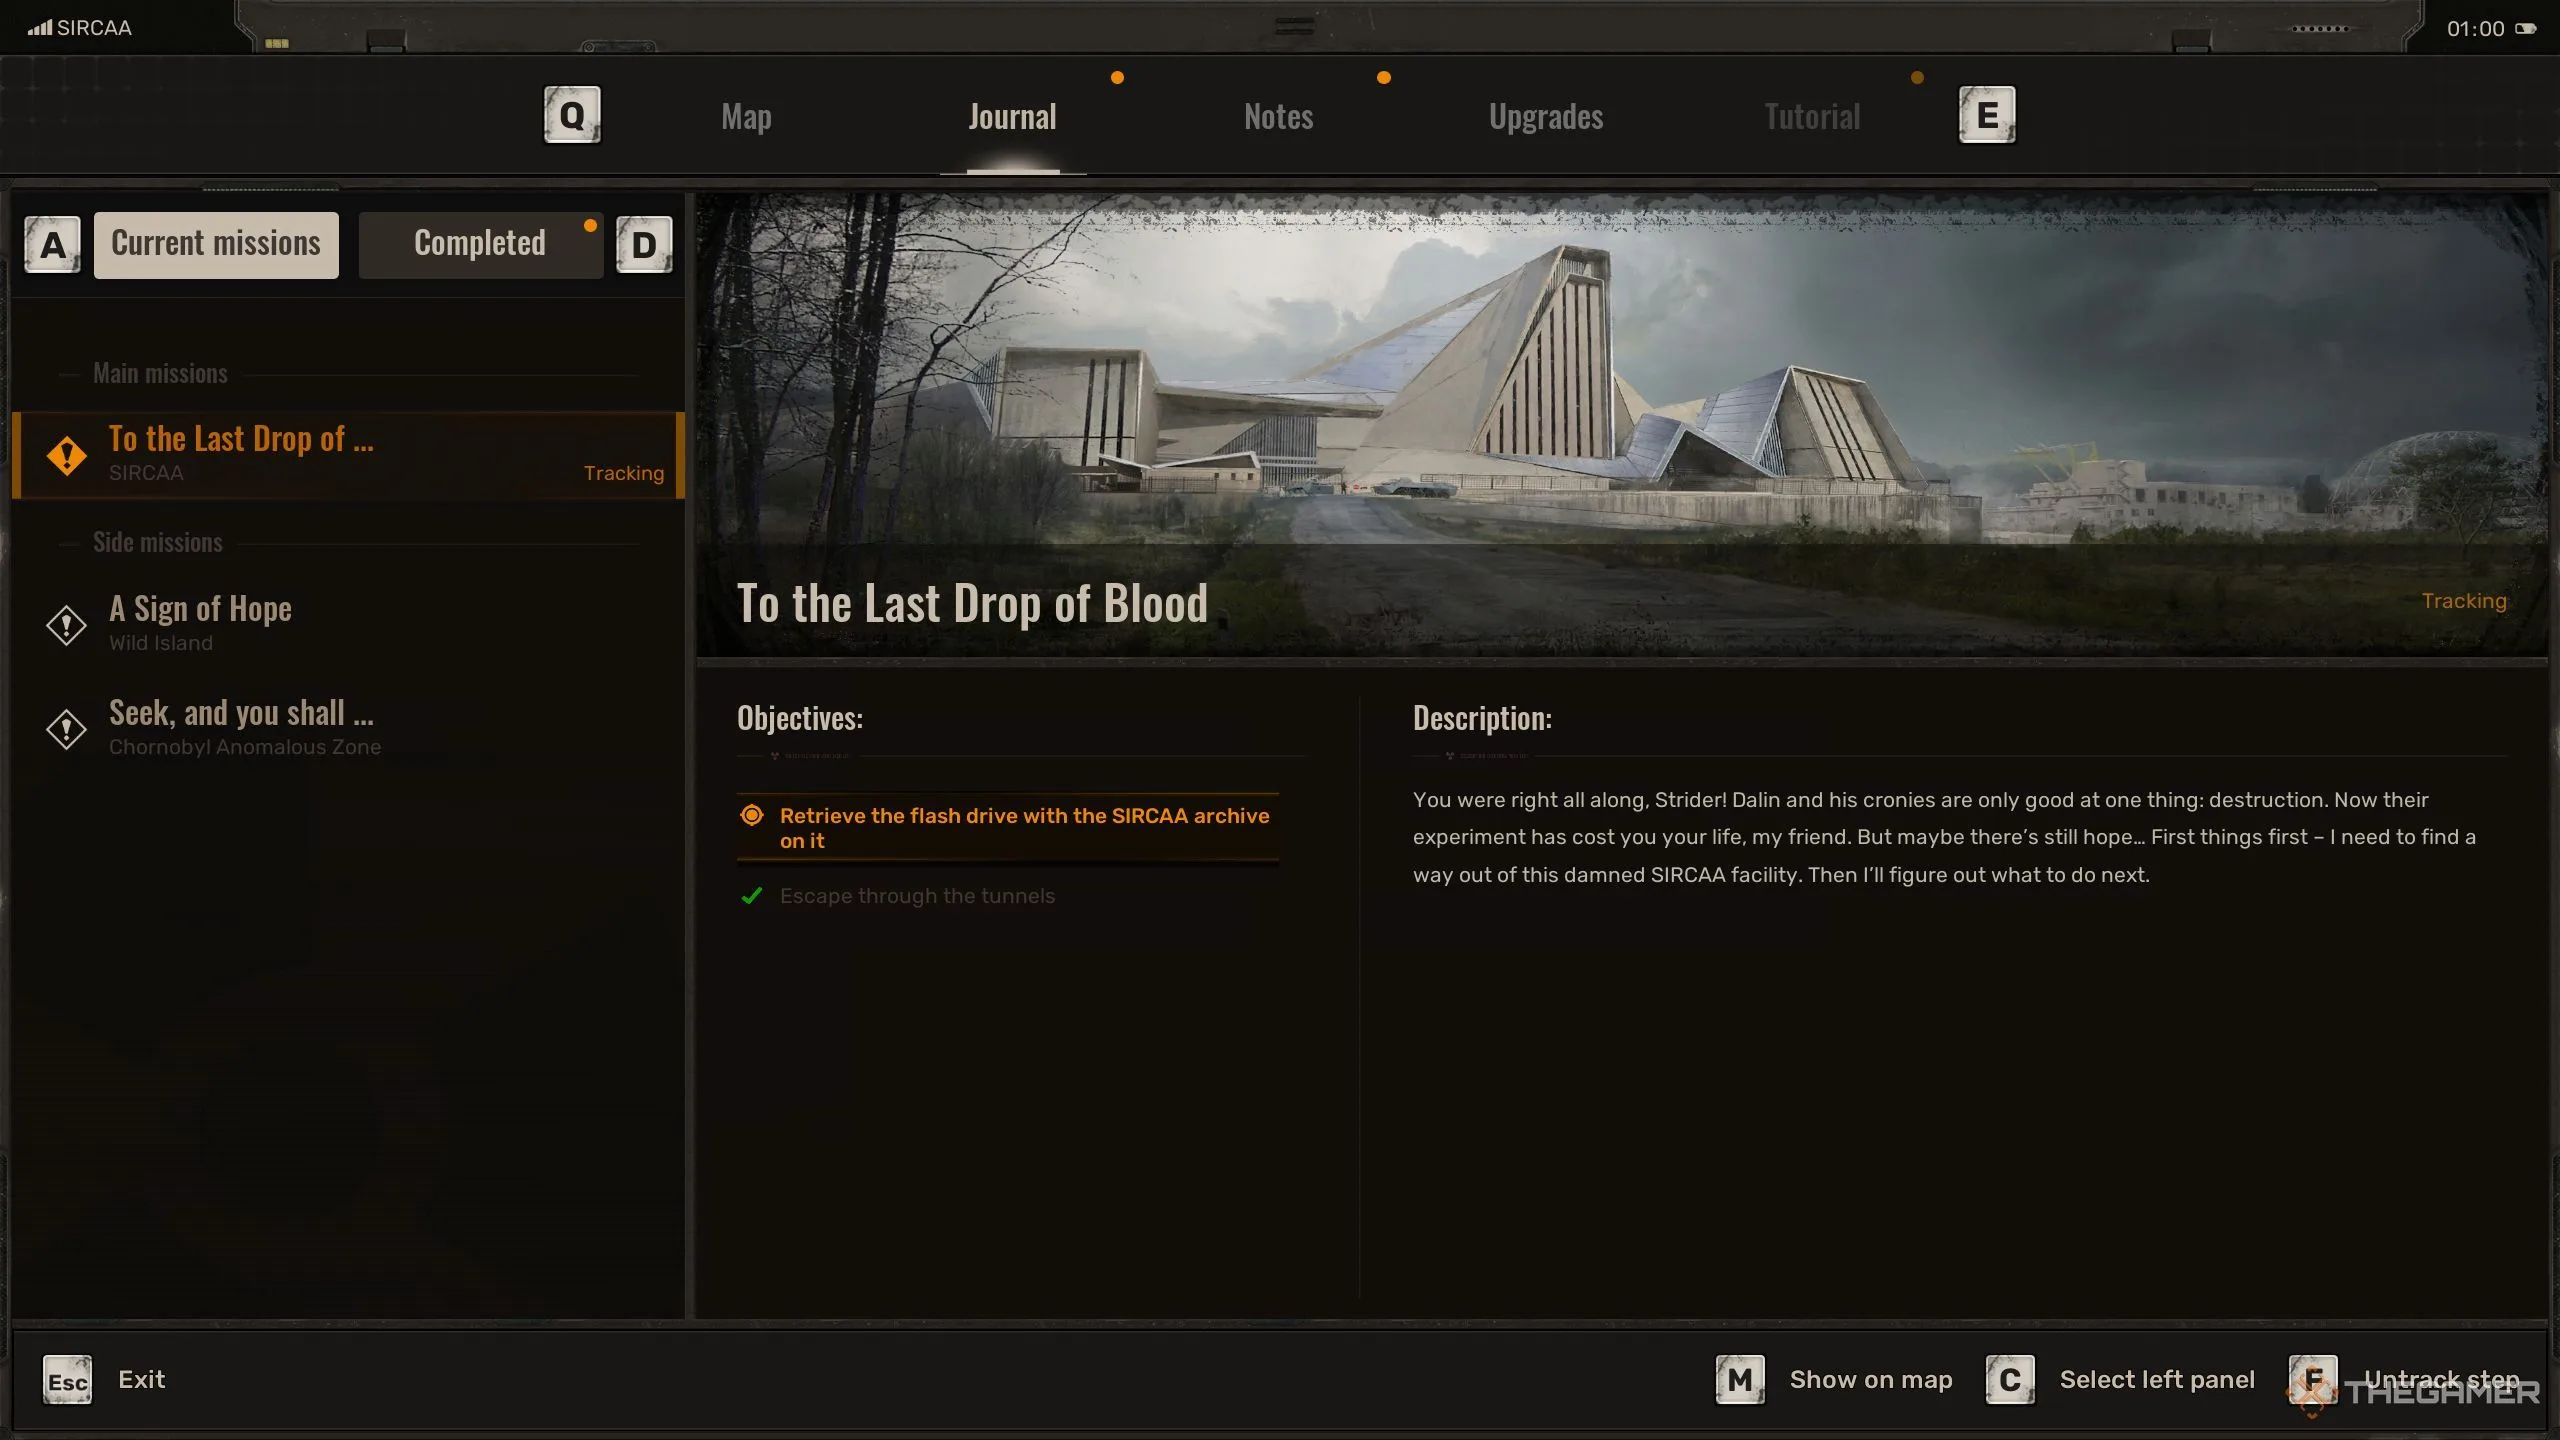
After finishing the Wishful Thinking quest in Stalker 2: Heart of Chornobyl, you’ll have a clear understanding of how brutal this environment is. If you decide to ally with Richter rather than the Ward, your next mission will be To the Last Drop of Blood.
The game doesn’t simplify things for you at this point. You will need to navigate through a chaotic scene filled with combat. Your main goal is to escape the fighting by finding your way through the tunnels to meet up with Richter. However, achieving this goal will not be a walk in the park.
Escaping the Tunnels
After the explosions caused by the Monolith, you’ll find yourself in a state of utter chaos. Your only option is to escape through the tunnels. Just follow the provided coordinates; due to the straightforward layout of the tunnels, you shouldn’t have too much difficulty finding your way around.
As you get close to a ladder, ascend it and enter the corridor. While making your way through, you’ll overhear Dr. Dalin discussing a flash drive containing all the SIRCAA archives. Your next objective will be to retrieve this flash drive, which Daian mentions is located in the Data Center.
How to Retrieve the Flash Drive
Before you can get your hands on the flash drive, you must first navigate through the tunnels. Begin by turning the yellow valve to extinguish any fire in your path, then proceed through. Eventually, you’ll come across another ladder; make sure to watch out for an electric anomaly right ahead.
Some anomalies can be temporarily disabled by using a bolt. Keep in mind that the effect won’t last long, so you’ll need to pass quickly to avoid getting caught.
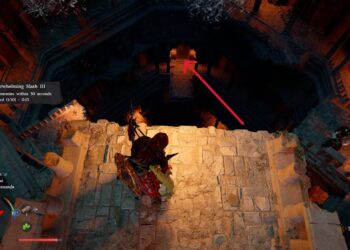
Navigate through the door into the lab. Once outside, you’ll be met with a horrific scene: The Ward and Noontiders are engaged in fierce combat. Even though you’re siding with Richter, the Noontiders will still see you as a threat. Your objective is to eliminate any enemies blocking your way and make a beeline for the coordinates leading to the Data Center, as you’re not meant to engage in this unwinnable fight.
In the Data Center, expect to encounter a cloaked enemy using psychic attacks. You can either choose to confront this enemy or look for anomalies in the area and shoot them down to eliminate the mutant.
Making Your Way to the Escape Route
Once you’re in the Data Center, take out the soldiers and descend the stairs. Look for a room illuminated by red lights; that’s where the flash drive is located. After seizing the item, Richter will contact you with coordinates that will aid in your escape from SIRCAA.
Finding Your Way Out
After securing the flash drive, make your way out of the Data Center and head into the underground tunnels. The fighting outside will continue, and more NPCs will spawn, including a formidable mutant known as the Pseudogiant. Engage with it only if necessary—it’s usually more prudent to avoid combat and follow the coordinates instead.
As you approach the helicopter pad, look for a road that leads downward. Enter the hole in the wall and descend the stairwell, where you’ll find a red button. Pressing this button will unlock the security door. However, once you step inside, brace yourself: a Bloodsucker awaits you.
Defeating a Bloodsucker can be tricky due to its ability to become partially invisible. However, it’s distinguishable by the distortion it creates. Using a shotgun or similar short-range weapon can greatly improve your odds.
Once the bloodsucker is down, keep following your map’s coordinates. The area is relatively easy to navigate, and soon you’ll reach a storage room filled with chaos as Ward soldiers clash with mutants. Jump in to help finish the fight, and afterward, make your way toward the red light signifying an open door, where some valuable loot awaits.
Navigating the Flooded Room
After following the coordinates, you’ll discover a ladder leading to another room. Climb it, open the door, and you will soon find yourself in a rather unpleasant flooded room. To escape, you’ll need to turn off the electricity, as the water presents a serious hazard.
Be careful not to step into the water, as it’s electrified and would likely lead to your demise. Instead, jump onto various objects, starting from the truck via the staircase, and make your way to a green crate. There, you will see a wire trap in front of the power switch—use your weapon to trigger the explosion and disable the power.
Now that the electricity is off, head to the ladder. It may be locked, so shoot the lock to reach it. Before climbing up, ensure you disarm any traps at the top. Ascend and exit via a larger tunnel.
Prepare to face mutant rats once more as you approach the coordinates. Defeat them, climb the ladder, break another lock to enter the next room, and finally climb the last ladder to meet Richter.
After your reunion, a chain of events unfolds, leading to dire news for Richter and an interruption from the Ward soldiers. In a cinematic sequence, both Richter and Skif manage to fend off the soldiers and survive another day.
Once the cutscene concludes, don’t forget to listen to the final conversation between Richter and Skif, signaling that your quest—To the Last Drop of Blood—has come to an end.