Select Language:
Kingdom Come: Deliverance 2 has just launched and it’s living up to the buzz surrounding it. The game boasts an expansive main storyline filled with astonishing twists, some of which appear early on.
After you’ve played for a bit and found yourself ambushed, you’ll need to make a getaway through the forest with Hans. This journey will eventually lead you to a house where a woman will care for both of you, but you’ll soon find several events unfolding. While the quest itself isn’t overly complex, it may take a bit to finish, so here’s a guide on how to tackle it effectively.
Recovering and Taking Care of Tasks
Once you arrive at Bozhena’s house, she will treat your injuries. While you’re there, Hans will also face an attack, but thankfully he manages to fend off the bandit. However, he ends up worse off than you, so you’ll need to gather supplies to help him recover.
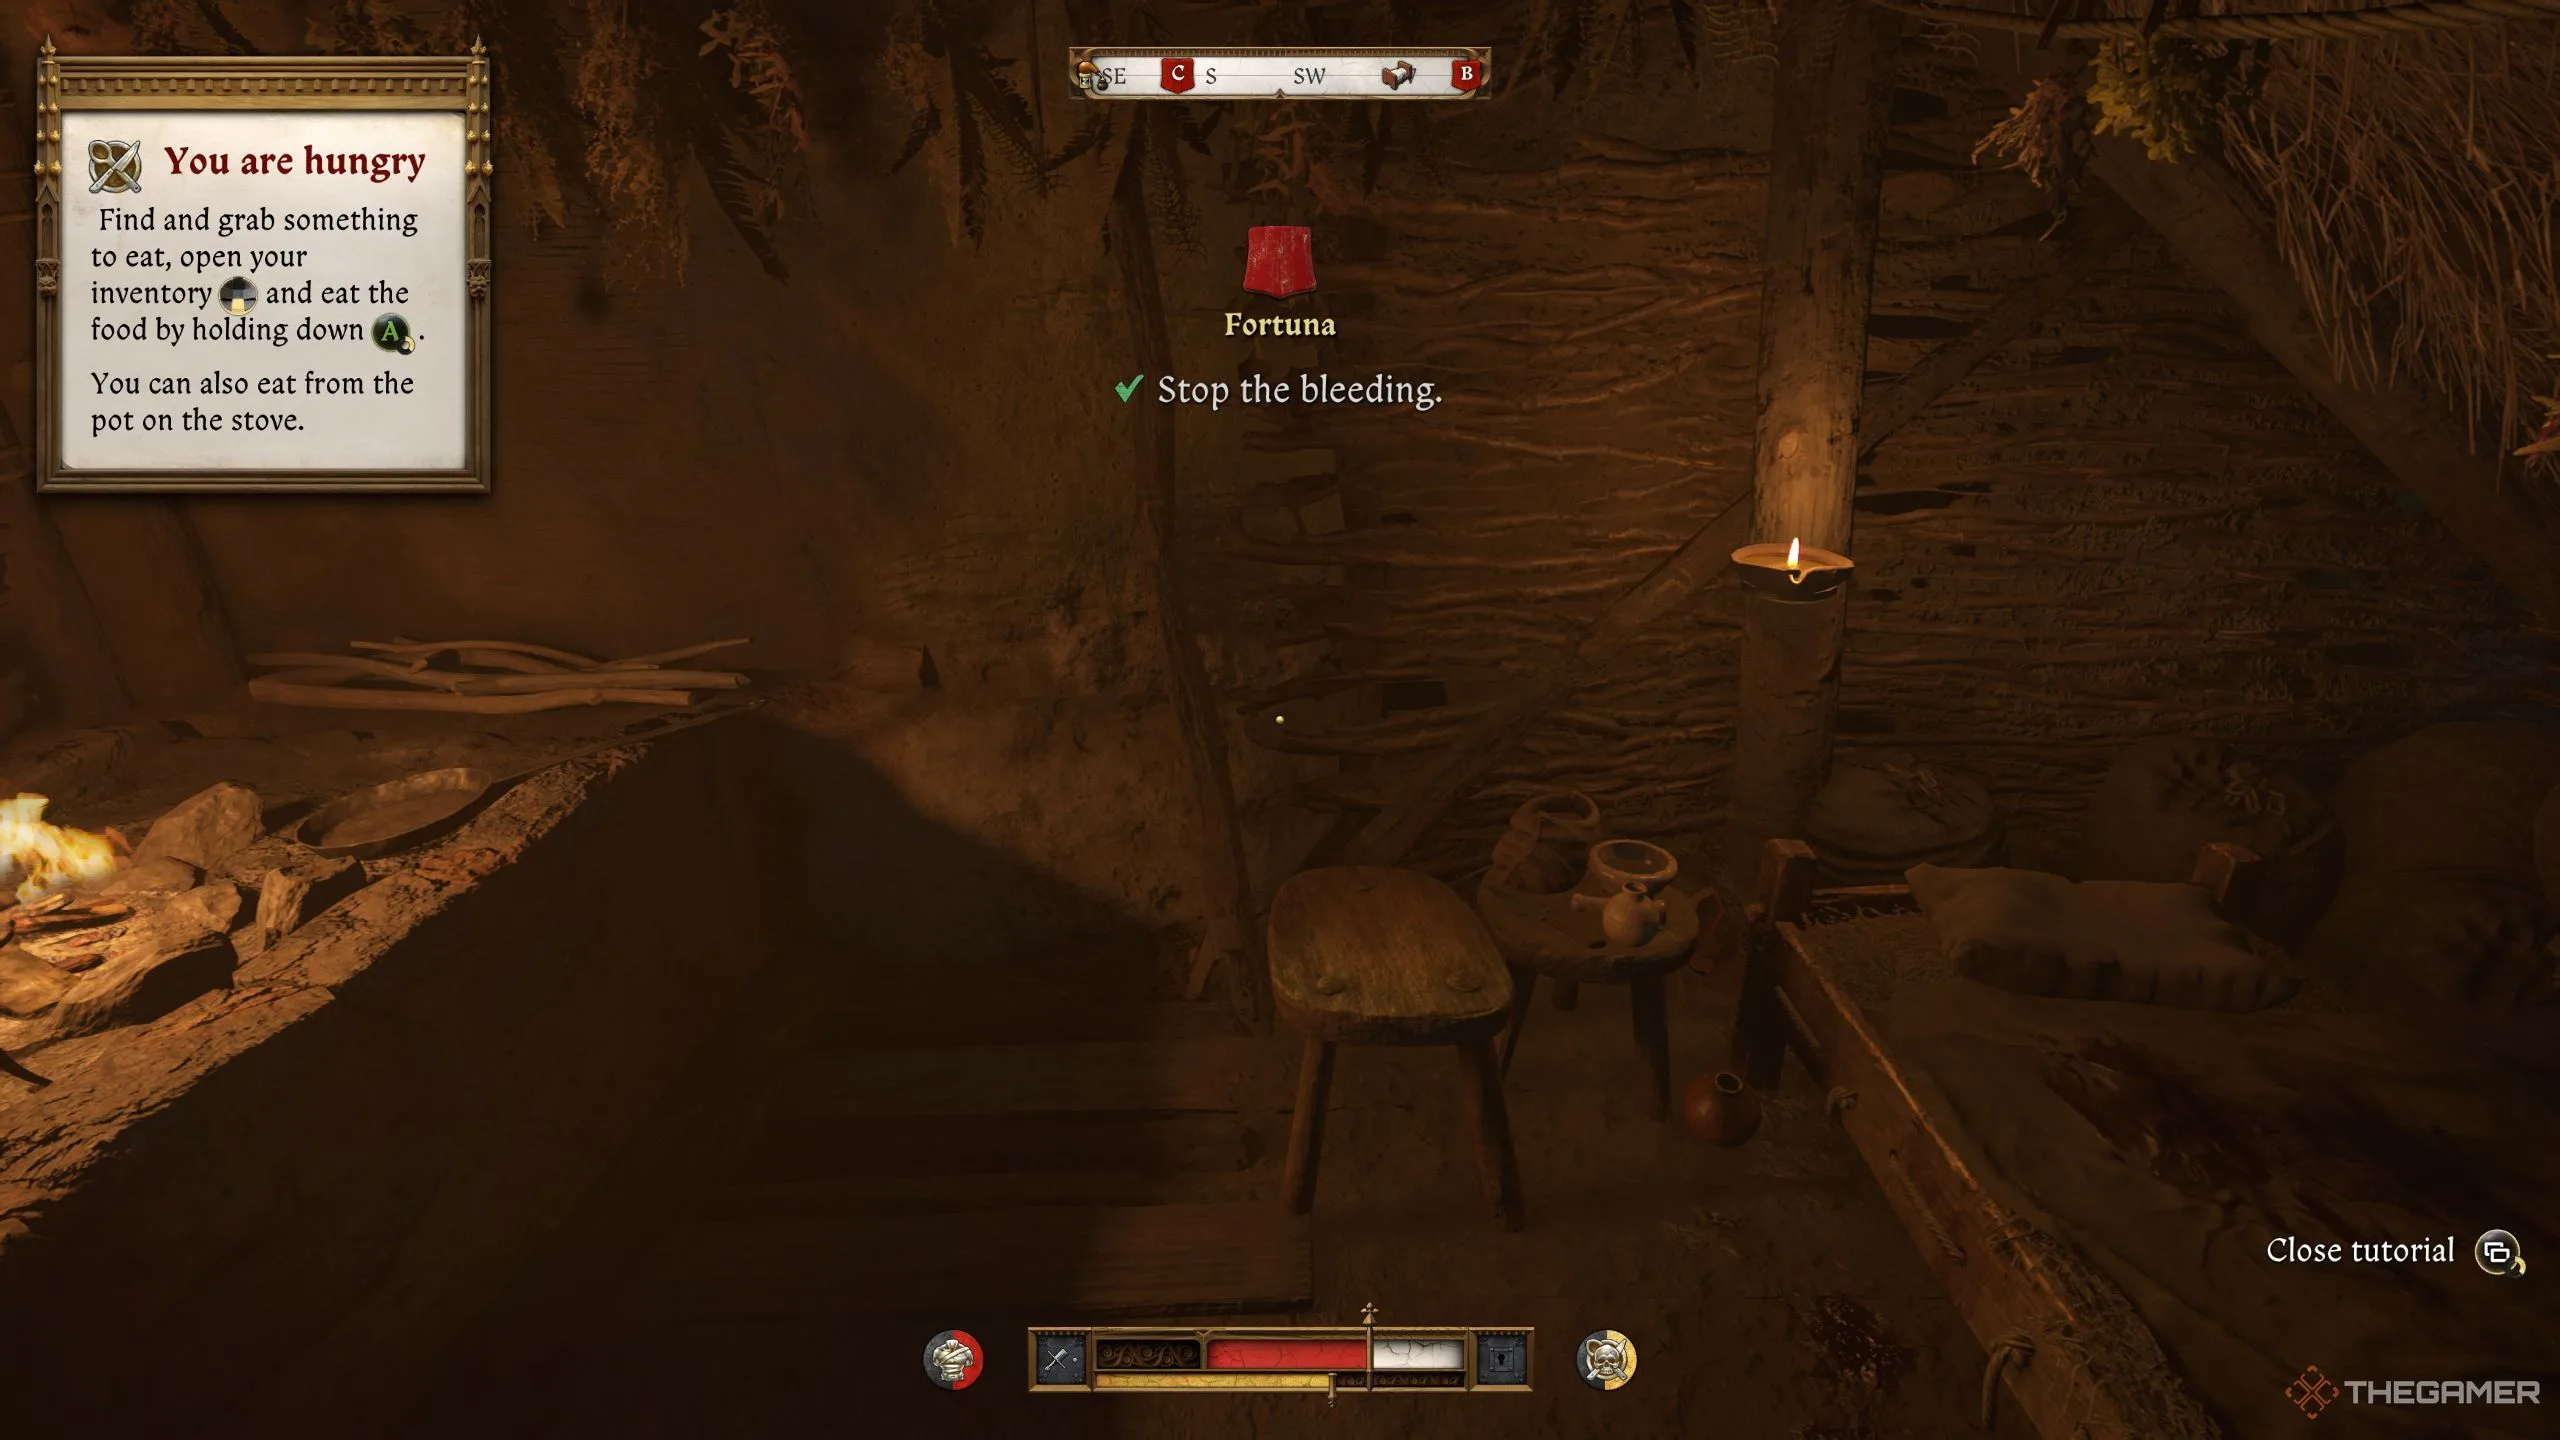
Before addressing Hans, make sure to prioritize Henry’s health. When you wake up, apply bandages to stop your bleeding. Open your inventory, select enough bandages, and apply them. Afterward, you’ll notice a pot of food by the fire, so it’s a good idea to eat a bit and speak with Bozhena.
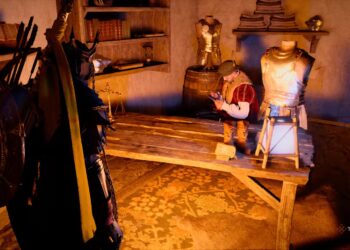
Bozhena will update you on Hans’s condition and will ask you to deal with a corpse outside and to clean up. Before stepping outside, don’t forget to grab a Marksman’s Kit and a Tailor’s Kit along with some piercing arrows from upstairs.
Once you’ve taken those items, head outside to wash up.
Burying the Bandit
Next, you should bury the bandit lying dead outside. While this step is optional, it’s a good idea to handle it. Approach the bandit’s body and loot what you can. After looting, pick up a shovel and the bandit’s body. Head northeast to bury him.
You can use your compass for guidance, so follow the waypoints to the burial site. When you get there, lay the body down and dig a grave. After burying him, return to the house and check in with Bozhena about Hans’s condition.
Finding Herbs for Hans
During your conversation with Bozhena, she’ll express concern about Hans’s fever and mention that certain herbs are needed to help him recover. She’ll inform you about a Chamomile Decoction. If you had previously selected the Survival option in your dialogue, you can choose the first option here.
If you didn’t choose Survival, don’t worry; just focus on what Bozhena is saying. She will tell you that you need to find Jade and Chamomile.
Bozhena will also explain where to locate these herbs, so head out of the house and turn left. You’ll see a path leading to the back. Follow it and keep walking until you discover both herbs as she mentioned. Finding them shouldn’t be too hard; just look for the ones described.
Once you’ve collected the herbs, return to the hut, but something unexpected will happen.
Investigating the Commotion
As you approach the hut, you’ll hear Growler barking, signaling that something’s off. Get closer, and you’ll overhear two men speaking with Bozhena regarding two bandits. Equip a weapon—there’s an ax on your right side—to be prepared.
When you approach them, Mikesh will ask about your identity. If you disclose who you really are along with Hans’s identity, the bandits will attack. Defeating Mikesh will make the other bandit flee.
If you prefer not to fight, you can navigate the situation through dialogue. Simply say, "You don’t look like Bergow’s men," followed by “You’re looking in the wrong place.” This will convince them to go away.
However, it’s advisable to defeat both bandits since they possess valuable loot and the fight isn’t too tough. After taking down both, you’ll have two more bodies to bury.
Speaking with Bozhena
After dealing with the bandits, head back indoors and talk to Bozhena. She’ll be shaken from the encounter and will inquire about your identity. It’s best to be honest; this will enhance your reputation. Once truthfully identified, she’ll instruct you to use the Alchemy Bench to craft the potion for Hans.
Burying the bandits is optional, but if you do, Bozhena will express gratitude and your standing with her will improve.
Before brewing the potion, take the two bandit bodies outside to bury them. Head to the previous burial site, dig two new graves, and lay them to rest. Clean yourself afterward to remove the scent of death, then proceed to the Alchemy Bench.
Crafting the Chamomile Decoction
At the Alchemy table, Bozhena will guide you through making the potion. Follow her instructions closely. To start, you’ll need to pour wine into the cauldron and adjust the heat.
After boiling, raise the cauldron and add two handfuls of chamomile. Lower it again, turn the hourglass, and wait. Once the time is up, raise the cauldron once more. You’ll then need to grind a handful of sage and add it to the mix.
If the decoction isn’t perfect, Henry will comment on it, but don’t worry; a standard version is still acceptable to Bozhena.
Once the potion is ready, grab a vial and fill it. After successfully crafting the Chamomile Decoction, Bozhena will suggest that Henry get some rest for a full recovery.
Sleep until 5 AM, and during this time, Henry will experience flashbacks that relate to his father and his sword from the first game. When you awaken, you’ll meet Pavlena, Bozhena’s daughter, who will comfort you about your dreams and invite you to breakfast.
Joining for Breakfast
Once you’re done speaking with Pavlena, head outside for breakfast. While seated at the table, you’ll have a chance to share your epic tale of rescuing Hans multiple times.
This will bolster your reputation, so be sure to embellish the details. After discussing everything, talk to Hans about your next steps. You both will agree on going to Trovsky, and Bozhena will provide you with some Groschen and food for the journey.
Next, you’ll watch a montage of Hans and Henry making their way to Trovsky Castle. Upon arriving, the guards treat them like beggars, making it clear they’ll need to plan their next steps wisely, as returning empty-handed isn’t an option.