Select Language:
Cell stands out as one of the most memorable villains in the Dragon Ball franchise. In Dragon Ball: Sparking Zero, he showcases his intelligence and transformative abilities in combat. With his ability to take on multiple forms—starting from Imperfect Cell and advancing to his ultimate Perfect Form—Cell allows for various playstyles appealing to both strategic and aggressive players.
Each of Cell’s forms comes with distinct strengths, weaknesses, and special skills, making him a flexible choice for any player. This guide will explore each of Cell’s transformations, detailing their unique abilities, and providing tips on how to use them effectively to gain the upper hand in Sparking Zero.
Cell (1st Form)
Moveset for 1st Form Cell
| Move Name | Input | Cost | Effect |
|---|---|---|---|
| Solar Flare | R2/RT + Up on the D-Pad | 2 Skill Count | Blinds the opponent. |
| Afterimage | R2/RT + Left on the D-Pad | 2 Skill Count | Dodges the next incoming attack. |
| Kamehameha | R2/RT + Square/X | 3 Ki Bars | Fires a powerful beam super. |
| Special Beam Cannon | R2/RT + Triangle/Y | 3 Ki Bars | Delivers a strong beam attack. |
| Drain Life Cell | R2/RT + Circle/B (Sparking) | Full Ki Bar | Ultimate attack that inflicts heavy damage. |
Strategy in Versus and Online Matches
When using Cell in his transforming state, it’s essential to keep a close eye on your health bars, as he has numerous ways to restore health through his moves. This feature makes Cell a valuable choice, even beyond direct battles.
His grab technique provides one Ki bar and restores a quarter of his health, allowing players to sustain themselves effectively by executing repeated grabs. Additionally, his Ultimate move, Drain Life Cell, recovers more than one bar of health, which is useful in long-lasting matches.
Note: Attacks that drain life have no effect on Android characters.
Transforming heals Cell for half a health bar, which makes it beneficial to start in this form before transitioning to his other forms. The move Solar Flare not only disables opponents temporarily but can lead to a grab or act as setup for a powerful Ultimate attack if they are too eager to respond.
Cell (2nd Form)

Moveset for 2nd Form Cell
| Move Name | Input | Cost | Effect |
|---|---|---|---|
| Solar Flare | R2/RT + Up on the D-Pad | 2 Skill Count | Blinds opponent. |
| Pump Up | R2/RT + Left on the D-Pad | 2 Skill Count | Provides offensive buffs. |
| Big Bang Crash | R2/RT + Square/X | 3 Ki Bars | Fires a strong beam attack. |
| Drain Life Cell | R2/RT + Triangle/Y | 3 Ki Bars | Launches a consistent rush attack. |
| Unforgivable! | R2/RT + Circle/B (Sparking) | Full Ki Bar | Unblockable area-of-effect attack. |
Strategy in Versus and Online Matches
The healing strategy remains effective in 2nd Form, mirroring the tactics of the 1st Form. You’ll want to utilize grabs and transformations for health recovery, with transformations offering a full Ki bar.
While many of his attacks might deal less damage than anticipated, utilizing Solar Flare can set your opponents up for combos. Reserve your Ultimate attack for moments when victory is assured, keeping in mind its unblockable nature but the high cost of leaving you vulnerable.
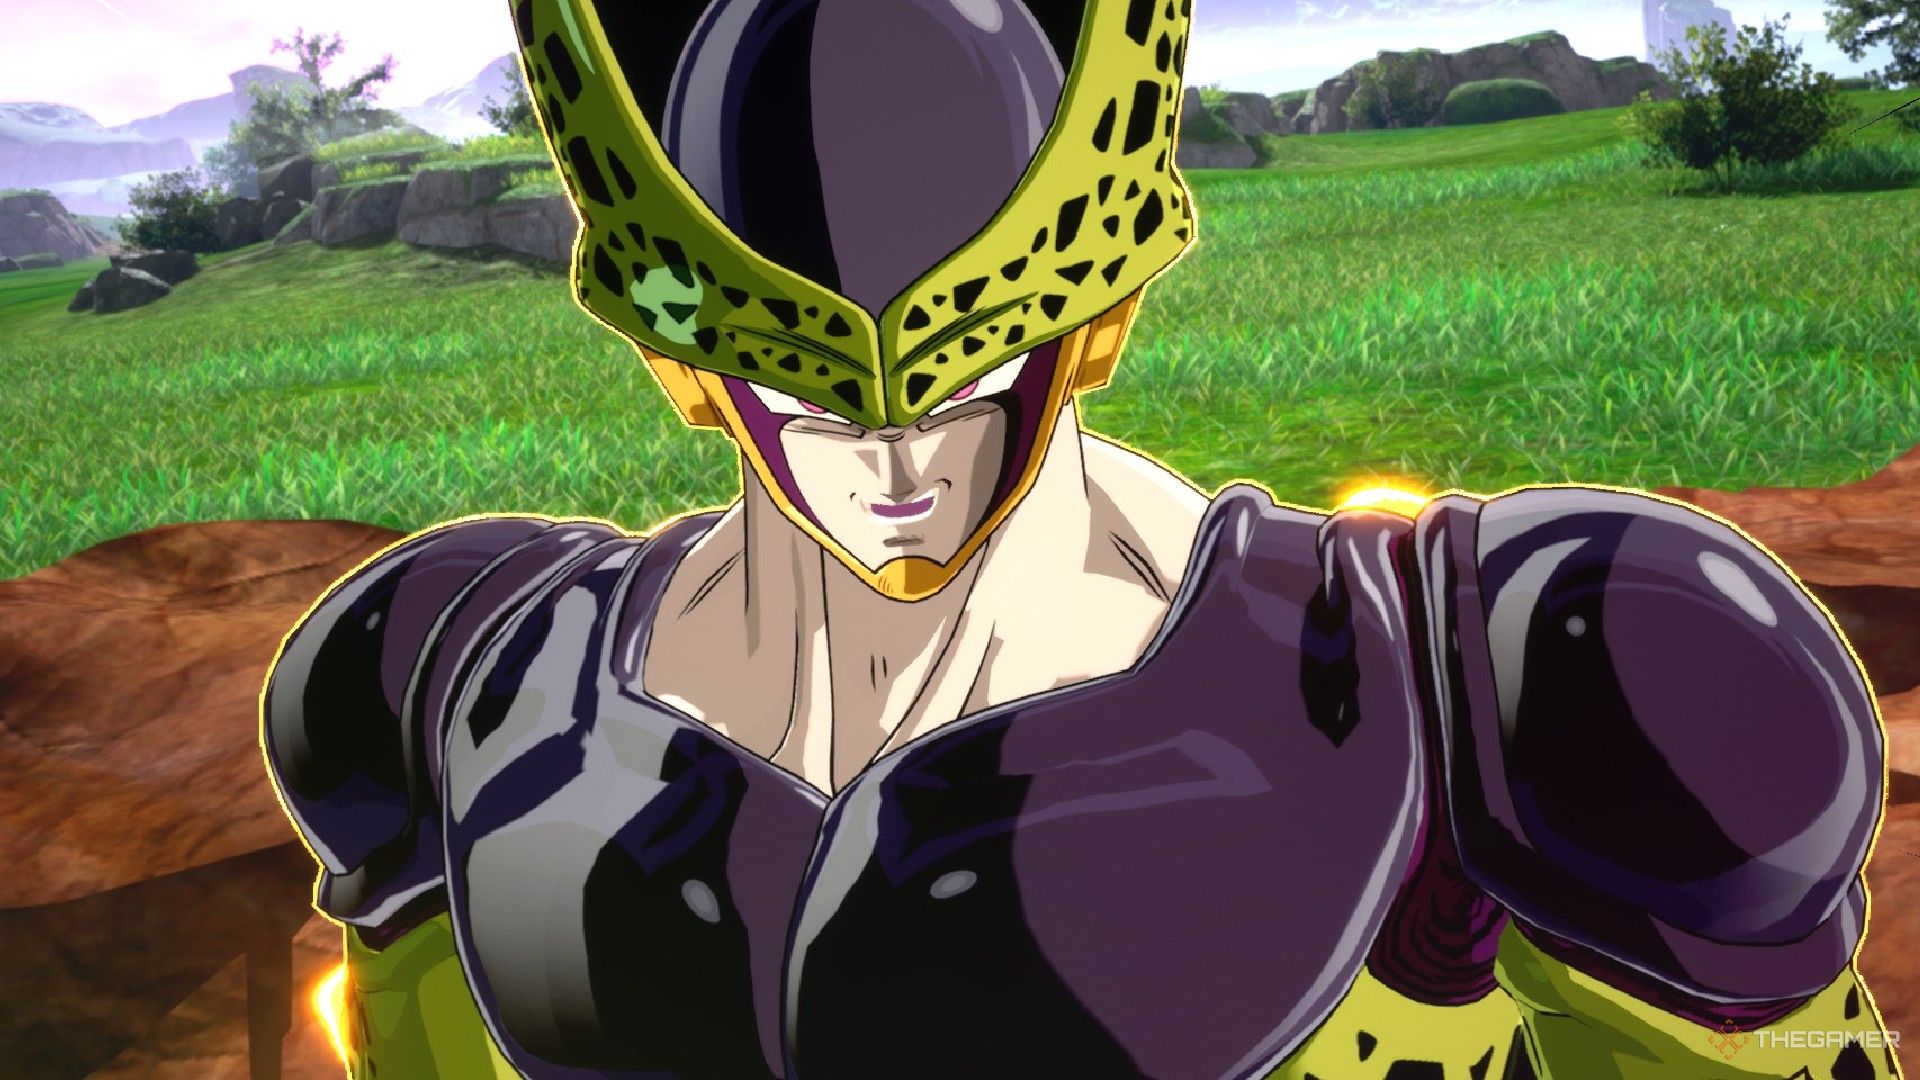
Perfect Cell
Moveset for Perfect Cell
| Move Name | Input | Cost | Effect |
|---|---|---|---|
| Explosive Wave | R2/RT + Up on the D-Pad | 2 Skill Count | Creates an explosive wave to push back foes. |
| Afterimage | R2/RT + Left on the D-Pad | 2 Skill Count | Dodges the next attack. |
| Super Kamehameha | R2/RT + Square/X | 3 Ki Bars | Fires a charged beam. |
| Barrage Death Beam | R2/RT + Triangle/Y | 2 Ki Bars | Fires multiple projectiles. |
| Perfect Barrier | R2/RT + Circle/B (Sparking) | Full Ki Bar | Large area attack that deals double damage. |
Strategy in Versus and Online Matches
In Perfect Form, Cell loses his ability to heal, transitioning to a more standard combat style. The Explosive Wave allows him to break free from combos, while Barrage Death Beam is a high-damage option with exceptional tracking to disrupt opponents effectively.
The unique moves of this form offer great offensive options, making him a formidable choice in combat.
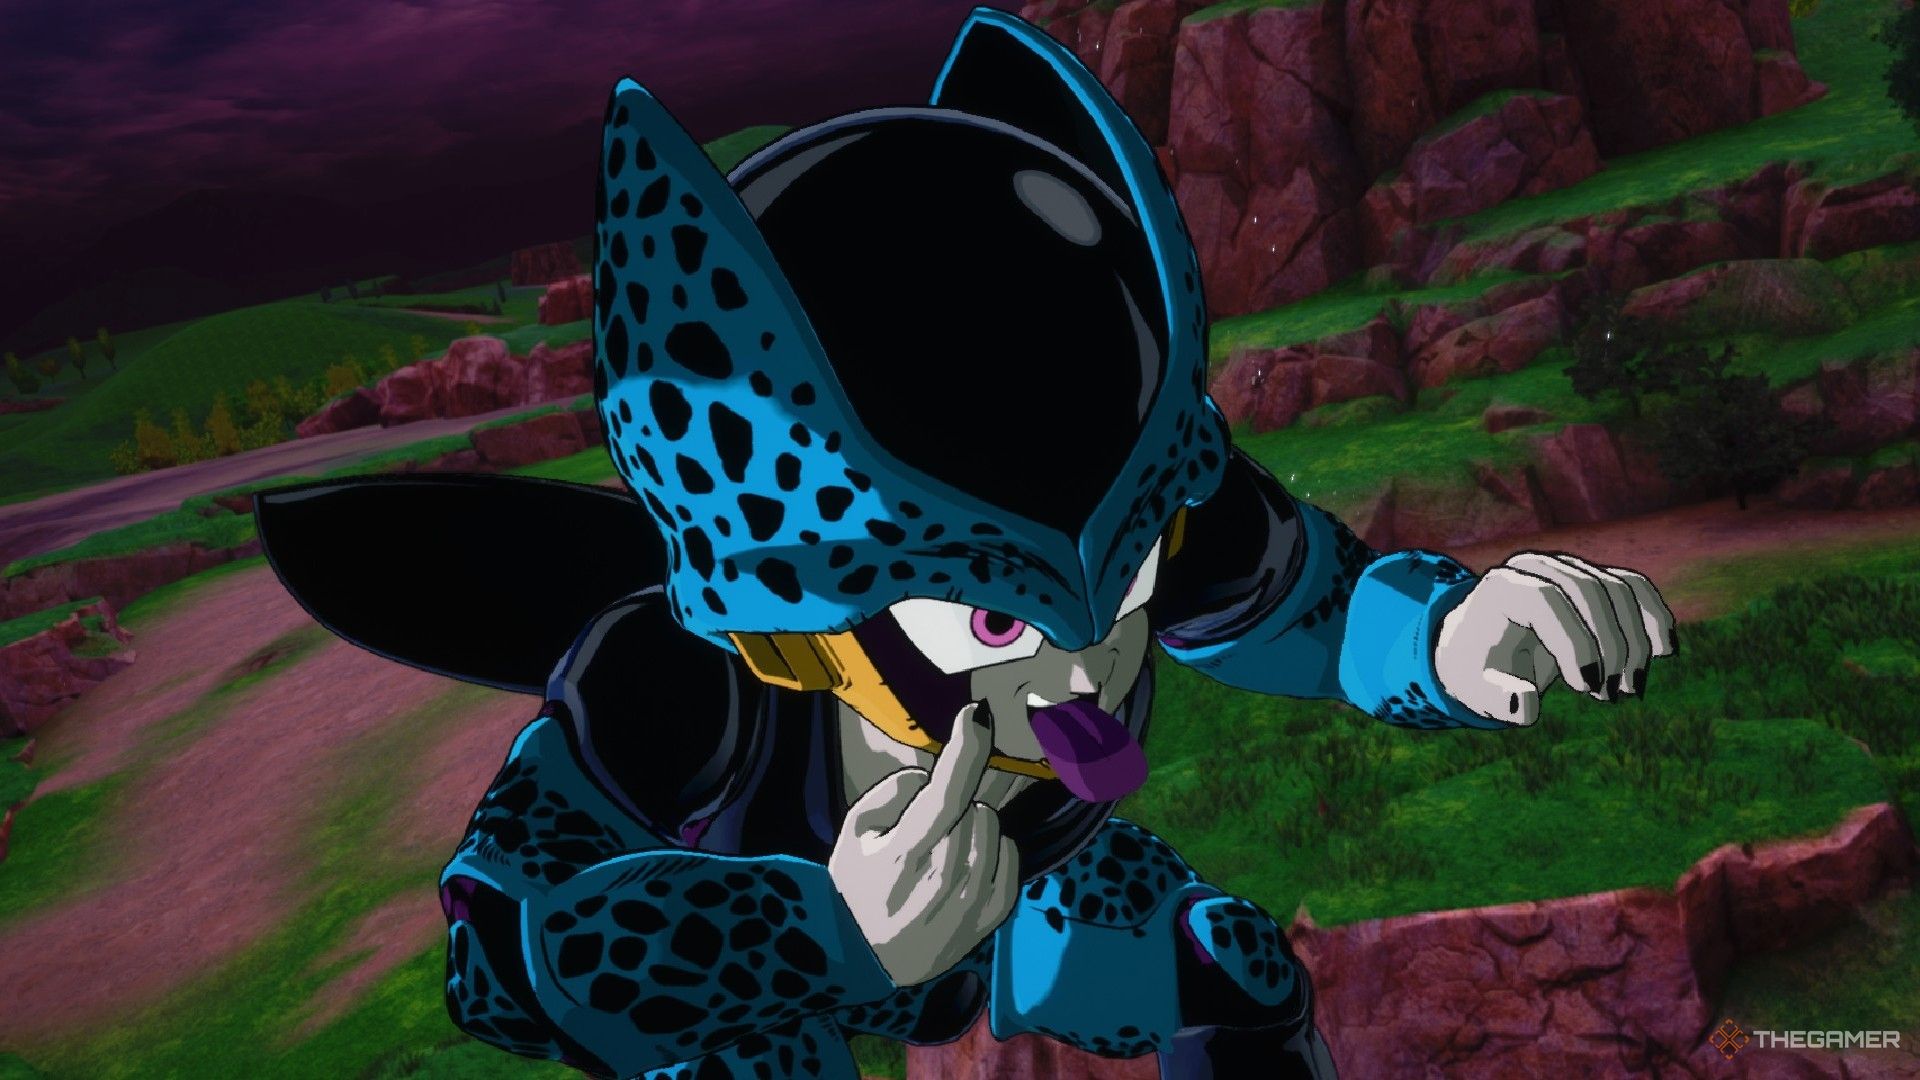
Cell Jr.
Moveset for Cell Jr.
| Move Name | Input | Cost | Effect |
|---|---|---|---|
| Solar Flare | R2/RT + Up on the D-Pad | 2 Skill Count | Blinds opponent. |
| Explosive Wave | R2/RT + Left on the D-Pad | 2 Skill Count | Sends out a wave pushing enemies back. |
| Special Beam Cannon | R2/RT + Square/X | 3 Ki Bars | Fires a beam super causing significant damage. |
| Innocence Rush | R2/RT + Triangle/Y | 3 Ki Bars | Rush attack dealing heavy damage. |
| Super Kamehameha | R2/RT + Circle/B (Sparking) | Full Ki Bar | Ultimate beam attack with high damage. |
Strategy in Versus and Online Matches
Cell Jr. is most effective in DP Battle mode, where he offers cost-effective options for team setups. Priced at only three DP, he provides more health than most low-cost characters, allowing for diverse strategies.
You can also select Cell Jr. multiple times in your team composition if you are skilled with the character. He features robust skills like Solar Flare and Explosive Wave; however, be cautious with the input for Explosive Wave, as it can confuse players accustomed to other characters’ controls.
Cell’s transformations provide a range of strategies to employ. Understanding their strengths and weaknesses will allow you to maximize your effectiveness in Dragon Ball: Sparking Zero.