Select Language:
Quick Links
While Baramos’ Lair may have felt like the ultimate challenge in Dragon Quest 3 Remake, Zoma’s Citadel is the real final destination. This is where you face Zoma directly, along with his formidable minions. Prepare for a tough battle.
Zoma’s Citadel isn’t the longest dungeon in the game, but it is full of tough foes and even tougher treasures. By now, your Hero should be well-equipped, but the items here will certainly help when battling the enemies on your way to Zoma.
How to Get to Zoma’s Citadel
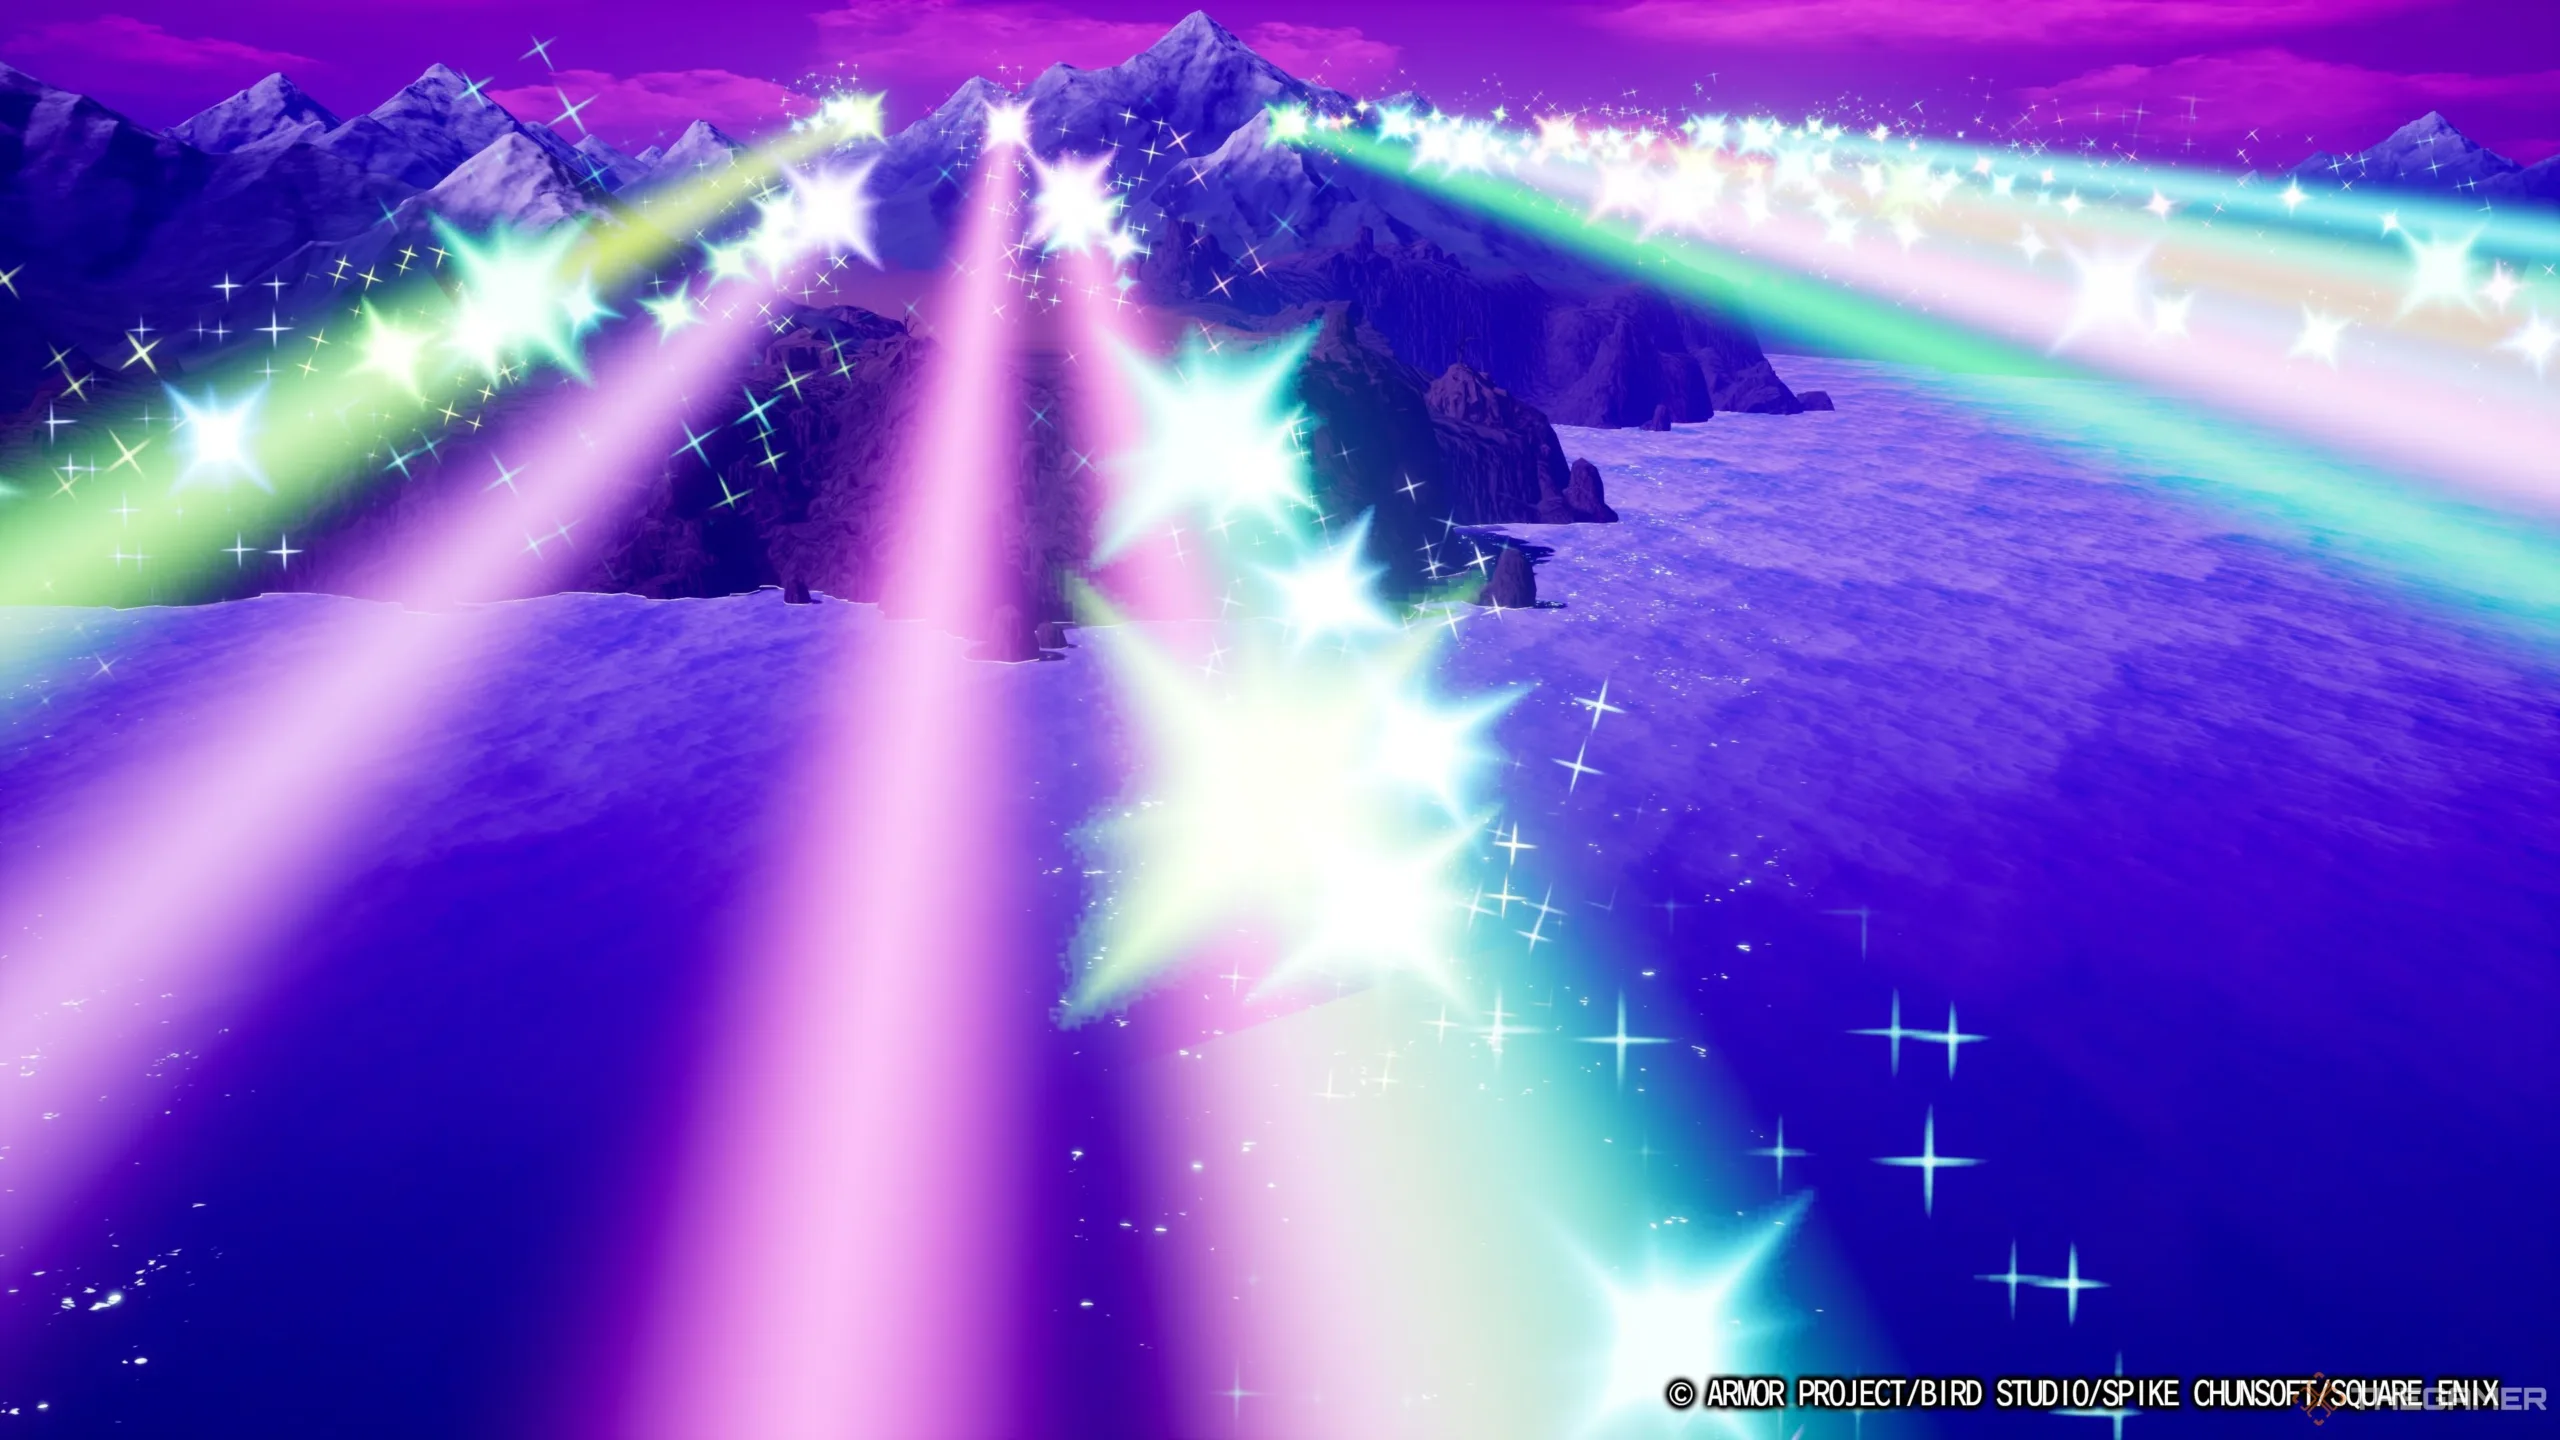
Your journey to Zoma’s Citadel is a significant challenge in Alefgard. When you reach Tantegel, you’ll spot Zoma’s Citadel shrouded in purple fog in the distance. While the island is nearby, surrounded by tall mountains and hills, you won’t be able to reach it by sea.
You need to obtain the Rainbow Drop. To get it, you must first gather the Sunstone from Tantegel, the Staff of Rain from the Shrine of Spirits, and the Sacred Amulet from the Tower of Rubiss. Once you have all these items, bring them to the Sanctum on an island to the southeast, and you will receive the Rainbow Drop.
Afterward, head to the location assigned by the priest, which is the peninsula north of Cantlin. There, the Rainbow Drop will create a bridge for you.
Exploring Zoma’s Citadel
Upon entering Zoma’s Citadel, you’ll encounter numerous long hallways and deceptive passages that are designed to lead you into battles with enemies. From the entrance, choose either the left or right corridor and continue down the inner corridor to the south until you reach the central chamber. The side paths only lead to a looping staircase on the lower floor.
When you enter the central chamber, prepare for combat against a group of Living Statues. They aren’t much different from others you have faced, so use your usual strategies. Keep in mind that they will appear in waves, continuing until you defeat the entire group.
After taking down the Living Statues, proceed to the northern room. If you have the Safe Passage spell, cast it to walk safely over the electrified flooring and interact with the throne to move it. Then, take the newly revealed stairs down to floor B1, which features a winding staircase.
At the bottom of these stairs, you’ll arrive on floor B2. Ignore the stairs to your right and go into the north room instead. This room has colored tiles like those in the Tower of Rubiss, which will twist your controls. Walking with the D-pad is safer here.
The two side passages contain treasures, but our goal is the north side. Descend the stairs to floor B3. This room is straightforward, with only one exit in the top-right corner, but expect to face many enemies as you prepare to heal yourself.
Upon descending to floor B4, you will finally meet Ortega, the Hero’s long-lost father. After a heartfelt moment, head north. This area may look complicated, but simply navigate it in a clockwise direction to find the next staircase.
This staircase leads to the Altar of Sacrifice. There’s a Teleportal to heal and rest at an inn before you continue your approach, as this is the ultimate confrontation that awaits you. Make sure you’re as ready as possible.
Every Optional Item
Getting to Zoma isn’t the toughest aspect of this dungeon; the real challenge lies in surviving while you collect all the valuable treasures. There are some excellent items here, including one that is particularly valuable for the final battle—so be sure not to overlook them.
Here’s a rundown of where to find each item:
There are many great items within this dungeon, but the Sage’s Stone stands out as the most unique and powerful. This item can restore health to your entire party infinitely during battles, akin to Multiheal. It’s especially invaluable for groups lacking two healers.