Select Language:
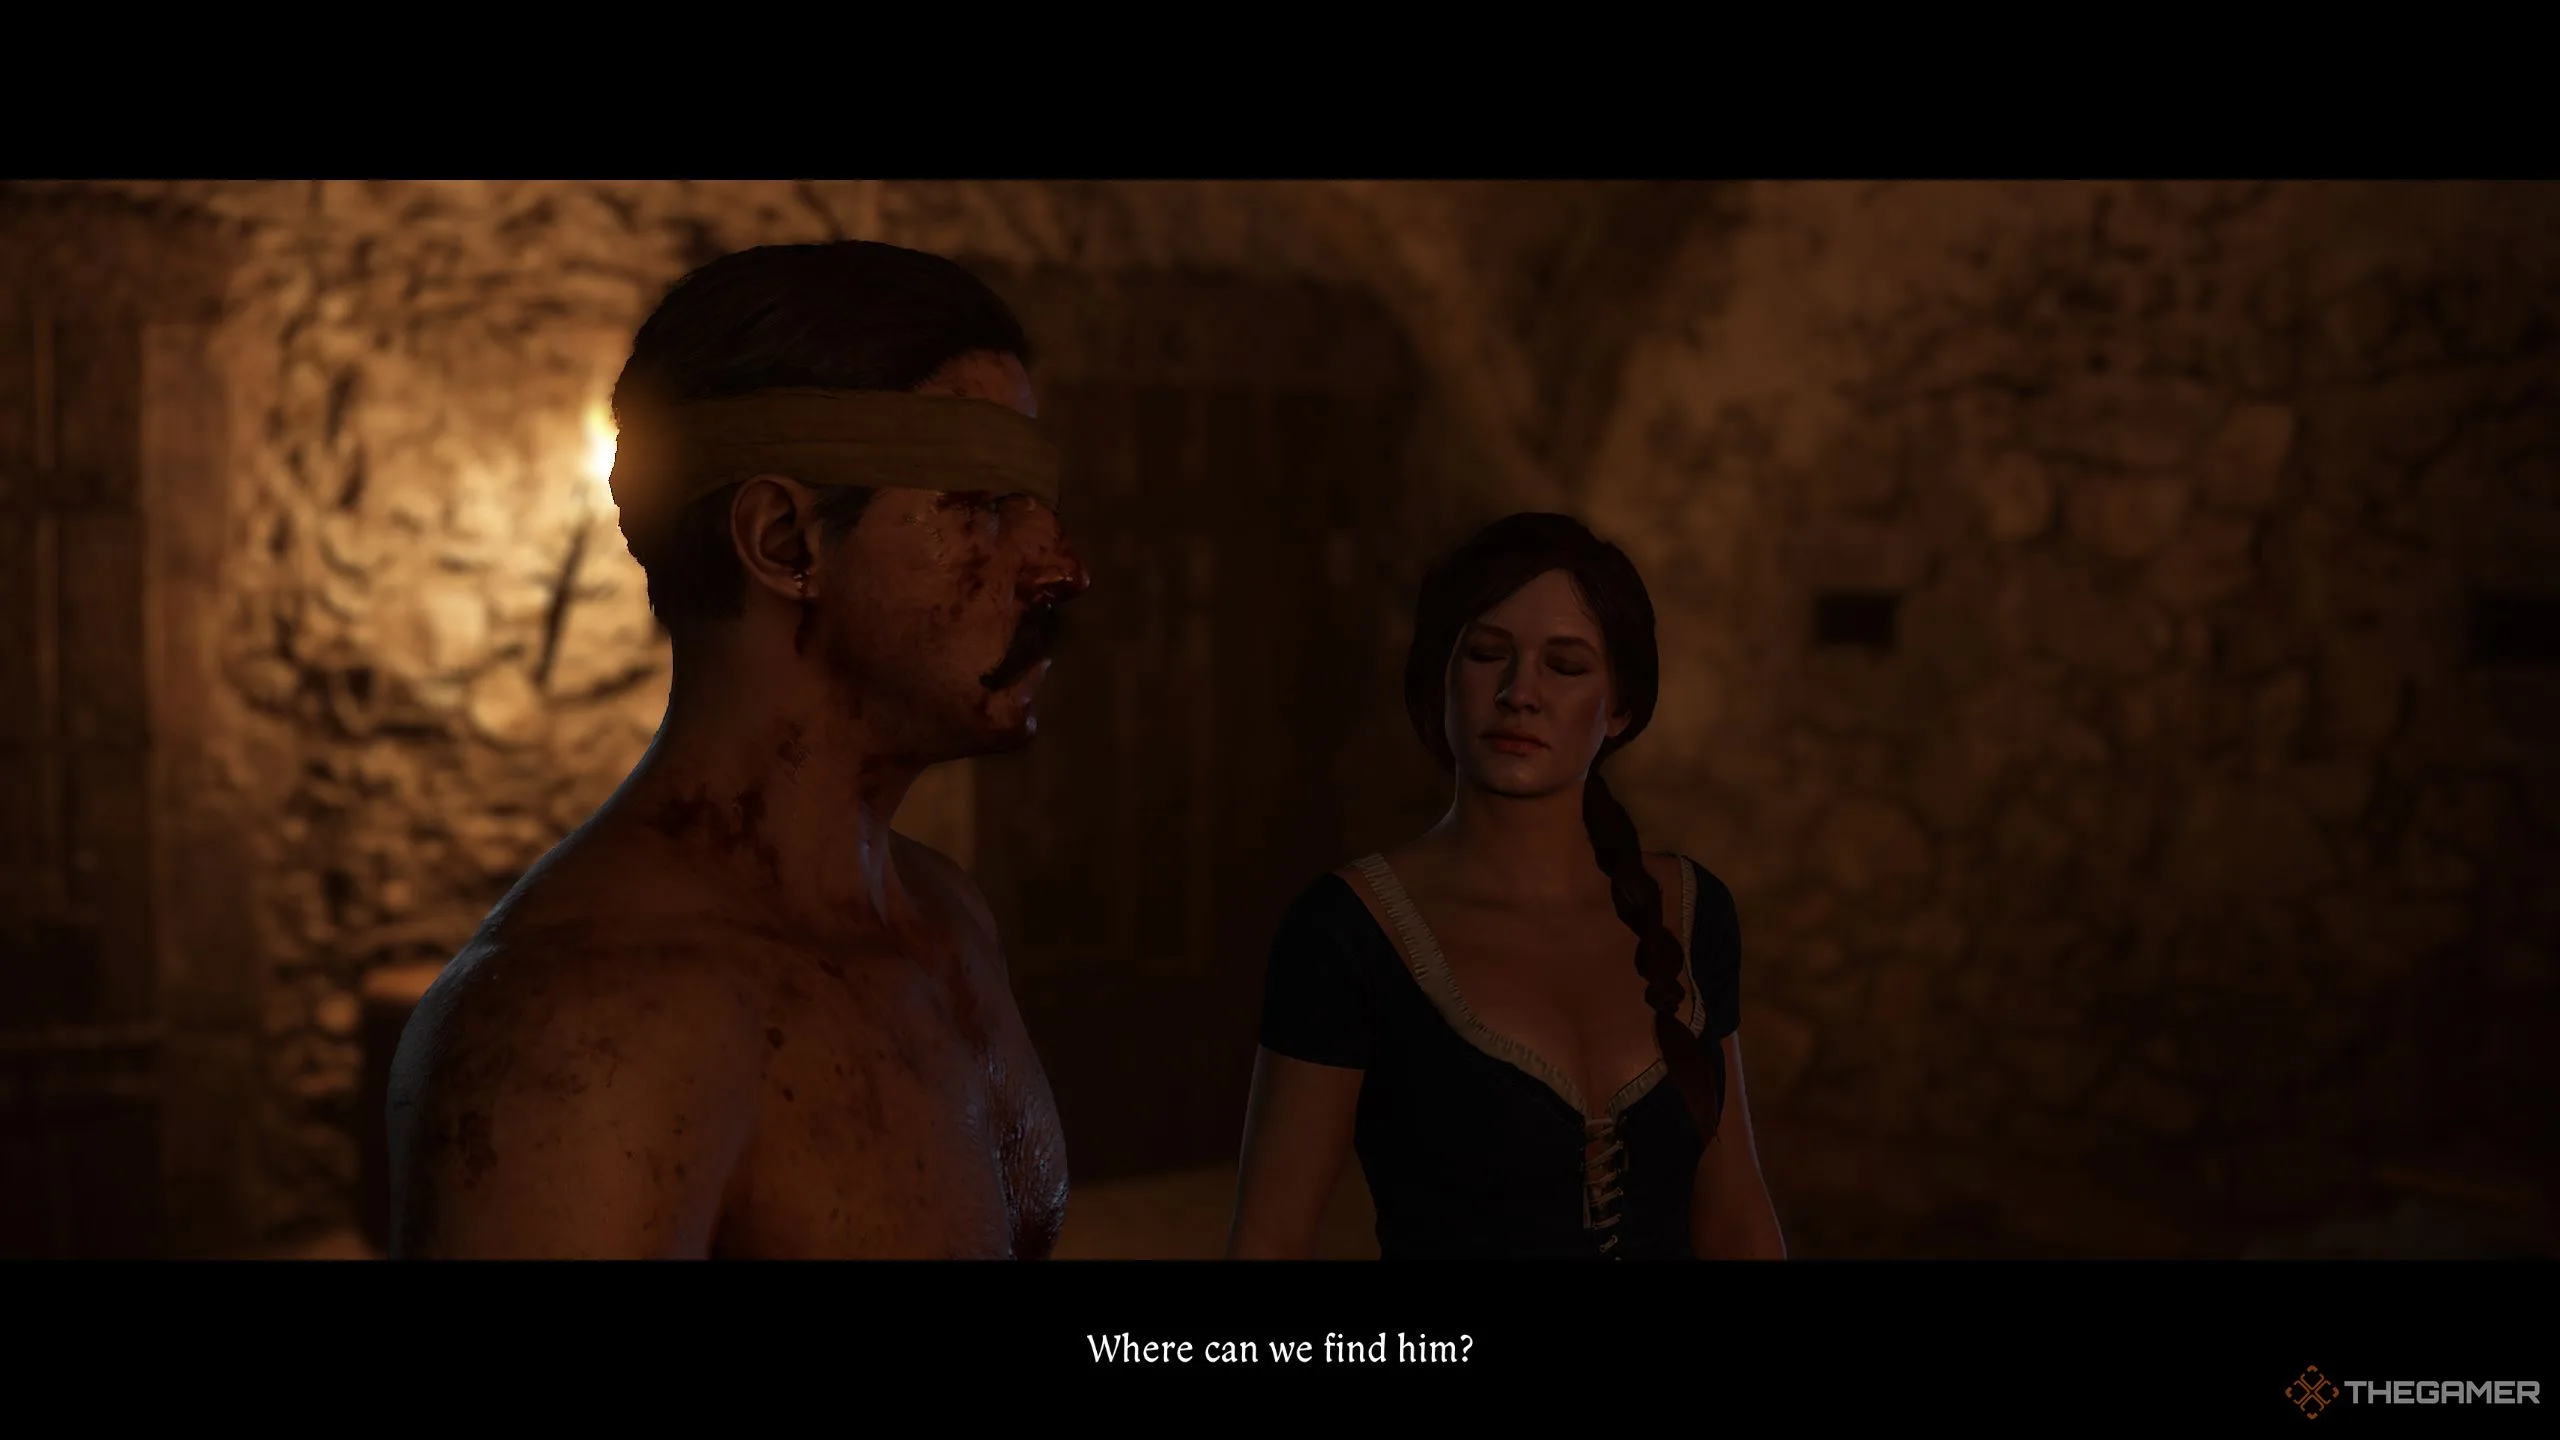
Henry finally confronts Istvan Toth in Kingdom Come: Deliverance 2 during the Divine Messenger Quest, and his urge for retribution ignites. However, following the defeat in battle, Zizka, Henry, and Godwin find themselves imprisoned in the torture chamber. During their interrogation, Godwin reveals crucial information to the enemy, leading them to underestimate Henry, which ultimately proves to be their biggest error.
An unexpected twist arises when someone you know comes to your aid. Afterward, the situation becomes increasingly complex, requiring a strategic approach. Below, we’ll detail how to successfully complete the Storm quest.
How to Reach the Scribe’s Chamber
The first thing you need to do in this mission is head to the Scribe’s chamber to locate the orders. Keep in mind that Istvan Toth is nearby, which means Henry is on the verge of getting his revenge.
Once Katherine assists you, don’t forget to request weapons; she’ll provide you with her dagger, which will be very useful. Be sure to loot the guard she dispatches for additional gear. Next, go through the door on your left and climb up; this leads to the kitchen.
Tip: Several guards occupy the wooden platform, so it’s wise to eliminate them quietly with the dagger by sneaking up from behind while crouching.
Continue moving up and crouch if you hear voices to avoid being detected. After going up the stairs from the kitchen, go straight, and you may encounter an NPC. Ensure the dagger is ready so you can perform a stealth kill on the guard. Afterward, head left up the staircase again. It’s dark, so use the torch you acquired from the fallen guard.
Use the torch to find the gate and pass through it. Proceed straight through another door, take a right, then go straight and left. Soon, you’ll trigger a cutscene featuring Istvan Toth. Once the scene is done, go left and continue straight, then take a right, entering the next room.
How to Kill Istvan Toth
After searching Scribe’s Chambers, make your way up the stairs until you reach a red door. Open it, turn left, and go up. A cutscene will unfold here. Once it’s finished, Istvan Toth will challenge Henry to a fair fight.
You have three choices: take him out dishonorably, agree to a duel, or ask him questions. If you want to clear up any misunderstandings, feel free to ask questions, but the most effective choice is to opt for dishonorable methods, where Henry stabs him twice and throws him out the window.
Warning: If you choose to engage him in a fair fight, be cautious; Henry has just been tortured, while Istvan is well-equipped.
After finishing off Istvan Toth, you can finally reclaim Henry’s father’s sword. Ascend the stairs, take a U-turn, and you’ll find a chest with all your previously confiscated items, including the castle keys.
Though you need to search the room for the orders, you won’t find them either. After rummaging through, the quest updates, directing you to Von Bergow’s chambers to seek the orders.
How to Reach Von Bergow’s Chambers
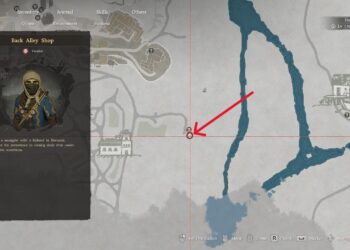
Now, return to the wooden platform and proceed to the other building based on your coordinates. The journey should be straightforward, especially if you’ve already taken down the guards.
Upon entering through the wooden platform, head straight until you come across a staircase. Ascend to find Godwin attempting to enter Von Bergow’s Chambers. Speak to him, then use your keys to unlock the door.
Inside, there’s another door ahead for you to open as you search for orders. Take your time to loot whatever interests you, as Godwin will eventually locate the orders. Following this, talk to him and follow him to the underground tunnel.
Escape Through the Underground Tunnel
After unlocking the door, follow the group until you reach the exit. You’ll discover that Von Bergow’s soldiers have surrounded the area. Since Zizka is unable to escape due to his condition, your new task is to locate Mika and return with the cart.
This segment of the quest is quite challenging, as you need to reach Mika without being seen. The best strategy is to crouch and move to the right side, continuing straight while shadowing the guard ahead. When he halts, that’s your cue to veer slightly right on the path.
Tip: Avoid being seen at all costs. If a soldier spots you, it will raise alarms and make your mission exceedingly difficult. Stealth is crucial here.
Follow the coordinates until you’re at a dead end, then go left to find Mika. However, a guard has captured him, so stay crouched and sneak up to quietly eliminate the guard.
Free Mika, chat with him, and he’ll guide you to his companions. To reach them, head south while remaining concealed. Soon, you’ll spot a soldier near a tree, so take him out silently.
Move south, but be cautious of the guards patrolling the area. Wait for them to pass before making your way to the broken cart, then ascend the hill leading south. You may encounter another soldier, but there’s no need to engage him — instead, take the right path and head downward. If a guard approaches from the left, duck into the bushes on your right until he passes.
From there, simply follow the coordinates. There will be guards patrolling the area, so continue to avoid them. Eventually, you can sprint towards your destination, as approaching the area will trigger a cutscene, concluding the quest.
This guide provides a step-by-step for completing the crucial moments in the quest while emphasizing stealth and strategic choices. Enjoy your journey through Kingdom Come: Deliverance 2!