Select Language:
Missing many hidden secrets and locations in Crimson Desert is common if you’re not thoroughly exploring the game’s vast open world. There are hidden caves behind waterfalls and puzzle islands high in the sky, and venturing off the main path is definitely worth the effort.
One notable spot worth visiting is the Spire of Insight. This tower contains the recipe to craft a Gold Bar and also serves as a portal to more puzzle islands in the Abyss. Here’s where to find the spire and how to solve each puzzle on every floor of the tower.
Location of the Spire of Insight
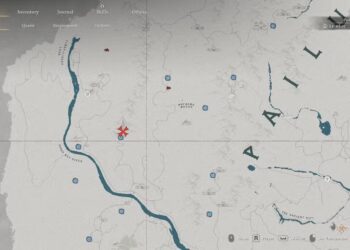
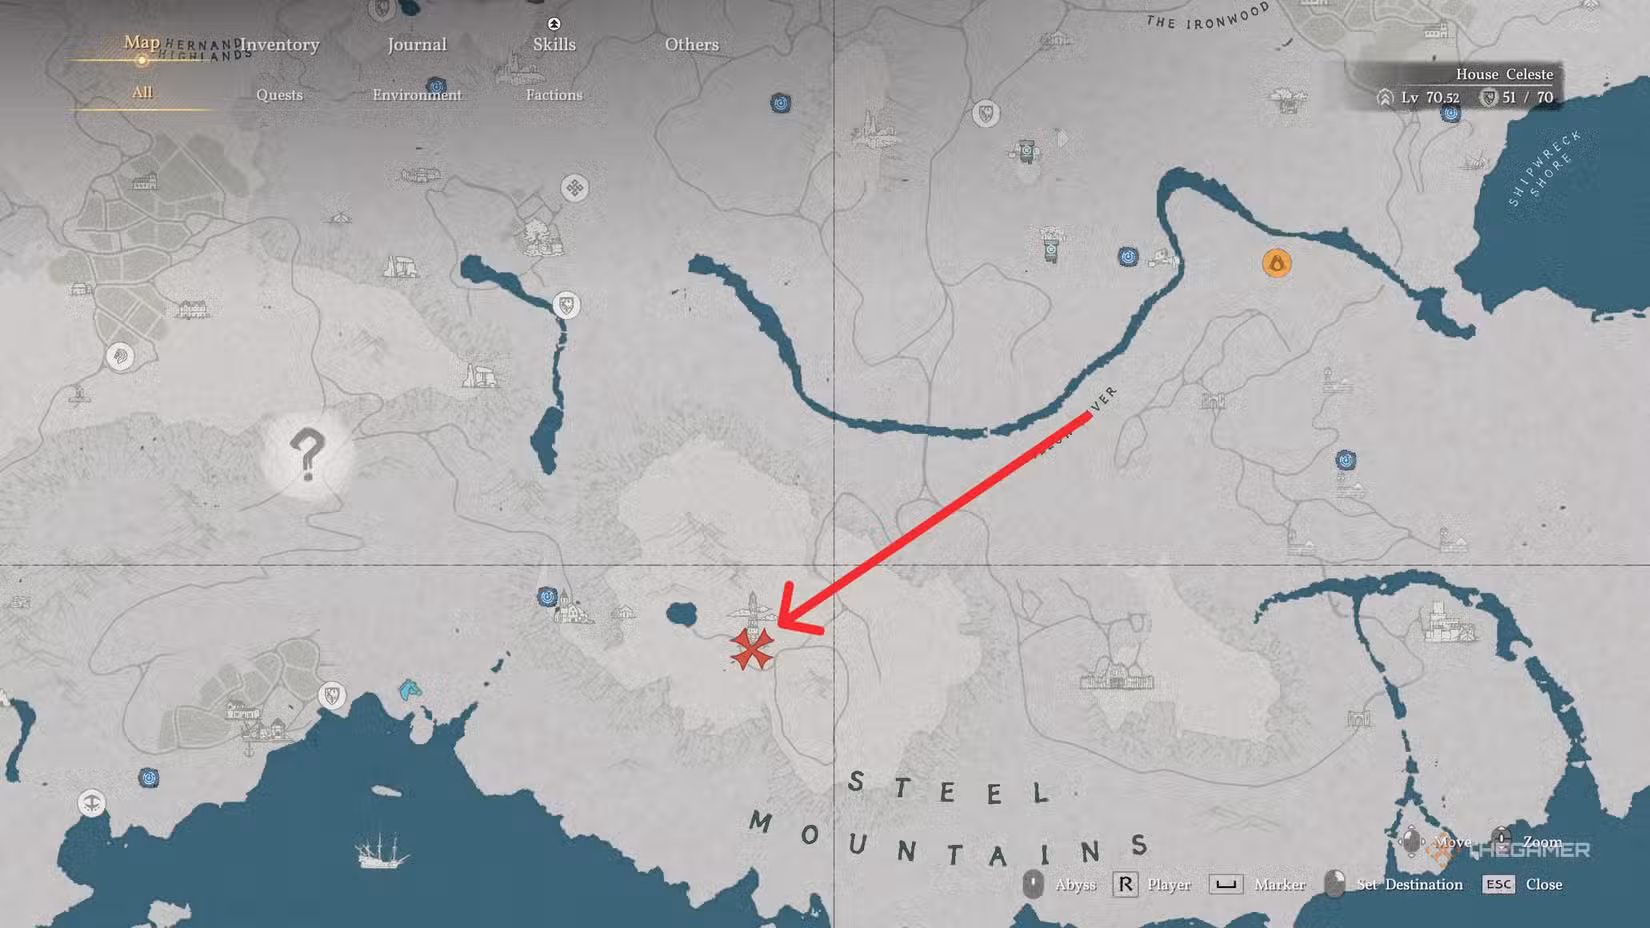
To locate the Spire of Insight, travel southeast of Hernand toward the Steel Mountains. The tower is directly east of a small lake and is quite large, making it easy to spot. Be aware that goblin zealots patrol the area. While they can be handled individually, they tend to rely on numbers to overpower you. Luckily, you can reach and complete this tower early in your gameplay, so there’s no need to delay.
How to Enter the Spire of Insight
First, eliminate any goblins patrolling around, then clear the thorn bushes that block the stairs leading to the entrance. If you haven’t unlocked the Flame element, use your Blinding Flash ability by pressing both bumpers. Hold the Left Bumper while doing so to direct the sunlight beam onto the thorns, setting them ablaze after a few moments.
Once you have a clear path, you’ll see a locked door with a plaque and a basin attached. The plaque presents a simple riddle. The solution is easy: find a small pebble on the stairs, pick it up, and toss it into the basin. This will answer the riddle, and the door will unlock after a few seconds.
First Floor Puzzle
Enter the tower; you’ll find yourself in a small library with bookshelves on both sides and an open book resting over a golden bowl at the back center. Reading the book gives you a riddle:
“Even after many years have passed, the traces left behind revive forgotten tales.”
To solve this, locate a Gravestone item on the table in the back right of the room. Toss it into the golden bowl to activate it. Stand next to the bowl to ride the elevator to the second floor.
Tip: Take some time to open storage boxes in this area. They contain keys, money, and jewelry that can be sold.
Second Floor Puzzle
Once on the second floor, the book will turn its pages, revealing a new riddle:
“Records filled with wisdom guide us to the past, while tools that look to distant places illuminate the future.”
Again, you’ll need to toss items into the bowl. The required objects are a Pen Tip and a small Telescope. The Pen Tip can be found in the small room next to the gold bowl, on a desk by the window. The Telescope is on a desk to the right of that room. Bring both items to the bowl and toss them in to activate the elevator to the third floor.
Third Floor Puzzle
On the third floor, you’ll get another riddle:
“The dance of the heavens, the turning of the Earth, and the march of time all point to a single truth.”
This time, find three specific items: a Small Rotating Globe, a Sundial, and a Celestial object. The Globe and Sundial are on nearby shelves, while the Celestial is on top of a stack of books between these shelves. Toss all three into the bowl to solve the puzzle.
Final Step and Rewards
After completing all three puzzles, the room will have a portal at the top that leads to the Abyss. Riding it takes you to the Chaos Garden island, unlocking access to new Abyss puzzles and content.
Before leaving, it’s worth grabbing the alchemy recipe for Gold Bars pinned to a nearby bookcase, along with the “Two-Handed Weapons of the World: Volume III” on the bottom shelf. Reading this book unlocks more weapon crafting options at the smithy. Completing the tower also grants access to a portal to the Abyss, opening additional adventures on the Chaos Garden island.