Select Language:
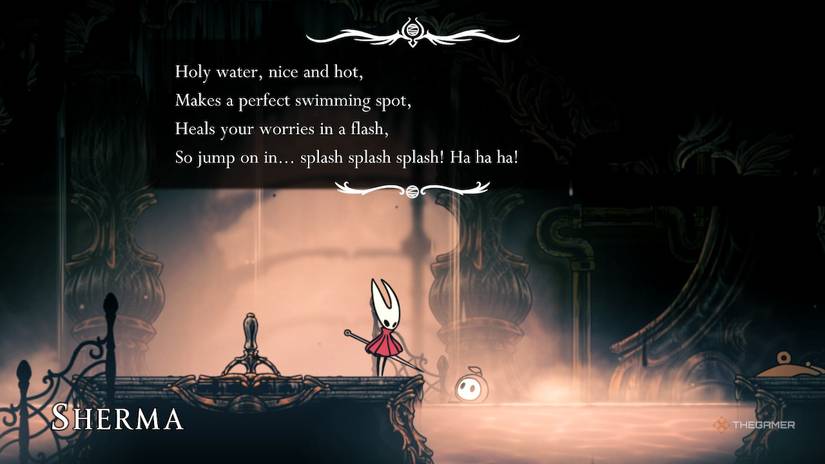
Sherma is the most precious and beloved character in Hollow Knight: Silksong. His safety is our top priority, and when he is threatened, we ride out at dawn.
This time, Sherma has gone on a bit of an adventure into the Whiteward to find balms and bandages for wounded pilgrims of the Songclave. Although his cause is noble, Pharloom’s shadows are not a place for someone as pure as him. It is our responsibility to protect him at all costs.
How to Start Balms for the Wounded
Before you can begin the Balms for the Wounded quest, you need to complete two key steps so Sherma will appear at the Songclave:
- Open the shortcut gate at Bone Bottom called The Marrow connection.
- Defeat the Last Judge and open the Grand Gate in the Blasted Steps.
Important: If you haven’t done both, Sherma won’t be able to progress further into Pharloom.
Meeting Sherma in Various Locations
Along your journey, you may find Sherma at several spots. These aren’t necessarily required to advance his story, but it might be helpful to find him in these places:
- In front of the Bell Beast (while it’s trapped)
- Pilgrim’s Rest
- Bellhart
- Bench at the Blasted Steps
- Citadel Spa
Note: Sherma appears at the Citadel Spa after the Songclave bell rings. He may wait until the Cogwork Dancers are defeated; if he doesn’t show up, try defeating them.
Entering Whiteward
To reach Whiteward for the first time, start at the Grand Bellway station. Enter the chamber on the left, take the second exit from the bottom left, and go through the long corridor into the far room. The Whiteward entrance is marked by an upside-down spear sign on the bottom right. Inside, use your key to unlock the elevator to access this area.
Once inside, take the elevator down to the bottom. Travel left past the key slot, jumping onto platforms to reach a narrow upper tunnel. Ascend as far as possible, navigating through steam vents, then jump up and to the right, avoiding circling fans.
Tip: There’s a rare Spool Fragment under the elevator shaft. Climb up, hit the lever at the top, and fall to the middle side paths before the elevator arrives to retrieve it.
Progressing Through Whiteward
Eventually, you’ll reach a dead end with a lever. Pulling it opens a new path below. Drop into this room and destroy false walls along your route to the right. Pass the elevator shaft, destroy a grate, and fall down to find the Whiteward Map for sale—costs 70 Rosaries—but your goal is further right.
Following Sherma’s trail from the map area, head past enemies and climb onto a platform to reach the room above. Then, cross spikes and enter a building with bells at the entrance.
Saving Sherma
Inside Sherma’s hideout, locate him at the back of the building. He is hiding behind a false wall, which you must destroy to reveal his room. Talk to him, but beware: morticians and surgeons will appear afterward. You need to defeat them all to rescue Sherma. Strategies include:
- Using traps like Tacks and Sting Shards (preferably with Pollip Pouch)
- Employing Cross Stitch to punish over-aggressive morticians
- Listening carefully for unseen movements
- Staying mobile to avoid being surrounded
- Prioritizing morticians over surgeons
Tip: Use Cling Grip to climb the walls and heal if surrounded.
After defeating all enemies, speak to Sherma again. He will reward you with a Spool Fragment. He will then return to the Songclave on his own; you don’t need to escort him. He’ll stay safe at Songclave with new dialogue about the bandages, and his story concludes for now.
Finding the White Key in Whiteward
On the right side of the Songclave, the White Key can be found against the metal fence on the ground. Pick it up, as it’s essential for entering the area to save Sherma.
Note: If the key isn’t there, it’s possible that story progression has blocked access. Sometimes the key may be purchased from merchant Jubilana at Songclave, who must be unlocked via her Wish quest first.
Tracking Sherma’s Trail
Start from the Whiteward map dispenser and follow his trail right through various hazards, past enemies, and up into the building with bells at its entrance. Continue over spikes, ascend to the room above, and then head left over the spikes to find the building with bells.
This is as far as the current quest details go. Protecting Sherma involves navigating treacherous areas, defeating enemies, and gathering the necessary items to aid him.