Select Language:
The Lost Within quest for the Lost Harvest DLC in Dune: Awakening can be tough. Unlike other missions from the DLC, this one requires more effort. You need to locate and rescue three crew members trapped in a shipwreck called the Mithra.
The problem with this quest is that the Mithra isn’t as easy to navigate as other ships on Arrakis. Plus, you’ll have to do some backtracking, which might make the task more challenging. Finishing the Lost Within mission is important if you’re aiming to complete everything in the DLC.
How to start the Lost Within quest
This mission is part of the Fall of the Mithra quest chain. Since it’s included in the DLC, you need to purchase either the season pass or the DLC itself to access it. Once you have it, the mission will automatically start when you launch the game.
If the quest doesn’t show up, even if you own the DLC, make sure you’ve finished the Moving On mission first.
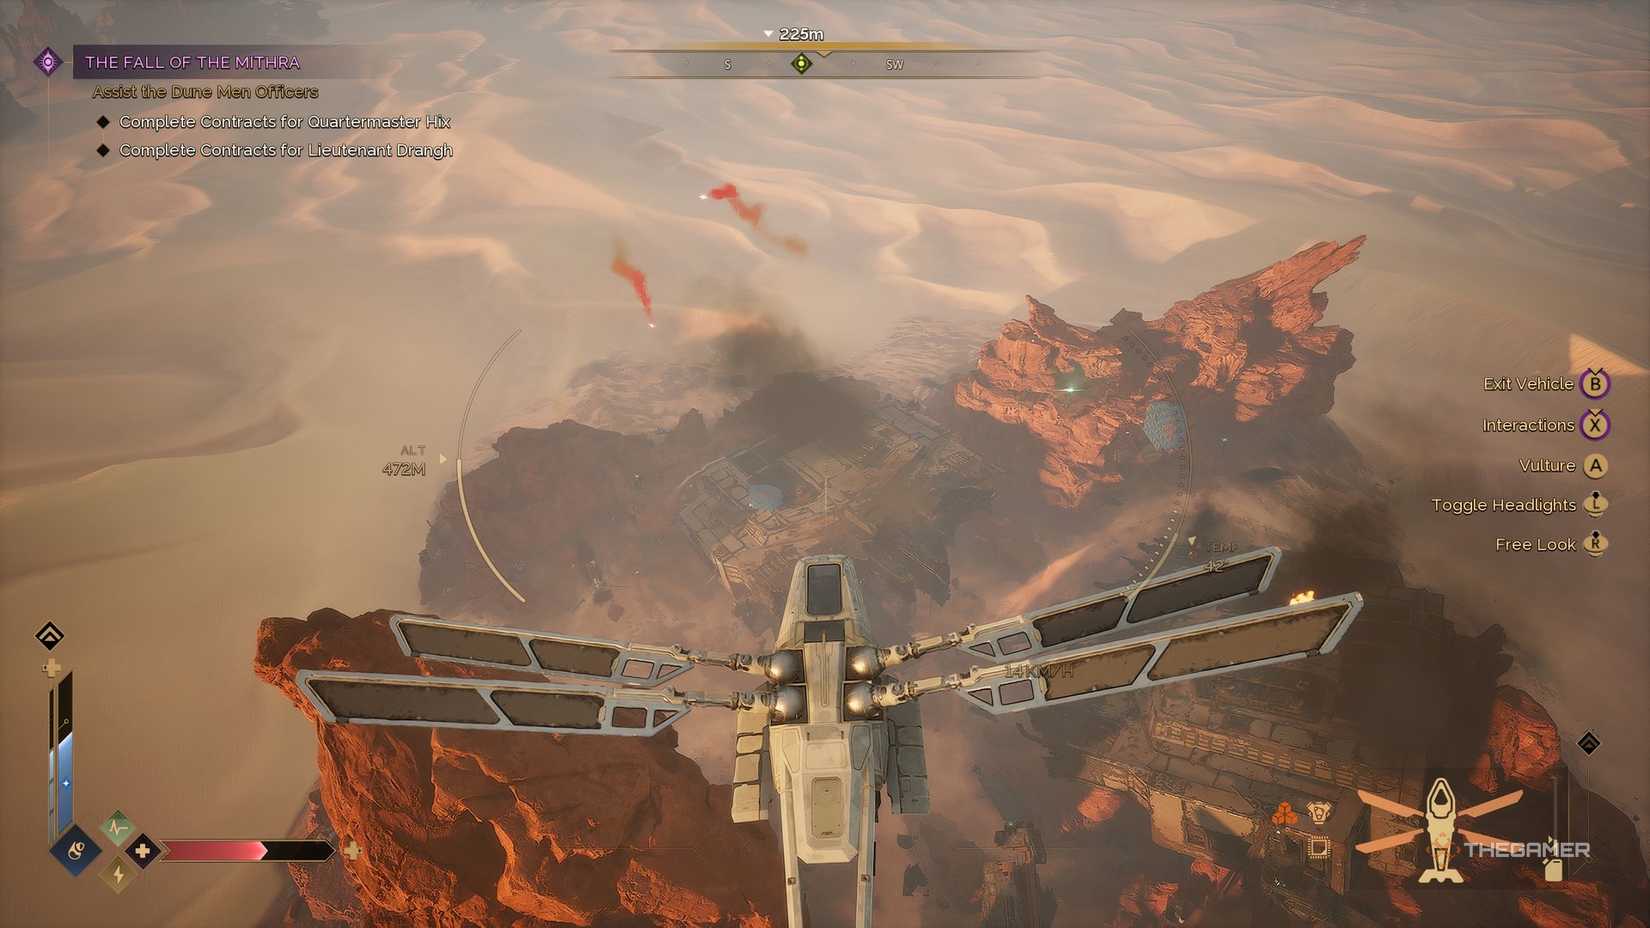
For this mission, you’ll be asked to investigate a distress call. This is located northwest of Griffin’s Reach Tradepost. When you arrive, you’ll see the Mithra shipwreck between some rocky formations. The wreck has two parts.
By following the compass at the top of your screen, you’ll be led to a burrow underneath the Mithra. This will take you to a small camp of survivors. Lieutenant Drangh will be there, in the back of the camp.
Talking to Drangh, she will ask you to find some nearby items. The task is straightforward: go to a few specific locations, fight a couple of enemies, and gather resources. After collecting everything and returning the items to Drangh, two more NPCs will become available: Quartermaster Hix and Chief Hanso. For now, you’ll need to talk to Chief Hanso.
This is the last contract offered by Chief Hanso. You first need to find tags of fallen crew members nearby, then investigate their communication device. Once you do that, the Lost Within quest will open up again when you return to Hanso. You must locate three survivors to finish the quest chain.
How to complete the Lost Within quest
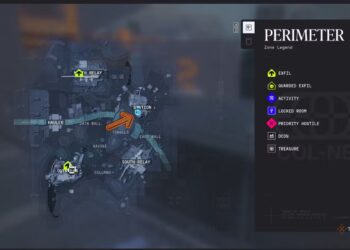
Inside the Mithra, you’ll start in a short hallway that turns right at the end. Head out into a large room. In the center, there’s a pathway leading over a big obstacle. Follow the path to reach the other side.
Proceed up the pathway to a different area. On the opposite side, you’ll find an entrance to another hallway. Walk straight ahead to a small nook with crates in front. The first survivor is sitting in that area. When you talk to him, he will eventually leave the ship.
Help him, then grab the ID band from his left wrist. Moving on, turn around and go back to the main room. Instead of heading forward, immediately turn left and go down towards the wall on the far side.
At the wall, there’s a climbable ledge on the left. Climb up, and you’ll find a door with a pentashield. Using the second ID band, you can pass through this shield to reach the next area.
In this new room, move to the back corner on the northwest side. The second survivor will be sitting next to some crates. Talk to him and take the second ID band afterward.
For the final survivor, return to the area where the first crew member was. Look left of that nook, past the first survivor’s spot. There’s another hallway there.
Head down that hallway, then turn right once you reach the other side. You’ll see a door protected by another pentashield. Use the second ID band to get through.
Behind this door, go to the room’s back. The third survivor will be lying on a crate. Talk to him to complete that part of the quest.
Once you’ve spoken to all three survivors, you can exit the Mithra using the same entry method. After you leave, return to Chief Hanso to fully finish the quest.