Select Language:
Transferring your data from Nintendo Switch 1 to Switch 2 is a smart move if you want to keep everything intact. It allows you to move your user accounts, game data, settings, saved progress, parental controls, and more to your new console. Essentially, it moves everything you’d want to transfer, making the switch seamless if you’re picking up where you left off. Here’s how to do it.
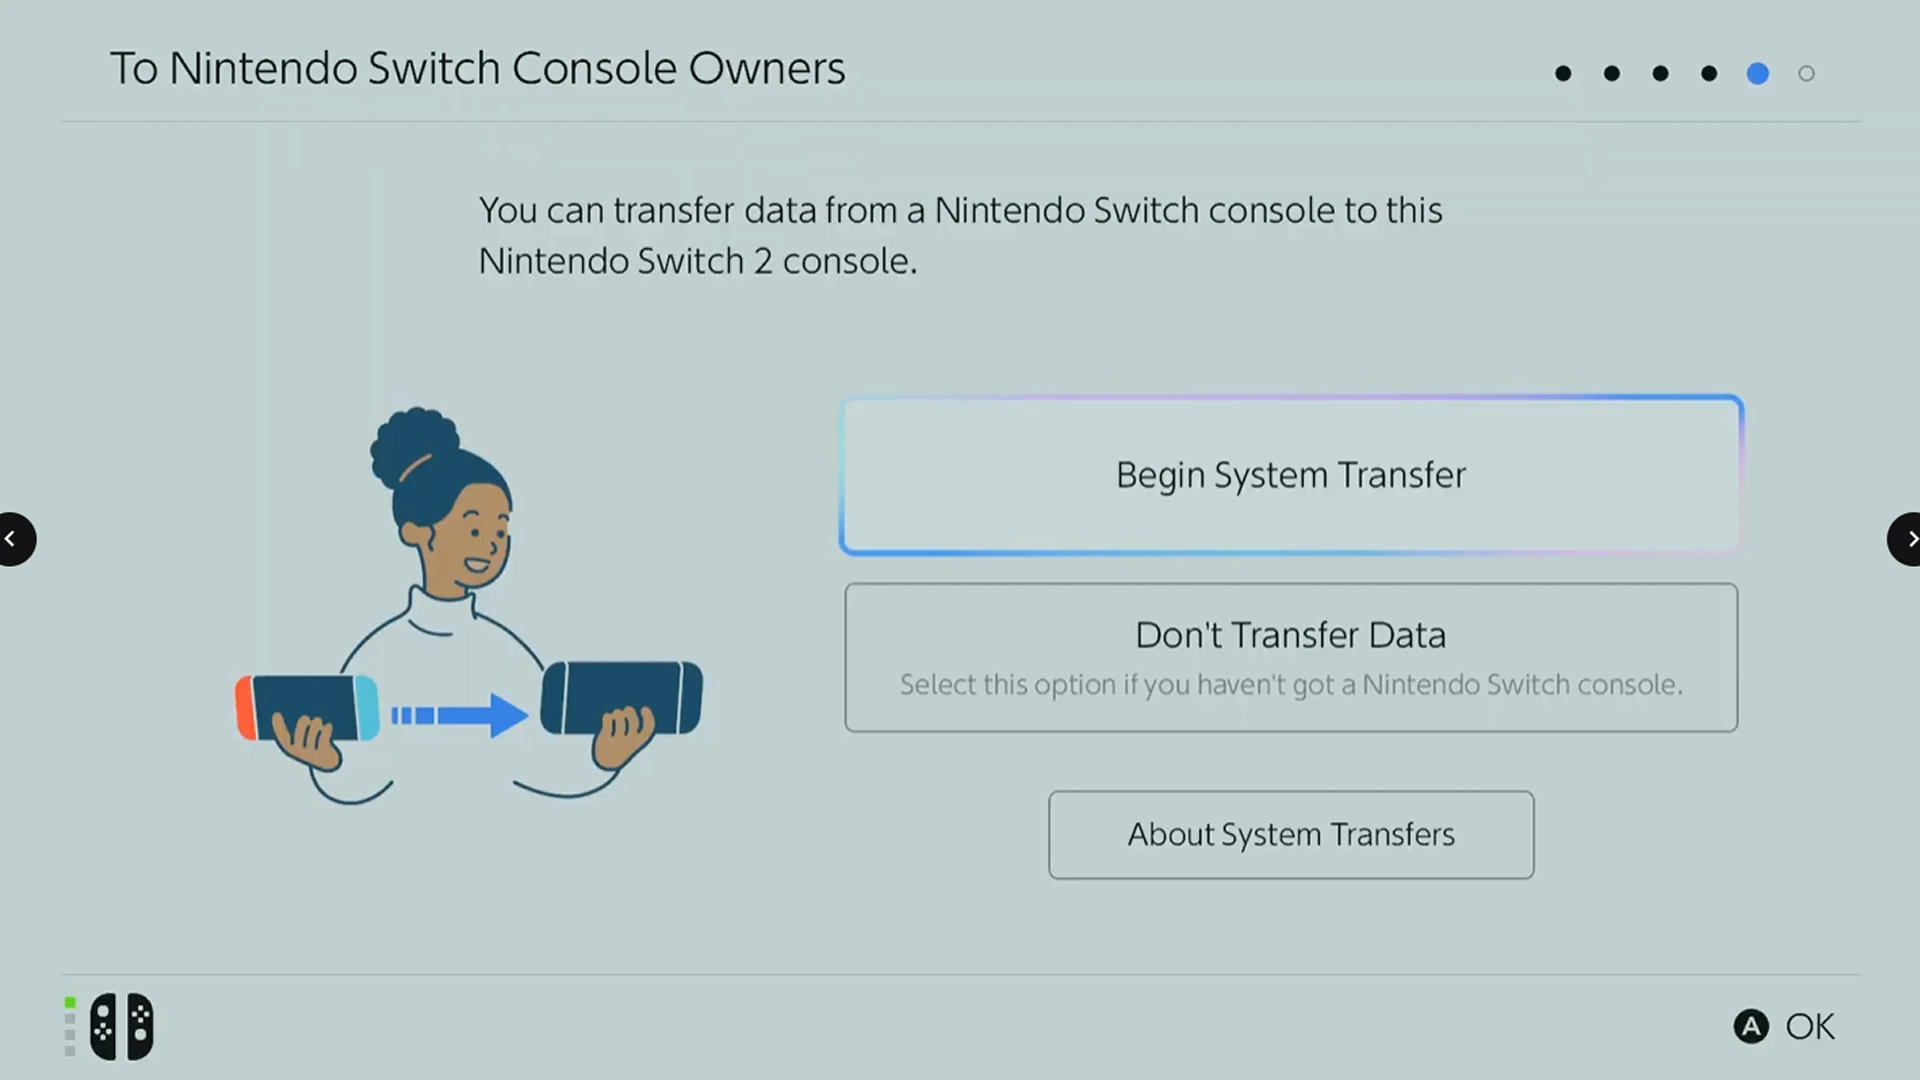
When you turn on your new Nintendo Switch 2 for the first time, you’ll be prompted during setup to transfer data from your old Switch. While it isn’t mandatory, I highly suggest doing it. If you choose to proceed, follow these steps:
1. Sign into your Nintendo Account by scanning the QR code shown on the Switch 2 with your phone and follow the instructions.
2. Place both your Switch 1 and Switch 2 close together so they can connect.
3. On your Switch 1, go to System Settings > System > System Transfer and follow the prompts until it searches for the new console.
4. Your Switch 2 will then display an option to “Start Receiving Data.” Select that, and keep both systems charged, connected to the internet, and close together until the transfer completes.
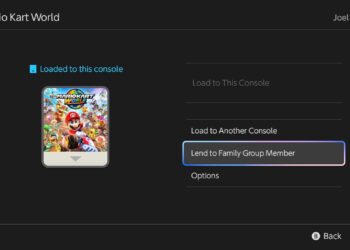
For more details, check out our Nintendo Switch 2 setup guide. If you’re wondering whether the transfer is worth it, note that this process covers moving:
– User profiles and accounts
– Purchased digital games
– Saved game data
– Screenshots and videos
– Certain system settings
– Parental controls
If you’ve already set up your Switch 2 and missed the transfer window, the options are limited. The only way to move your data afterward is to log into your old user account on the new console and manually re-download your games. This method is slower and won’t carry over settings, cloud saves, or media files. So, if the system transfer prompt appears during setup, it’s best to do it right then and there for a smoother experience.