Select Language:
Where Winds Meet combines many types of games into one experience. It features boss fights similar to those in soulslike games, deflections like Sekiro, a large open-world, endless mini-games, intricate dungeons, engaging side quests, building your own structures, and MMO-style mechanics. There’s something for everyone to enjoy.
The game mostly manages to balance all these elements well, though sometimes it may push things a bit too far. Tian Ying is frequently mentioned by characters across the world, so when you finally face him, he’s expected to be a formidable opponent. But perhaps he turns out to be more intimidating than necessary.
Tian Ying’s Boss Fight Location
To find Tian Ying and face him, you need to do some preparation first. He is fought at the end of the Halo Peak Campaign and The Promised Light Jianghu Legacy in Qinghe, both of which should be completed together.
Start by collecting the Yin and Yang parts of the Buddha’s Light Jade. These are both found in Qinghe as part of other campaigns. The Yin piece is located in Bodhi Sea in northern Qinghe and is obtained after defeating Ye Wanshan at the end of that campaign. The Yang piece comes from completing the Palace of Annals Campaign in the south of Qinghe, which awards it after defeating Lucky Seventeen.
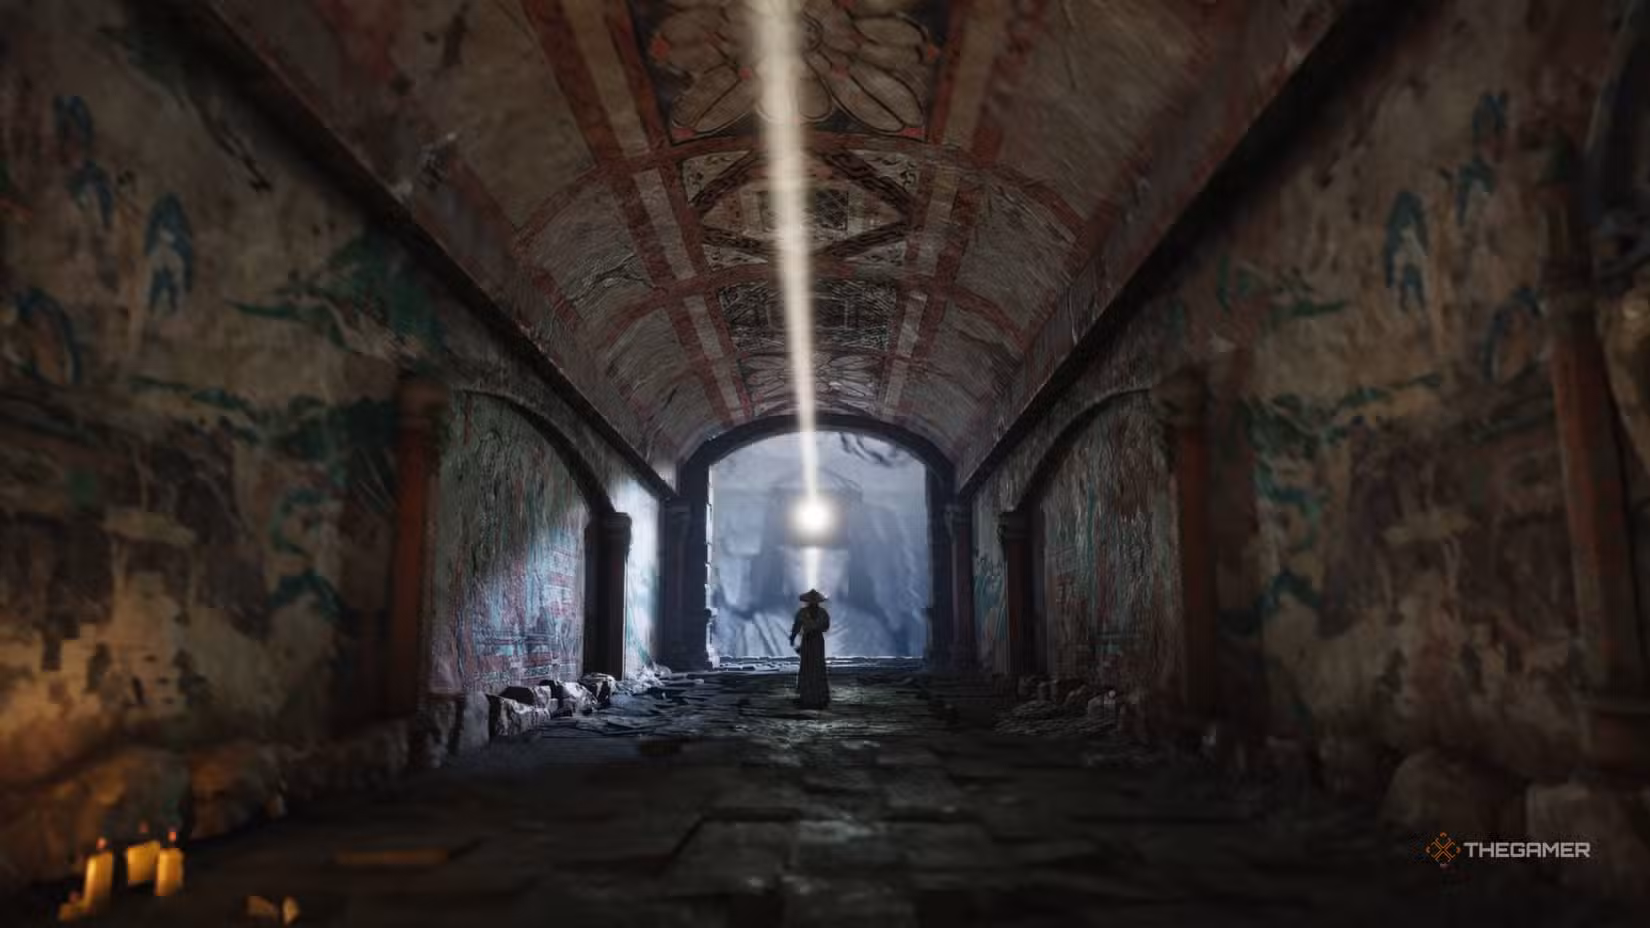
Once you have both pieces, return to Halo Peak and place them at the top of the tower during the Wu hour. This action triggers a cutscene showing a beam of light illuminating the tower, which then opens a door at its base. Follow the person who opens the door and solve the light puzzles inside, progressing until you reach the chamber where Tian Ying awaits. Be prepared for a lengthy challenge.
How to Beat Tian Ying
Tian Ying stands out as a boss not just within this game but in gaming overall. He has three distinct phases, each very challenging.
Unlike typical bosses that show the number of health bars indicating their phases, Tian Ying does not. You must fully deplete each health bar to advance, and failing any phase means starting over. Each stage features completely different attack styles with no common moves, so adapting dynamically is essential. Mastering deflecting is highly recommended.
Phase One
In the first phase, Tian Ying is relatively slow and straightforward. He’s slower to approach, giving you ample time to land attacks. His attack patterns are mostly telegraphed, involving staff swings that can be deflected to drain his Qi significantly. He also slams his staff down quickly; if you are in front of him, he might follow with a quick palm strike—be ready to deflect.
A key move is when he stands still, charges up, and prepares a large arena-wide slam. Before he strikes, a button prompt appears; activating it with Meridian Touch will knock him down and cancel his attack. Try to do this while close to him to maximize your chances for counterattacks.
Most of his attacks in this phase are predictable, making it possible to avoid damage entirely with patience. Once you handle this phase, you’ll find it easier to move on.
Phase Two
In the second phase, the environment changes to a new arena, and Tian Ying drops his staff, switching to hand-to-hand combat. His speed increases with rapid combos, making it harder to see attacks through the effects cluttering the screen. Often, if he hits you, he’ll follow up with more attacks. Watch for a move where he unleashes a series of whirlwind kicks—timing your deflects during this is crucial, as they come very quickly. Successfully deflecting these helps unlock the Free Morph Mystic Skill over time.
He also will bring a statue from the background forward to strike with multiple punches. This attack has two versions: a fast, focused series of punches or slower, more powerful strikes covering a wider area. Tian Ying remains stationary during these moves, so attacking him from behind if you can’t deflect is a good strategy. Some martial arts techniques can cancel this attack, giving you a chance to strike.
Another move involves Tian Ying hovering while controlling a background statue, then attacking with sweeping hand strikes. While you can shoot arrows at him during this, it’s generally better to focus on deflecting the powerful incoming attacks, since they cause significant Qi loss. The second strike in this move is less predictable and harder to deflect; dodging might be safer.
Phase Three
The final phase may not be the hardest in terms of mechanics, but after suffering through previous stages, it can be tough to survive even a single mistake. Here, Tian Ying fights with a dagger and teleports around the arena unexpectedly. Staying locked onto him helps, as the lock-on will reconnect immediately after he reappears, exposing him to attacks. His teleportation allows him to attack swiftly right after reappearing, so quick reaction is key.
During this phase, Tian Ying calls forth sand clones that attack frequently and have high health. He disappears during this time, reappearing to launch strikes. Focus on deflecting his attacks; attacking the clones is usually less effective. Deflect Tian Ying himself during this phase, and after three successful deflections, the clones vanish. This also inflicts a significant amount of Qi damage on Tian Ying, weakening him further.
Becoming familiar with his attack rhythm is essential. Once you get the hang of it, the fight becomes a matter of patience and precise timing. When you finally defeat him, swim away from the cave to end the encounter and claim your rewards.
