Select Language:
In Dragon Quest 7 Reimagined, boss fights are generally manageable until you face Frobisher, the Tinpot Dictator. Unlike earlier bosses, this battle is tougher and can be challenging if you’re unprepared or unaware of what to expect.
This fight involves three back-to-back encounters, starting with battling Automatons before facing the boss himself. After defeating the Automatons, you’ll confront the Tinpot Dictator himself, who will then shift into a second phase. Make sure to save your game, and restore your health and mana before starting this fight, as you’ll need all your resources.
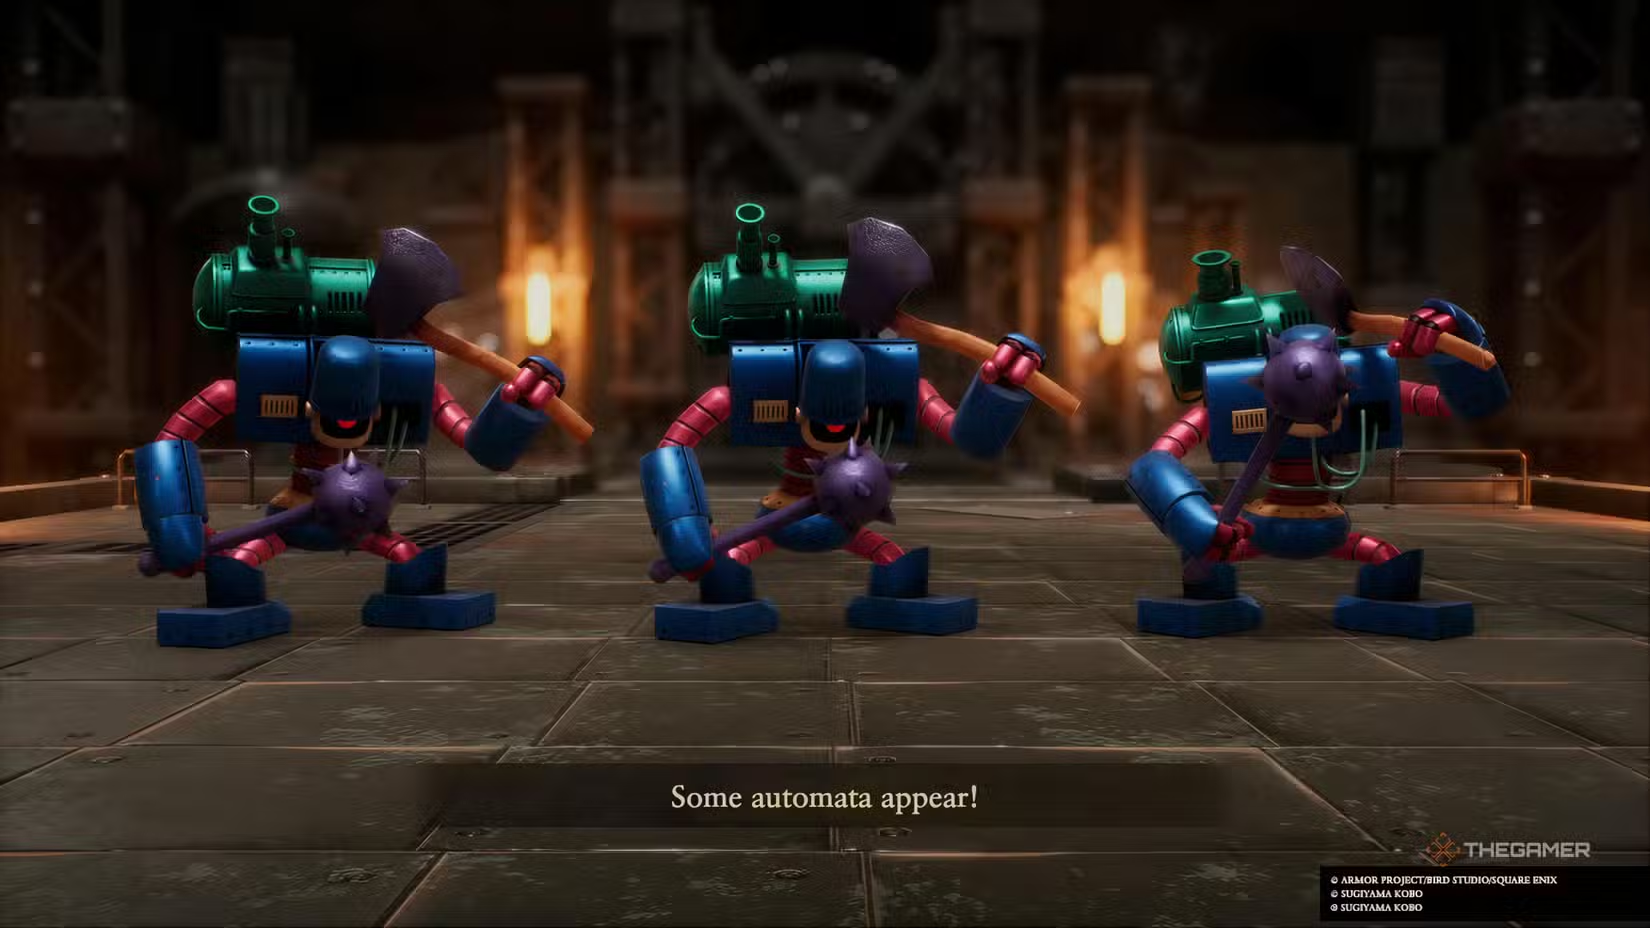
You won’t be able to fight him immediately. First, he will try to block your path with some Automatons. Your initial task is to battle these three Automatons. Once they are defeated, you’ll be thrown directly into the boss fight, which has a second phase. If you’re feeling unprepared, consider lowering the difficulty in the main menu to make the fight easier.
During the first phase, you’ll face the Automatons, which are tough but have high defenses and are weak to Claw attacks—especially useful if you have Ruff in your party, as he’s the only member who can equip Claw weapons. They usually attack with standard hits but can charge up and deliver stronger single-target damage. Focus on taking them out one by one, prioritizing multi-target attacks to weaken all Automatons simultaneously and chip away at the boss’s health.
Your party in this fight will be four members, which helps, but you must divide roles carefully. The Automatons are strong but do not cast spells. Use characters like Maribel to cast powerful multi-hit attacks such as Bang or Sizz against them, exploiting their weakness to Claw attacks. Kiefer should concentrate on attacking with standard or skill-based moves, while Ruff should use Claw weapons for damage and can also attempt to use ‘Aoooo’ to stop enemies from attacking, though this move is risky. The hero should focus on healing and defense buffing, using items or buff skills as necessary.
Keep in mind, Automatons will occasionally charge up and focus their attacks on a single party member, so protect and heal that member as needed. Defeating all Automatons should be your primary goal before attacking the Tinpot Dictator himself. Once they’re down, focus all your efforts on the boss. Save special attacks for when he’s alone; he may occasionally heal himself or Automatons with Multiheal, but this isn’t a major threat.
When fighting the Tinpot Dictator alone, anticipate his basic attacks and his Sap ability, which lowers your defenses. Counter Sap by buffing your party’s defense with the hero’s skills. Keep damaging him while maintaining your party’s health and buffs. After enough damage, he will enter his third phase.
The third phase features the Slaughtomaton, which is less difficult than previous stages. When this phase begins, no additional Automatons will join the fight. It starts with a warning that if you fail during this phase and choose to retry, you won’t have to redo the earlier stages.
The Slaughtomaton is weak to ice and lightning attacks. Your party should prioritize healing and buffs while using Aqua Slash to attack, and Crack and Lightning Slash to deal damage efficiently. Ruff can support by damaging or healing, but focus on keeping your party alive and healthy.
Against the Slaughtomaton, beware of its attacks, including Dazzleflash, which lowers accuracy, and Fiery Breath, a multi-target fire attack. It also often targets a single party member, so protect that member and keep them healed and buffed. The Slaughtomaton might attack twice in a row, so stay alert.
This phase isn’t particularly tough if you remain calm and continue wearing down its health while maintaining your party’s strength. With proper strategy and patience, you’ll ultimately defeat the Tinpot Dictator and his final machine.