Select Language:
The Forsaken Hollows introduces several new bosses in Elden Ring: Nightreign, including familiar faces from the original game or previous Souls titles. One such boss is the Lord of Blood, who is also known as Mohg. You’ll encounter this optional boss when trying to access Shadow of the Erdtree.
What about Mohg’s second appearance? Is he the same as before, or has he changed? Does he now have a fresh set of blood-themed and tricky spells? Let’s go over everything you need to know about defeating the Lord of Blood in The Forsaken Hollows.
How to Find the Lord of Blood
You can only face the Lord of Blood during Day 2 of The Balancers’ expedition. You’ll notice his presence when you battle Curseblade and Divine Beast Warrior at the end of Day 1.
Note: This boss is likely the toughest encounter on Day 2 in the DLC. It’s recommended to be at least level 11 with a minimum of two to three flasks remaining. Any items that help against blood attacks can be very useful.
How to Defeat the Lord of Blood
First Phase
In the first phase, the Lord of Blood won’t have many attack options, but he is still dangerous. If you’ve fought him in the original Elden Ring, his moves will seem familiar because he repeats many patterns. If you haven’t, don’t worry — we’ll cover everything.
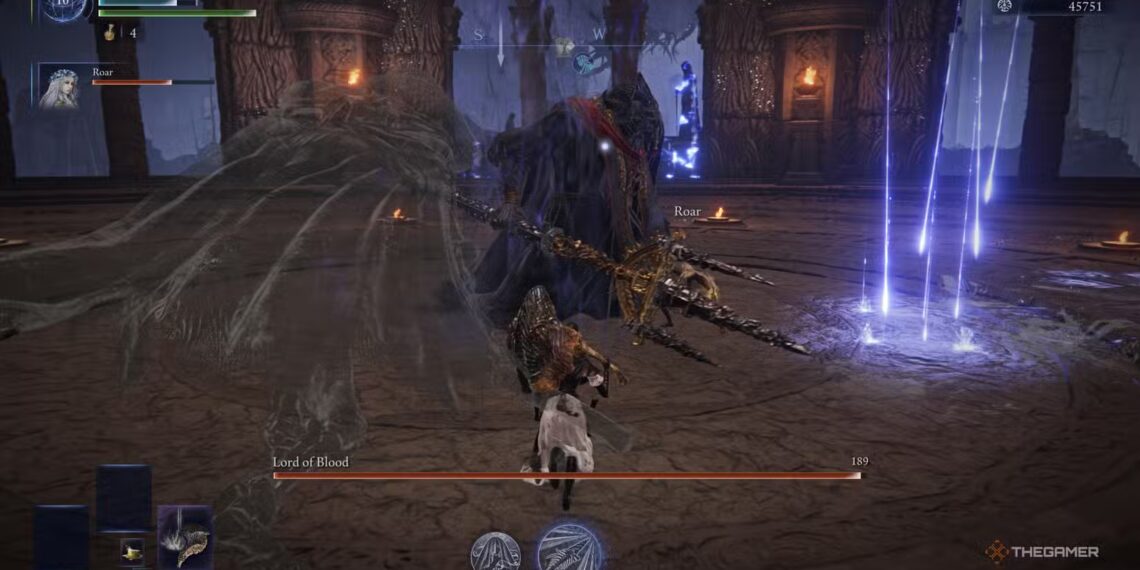
He attacks mainly with a large trident, delivering straightforward strikes. These are often combined with an aerial blood claw attack, which leaves marks before exploding shortly afterward.
He can also summon blood attacks that build your Blood Loss meter if you’re not careful. Watch for him to create circles above him with one hand. When close to the boss, he might rain blood around him. Be cautious—you can also be hit by blood that he throws far away.
Tip: Both of these attacks leave burning ground for a moment. Avoid stepping on them.
He can dash forward with his weapon in a straight line, which you should dodge by sidestepping (not backwards). As you damage him, he will raise his weapon, perform a quick ritual, and create a red ring near you. This attack is unavoidable, so be prepared. When he stacks up three rings, he activates a powerful attack that cannot be fully blocked, only mitigated by a specific healing item.
Tip: During these attacks, stay healthy, and consider attacking only if you’re confident you can avoid interruption or use your most powerful attacks to land heavy hits.
Once roughly half of his health is gone, he will summon a third blood ring and initiate a ritual. This causes him to unleash three Blood Loss attacks in succession as he heals significant health.
Second Phase
After completing his blood ritual, he transitions into a new phase, gaining wings and new attack patterns. Many of his previous moves return, but now he can fly and execute more dangerous attacks.
He may ascend into the sky, then throw burning blood that leaves a trail, before swooping toward a player for an attack. The blood usually won’t reach players far away, but if he targets you directly, dodge aside to avoid the attack.
He has a combo where he attacks from right to left and then left to right, which is best avoided with well-timed rolls. Dodge backwards a few times if needed to escape his reach.
In this phase, he gains a new, frustrating attack: he charges to summon multiple blood tridents on the ground. After a brief delay, he activates them, creating poisonous blood clouds—dealing massive AoE damage that’s hard to avoid unless you’re far enough away.
Tip: During unavoidable attacks, heal consistently and ensure your health is high enough; otherwise, a single hit can kill you. Using your strongest attack arts or skills can help, but focus on survival first.
He can also jump and attack in front of you, which requires quick side-steps. Additionally, he performs a spinning attack involving his trident, sweeping from right to left and back. Dodging at the right moment or rolling backwards can help avoid this.
His melee hits now leave flames on the ground, so always lure him into areas unaffected by fire to minimize damage.
One of his most annoying moves in this phase involves summoning multiple blood tridents after charging. You can destroy some of these projectiles by attacking or shooting them, but there are often too many, and they’re quite durable. Focus on destroying the closest ones to you and your allies, and avoid the rest until the ritual completes.
Warning: This blood ritual can be repeated multiple times during the fight.
Tips for Success
- The Lord of Blood is vulnerable for many seconds after landing critical hits. Use heavy weapons or powerful arts to trigger critical strikes often.
- During his attack phases, stay close and bait out his move, then strike during recovery windows.
- Prioritize destroying blood tridents when possible, especially the ones near you, to reduce AoE damage.
- Keep your health topped up during all phases to withstand unexpected hits.
Note: The boss’s mechanics rely on timing and positioning. Patience and learning his attack patterns are key to victory.


