Select Language:
Mewgenics is finally here, giving players the chance to explore a bizarre and gross world built from the dark imaginations of the creators of The Binding of Isaac and Super Meat Boy. The game promises that every new twist will be even more disturbing than the last, while still providing a tough challenge. There’s plenty to do, and fighting bosses is just one aspect of the game.
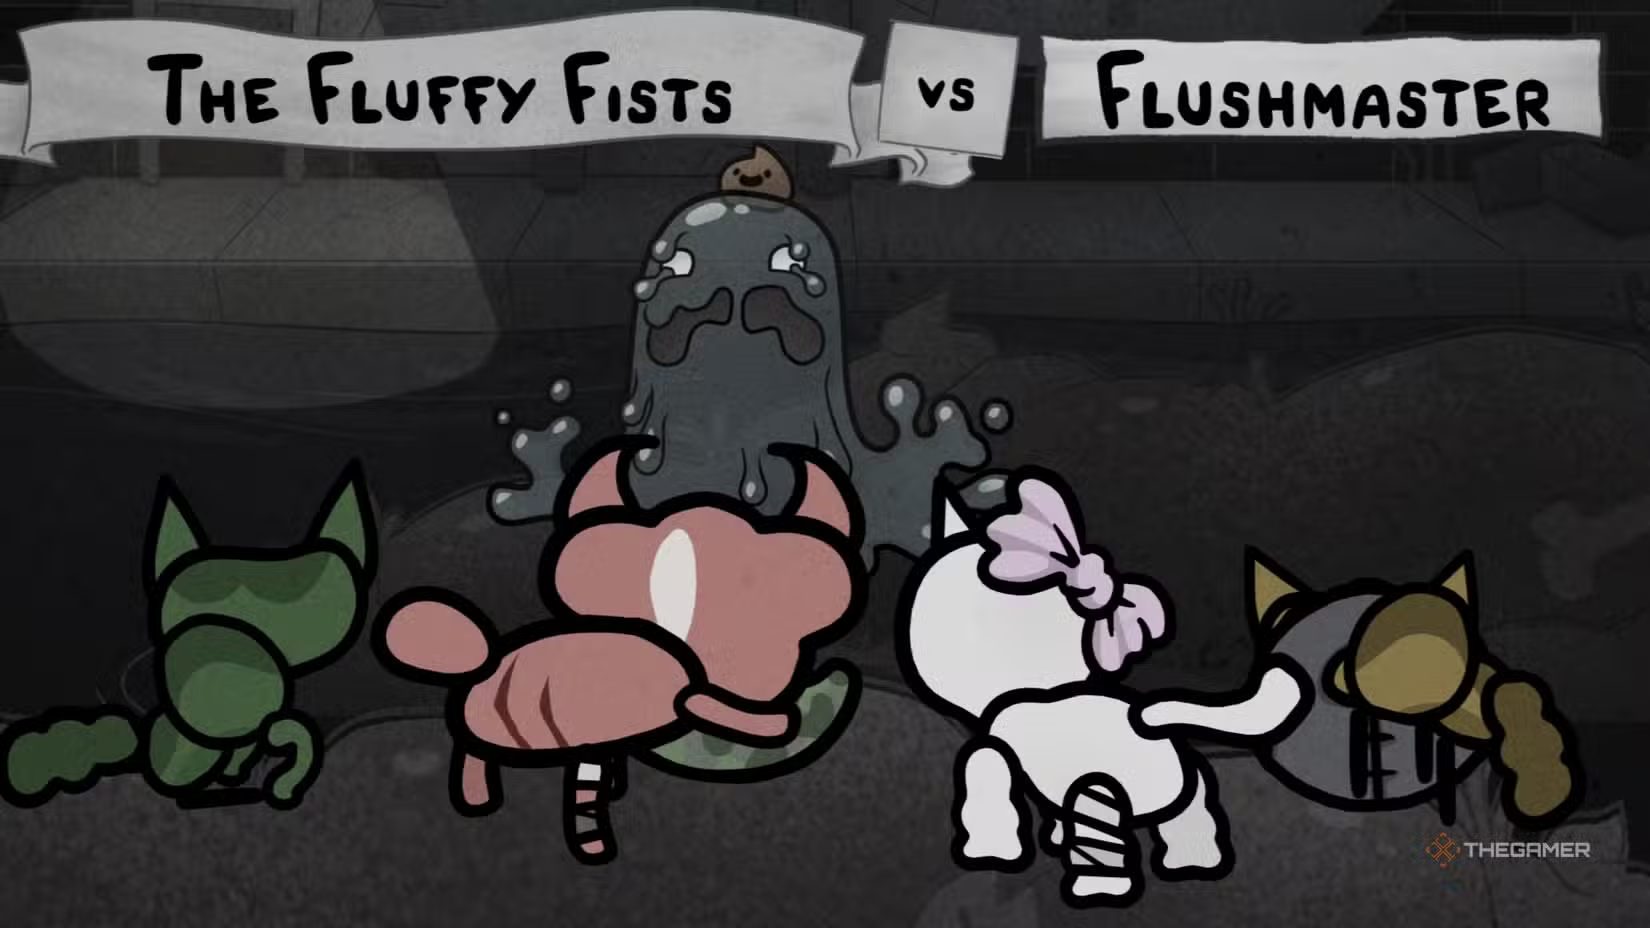
One of the early bosses you’ll face is the Flushmaster, who appears in the Sewers level during the first act. Despite not having a traditional attack, he’s surprisingly tough because he can prolong the fight, even with low health. The fight can drag on if you don’t find a way to damage him, and this can risk ending your run prematurely.
Before facing the Flushmaster, it’s wise to bring specific units suited for this fight. Here’s some background info on this gooey, mustachioed boss with a cute poo on his head:
| Boss Type | Mini-Boss |
|---|---|
| Region | Act One: The Sewers |
| Max HP | 100 HP |
| Potential Drops | Varies, sometimes nothing |
Defeating the Flushmaster can yield a random reward, or sometimes no reward at all. As you fight him more, we’ll update this with the rewards received to help you know what to expect.
For tackling this boss, the recommended units include the Cleric, Hunter, and Tank. These units help keep your health stable, deal damage from afar, and withstand his knockbacks. Fighter units are helpful but riskier, so keep the Cleric close by both the Fighter and Tank to maximize your chances.
If you’ve already unlocked the Thief, using them instead of a Fighter is highly suggested. They can warp behind the Flushmaster to land heavy hits, making the fight easier. Mages can work too but are less ideal due to their limited range and low health.
How to Defeat the Flushmaster
The boss’s appearance is deceptive—he looks innocent but is frustrating to fight, mainly because he has only two moves, with one that damages you. Learning to anticipate his tricks is key, especially if your health is low.
Flush Attack
The Flush attack pushes all units and objects ten tiles back. It doesn’t hurt initially, but if you or objects hit walls or other units, you’ll take damage. Positioning is crucial during this phase. Try to stay in front of the pipes scattered around the arena, as they will push you back into them, preventing you from being flung across the map and making it harder for him to attack. Moving thoughtfully allows you to stay close enough to land hits while avoiding getting pushed away.
Since Flushmaster attacks only once per round at the end, you have time to plan your response. Keep your units close enough so that after he pushes back, you can move up and hit him, while the Hunter snipes from a distance. Staying near the pipes can stop you from being sent flying so far that you lose your advantage.
Teleport
After casting Flush, Flushmaster teleports, disappearing and reappearing on another tile. He then faces a direction and ends his turn, pushing anyone in front of him during his next action. Use this to your advantage: he will face a certain way, giving you time to reposition. Take advantage of the four-turn window after he teleports to attack him or heal your units. Staying near the pipes can also help you stay close enough to engage him while avoiding unnecessary damage.
Dip
Dip is the adorable poo element on Flushmaster’s head. After defeating him, Dip will drop onto the arena floor as the final enemy. They have only one HP and will flee when it’s their turn, so you can deal with them freely as the game ends. If one of your units can automatically eat feces, they will eat Flushmaster if health gets critical, speeding up the end of the fight. However, Dip will flee once they’re in danger, so combat is the best way to finish him off.
Getting through this fight takes patience and careful positioning. Focus on the timing of Flush’s Push and Teleport moves, and use the environment to your advantage to land the final hits and move on.