Select Language:
The Savage Beastfly is one of the most hated bosses in the Metroidvania genre, especially in Hollow Knight: Silksong. Developers took a boss that players already disliked and made it even worse by placing the rematch above a lava pit with temporary platforms. Luckily, there’s a Mask Shard hidden somewhere in this area for those willing to endure the challenge a second time.
If you decide to take on this dangerous lava-filled stage, here are some helpful tips. Don’t worry, completing this fight means you probably won’t face this nightmare again — or at least, that’s the hope.
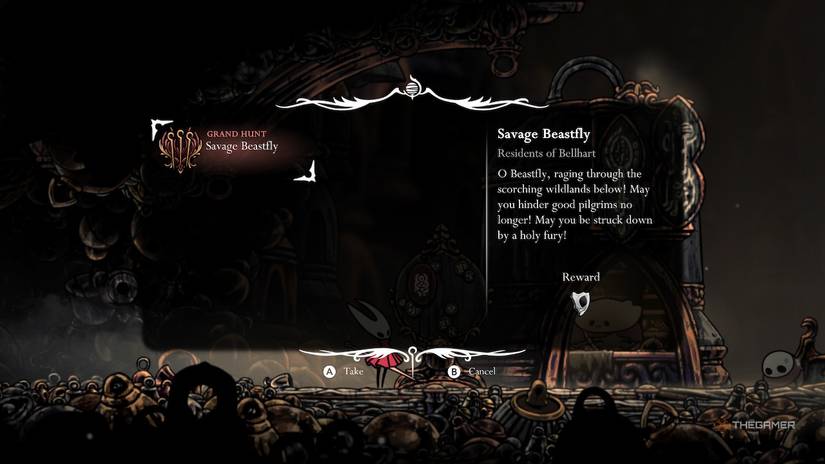
How to Start the Savage Beastfly Challenge
It’s not entirely clear what activates this quest, but for us, it appeared after:
- Getting the Clawline and Faydown Cloak
- Defeating the original Savage Beastfly in Hunter’s March
- Starting the tasks to collect three melodies in the Citadel by defeating the Clockwork Dancers
If this Wish doesn’t show up on the Bellhart Wishboard, make sure you’ve met these minimum requirements. If it still doesn’t appear, you might need to unlock it through other means.
Warning: Don’t delay fighting the Savage Beastfly! If you wait until Act Three, it will be tougher, with more health and a dangerous projectile attack, making the fight much more difficult.
Tracking the Savage Beastfly
Once you accept the quest, go to the Far Fields Bellway Station. From there, track the boss by heading to the top-left corner of the central vertical room near Greymoor. Follow the tracked items, and a translucent path will guide you around the west side of the map. All the locations are near each other along a natural route, so it’s hard to miss the next destination.
Your trail will eventually lead back to the arena where you fought the Fourth Chorus boss, after getting the Drifter’s Cloak.
How to Defeat the Savage Beastfly in the Far Fields
This boss fights just like its first encounter — all moves and combos are the same. If you want a refresher, check out our original guide. The challenge now is fighting on a stage where the platforms can be destroyed. Plus, the boss has swapped its support enemies for a stronger spear-wielding foe that throws fire, limiting your safe zones.
Before the fight, equip the Magma Bell, which you can buy from Forge Daughter in the Deep Docks nearby. Wearing this reduces fire and magma damage by one mask, which is incredibly useful here.
The main threat after the Beastfly is a new minion it summons. This enemy throws fire spears that can temporarily block sections of your platforms. Use a combination of a Sting Shard and the Pollip Pouch to eliminate this helper quickly—upgrading your gear can allow a single Sting Shard to wipe it out with ease.
Strategy for Beating the Savage Beastfly
When you’re ready to face the boss, follow these tips:
- Kill the minion ASAP, preferably with a Sting Shard.
- Avoid excessive pogo-jumping, which can throw off the boss’s movement.
- When the Beastfly slams downward, stay on one side of the arena.
- If you run out of space, double jump high and float with the Drifter’s Cloak until more safe ground appears.
- With the Magma Bell equipped, if an attack seems unavoidable, aim for the lava instead of the boss itself for less damage.
This fight requires practice and patience. Focus on keeping as much platform space as possible, and don’t let the minions overwhelm you. Remember, if you fail, the boss will be gone for good this time—use that as motivation to give it your best shot.


