Select Language:
Where Winds Meet features numerous boss fights scattered across the game world. Some can be encountered just by exploring, while others are only fought during specific quests.
Dao Lord is a boss you face in the second chapter of the main story. It’s one of the tougher and more unpredictable enemies in the game. Below is a complete guide for this boss fight.
Dao Lord Location
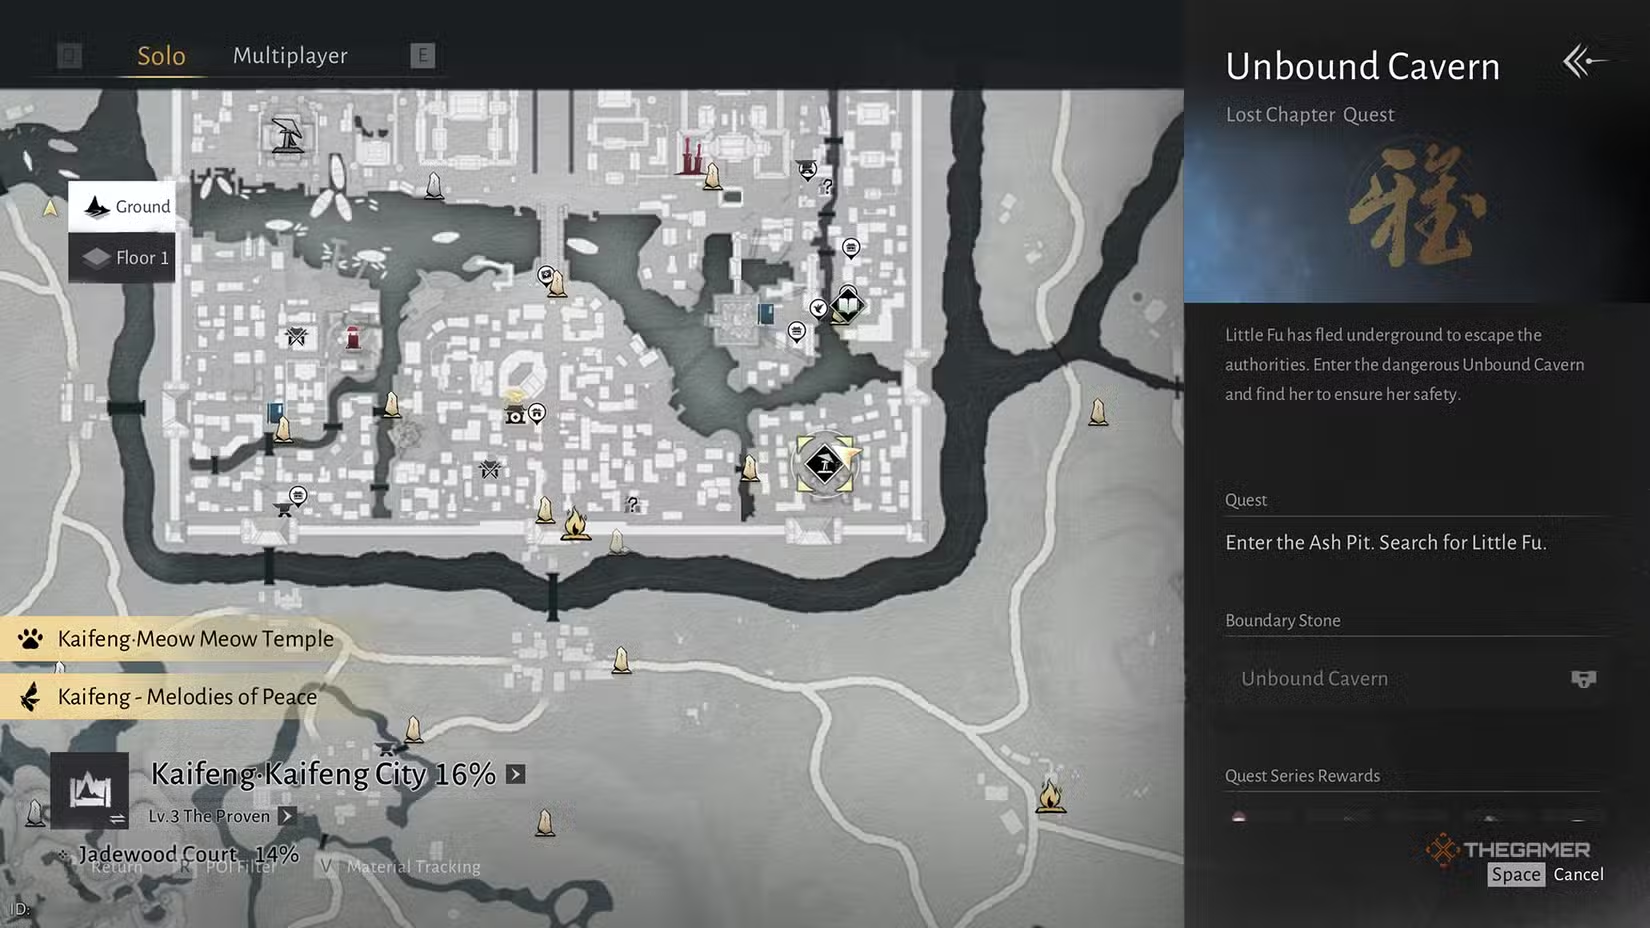
Dao Lord appears near the end of the Unbound Cavern Campaign quest. You unlock this quest during the Accident main story chapter. After selling treasure basins and dealing with the authorities, completing this campaign quest is essential to continue the main story.
[Image of the Unbound Cavern quest start location]
Boss Fight Walkthrough
Dao Lord fight begins with you facing an extremely aggressive opponent. Most of its attacks build up a status called Blind, which limits your vision and causes your lock-on to disengage. If you get blinded, be extra careful when dodging to avoid its attacks.
At the start of the fight, Dao Lord performs a spinning attack. It stands straight for a moment, then spins around while swinging its weapon several times, ending with a head slam. The attack pattern between each hit is consistent, so you can time your parries at regular intervals. However, there is a slight delay before the headbutt, so watch out for that.
Occasionally, Dao Lord will only perform the final spin and headbutt portion of this attack, with a wind-up similar to the full move.
[Image of Dao Lord preparing to attack with its spear]
When you see Dao Lord pull its spear back, prepare for a quick charge. This move is easier to parry the farther you are from the boss. It also has a dangerous attack where it raises its arms and rapidly thrusts forward, dealing multiple hits, then ending with a strong stab. You can parry or dodge through these strikes.
Dao Lord has two slashing moves: one with narrow diagonal slashes, hitting twice, and a sweeping attack. Parrying these can be tricky, but with practice, it’s manageable. When at a certain distance, the boss may also fire three waves of projectiles. Ranged fighters should keep an eye out for this attack, and blocking or parrying the projectiles can be an effective way to deal some damage.
Phase 2
Once Dao Lord’s health drops enough, it splits into three smaller enemies, each wielding a weapon. They’re not extremely dangerous alone, but attacking all at once can be tough. Running away briefly can help separate them.
The Hammer and Dagger Dao Lords will attack with red signals. The Hammer charges before slamming down; timing a parry just before it hits allows for a counterattack. The Dagger Lord dashes at you with the spear, which can also be parried for an attack.
Eventually, all three burrow into the ground, briefly surfacing to throw projectiles. When they emerge, shooting them with arrows can knock them down and prevent immediate attacks. Repeating this pattern will help keep the fight manageable.
Overall, targeting each smaller enemy individually and managing their attack patterns can make this phase easier. Although fighting three enemies simultaneously feels overwhelming at first, their attacks are less dangerous than earlier in the fight.