Select Language:
Since the first game in the series, the creators of Hollow Knight: Silksong have shown a fondness for bosses that repeat multiple times. You face these bosses on the main path several times, and each encounter is more difficult, with increased health and new attack patterns.
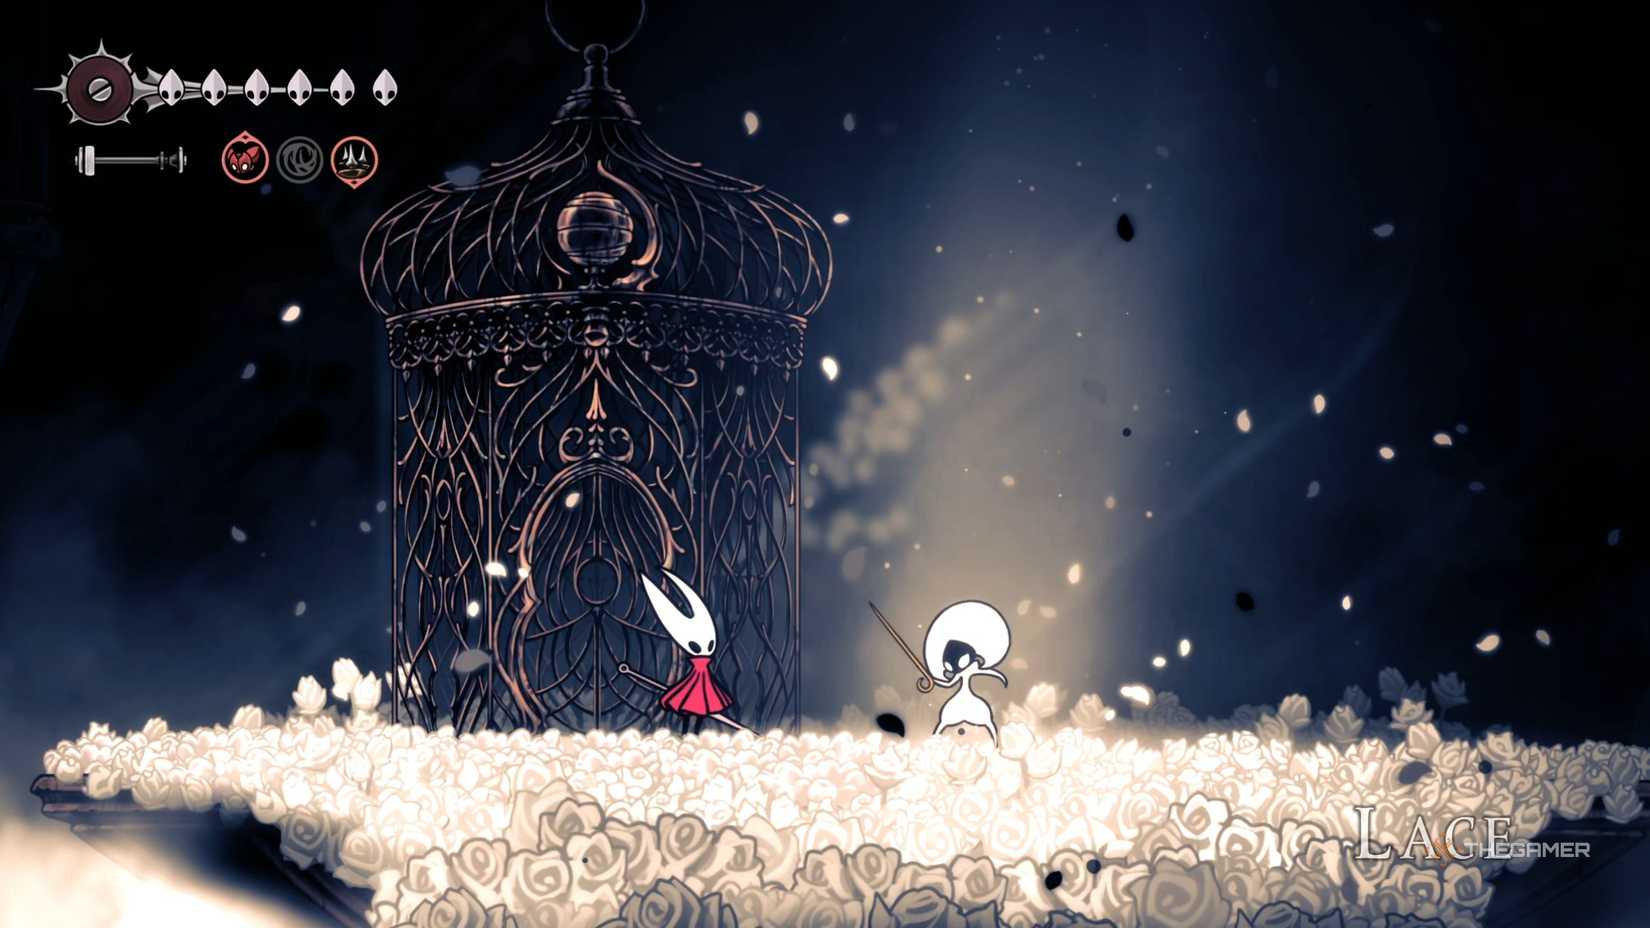
Lace is one of these recurring bosses. Although she appears small, she’s quite dangerous. After defeating her in Deep Docks, you’ll see her again in The Cradle, which is the final part of the main story.
Where to Find Lace in The Cradle
If you’ve just defeated Lace in Deep Docks and wonder if she will appear again, the answer is yes. But you’ll need to progress quite far in the game first. First, reach the Citadel and go through Choral Chambers to defeat the Cogwork Dancers at the top. Doing so unlocks three new objectives, which involve collecting three melodies from different parts of the Citadel.
Once you’ve collected all three, play these melodies at the Cogwork Dancers’ arena to activate statues. This will summon a large elevator. Take the elevator to the top, and you’ll immediately face Lace once again.
How to Defeat Lace in The Cradle
Most boss fights in Hollow Knight: Silksong require patience as you wait for the right moments to strike. But fighting Lace is the opposite; she attacks so quickly that waiting for her to finish her moves can be deadly. The fight is fast-paced, with her attacking in rapid succession—often just a second apart.
Besides her standard attacks, Lace has a special mechanic for her idle times, which will be explained below. It’s important to learn what to expect from each attack:
| Attack | Wind-Up Tells and Description | Recommended Counter |
|---|---|---|
| Slash Attack | She charges her needle, barely visible in her hand, then swings three times while moving forward | Move backwards if there’s space or jump up to strike downward during her swings |
| Jump Attack | She crouches slightly with her needle near the ground, then leaps diagonally upward and dashes toward your position | Wait for her to jump and walk towards her or dash to her if you’re far away |
| Dash Attack | She holds her needle horizontally before rushing through the arena, dealing double damage if hit | Jump to dodge, and you can strike as she dashes past |
| Parry Counter | When idle, Lace can parry your attack, triggering an AoE attack either on the ground or in the air | Avoid attacking when she’s idle, then immediately jump to dodge her counter |
| AoE Attack | Last phase move where she forms a big circle around herself and then slams the ground | Stay outside the circle and wait for it to end; move far enough away to avoid the second one |
Note: Lace has little time between her attacks, and this short window gets even shorter in later phases.
The fight has three phases, each starting when she roars, which signals a new phase. Sometimes, she gets stunned at the same time, causing you to miss the cue. Expect her new attack patterns after each stun. Her health at each phase begins as follows:
| Phase | Approximate HP | Changes from Last Phase |
|---|---|---|
| 1 | 100% | Starts with her basic moves |
| 2 | ~60% | Jump and Dash attacks become faster and more aggressive |
| 3 | ~20% | Unlocks the AoE attack and increased aggression |
In later phases, her Jump and Dash attacks are buffed:
- During the Jump Attack, she creates three rings around her which explode when she lands, limiting your movement.
- Her Dash Attack may occur up to three times in a row, instead of just once.
Tips for the Fight
Lace’s low health might suggest an easier battle, but her speed makes it challenging. Her attacks happen quickly, and there are gaps of little to no safe space. You must time your own attacks and healing carefully. During her Jump Attack, it’s one of your best chances to land hits.
Since many of her attacks involve downward strikes, it’s recommended to equip a separate crest specifically for this fight, rather than relying on the default.
When you’re low on health, wait for her Dash Attack, jump away as she starts to dash, and heal immediately afterward. This timing lets you recover without taking damage. You can also bait her parry stance to land a few hits, as she tends to enter parry mode after certain attacks. Wait for her stance to end before attacking again for the best chance to deal damage.