Select Language:
As you explore different areas in Where Winds Meet, you’ll often have to face various bosses. Some of these enemies later become regular opponents in the game, but others are special and only appear in story missions. One such boss is the God of Avarice, and you don’t need to do anything special to fight him.
While progressing through the main story, you’ll reach Kaifeng as the second region. This area has a completely different storyline from Qinghe. The God of Avarice is a key boss in this part of the game. You can fight him once you’re around level 54 and continue with the story.
### God of Avarice’s Battle Location
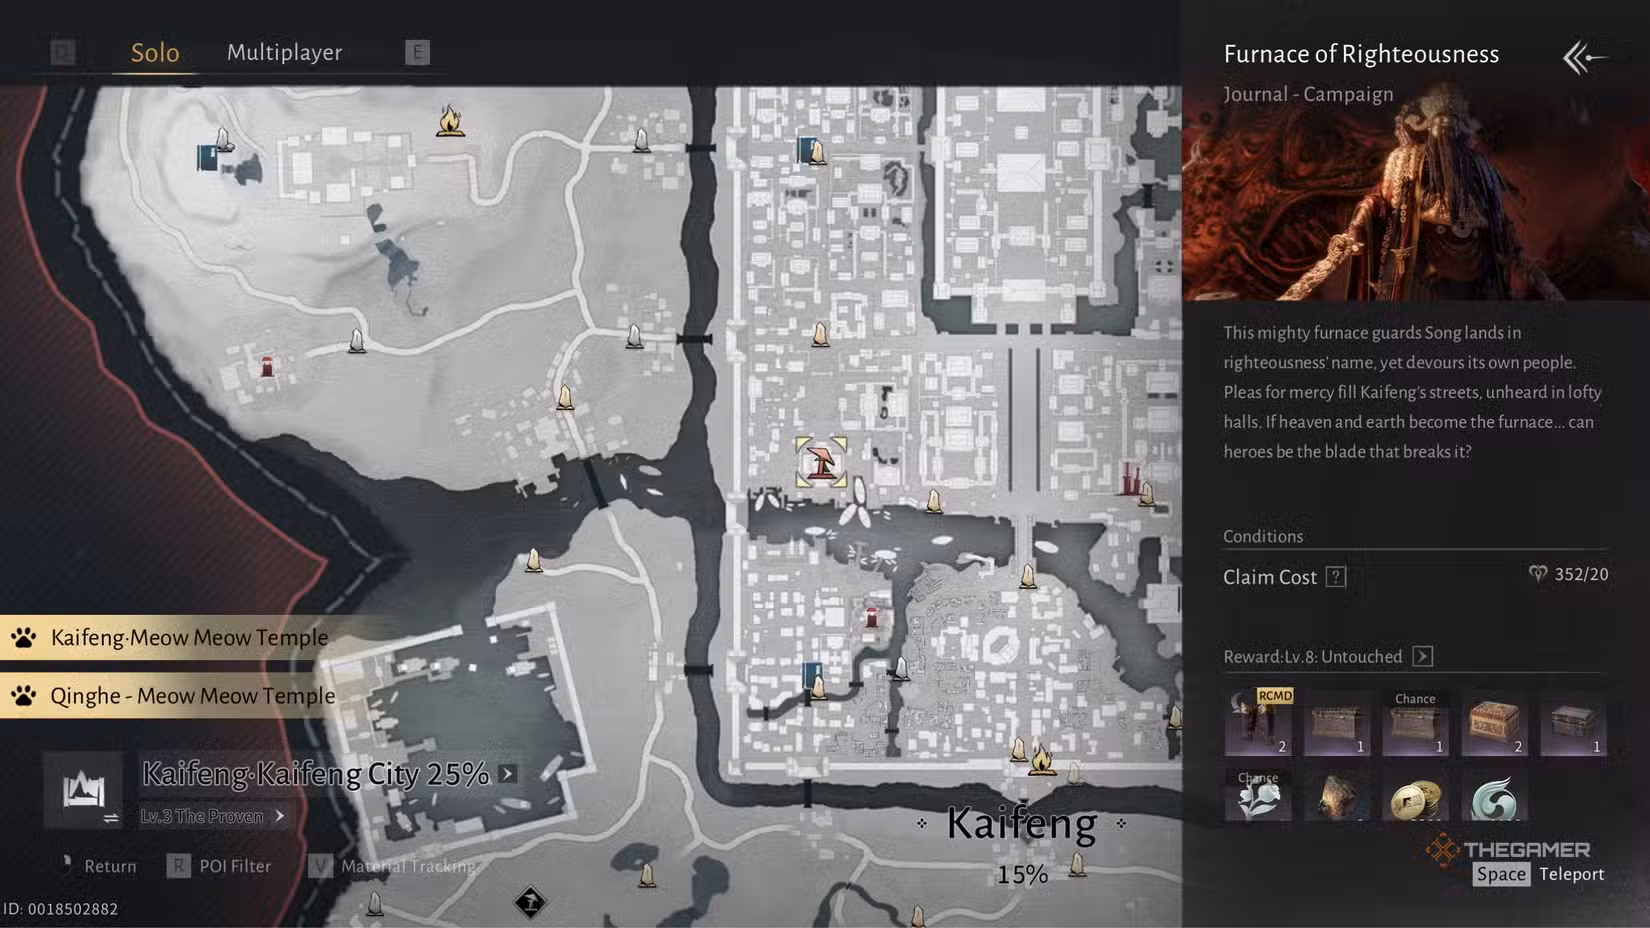
When you arrive in Kaifeng and interact with the map NPC, you’ll find yourself in a large city filled with many houses. There are two different markers for campaign bosses in this city. The first boss you’ll face here is the Dao Lord, located on the bottom right part of the city. Further along in the story, you’ll undertake the Furnace of Righteousness quest, where you break into a giant furnace shown throughout the mission. At the end of this quest, you’ll face off against the God of Avarice. It’s no surprise that he’s the true villain of this region.
### How to Defeat the God of Avarice
The fight against the God of Avarice is unique, as he has three phases, although the third phase is more about dodging than attacking. He doesn’t use many special moves, so most of his attacks are predictable once you learn his patterns.
#### Phase One
In the first phase, the boss mainly uses melee attacks with his single sword. His strikes tend to be slower than expected due to slight delays, so it’s best to wait a bit before blocking to avoid taking damage. Sometimes, he summons a small orb that shoots projectiles at you. These are easy to avoid by sidestepping just before they hit.
When the boss moves to the middle of the arena and floats in the air, stand as far from the center as possible and then move sideways to dodge both his projectiles and laser attacks. Getting hit by his laser will trigger a cutscene where you’ll lose a lot of health. Since his health is low in this phase, with practice you can quickly reach the second phase.
#### Phase Two
In the second phase, the boss wields two weapons and performs new melee attacks. Occasionally, he combines these into a single powerful strike similar to the first phase. The highlight here is his money attack—he spawns large piles of coins on the ground and then slams them for massive damage across the battlefield. This move is usually easy to predict, so be ready to dodge to prevent almost certain death, especially if your gear isn’t upgraded.
He also performs spinning attacks—one where he spins towards you with his weapon, and another where he throws his weapon. You can deflect these by spamming the block button, although some attacks might be unblockable, indicated by a yellow warning.
During this phase, you’ll collect money piles for ten Echo Jades each. However, gathering three piles quickly builds a greed bar in the center of your screen. When full, the boss’s shield turns yellow, immobilizing you temporarily. Before defeating him, he will summon a shield made of yellow coins. To break it, either hit him with your bow or deflect his attacks—both options work well.
#### Phase Three
The final phase is different because you cannot directly attack the boss. Instead, focus on avoiding his attacks and watching for a shiny red eye on his weapon. When you see this eye, shoot it with your bow to deal one-third of his HP/shield damage. Repeat this process three times to end the fight.
Most of his attacks in this phase can be deflected, but he also summons golden believers around him. These believers create dangerous zones—you should avoid staying close to them to prevent taking damage. The fight becomes a test of timing and dodging until you succeed in destroying the boss’s eye three times to finish the battle.