Select Language:
The Forsaken Hollows added two new quests in Elden Ring: Nightreign. The first, The Balancers, is the only one available initially. Complete it and defeat Weapon-Bequeathed Harmonia to unlock the tougher Dreglord.
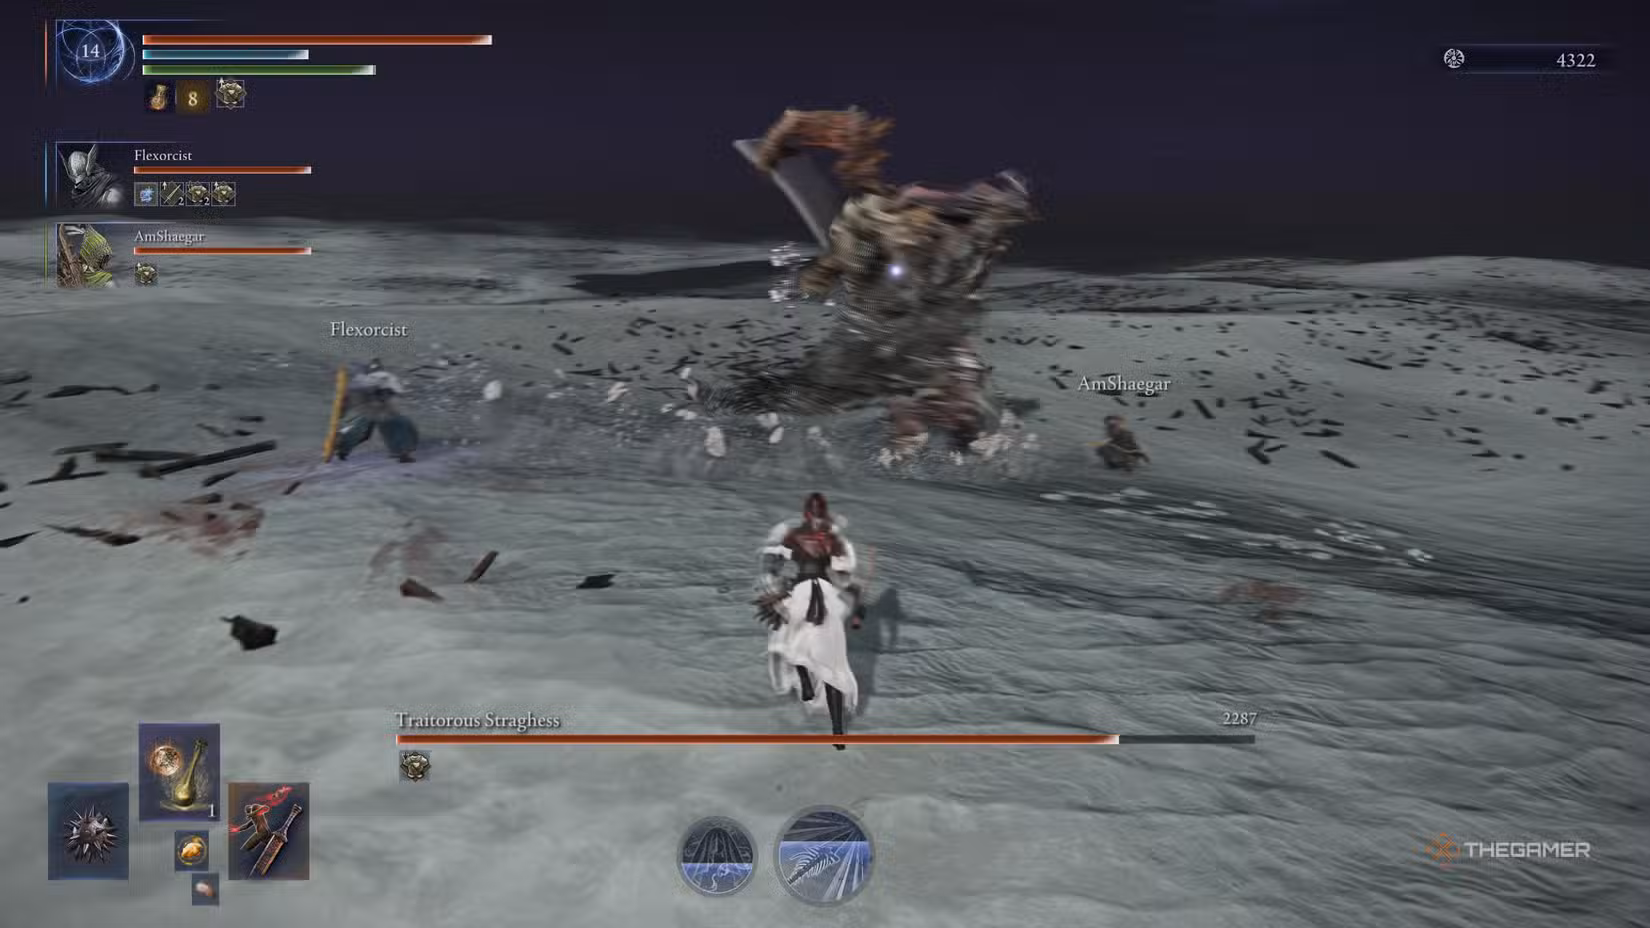
Once you begin the Dreglord quest, you’ll face some mid-level bosses like the famous Artorias or the powerful Lord of Blood. The final boss in this part is Traitorous Straghess, a very challenging enemy. Here’s everything you need to know to defeat him in The Forsaken Hollows.
How to Defeat Traitorous Straghess
Traitorous Straghess is the Nightlord found at the end of the Dreglord quest. You should be at least level 15 before fighting him, as this is one of the hardest battles in the game.
This boss uses a lot of Rot during his attacks, so boosting your resistances before fighting can help. He’s weak to fire and holy damage but resistant to lightning.
He appears as a large creature on two legs, wielding a big staff. He can attack with his staff once or twice in a row, always striking in front of him from one side to the other. Watch his body lean forward before he starts a combo.
Use ranged attacks to keep aggro on him, with one player drawing his attention while others attack from a safe distance. He tends to lose posture when hit with charged melee hits, especially from heavy weapons.
He often charges Rot balls, first throwing them onto the ground and later aiming them at you. Beware of pools of Rot that appear briefly and remain for a moment.
His combo begins with a quick attack with his free hand. He then drags his staff from the ground, pauses briefly, performs two quick blows, pauses again, and finishes with a longer attack starting with the staff overhead. During these moves, jumping to his back is advantageous, as most melee strikes are in front.
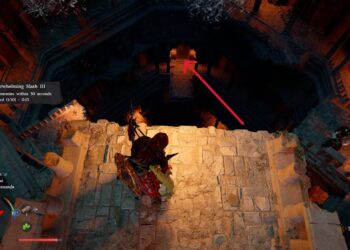
<imagine a picture of the boss charging Rot balls, with pools on the ground.>
One of his dangerous attacks involves creating a mountain of Rot that explodes after a few seconds. When he rises or prepares this move, back away to avoid damage or dodge at the right time to evade the explosion.
After this attack, Rot will rain down in the area. If your Rot gauge is full, you’ll slowly lose health. Ignore the regular enemies that emerge from Rot pools—they are slow and unlikely to distract you unless they are very close.
Later, he will summon larger enemies, but focus your attention on him. Use ranged attacks with a single player taking the boss’s aggro, and be prepared to dodge his charged melee swings. Gear up for his jump attacks, especially when carrying a Rot ball, which he will sometimes throw or use to jump onto towers or rise from below, then charge at you with devastating damage. Wait for him to land and roll toward him to avoid damage and set up quick counterattacks.
He can summon structures after screeching, then jump into or between them. When he does so, he will fly between structures, then strike with Rot balls, causing double explosions on landing. During this phase, abstain from attacking until the explosions finish—precise timing to roll away is crucial to avoid damage.
His final phase involves bigger Rot mountains and more aggressive behavior. He may throw Rot projectiles, jump onto towers or rise from below, and launch dual explosion attacks when creating structures or charging. Watch for visual cues on the ground indicating where explosions will occur and roll away instantly.
To land heavy damage, it’s effective to hit him with projectiles, especially if one player draws his aggression and dodges his attacks. Also, melee charged hits, particularly from heavy weapons, can break his posture if enough hits connect.
Using the critical hit—when his posture is sufficiently broken—is a good strategy. Charge damage for about two seconds before executing it to maximize damage output.
He can create structures with his scream; avoid attacking during this time. He will leap onto or between structures, then explode upon landing. Keep clear of the explosion marks on the ground by rolling away precisely when the marks appear.
His repeated mountain of Rot attack becomes larger in later stages—wait a bit longer before dodging to avoid it, and look for cues indicating a bigger explosion is imminent.
Defeating him for the first time grants the Red Relic, The Night of the Dregs, which increases Rot damage. Additionally, you’ll unlock skins for the Scholar and Undertaker classes.