Select Language:
With the Outbounds as allies and Zadra freed from the Order in Borderlands 4, it’s time to confront the Timekeeper’s subordinates. However, you’ll need more allies first. Vile Lector is in the Terminus Mountains, and he has the Augur under his cruel control through experiments.
Though they dislike the Order as much as anyone, most are too afraid to fight back, except for a few brave ones. Now is the moment to turn the tide and support Defiant Calder in rallying the Augur against Vile Lector. But first, you have a task to complete for him.
How to Reach Belton’s Bore
This quest opens right after finishing the previous story mission, A Lot to Process. It’s the main one to focus on if your goal is to eliminate Vile Lector first.
Start by heading east of Deep Seven Silo in the Dissected Plateau. Follow the road north until you reach Checkpoint Vermillion. You can either fight through or drive past this checkpoint to get to the other side of the mountains.
Before starting, note that a barrier blocks the entrance to the Terminus Mountains. It will disappear once you complete the Shadow of the Mountains quest and go through it.
Continue following the main road northwest, passing through the unmarked ruins east of Grey Havenage Safehouse. Keep going north until the road splits. Take the eastern route; as you pass the mountains, you’ll receive a call.
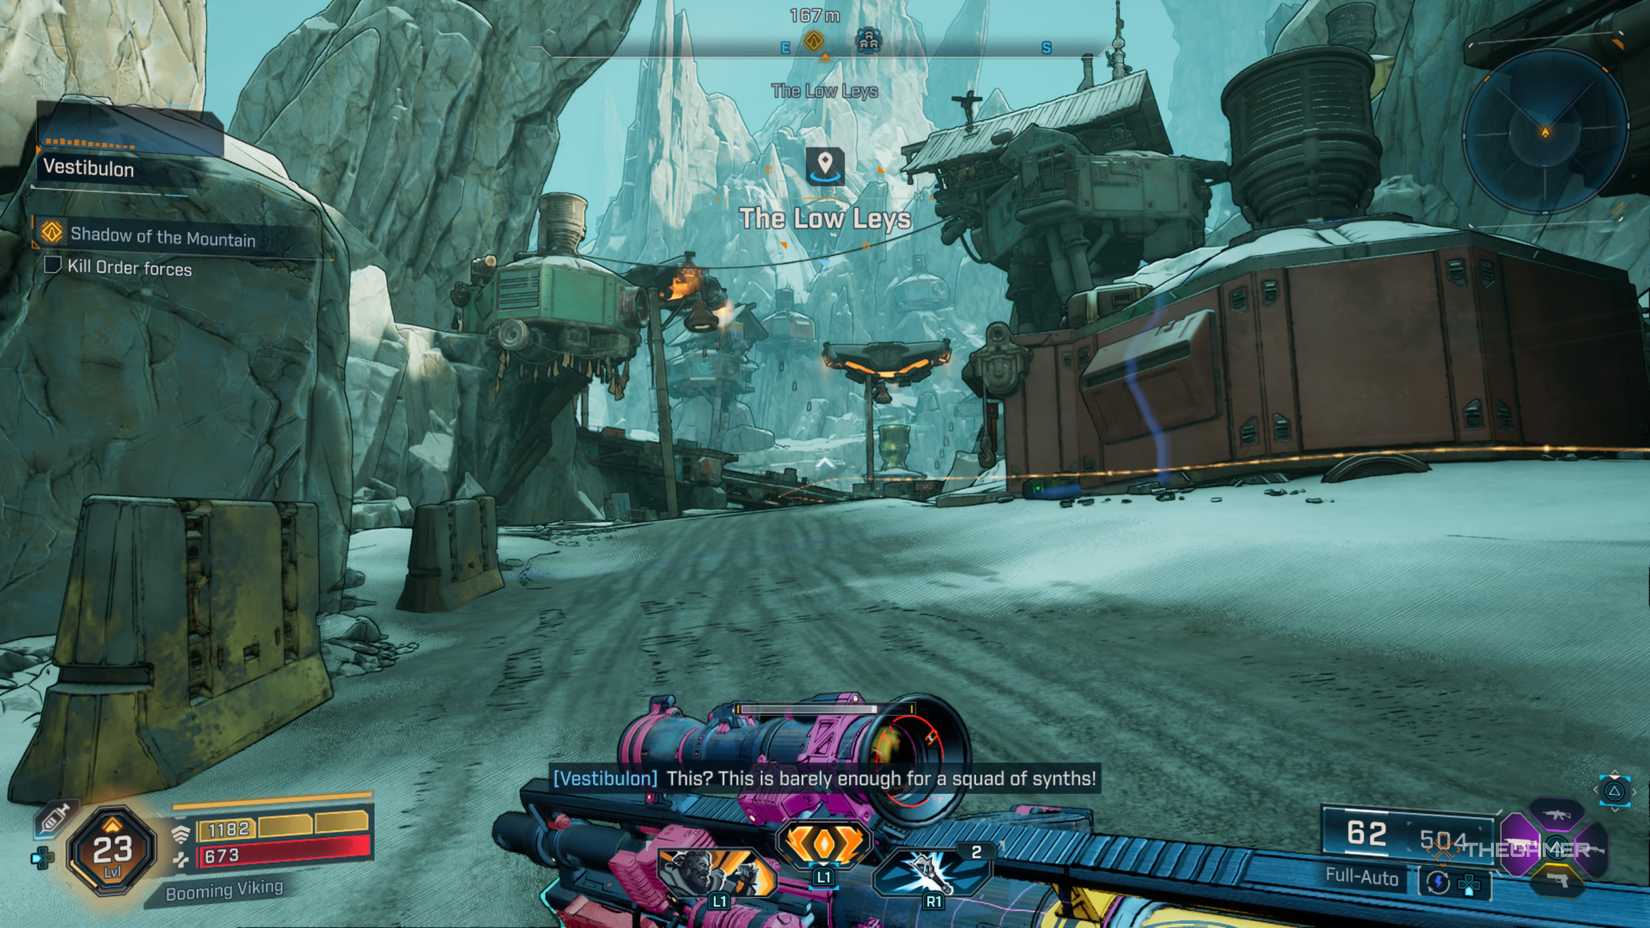
Head east until you arrive at The Low Lays region. Expect a battle against the Order here, with some NPC allies helping out. Once the area clears, talk to Joyless Stellan.
They aren’t too excited about what’s happening, but one person might help—a guy named Defiant Calder. He’s located in the eastern corner of Cuspid Climb, which requires a lengthy trip to reach.
How to Reach Defiant Calder’s Office
Follow the road away from Belton’s Bore, heading east. When it splits, go south to reach the eastern part of Cuspid Climb. Approaching his location, you’ll face a group of Order enemies, including at least one Badass and two Bulkheads.
Make sure to activate the Heritage Opus Safehouse along the way, just north of Calder’s location. Doing so will save you multiple trips back and forth.
When you arrive at the objective marker, get ready for a call from Vile Lector directly. Further down the road, past the Order blockade, you’ll see a cutscene with Defiant Calder. Take out the nearby Order enemies, then speak with Calder, who will ask for a favor.
Enter The Lambent Mine. The first chamber is filled with Order enemies that you need to kill. After clearing them out, jump to the right side of the room to grab Signal Beacons. Place them on the consoles on the bridge and near the forcefield to advance.
In the next room, you’ll face more enemies, including the persistent Kratch creatures. They’re usually taken out quickly by the Order allies or by your firepower.
Continue into the chamber with the large pit. Grapple onto the nearby machine at the edge, then climb to the upper platform. Place the next two Signal Beacons on the consoles: one near the grapple point and another past the door on the left, down the catwalk, and around the corner behind a red door. Be prepared for a Pinhead enemy to spawn—kill it, then hack the console to proceed.
Go down the hall, using the console in the adjacent room to unlock the main doors. Then, head through the dig chamber, which will be populated with Kratch enemies. Kill them so they don’t follow you forward.
Approach the forcefield door, where you’ll find two more Signal Beacons to place—one by the door and the other on a broken platform near a large machine. Hack these, then move through the forcefield.
Inside a small room, you’ll find an ammo and shield vending machine. Restock if needed before entering the final chamber, where the boss fight awaits.
How to Beat the Skyspanner Kratch
This boss fight features a Kratch mech that’s a real nuisance. It has four main attack types, which it switches between during the fight:
- Hovering and releasing five to six Kratch that home in and explode, causing heavy corrosive damage—these damage your shields significantly.
- Circling the room and dropping a ring of stationary Kratch bombs that will explode if you get too close.
- Firing a multicolored beam that knocks you back constantly and can push you into Kratch bombs.
- Releasing several ground-based Kratch when its health drops below 25%, which crawl toward you and can go over obstacles to reach you and explode.
Important tip: Avoid stepping into the green liquid on the floor; it’s toxic waste that drains your shields quickly. Keep moving and alternate between shooting down Kratch bombs and targeting the Skyspanner Kratch itself.
Using elemental guns—preferably from Maliwan or other damage-over-time weapons—helps clear out the smaller enemies and keeps the boss damage consistent. Consider equipment with the Taser mod, which sticks to enemies and inflicts shock damage for about ten to 15 seconds, adding significant damage to the boss.
Utilize grapple points around the chamber to stay mobile. The fight doesn’t have phases or attack pattern changes, so keep dodging Kratch, avoid the beam, and focus on shooting the boss.
After the Boss Fight
Once defeated, exit the chamber and head to Defiant Calder’s office inside Belton’s Bore. Pick up the relic from the altar in the room’s center. Return with the relic to Calder, who will thank you.
Follow Calder inside Belton’s Bore, watch the cutscenes, and place the relic on its new altar. Completing this will finish the Shadow Over The Mountain quest, rewarding you with experience, money, Eridium, a random Rare or Epic pistol, and the Solar Flair weapon skin.
This mission also unlocks the Augur Mines scattered on the map, such as Timid Kyle’s Neglected Opening, and opens the way to the next main mission, Crystal Brawl.