Select Language:
“Hell Is Us” offers vague guidance, encouraging players to figure things out on their own and explore the world of Hadea more deeply. You’ll need to learn about the complex events that led to the current civil war. Just like in real life, you’ll encounter many characters who believe they hold the truth about what’s really happening.
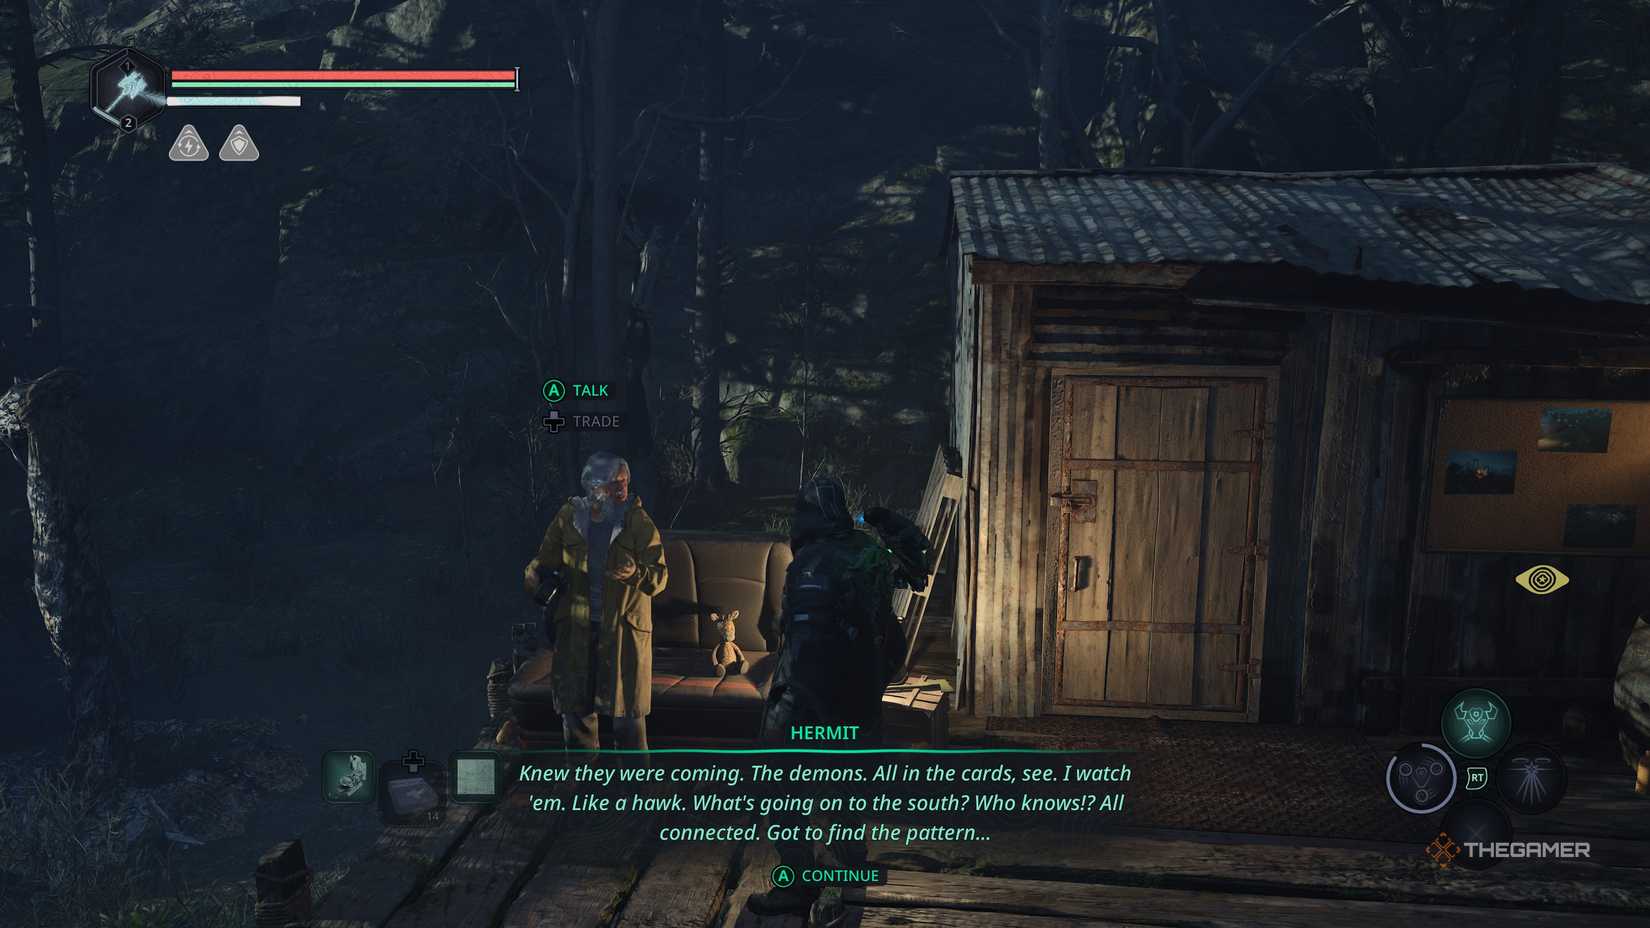
While there are a few such characters, the first one you’ll meet is the Hermit. True to his name, he lives apart from society and draws extreme conclusions from seemingly disconnected clues. This makes unraveling the mystery all the more challenging and confusing.
Starting the Hermit Mystery
Let’s begin by finding the Hermit. Once you enter Acasa Marshes, you can locate him in the eastern part of the area. He’s just south of the tunnel where the ON vehicle crashed. Look for his small shack and start a conversation.
He’ll talk about his big discoveries and claim he’s close to a breakthrough, especially concerning an odd monument south of him. But first, he needs more pictures. Right now, it’s too dangerous to get close to the monument. He wishes he had a better camera.
Next to him, there will be a few photos he took of the Lymbic Entities around the marshes. Although these are interesting, they are not relevant at this point. For now, we need to help the Hermit, which involves progressing the story to Act Two. So, for now, just leave him alone.
You can also find a newspaper behind his house that details some of his sightings and discoveries.
Getting a Zoom Lens for the Hermit
You don’t need to buy a new camera for the Hermit—just a better lens for his current one. To do that, you need to find the Zoom Lens, which is located in Talju. This requires you to reach Act Two, which involves placing the Keystone of Grief into its pedestal at the Lymbic Forge.
When you’re in Talju, head toward City Hall and navigate around it to reach the main street. There, you’ll see the Photo Shop, which is in poor condition (partly burned down). The Zoom Lens is sitting in the window and is undamaged.
If you pick up the map from the mechanic after arriving in Talju, the Photo Shop will be marked on it.
Once you have the Zoom Lens, return to the Acasa Marshes and give it to the Hermit. He’ll be pleased, saying it’ll help him do better research. He asks you to check back later, when he should have more photos.
You can leave and come back anytime since there’s no deadline for this mystery.
Solving the Puzzle Near the Hermit
When you return, the Hermit will have additional photos of the Lymbic Entities on his wall. However, these are red herrings. The real focus should be on the strange structure nearby, which has four symbols on it. This structure is the key to solving the monument puzzle just south of the Hermit.
You might notice that one of the symbols from one of the photos is visible in the mountains next to his shack, though it’s very small. The upgraded zoom lens will have helped with that.
Go to the monument, and locate the platform’s plinth that has a part connecting to its center. Use your compass to confirm it faces east—that’s the direction of the mountain structure with the symbol.
Your task is to recreate the pattern of symbols from the mountain structure onto the four plinths at the monument. The east plinth corresponds to the tip of the mountain structure, so follow that pattern for the other plinths, ensuring that the symbols face inward toward the center.
The symbol order is as follows:
- East Plinth: Arrows pointing up and down.
- North Plinth: Bow and arrow.
- West Plinth: Ring with a gap at the top.
- South Plinth: Claws.
Position everything correctly, and you’ll hear a rumble. The platform will open, revealing a chest containing:
- Five Steady Tuning Stones
- Feed On Fear – Enhanced Terror Glyph
- The Perfect Guard – Enhanced Neutral Glyph
- Aarlon’s Last Stand Passive Relic
That completes the Hermit Mystery. He won’t ask any questions—so the puzzle is solved!