Select Language:
The “Space & Me” Cult Parish is one of the more puzzle-focused areas in Romeo is a Dead Man. It starts immediately with a multi-step puzzle shortly after you arrive and meet Jenny. You’ll find yourself in an open space with five pedestals, one cintamani orb, and few clues about what to do next. This puzzle not only blocks your progress through the level but also guards some important collectibles you won’t want to miss.
While the puzzle isn’t overly hard once you understand the mechanics, the multiple pedestals and color-coded routes can make it confusing and easy to waste time running around in circles. This guide explains each possible route so you can collect everything in one smooth sweep before moving forward.
How to Solve the Cintamani Puzzle
After your initial scenes at the parish with Romeo meeting Jenny, you’ll come across the main puzzle for the first half of the level: the cintamani puzzle.
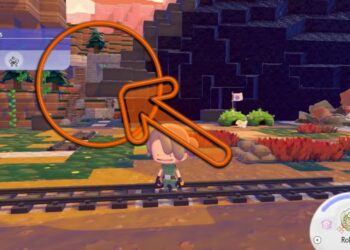
Here, your goal is to find cintamani orbs and use them to activate specific pedestals in the middle of the area. Doing so will unlock new paths for Romeo. Around the area, you’ll spot small stones indicating which pedestals to activate. You start with only one cintamani orb, so initially, there’s just one route available.
Below is a breakdown of the different routes you can take based on the cintamani orbs you find:
| Cintamani Needed | Description |
|---|---|
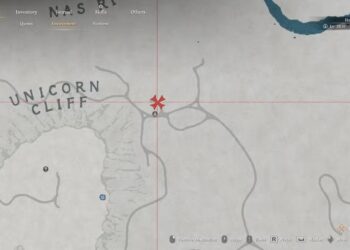
| Purple | Opens a path to the east that leads to a barn containing the second cintamani. |
| Purple, Gold | Unlocks the northern part of the eastern island, which features a tough enemy gauntlet, some notes, and a badge at the end. |
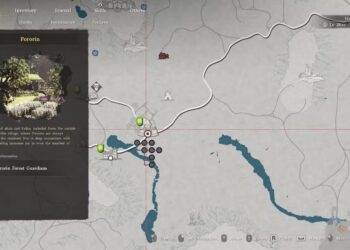
| Gold, Red | Opens the route to the central island with fights and resources. |
| Red, Silver | Opens the western island, which has light platforming (easy with air dashes) and a barn with the third cintamani. |
| Silver, Gold, Green | Unlocks the rest of the level, providing access to all remaining areas. |
Within this area, activating all three (red, silver, and green) pedestals also opens a path to a badge on the trail to the left of the barn, especially if you activate the green pedestal along with the others.
Additionally, there’s a route that opens when the green pedestal is active, allowing you to reach the badge on the path beside the barn once all three pedestals—red, silver, and green—are activated.