Select Language:
In Hollow Knight: Silksong, crests are a key mechanic shaping how you explore, fight, and move around. Each crest provides a different set of moves, tools, and special effects, making them stand out in Pharloom’s most dangerous and isolated regions.
Every time you find a new crest for the first time, you’re likely to want to try out its unique features. No crest is strictly better than the others, so each one offers something for different playing styles. If one crest doesn’t suit you, trying another might help sharpen your skills and discover what works best for your hunting approach.
What Are Crests?
Crests are special templates that influence various game mechanics. Learning what each crest does is vital for your success. Essentially, crests affect:
- Your moveset
- Your ability bindings
- The types and slots of tools you can equip
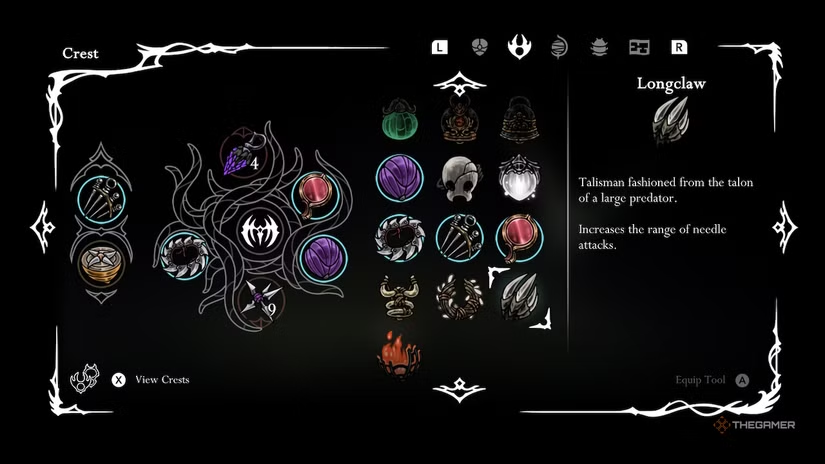
You can view and change your crests anytime while sitting on a bench. To do this, access the Tools menu, then press the button indicated on the bottom left of your screen to open the crest menu and switch between them.
While a crest is active, you can unlock additional tool slots by using Memory Lockets. Hold down the interact button over a locked slot to use a Memory Locket and permanently unlock that slot.
All Crest Effects
There are seven crests, each with distinct movesets, load-outs, and effects. Major aspects like binding skills and pogo directions are important considerations when choosing a crest to leave a bench with.
| Crest | Red Slots | Blue Slots | Yellow Slots | Silk Skill Slots | Charge Attack Damage | Flintslate Damage | Pogo Direction | Moveset Changes | Special Effects |
|---|---|---|---|---|---|---|---|---|---|
| Hunter | 2 | 2 | 2 | 1 | 58/70/76 | 88 | Diagonal | N/A | Successive attacks boost damage on Needle attacks. |
| Beast | 2 | – | 2 | 1 | 52 | 78 | Arc (Multi-Hit) | Short-range claws, devastating appearance | Attack heals with each successful hit during a short window; attacks deal more damage during binding. |
| Reaper | 2 | 2 | 2 | 1 | 65 | 100 | Down | Wider attack areas | Attacks generate more silk after binding. |
| Wanderer | 1 | 2 | 3 | 1 | 52 | 78 | Down | Faster attacks | Shorter nail; critical damage possible with 9+ silk stacks. |
| Architect | 3 | 2 | 2 | – | 65 | 100 | Down (Multi-Hit) | Spinning corkscrew moves | Binding creates tools. |
| Witch | 2 | 3 | – | 1 | 102 | 156 | Down (Multi-Hit) | Wide silk arc; charge attacks hit multiple times | Binding heal explodes to deal damage and restore health. |
| Shaman | – | 2 | – | 3 | 42 | N/A | Diagonal | Generates short-range projectiles | Silk Skill damage greatly increased, but binding requires being on the ground. |
How to Obtain Each Crest
You unlock each crest by completing specific challenges or exploring certain areas. Collecting all seven will earn you the achievement “Consumed,” and provides versatility in handling various challenges.
- Witch & Shaman crests are ideal for boss fights.
- Architect is useful against groups or multiple enemies.
- Wanderer & Reaper are great for widespread exploration and long trips between benches.
- Hunter serves well as a reliable all-rounder.
It’s recommended to unlock all crests to see which suits your playstyle best, keeping in mind that flexibility can be a game-changer.
How to Get the Beast Crest
Early in the game, in Hunter’s March, on the far right above Deep Docks, you’ll find a hidden chapel. Inside, guarded by the formidable Savage Beastfly, this crest is yours once you defeat it. Be prepared for a tough fight, but winning grants access to the coveted Beast Crest.
How to Get the Reaper Crest
Easily located during normal exploration in Greymoor, just above the Moorwing fight on the far left side, this crest requires no fights. A simple platforming ascent will lead you to a chapel. Reaching it before the Moorwing fight is recommended, as its pogo boost makes that fight easier.
How to Get the Wanderer Crest
This crest is in a remote part of Bonegrave, away from all fights. After acquiring Cling Grip, head to Bone Bottom, take the elevator up to Moss Home, and follow the route to the Chapel of the Wayfarer:
- Head west toward Wormways.
- Drop down instead of exiting at the Wormways, use Drifter’s Cloak to glide left across ledges.
- Climb the wall and continue west to a lake.
- The chapel is on the west side of the lake. Opening the shortcut door on the east side is wise in case of enemies.
How to Get the Architect Crest
Found in the Underworks of the Citadel, just above the Cauldron area, the Twelfth Architect sells the Architect’s Key for 110 rosaries, provided you have enough red tools to barter with. Use the key to unlock the door above the Twelfth Architect to claim the crest.
How to Get the Witch Crest
This is the most complex crest to obtain, requiring you to finish the Pollip Heart quest in Shellwood. After that, you must locate the Twisted Bud in Bilewater and bring it to Greyroot’s home, infesting you with a parasite. This process prevents healing and may impede Silk Skills, but it unlocks interactions with NPCs and ultimately allows you to access the crest.
How to Get the Shaman Crest
Accessible only during Act Three, it requires descending into the Abyss with Silk Soar and reaching the Ruined Chapel where the Snail Shamans are. Use Silk Soar to navigate through hidden paths and find a breakable wall concealed behind what seem to be dead ends. Inside, the crest awaits at the very end.
Upgrading Your Crests
Progressively, Eva can enhance your crests, boosting their effects. These upgrades typically require rosaries and are accessible at the Weavenest Atla, located in Moss Grove. You need to disable the Twisted Bud infection first and reach her chamber to gain her blessings, including increased attack power and tool integration.
Once all crests are gathered and upgraded, you can return to Eva, accept her final wish, and receive the Sylphsong. This ability allows passive Silk regeneration at benches, similar to the Blessing from Salubra in the original game.