Select Language:
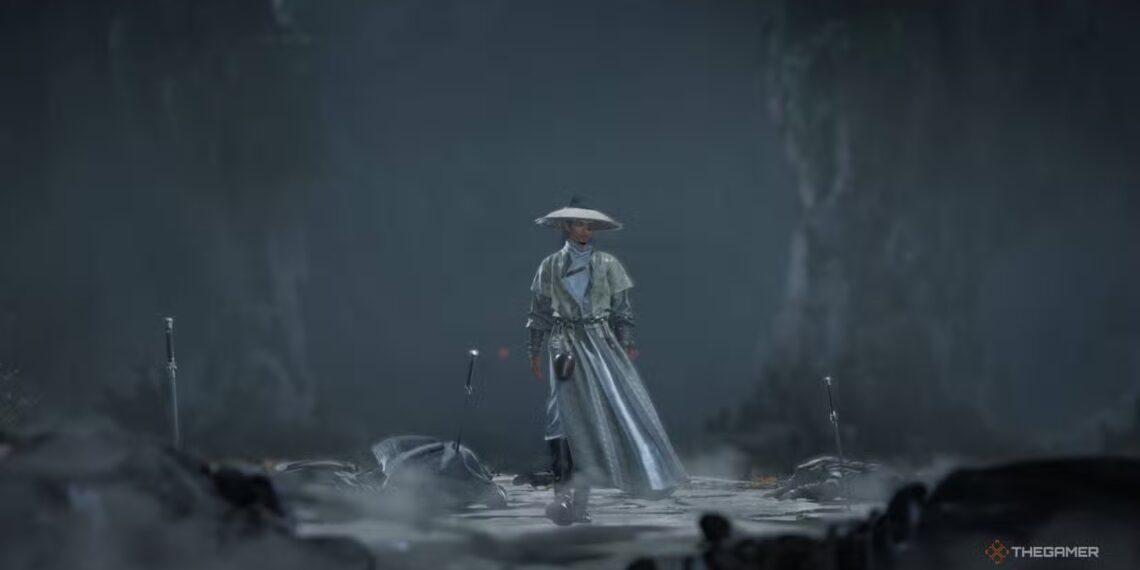
There are new stories to discover in every part of Where Winds Meet. Many of these stories are self-contained, yet they provide glimpses into a larger world, connecting characters and locations through subtle threads. One such place is the mysterious Palace of Annals.
Apart from the unusual presence of soldiers from the Aureate Pavilion and the strange absence of the Hanging Blade members who previously lived there, your goal is to uncover what happened. You also need to understand why Lucky Seventeen remains behind to protect the legacy of those who cared for him. To find these answers, you’ll have to defeat him.
Lucky Seventeen is located in the Palace of Annals, right at the very end. To reach him, you first need to find a way to access the lowest level, which involves some detective work. After entering the Palace area, head straight to the center. Using a Grand Lightness skill to avoid many enemies around you is a good idea. Once inside the main building, investigate thoroughly. Your character will guide you to where you need to go.
After exploring and breaking through damaged flooring to access a locked room, you’ll hear someone rummaging behind a bookcase in a hidden space. Activate the secret switch in the current room to reveal a staircase heading downward. Defeat the enemy lurking there, then descend the stairs to the lowest level, where Lucky Seventeen still works tirelessly, forging countless weapons.
Lucky Seventeen is enormous—much larger than an average person. Spending so much time forging weapons has built up their muscles. Because of this, Lucky Seventeen doesn’t feel the need to use the swords they’ve made; their body alone is enough of a weapon. They mainly attack with fists and feet and occasionally strike with a large piece of scrap metal they carry in the second phase. Here’s what to watch for and how to defeat them.
Lucky Seventeen also has a smaller, quick phase shift during their second stage once their health drops enough, so stay alert for that change.
Phase One
In the first phase, the boss relies on punches and kicks. Lucky Seventeen moves slowly but can attack quickly and with little warning. Watch for him dashing at you to close the gap; this fast attack requires you to dodge or block. After they dash, they pause briefly, giving you a chance to strike. Use this window to deal damage, as they often use this move multiple times.
They have a glowing gold arm attack where their arms glow before slamming into the ground, tearing up the terrain. During this attack, the boss mostly faces forward, giving you time to sneak behind them and hit hard.
Sometimes, Lucky Seventeen’s skin turns red, and they slam the ground. This move is straightforward and can be deflected. They often follow the slam with a quick, hard-to-see attack, so be ready to block immediately afterward.
Their attack sequence mainly includes a combo of punches and kicks executed in quick succession, sometimes with them crouching low and lunging with a leg swipe. Followed by up to four hits, you should stay close and deflect these strikes.
Tip: Although rare, Lucky Seventeen can fake attacks, canceling one move to quickly switch to another. It’s safest to block or deflect the last second rather than in anticipation.
Phase Two
In the second phase, after getting impaled by swords they forged while trying to save the dragon statue, Lucky Seventeen fights using a large piece of scrap metal and more ranged attacks. They begin by stabbing their scrap into the ground and flinging swords at you. This projectile attack is fast and tricky to block, so dodging is often better.
The boss’s main attack involves a mix of slashes. They start with a sideways sword slash, then either follow up with multiple quick slashes or jump into the air to land a ground slam attack. The slam has a small area of effect—dodging or moving to the side can avoid damage entirely.
Lucky Seventeen also employs a forward kick, often followed by two more swings of their weapon. The interval between swings is enough for you to land a few quick hits if you have faster weapons, then dodge or block.
They can perform a glowing gold attack similar to the first phase’s, but with greater reach. Staying behind them and attacking remains effective. Additionally, they might do a quick shove with their large weapon to stagger you, opening up for follow-up strikes. When you see them holding both hands on the weapon, prepare to dodge or block swiftly.
When their health dips below 50%, Lucky Seventeen leaps away and coats their weapon with a poisonous mist. Their attack patterns stay the same but connecting or missing a block now has more severe consequences, including poisoning. Keep your health topped up to survive this part.
Despite the move differences between phases, the boss’s attack timing remains fairly predictable, so stick to similar strategies throughout. After defeating Lucky Seventeen, grab the Buddha’s Light Jade—Yang from the dragon statue and finish the quest.
Note: If you explore too far away from the arena and then return, the Palace of Annals encounter will automatically restart, triggering a rematch against Lucky Seventeen.


