Select Language:
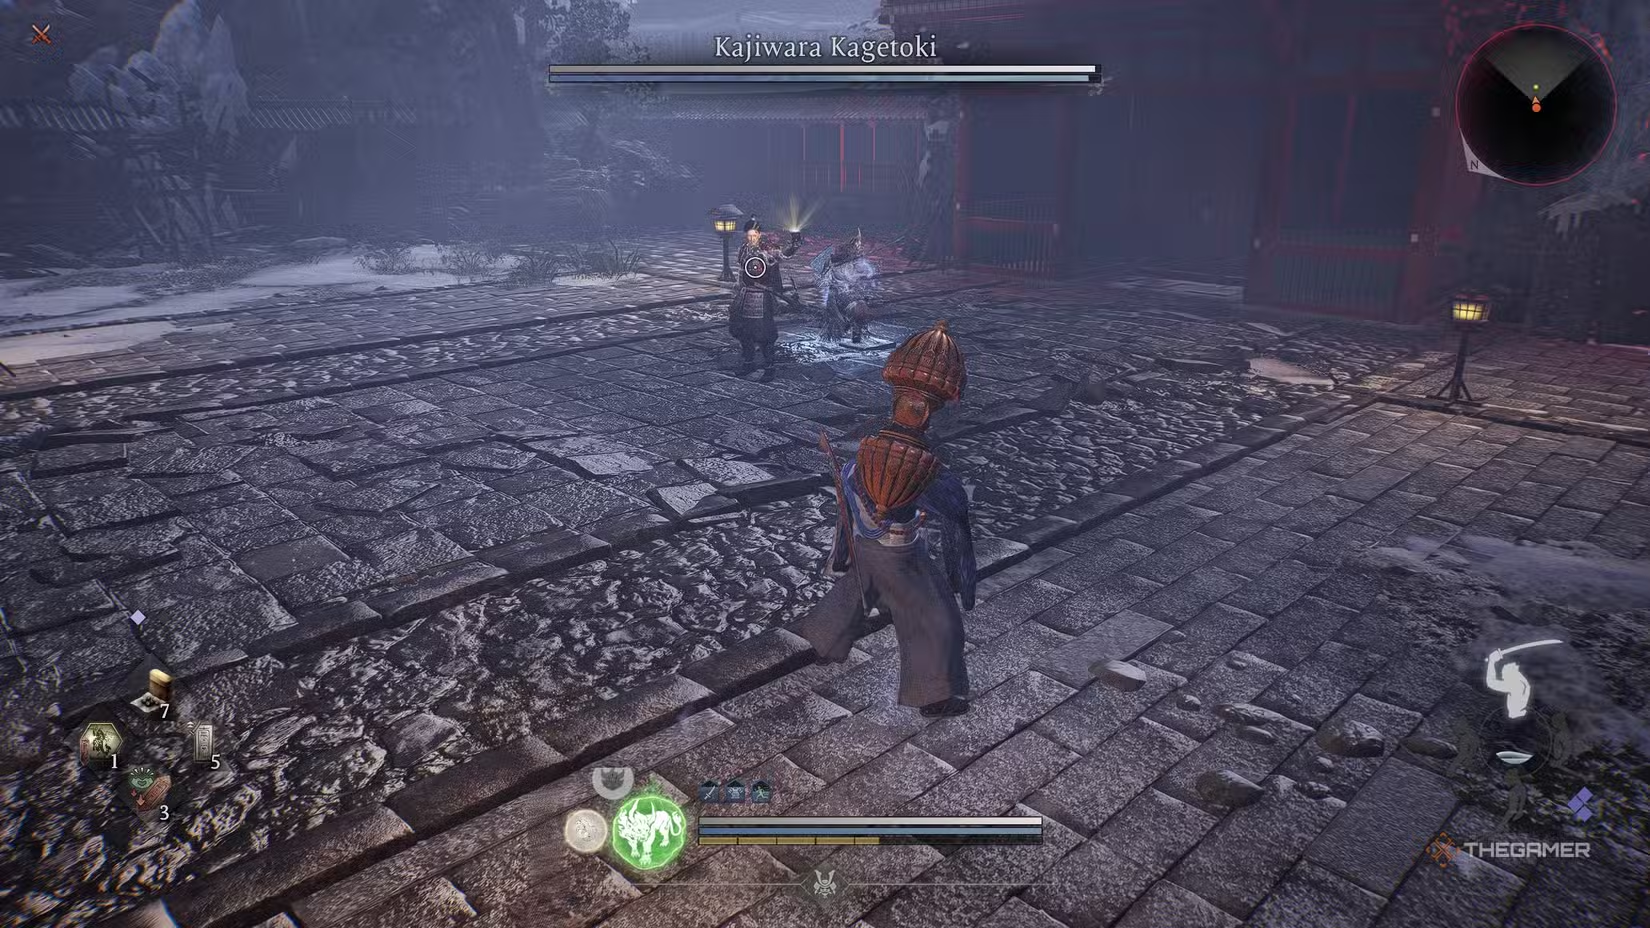
Kajiwara Kagetoki is one of the most frustrating bosses in Nioh 3, not because he’s hard to beat, but because of how many annoying moves he can throw out during the fight. After spending fifteen minutes chasing him around the arena while he kept summoning yokai like we’re in a Pokémon battle, I’m not feeling up to writing a fancy intro. So, here’s what you need to know to beat Kagetoki Kagetoki.
How to Defeat Kajiwara Kagetoki
Kagetoki wields two hatchets and focuses on keeping you at a distance while summoning various yokai to attack you. Although you will have an NPC helper, Kagetoki often ignores them and targets you with hatchets from afar.
He’s very mobile, preferring quick hit-and-run attacks instead of standing toe-to-toe. This makes heavy weapons like axes harder to use because Kagetoki likes to retreat after just a single hit. If you have a ninja build, now’s the time to use it—staying close to him is key to making this fight easier.
Equip talismans that boost your damage, reduce his ki, or lower his armor. Using electric-based yokai and weapons can slow him down if you can apply those debuffs. The main goal is to limit his mobility so you can keep pressuring him without worry.
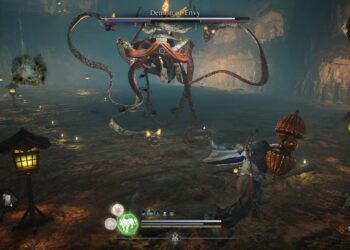
Kagetoki summons yokai that pop out, attack briefly, then vanish. Here’s a quick rundown of the yokai he can bring in:
| Name | Attack Description |
|---|---|
| Wasp | Summons two wasps that sting repeatedly, inflicting Poison if hit. Antidotes can cure this. |
| Yamabiko | Summons a single yamabiko that fires three sonic air blasts rapidly, which can be blocked. |
| Ningyo | Launches a crescent-shaped water projectile, easy to dodge since it appears from the ground. |
| Giant Wolf | Appears and charges straight at you, doing high damage. Blocking is best as it attacks immediately. |
| Mezuki | Kagetoki’s strongest summon, a boss from early game. Charges at you with horns, then spins with a club. Can be blocked or dodged. Only summons if his health drops below half. |
When fighting Kagetoki, the key is to know when it’s safe to rush in for strikes. Since he throws hatchets, most of his attacks involve launching them at you, which can make closing the distance tricky. Keep an eye out for a quick blue flash and a sound—this signals he’s charging a throw. When you see it, move in a half-circle around him to dodge the hatchets, then capitalize on his moment of vulnerability.
He also uses a Burst Break move where he hurls both hatchets horizontally, which then return to him after traveling a distance. Breaking these projectiles during their flight stuns him briefly, allowing you to land easy hits. He uses this move quite often, so always look for opportunities to counter with a Burst Break.
If you want a quicker win, summoning another friendly player can turn the tide, even if it’s not the most honorable approach. Kagetoki tends to ignore your ally, who can help deplete his ki and sometimes even stunlock him if he tries to grab you.
Kagetoki doesn’t have a Dark Realm, but when his health drops below half, he starts summoning Mezuki yokai. These physical attacks are easy to block, and using your Living Artifact during this phase can help deal with the increased summons. Watch for him buffing his weapons with elemental damage—water or electric—making his attacks more dangerous and capable of inflicting status effects. When this happens, switch to a defensive stance and attack only when he’s charging or summoning yokai, as he’ll be locked in animations during these times.
Most of Kagetoki’s hatchet attacks are simple to dodge since they involve quick throws followed by retreats. Limit yourself to one or two strikes at a time because he’ll often counterattack if you go too reckless. Patience and endurance are your best tools here—don’t get greedy. Punish him for his constantly tossed weapons, and you’ll have a much better shot at victory.