Select Language:
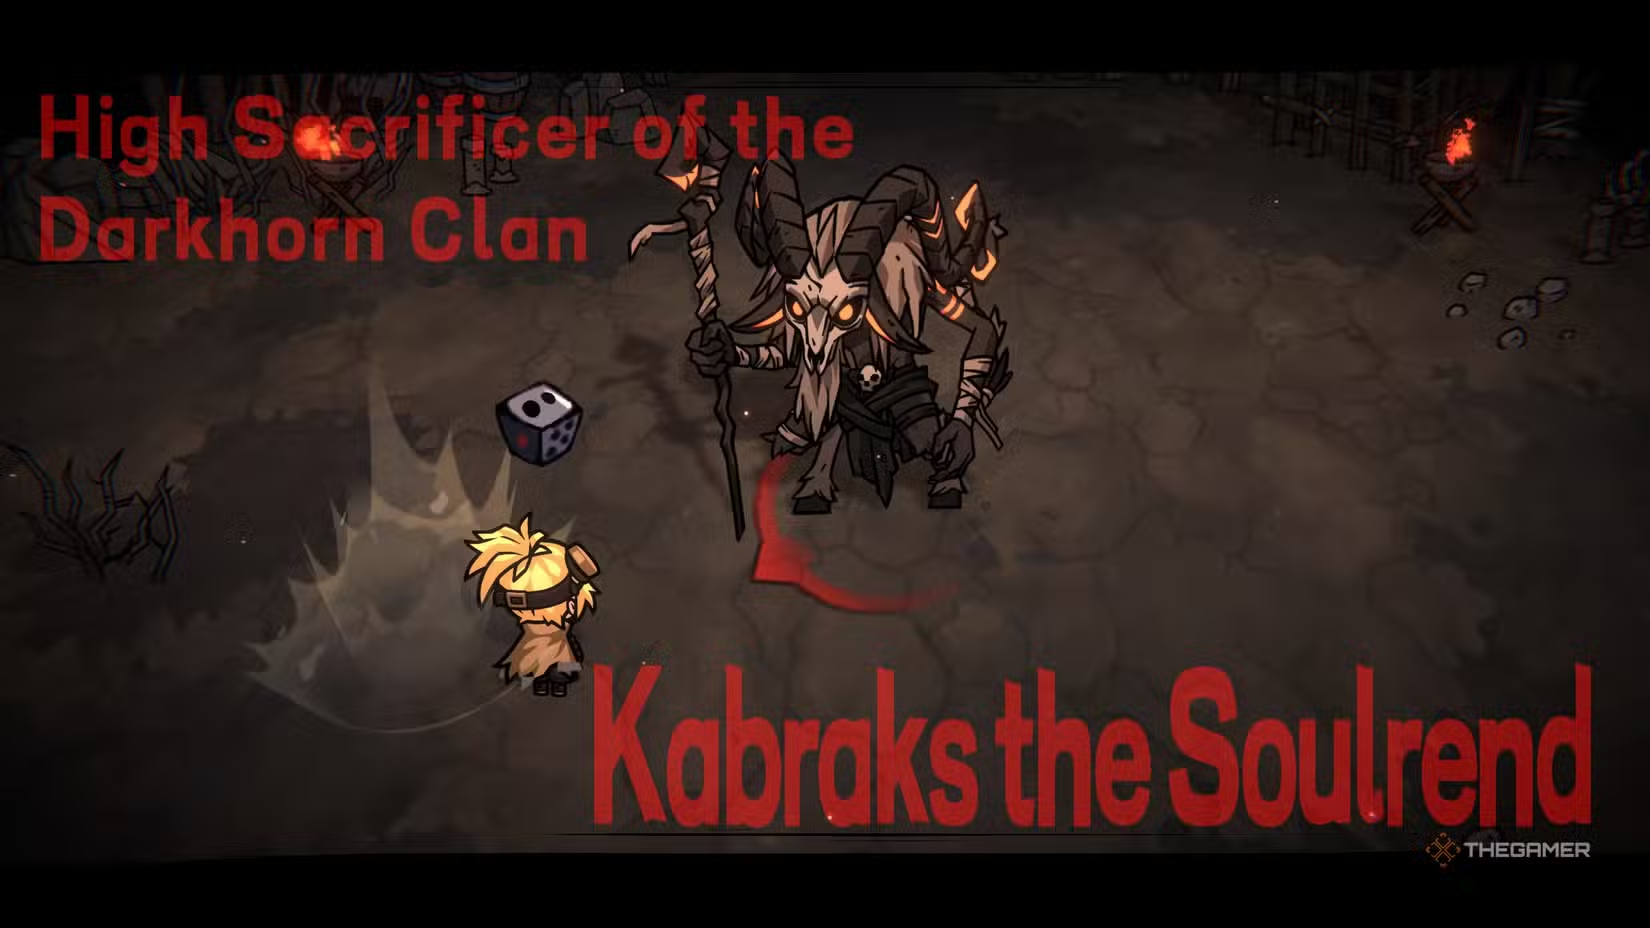
Cinderia features a storybook visual style with a distinctive look, drawing heavily on fairy tale inspirations for its boss battles, while also adding its own unique touches.
Kabraks the Soulrend, the Darkhorn Clan’s High Sacrificer, is a large goat that, at times, resembles Baphomet and possesses formidable powers to match his appearance.
Location of the High Sacrificer of the Darkhorn Clan Fight
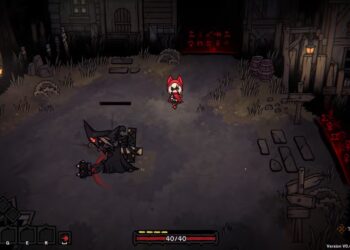
Kabraks is the third boss in the game, found in the Mines, following encounters with the Ashen Adjudicator in the Town Ruins and the Fairy Queen in the Lightless Forest. Make sure you’re well-prepared before facing him. He is very agile and uses several supportive abilities that require quick mobilization across the arena and delivering high damage swiftly.
High Sacrificer of the Darkhorn Clan Moveset
His moveset varies significantly between phases. In the first phase, battles take place across the entire arena with strategic positioning involved. In the second phase, the fight becomes more like a fast-paced boxing match centered around swift movements.
Phase One:
The boss places totems around the arena while chasing you. This is a reversed scenario compared to the Fairy Queen fight, with you running to outpace him and destroy the totems.
Attacks include:
- Chasing Strike: The boss follows you and hits with his staff once he reaches you. Wait until he gets close before dodging.
- Radial Slash: A quick spin attack hitting all directions with his staff, often used after the Chasing Strike.
- Totem Summon: The boss calls totems around the arena; these need to be destroyed quickly, especially before they explode.
- Ground Burst: Summons a red circle beneath you that moves with you and then explodes. Moving away can avoid damage.
- Totem Burst: Triggers a totem to explode after a brief red flashing, releasing a shockwave. Multiple totems can burst in quick succession, making the fight more challenging.
Phase Two:
Triggered when the boss drops to approximately 30% HP, this phase narrows the arena by summoning totems that form a fighting space and lock you in with the boss. You cannot escape until the fight ends. During this phase, he also summons a weaker enemy to help him, which should be defeated promptly. His attack pattern simplifies, replacing some moves with a combo of slashes and slams, attacking only in the direction he faces.
How to Defeat the High Sacrificer of the Darkhorn Clan
In the initial phase, focus on destroying the totems about half the time while dealing damage to the boss. Prioritizing totems is crucial because the Totem Burst attack is especially destructive. Be cautious of glowing red totems with full health—resist the urge to destroy these; instead, prepare to dodge their explosion while continuing to attack the boss.
Watch out for the Chasing Strike; dodging too early can cause the boss to catch up and land a hit. Also, dodge away from Radial Slashes rather than into them to avoid damage.
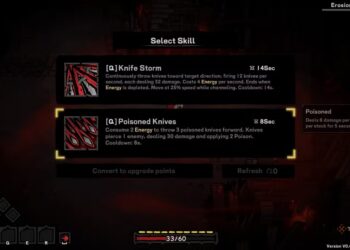
When transitioning to the second phase, remember his moveset is more straightforward. He can summon a weak enemy, which should be defeated immediately. Timing backstabs is particularly effective here, as his slow movements and long recovery windows allow for critical hits. Enhancing damage through accessories that increase critical chance or backstab damage helps maximize your effectiveness.
Once the enemies are down and the boss’s HP is depleted, you’re ready to move forward.