Select Language:
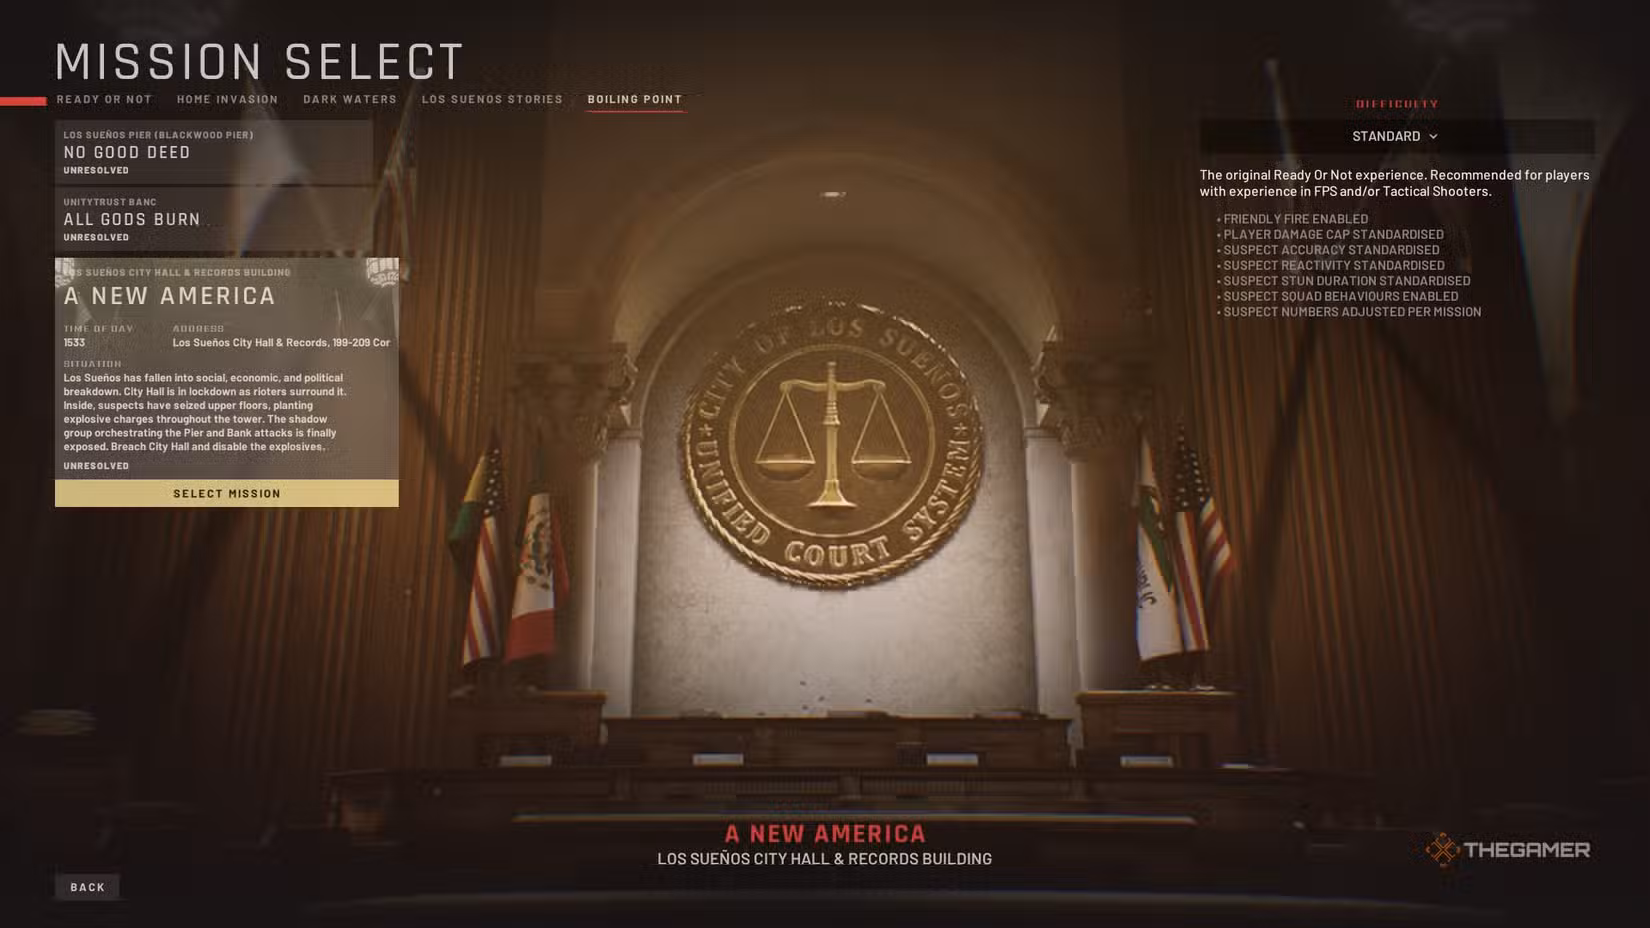
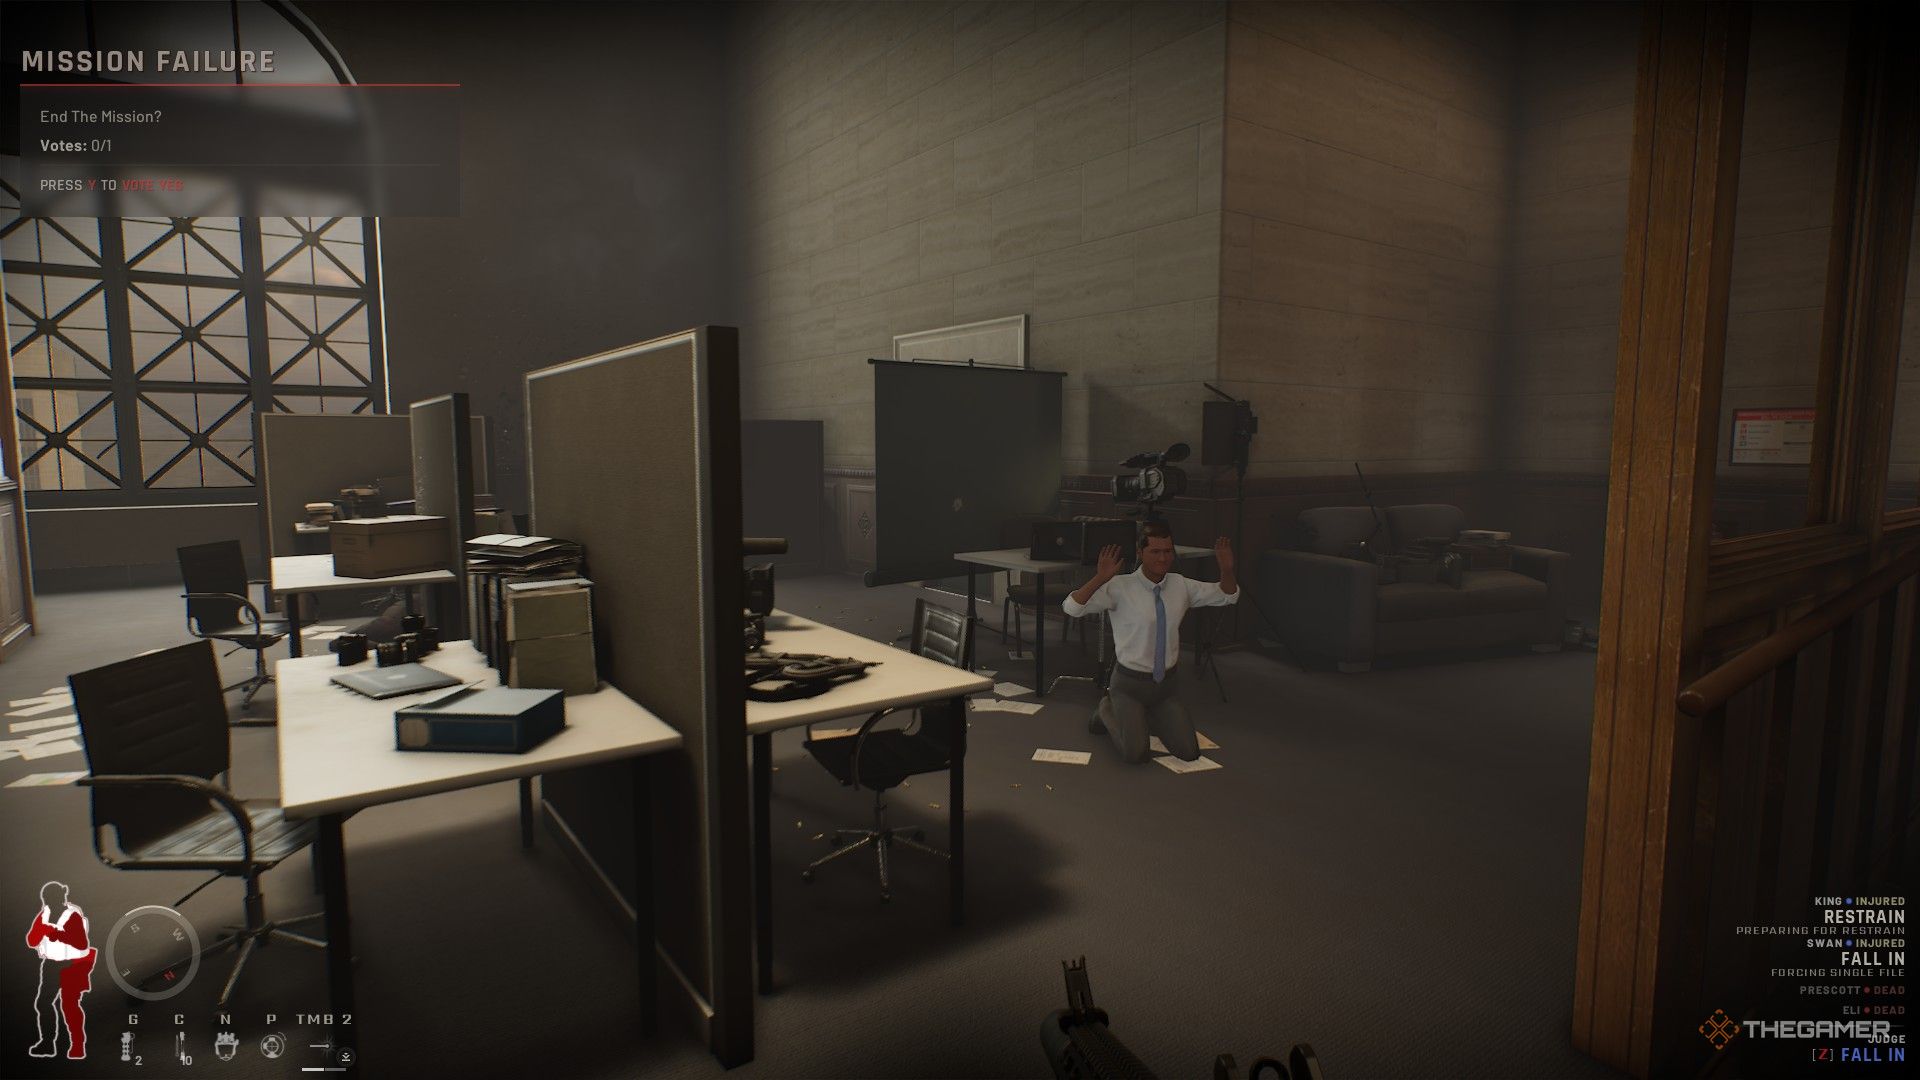
The final mission among the three available in Ready or Not: Boiling Point takes you to a large, multi-room location filled with threats. This is the most challenging mission, demanding your best skills and teamwork. Be prepared for intense moments.
This guide covers every main and secondary objective, important points of interest, details about the VIP suspect, and how to trigger the secret bad ending if things go wrong in a specific way. Here’s how to complete “A New America” in Ready or Not: Boiling Point.
All A New America Objectives
You have three main goals: restore order to the chaos (around 20 suspects), rescue all civilians (about 10), and apprehend the VIP suspect.
Keep in mind that most suspects will be well-armed and dangerous. Make sure to come equipped with your favorite weapons and protective gear.
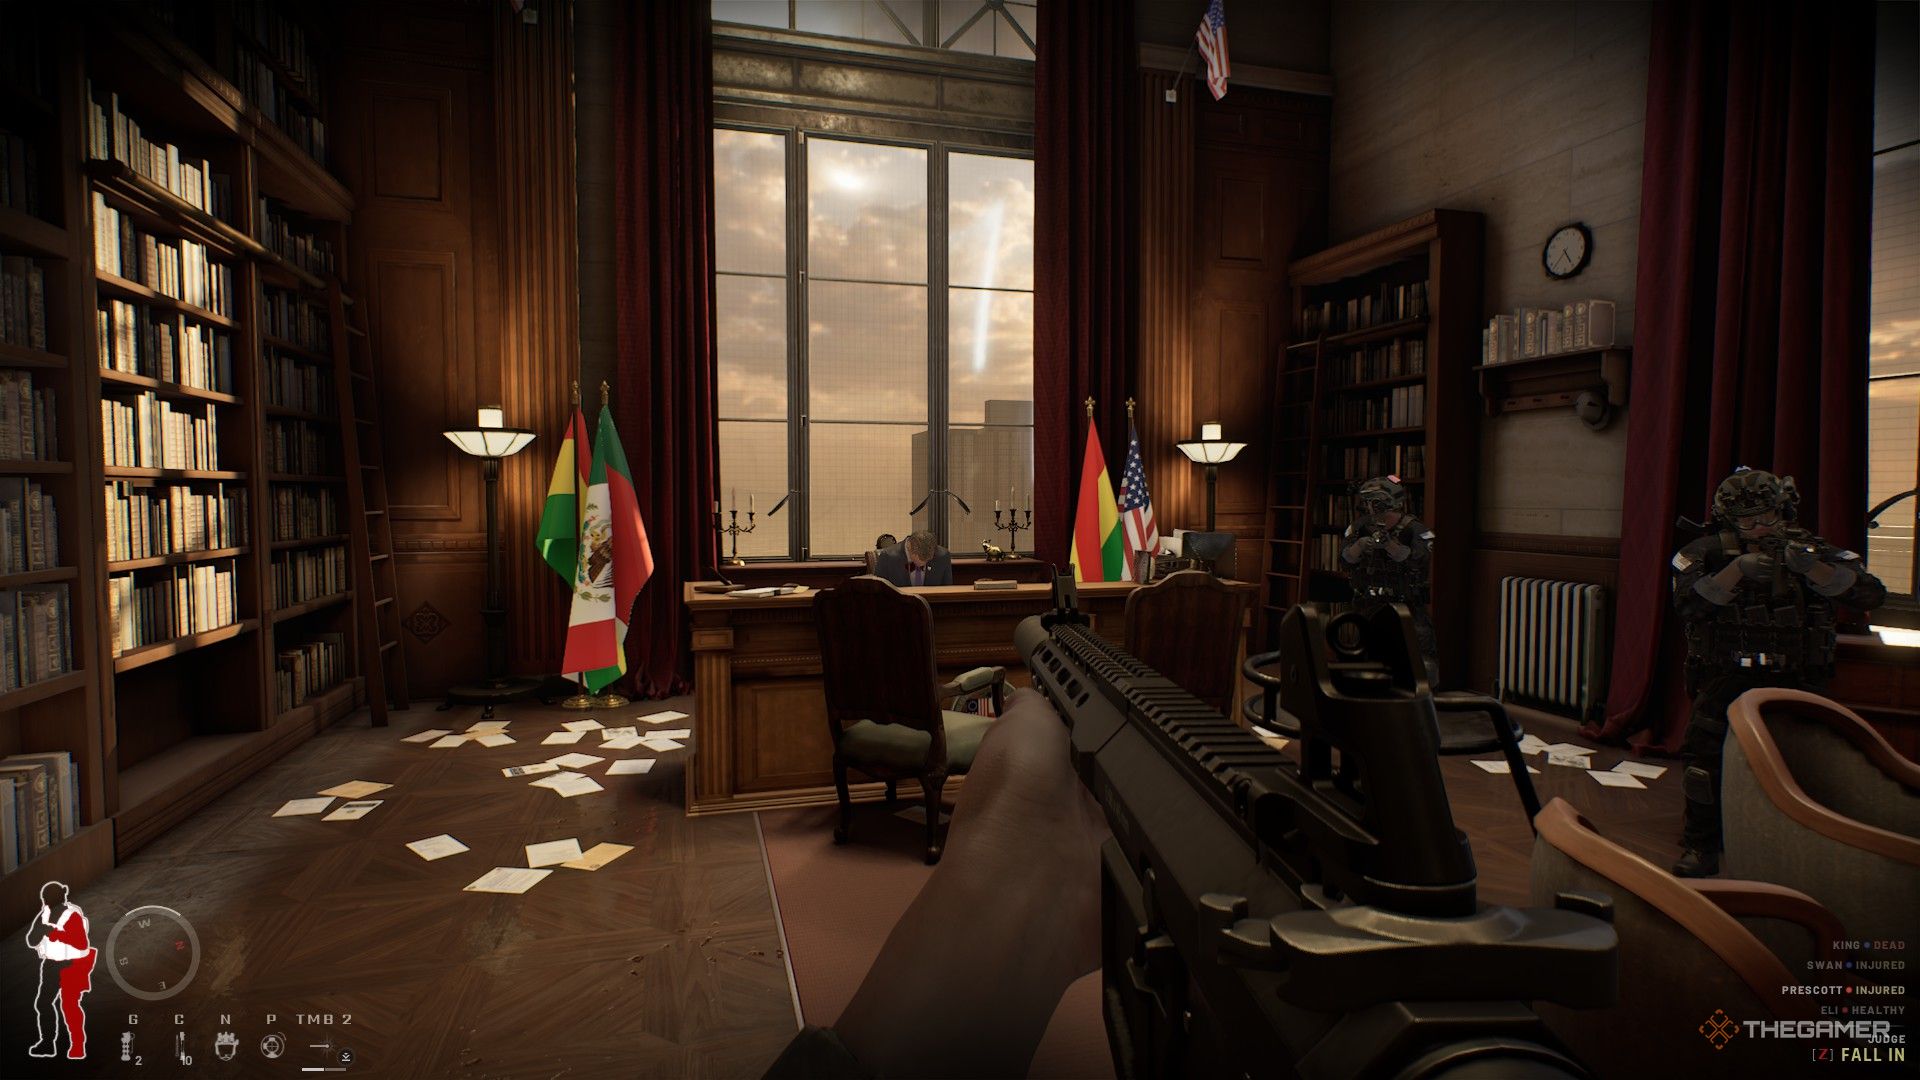
For the VIP suspect, you’ll need to reduce his health in the Courtroom located on the top floor. Patience is key because he carries a detonator and will cause the bomb to explode if he activates it. Be mindful that he might trigger this before you even reach him if the mission drags on too long—about three minutes after intercepting the detonator’s signal is a good estimate, even though there’s no visible timer.
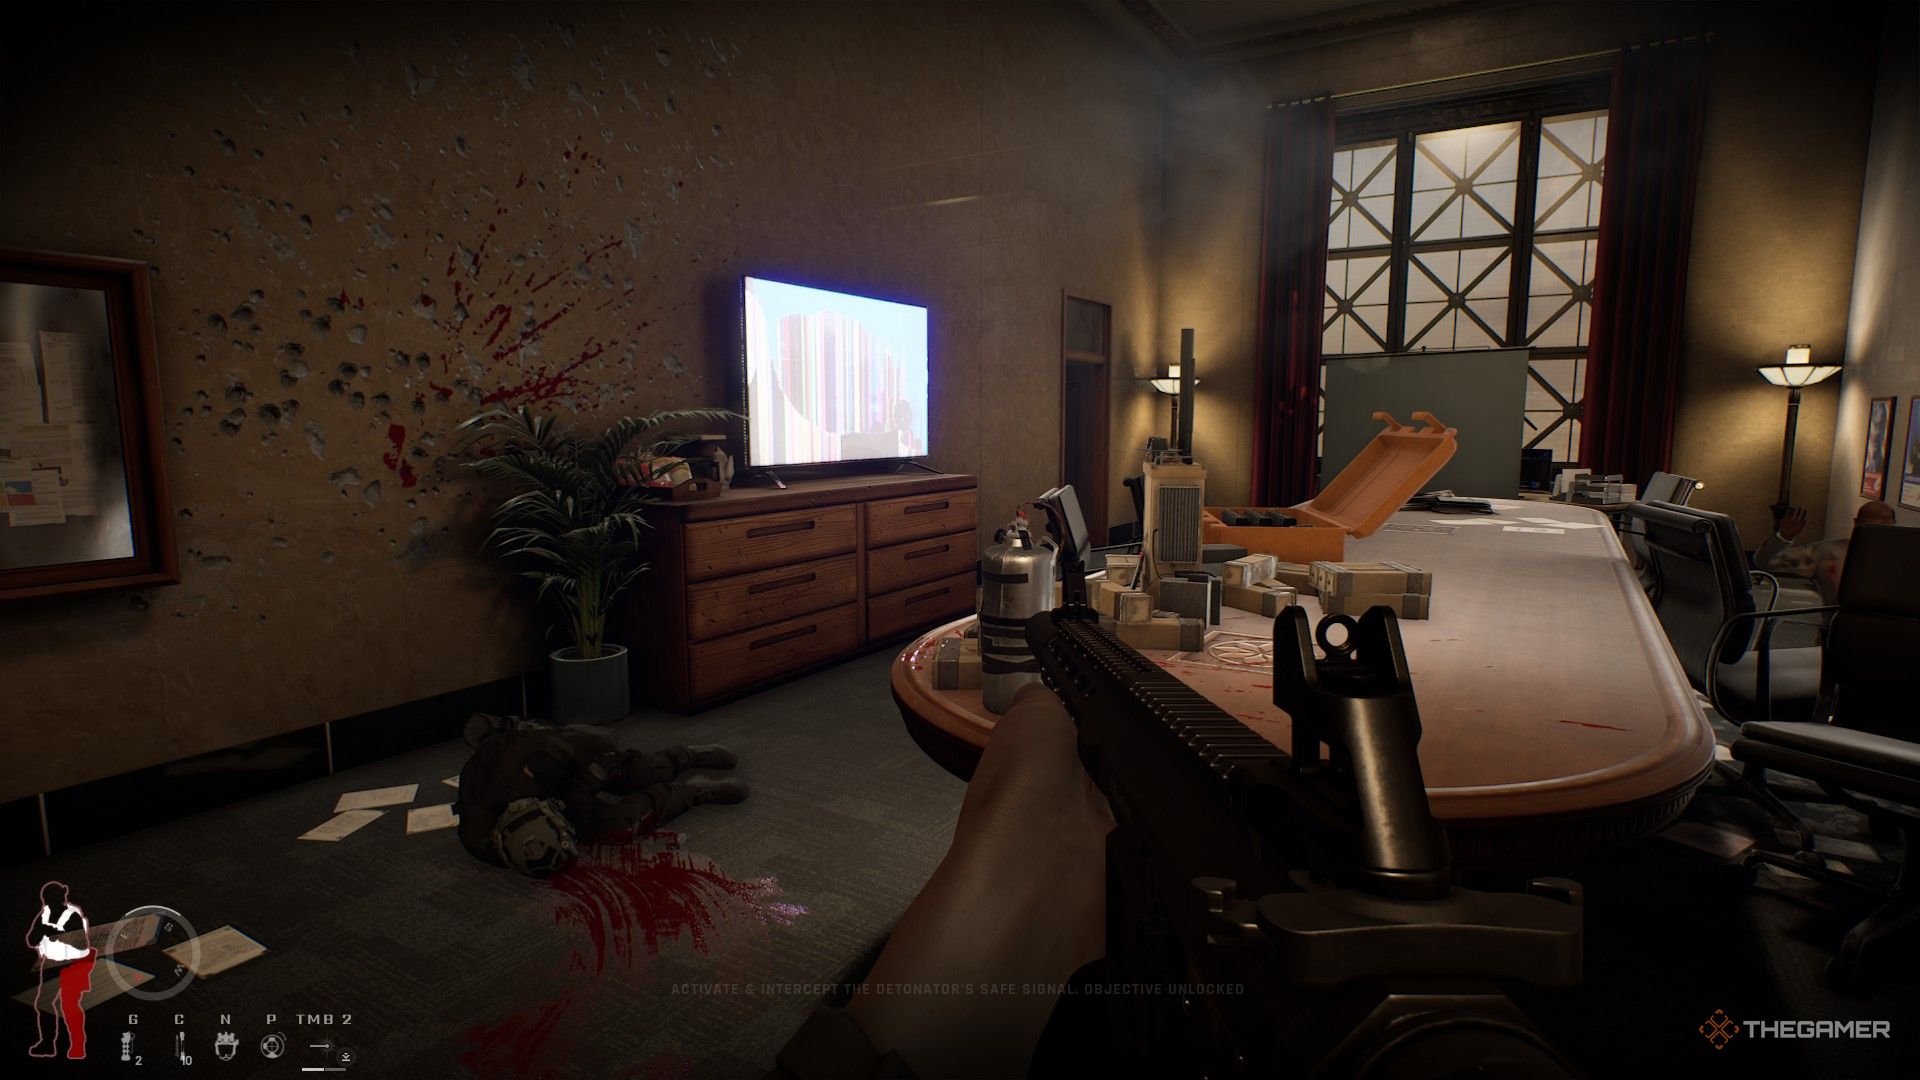
Additionally, a soft objective involves locating and intercepting the detonator’s safe signal. This is always on the 21st floor, and you must interact with the green screen near the bombs after giving your oral report.
All A New America Points Of Interest
The maps for the 20th, 21st, and 22nd floors are marked with symbols: skulls for suspects, stars for civilians, and chests for soft objectives, VIP suspect, or interactive objects. The ground floor doesn’t have a map because the in-game map is ineffective, and there’s little to note there.
If maps aren’t visible, here are the key points:
| Floor | Point of Interest | What’s There | Picture |
|---|---|---|---|
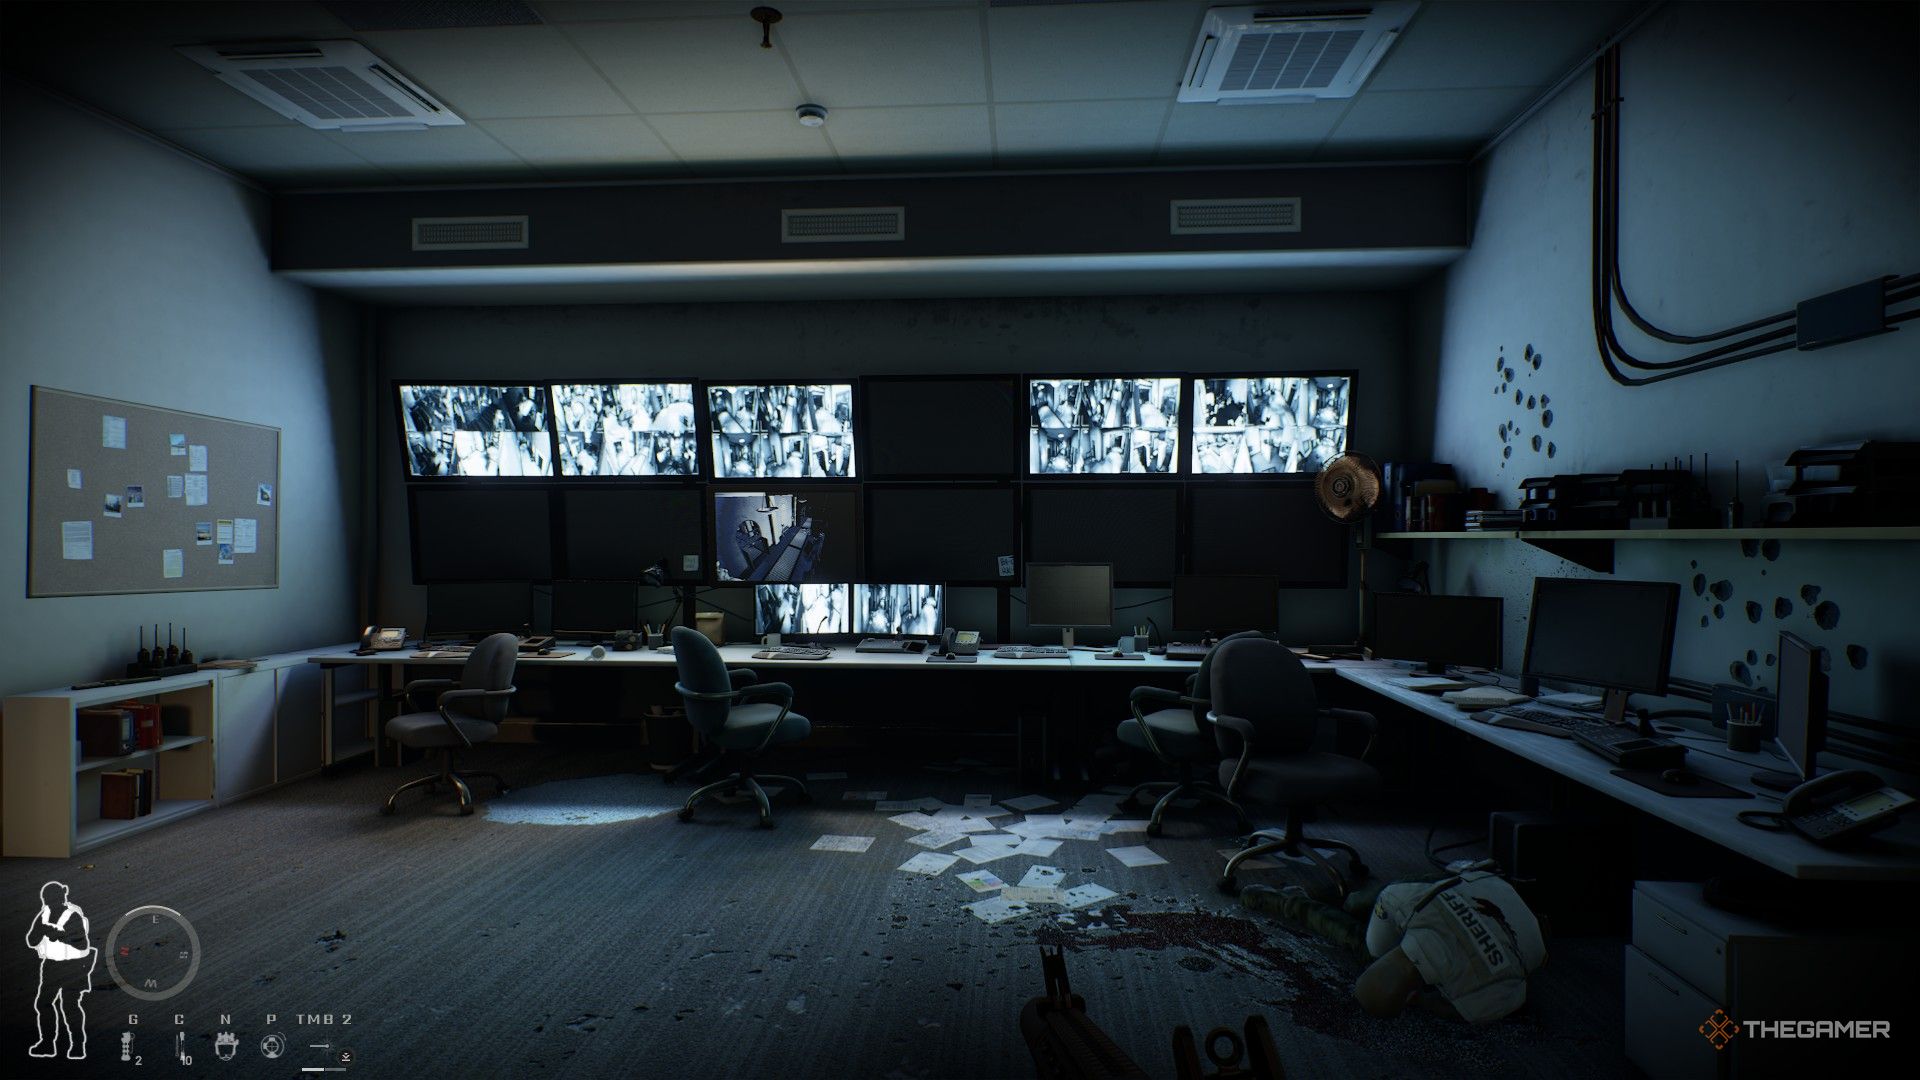
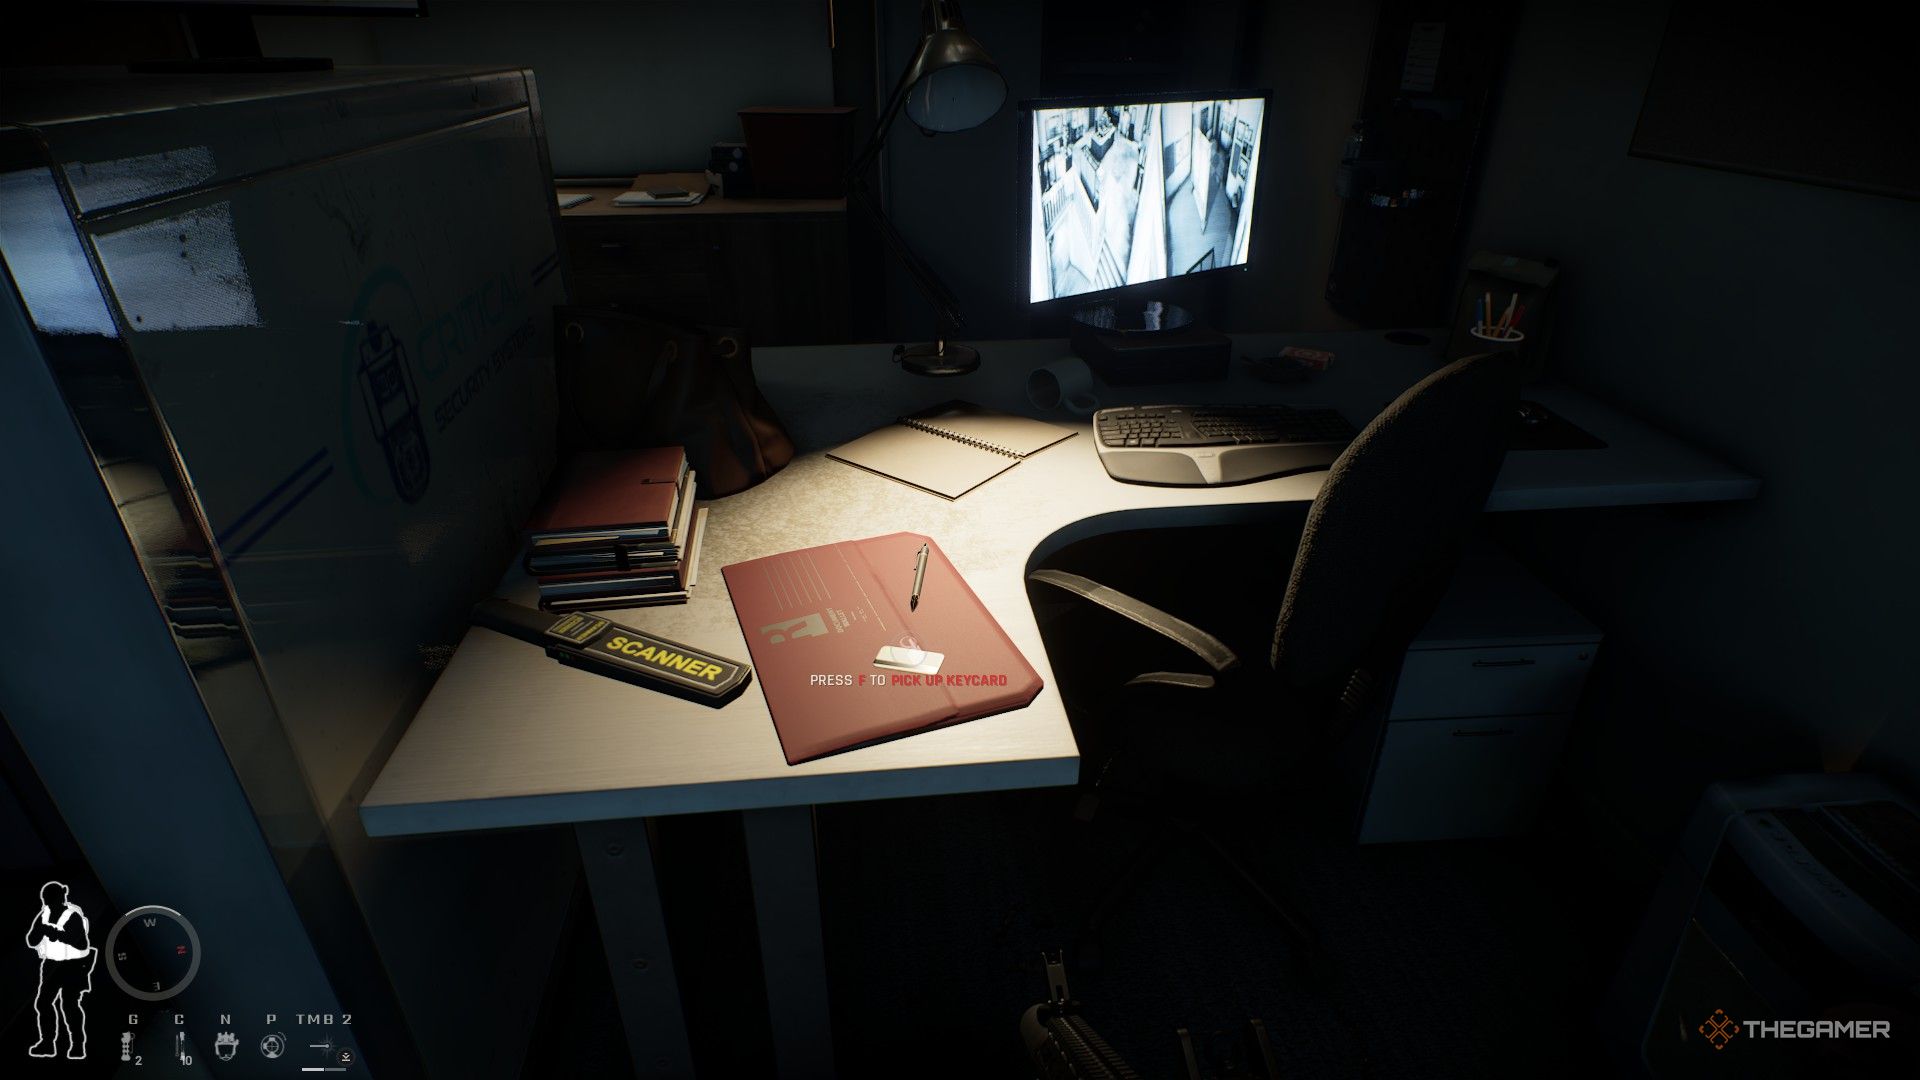
| 19th Floor | Security Room | Always contains a keycard on the left desk near the fallen officer | Image |
| Public Works Office | May contain a civilian if present | Image | |
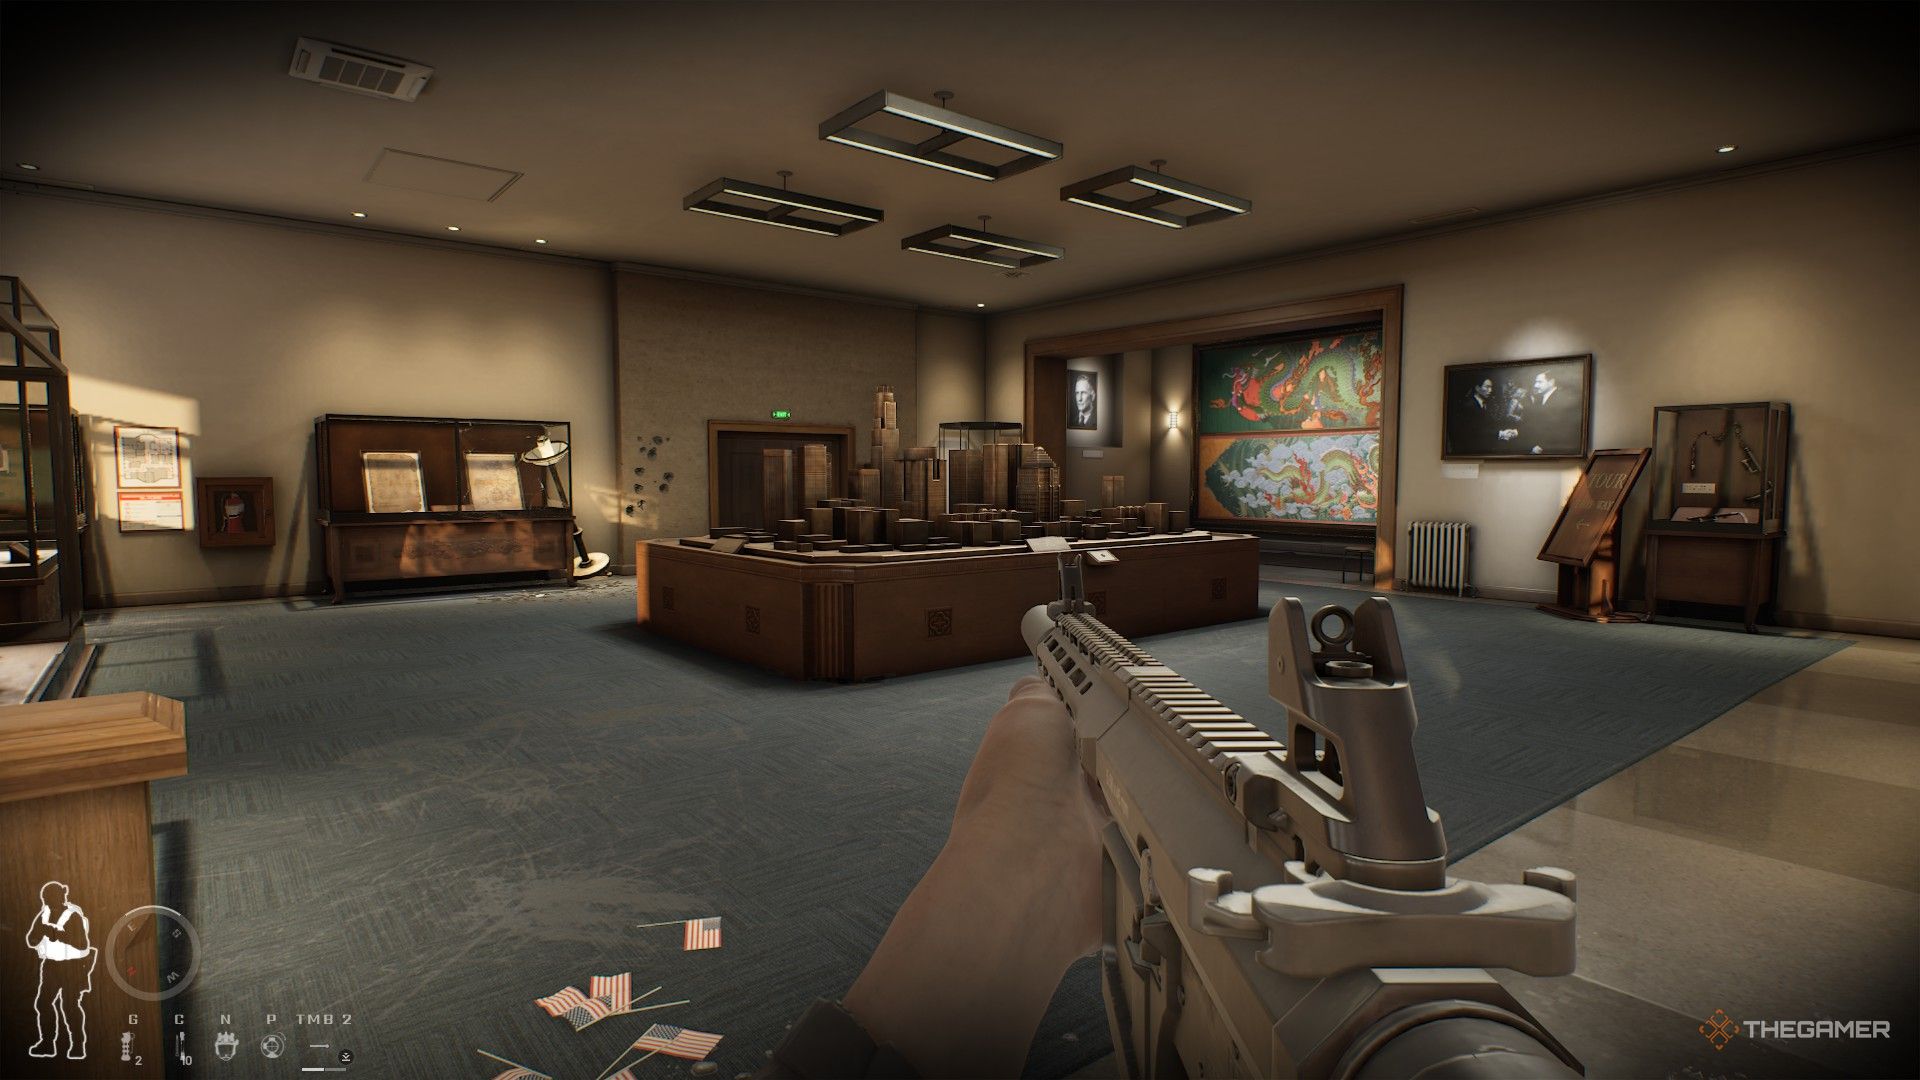
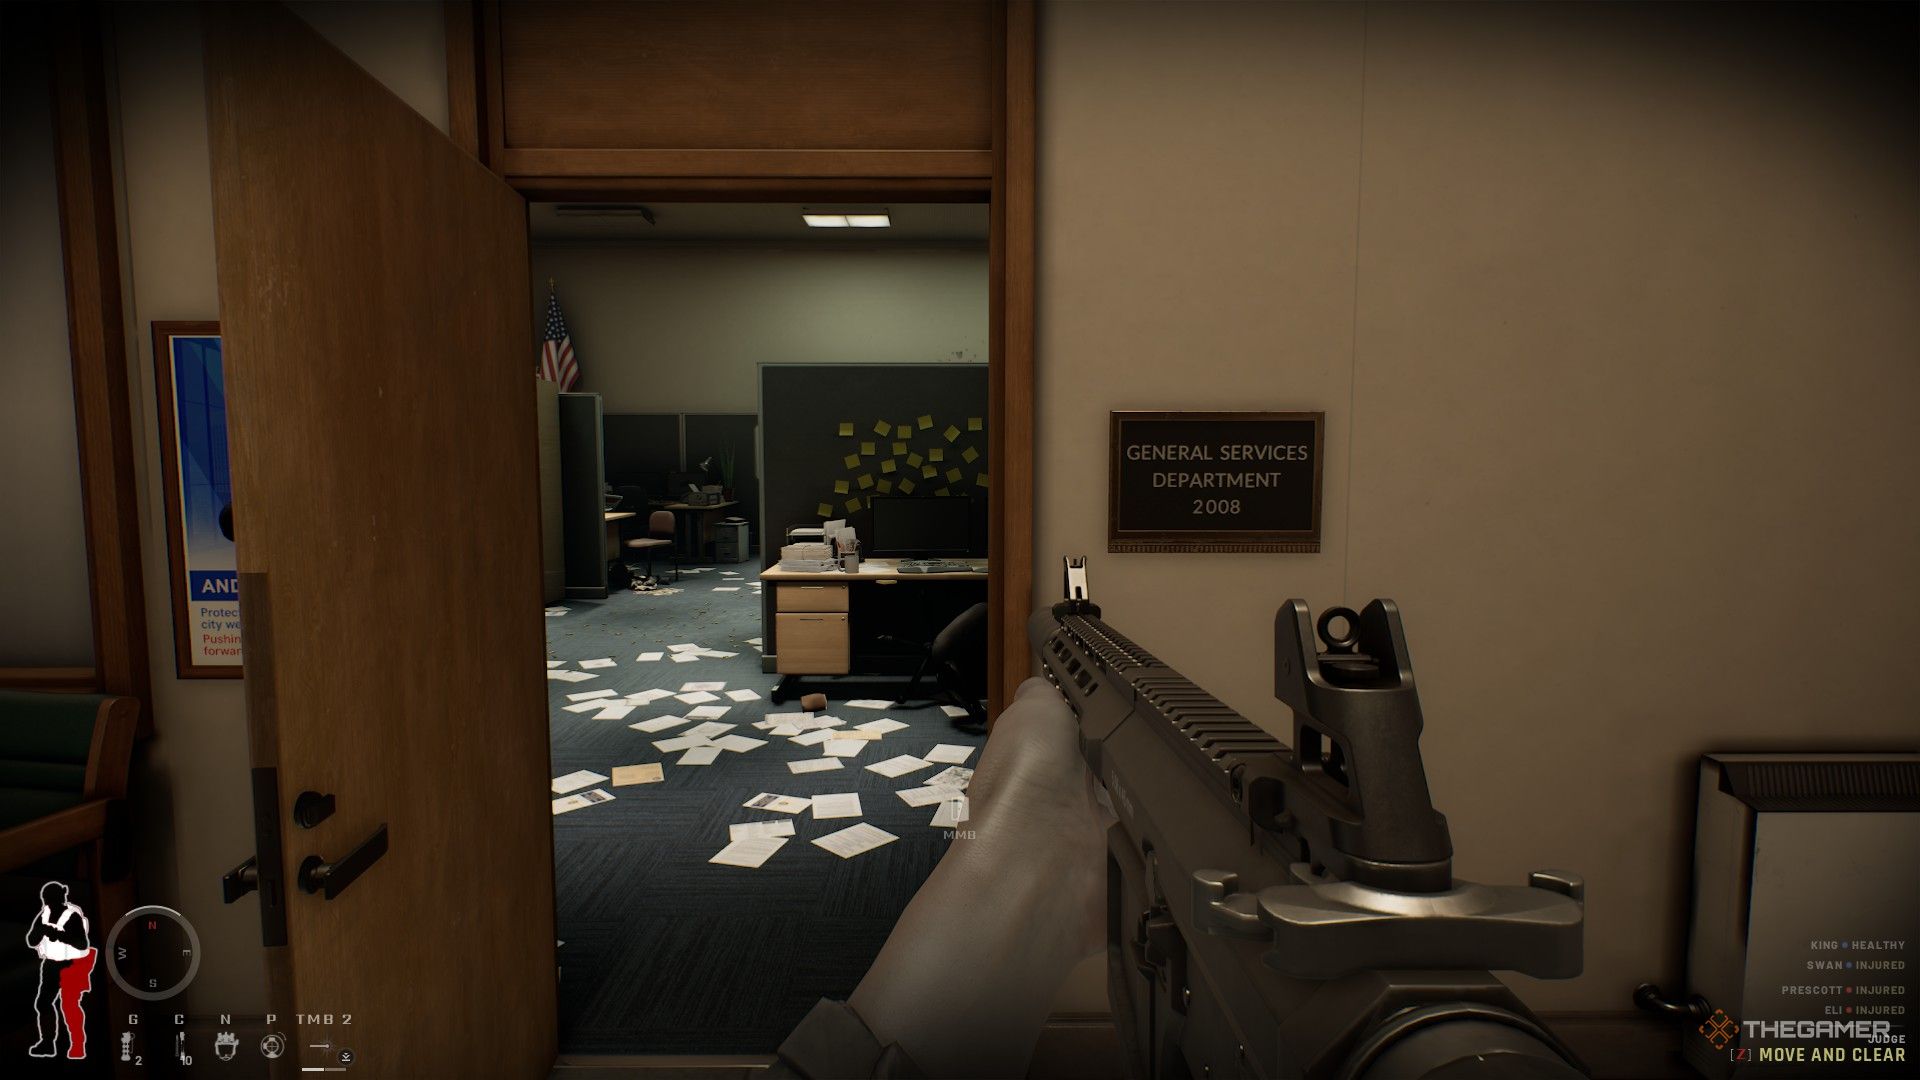
| 20th Floor | City Exhibition | Starting point; potential hostile presence | Image |
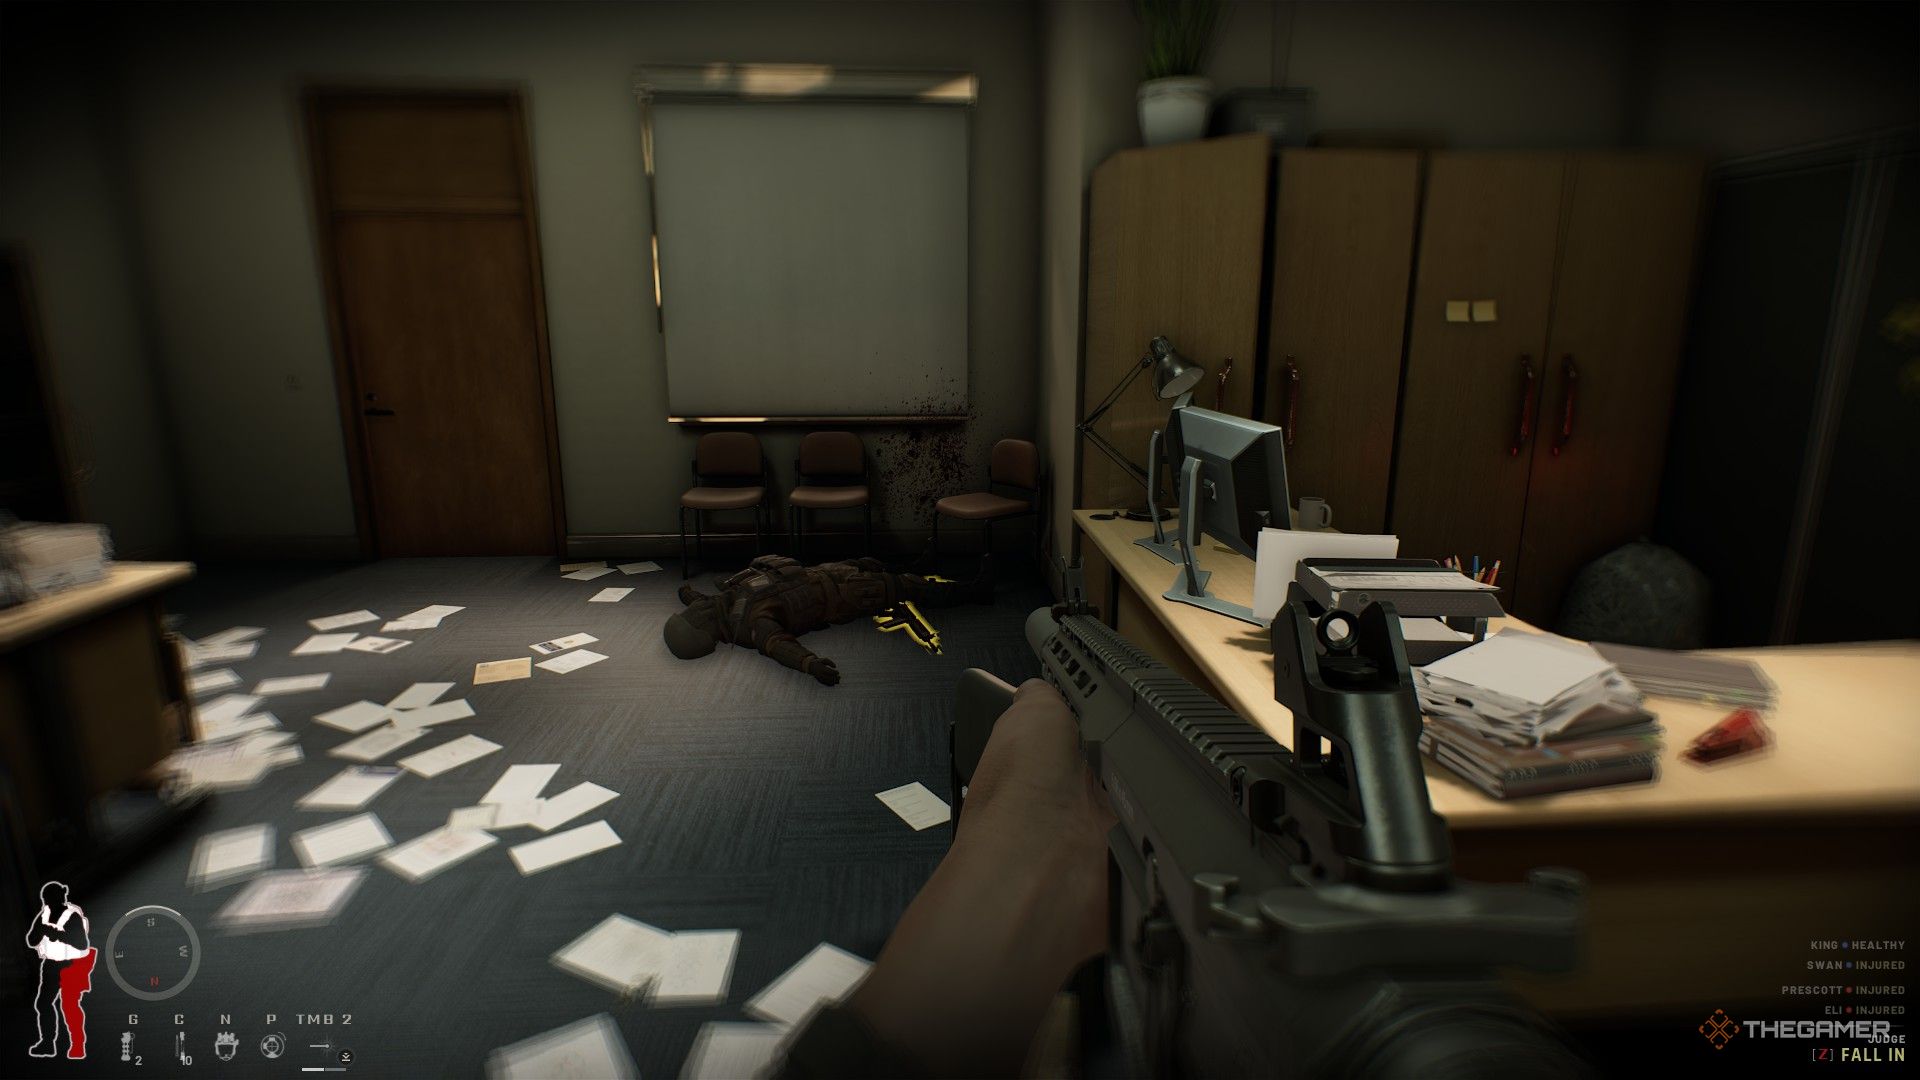
| East Offices | Often has multiple enemies; keycard spawns here | Image | |
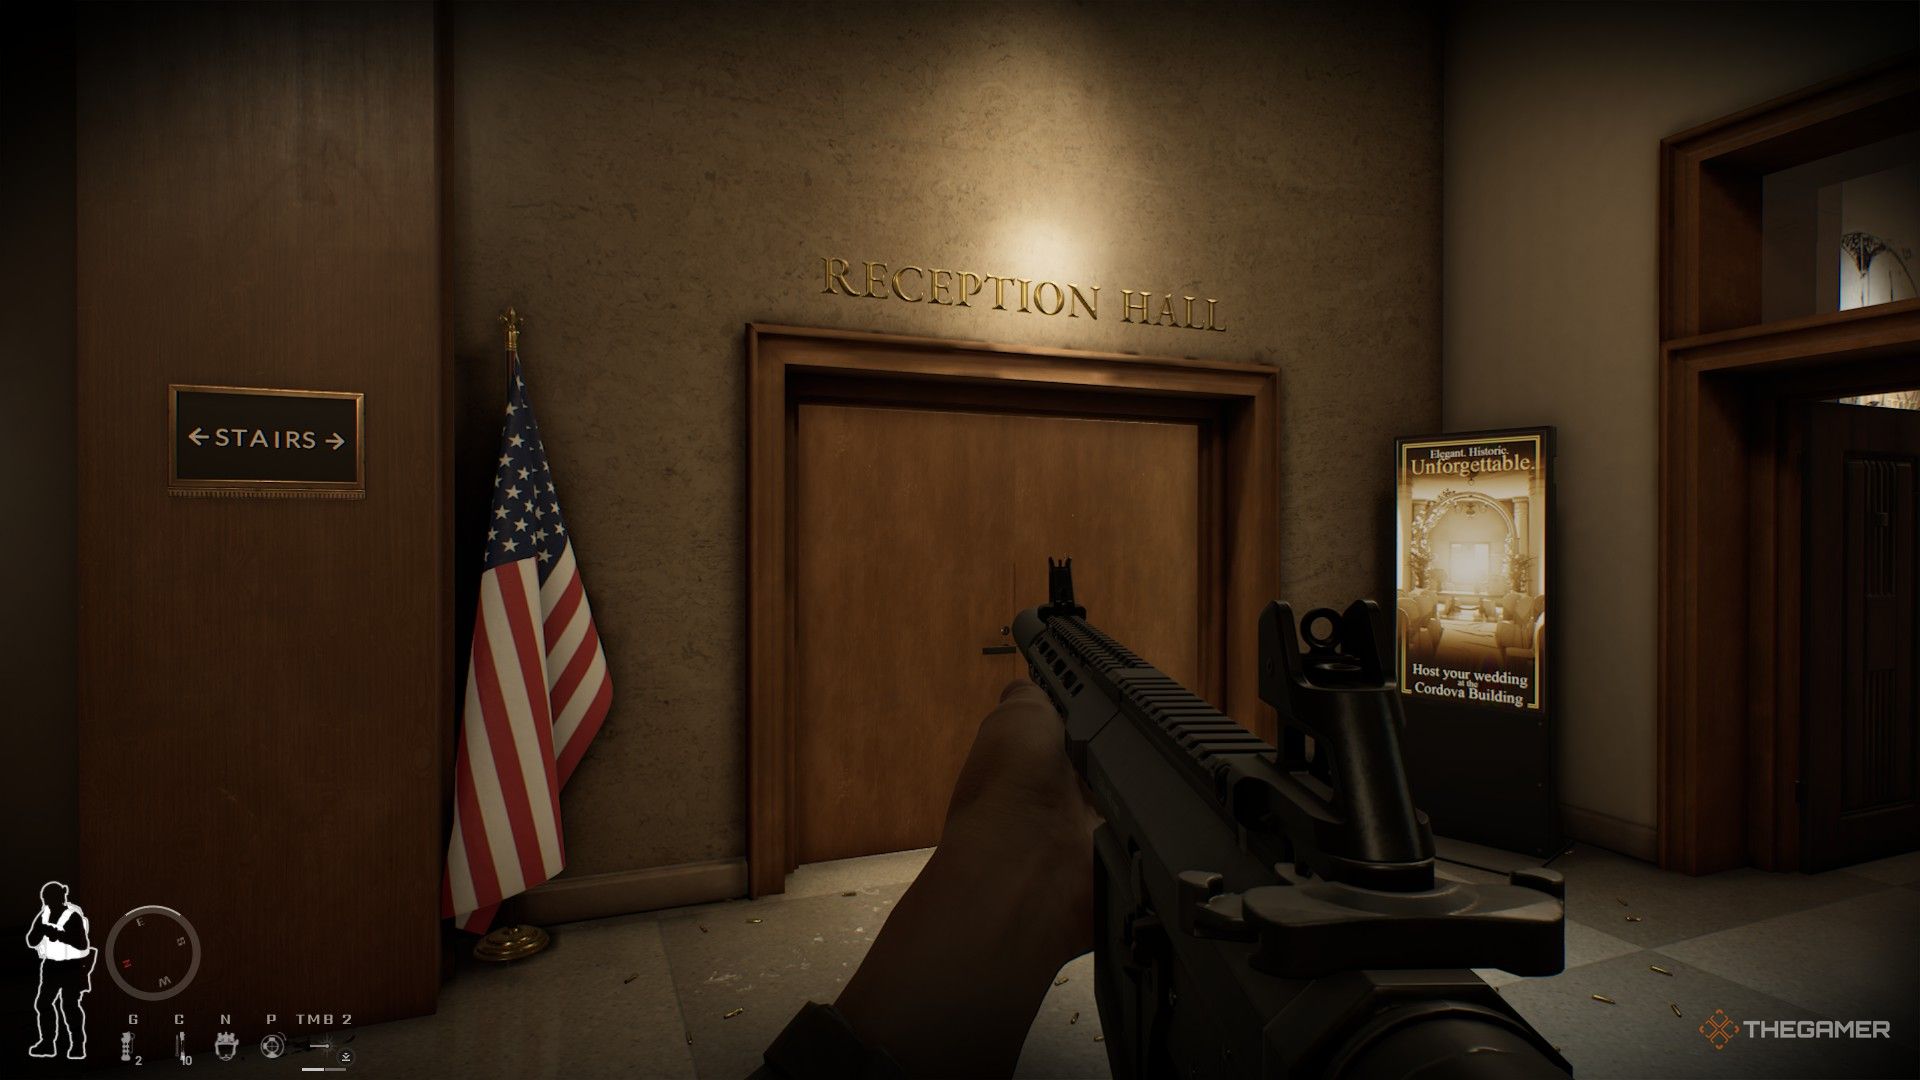
| Wedding Reception | Usually has one civilian; suspects may appear | Image | |
| Printing Room | Located next to East Offices; keycard may be here | Image | |
| Corridor before stairs (SW) | May hold enemies or civilians | Image | |
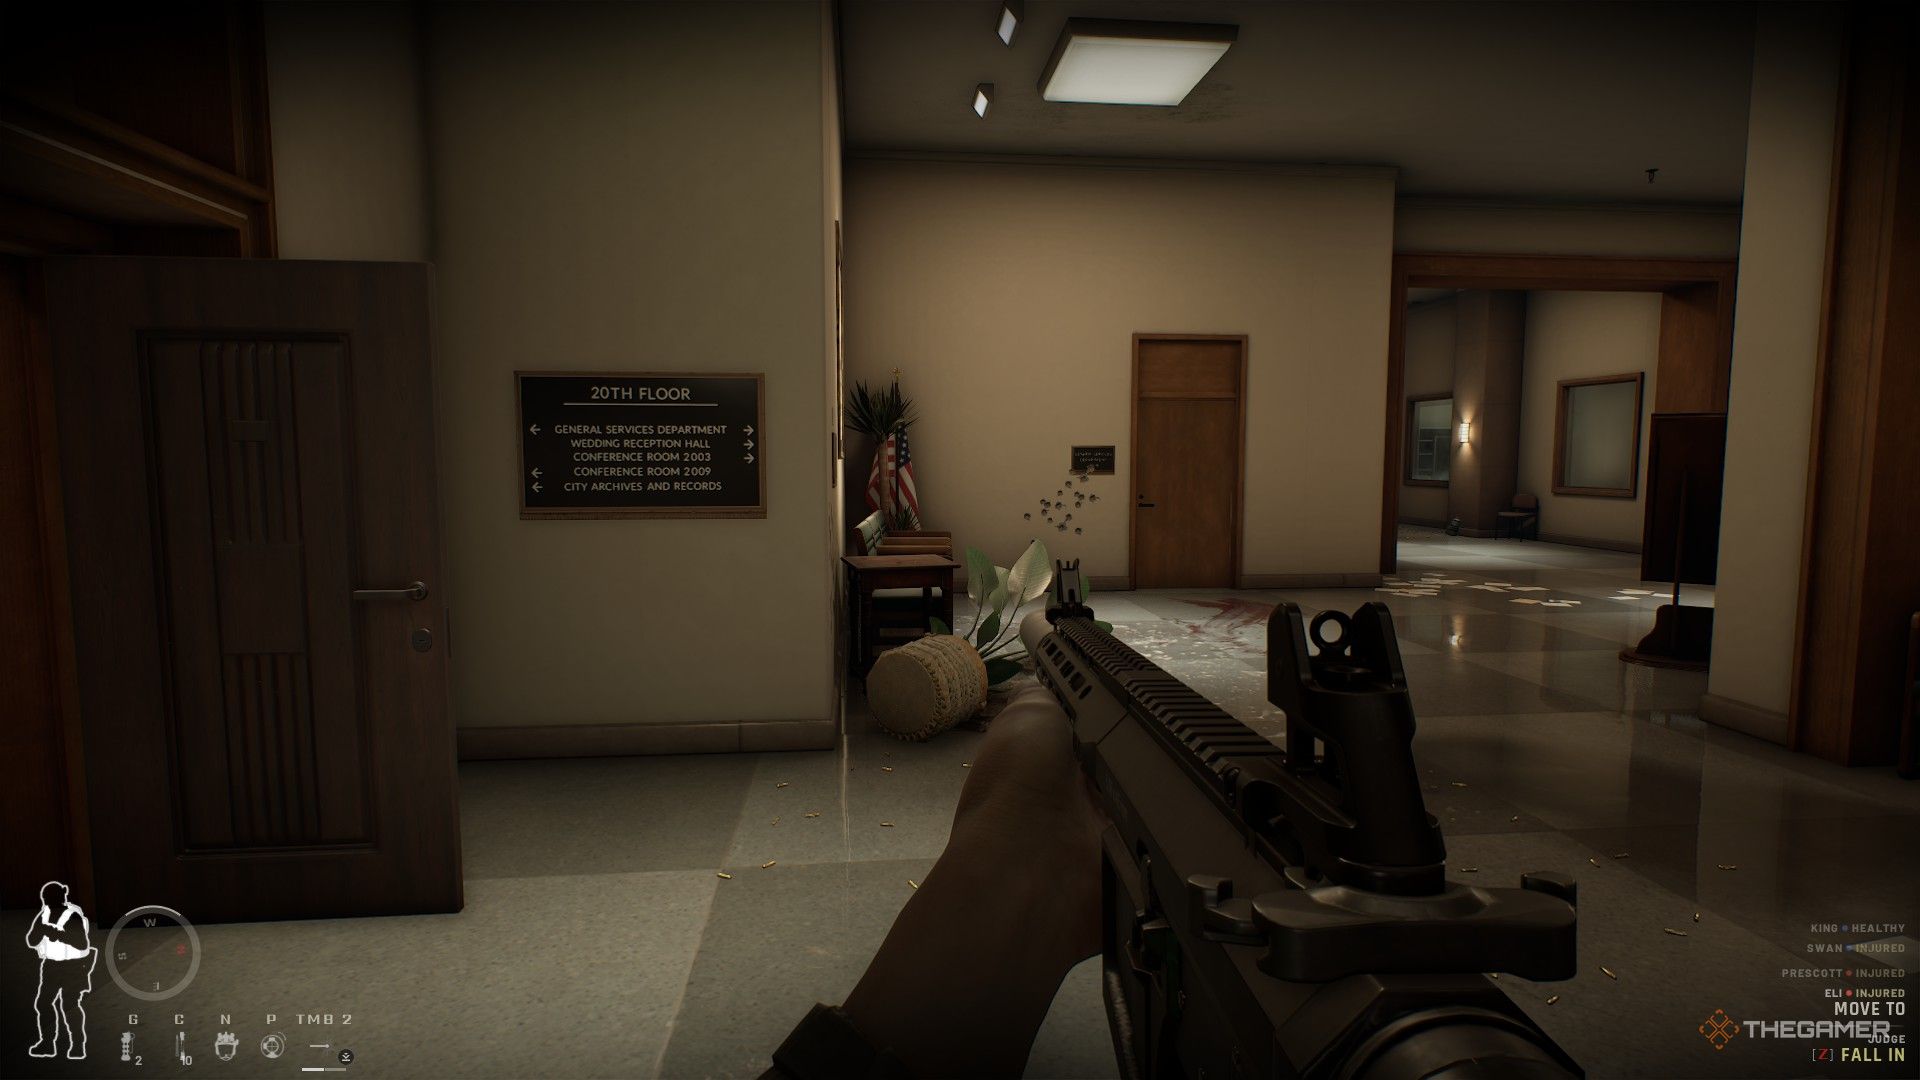
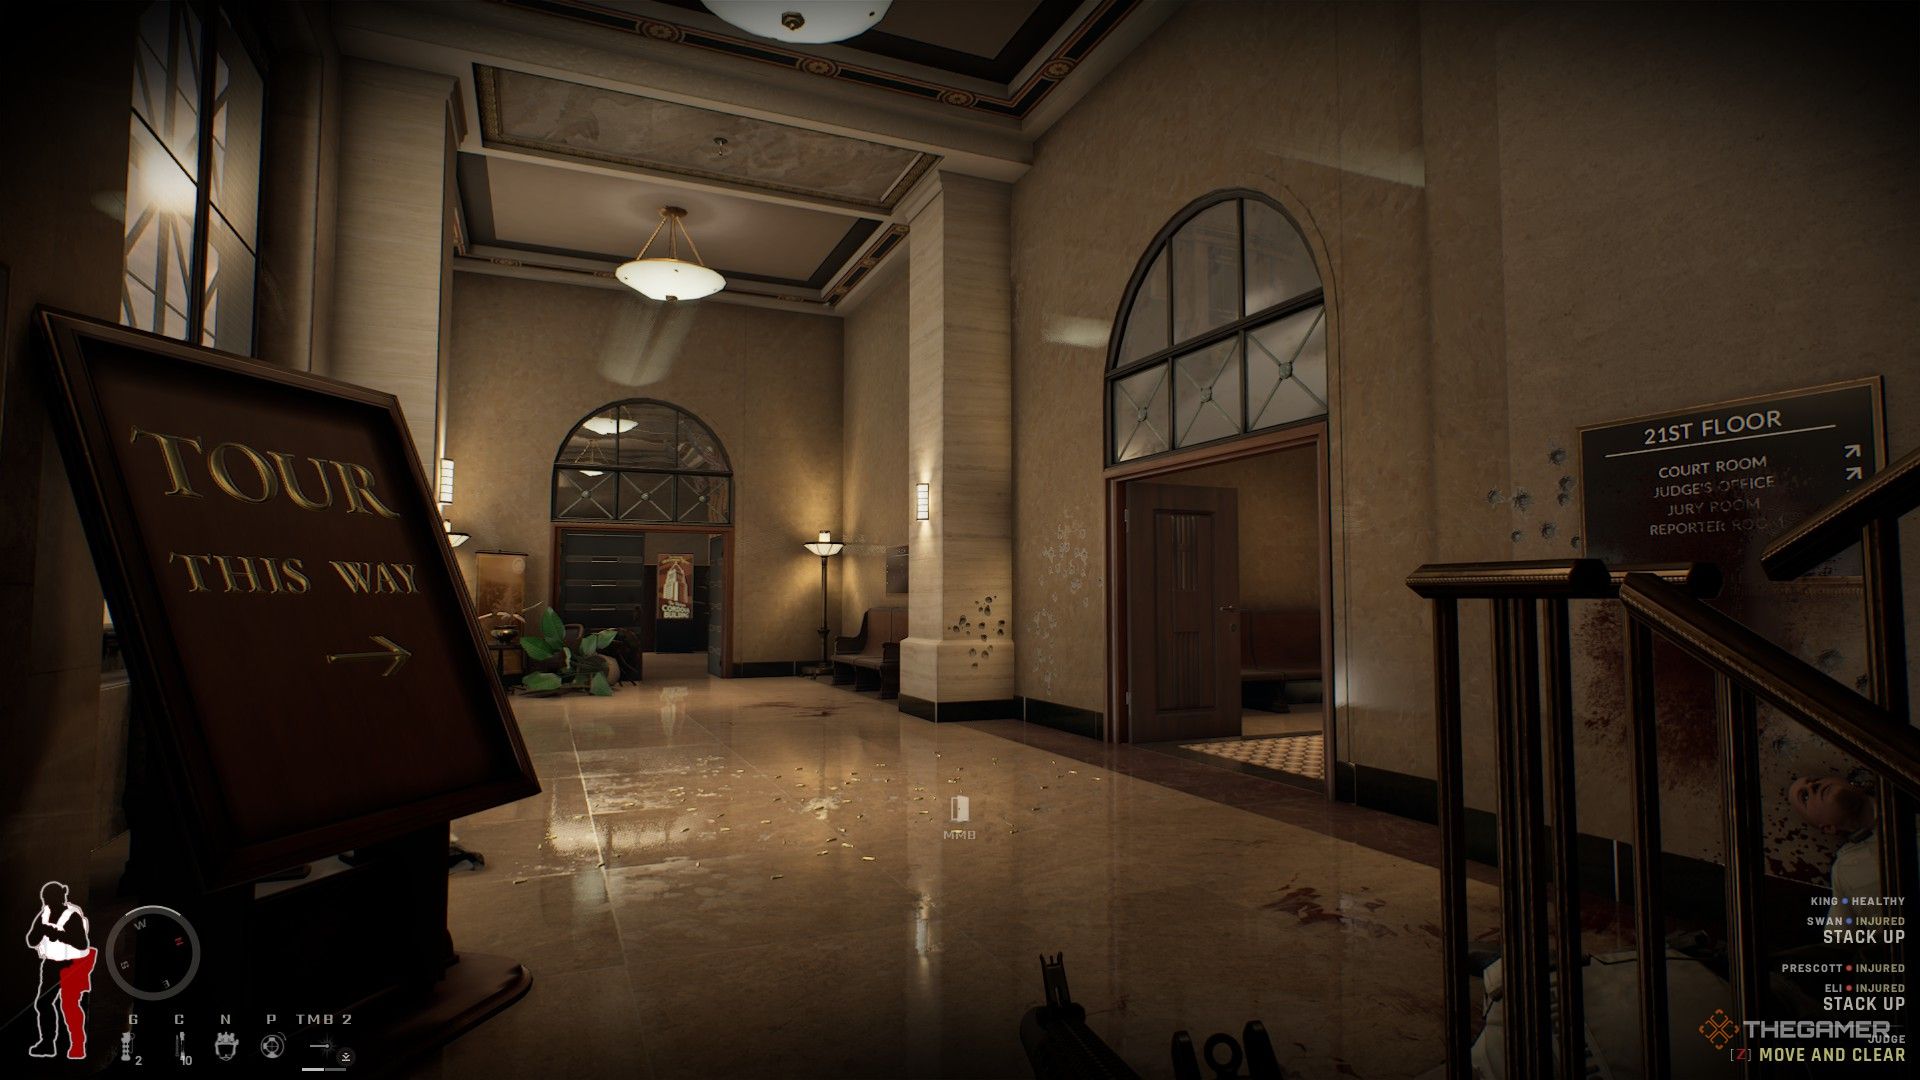
| 21st Floor | First corridor after stairs | Proceed to the first door; avoid the right route | Image |
| Council Chamber | Typical for enemies and hostages; soft objective possible here | Image | |
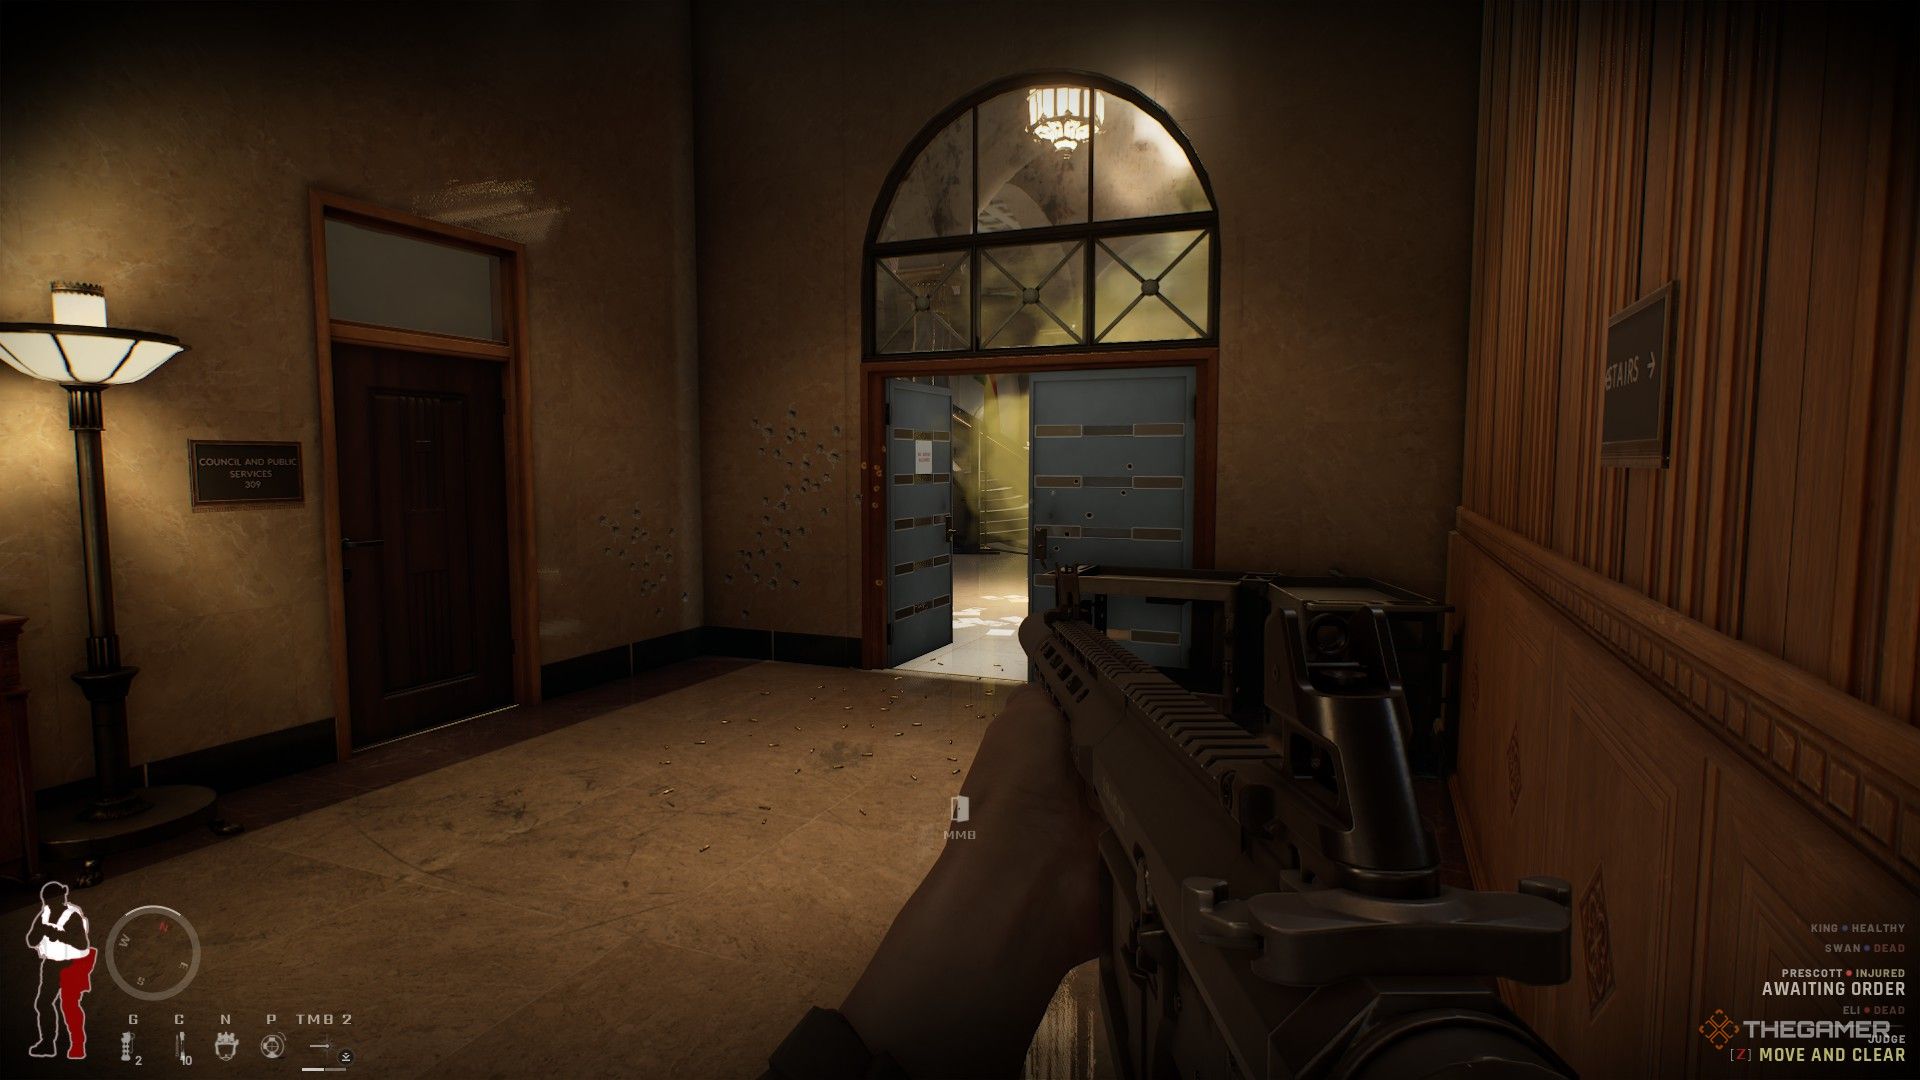
| Council and Public Services | Suspect might hide behind small walls; keycard here | Image | |
| Printing room | Keycard can be inside here or in connected office on copier | Image | |
| Corridor before stairs (SW) | Has civilians or enemies to rescue | Image | |
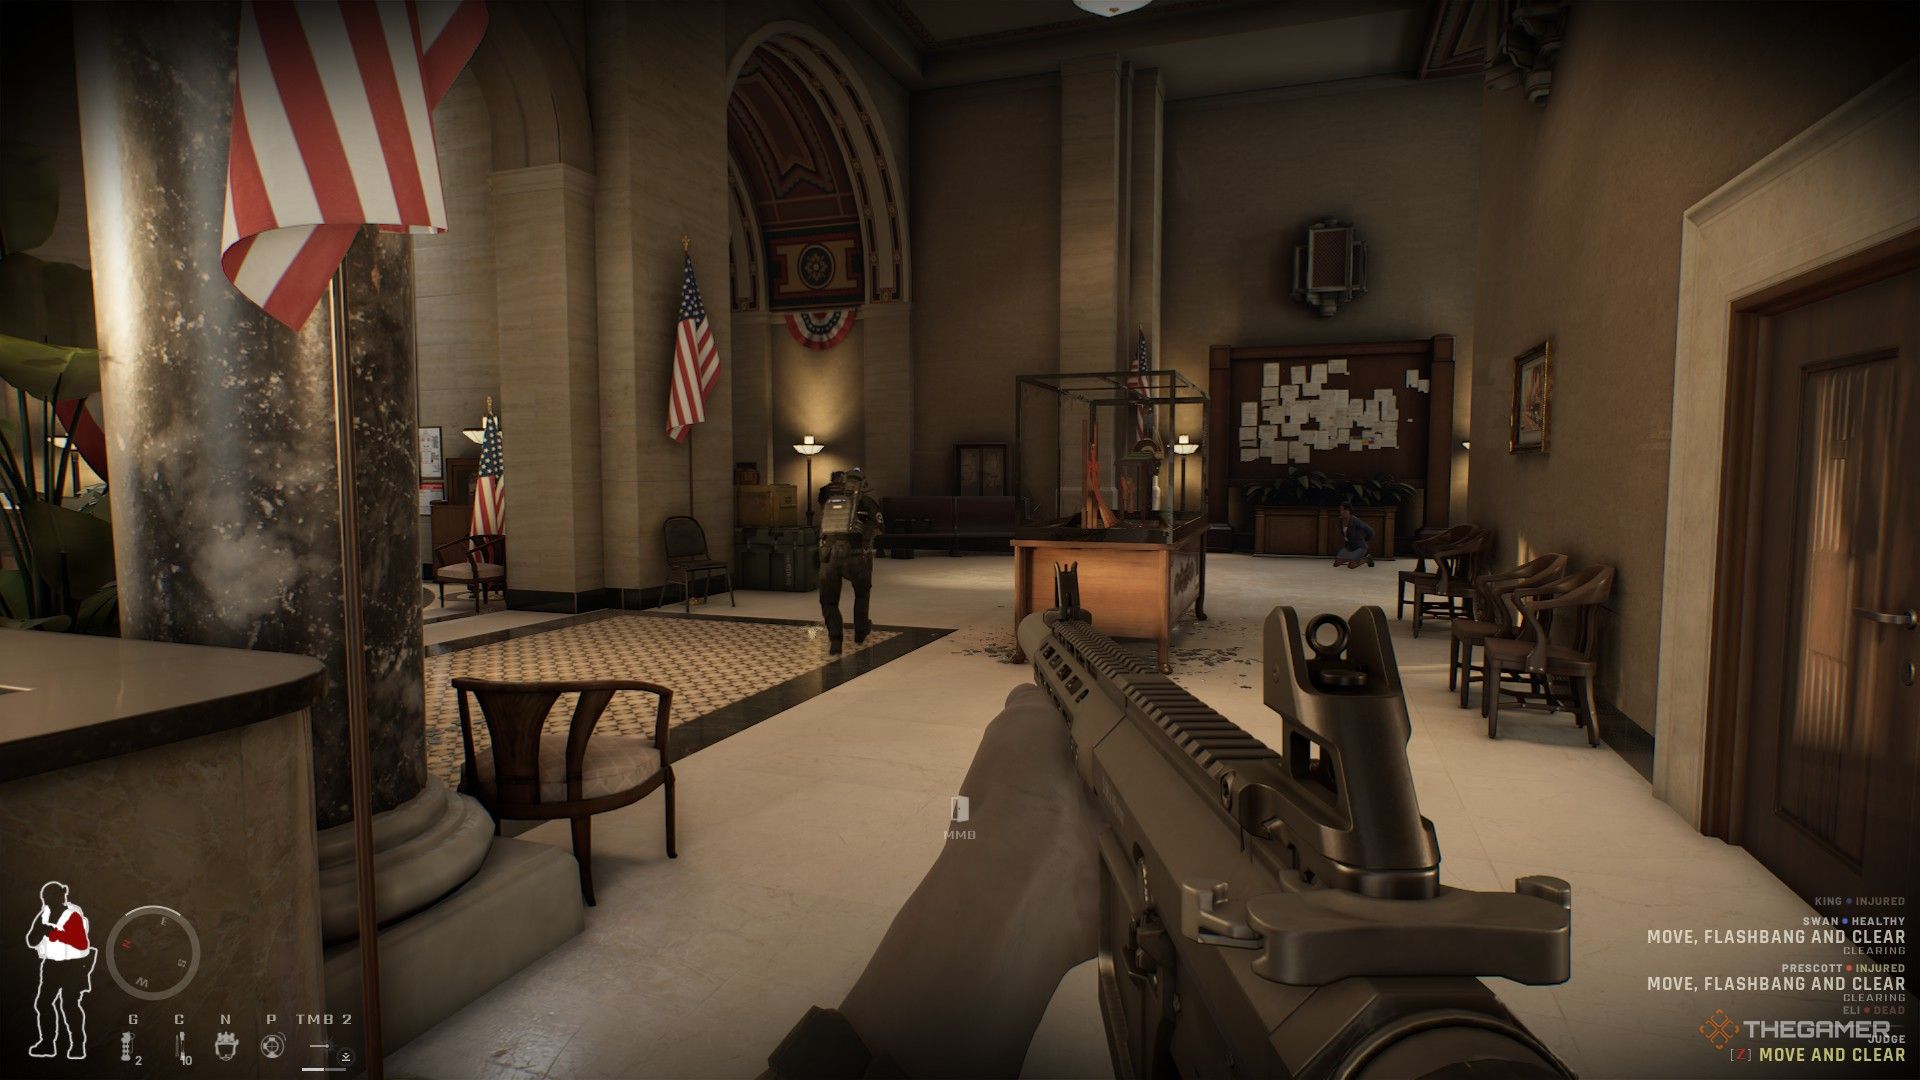
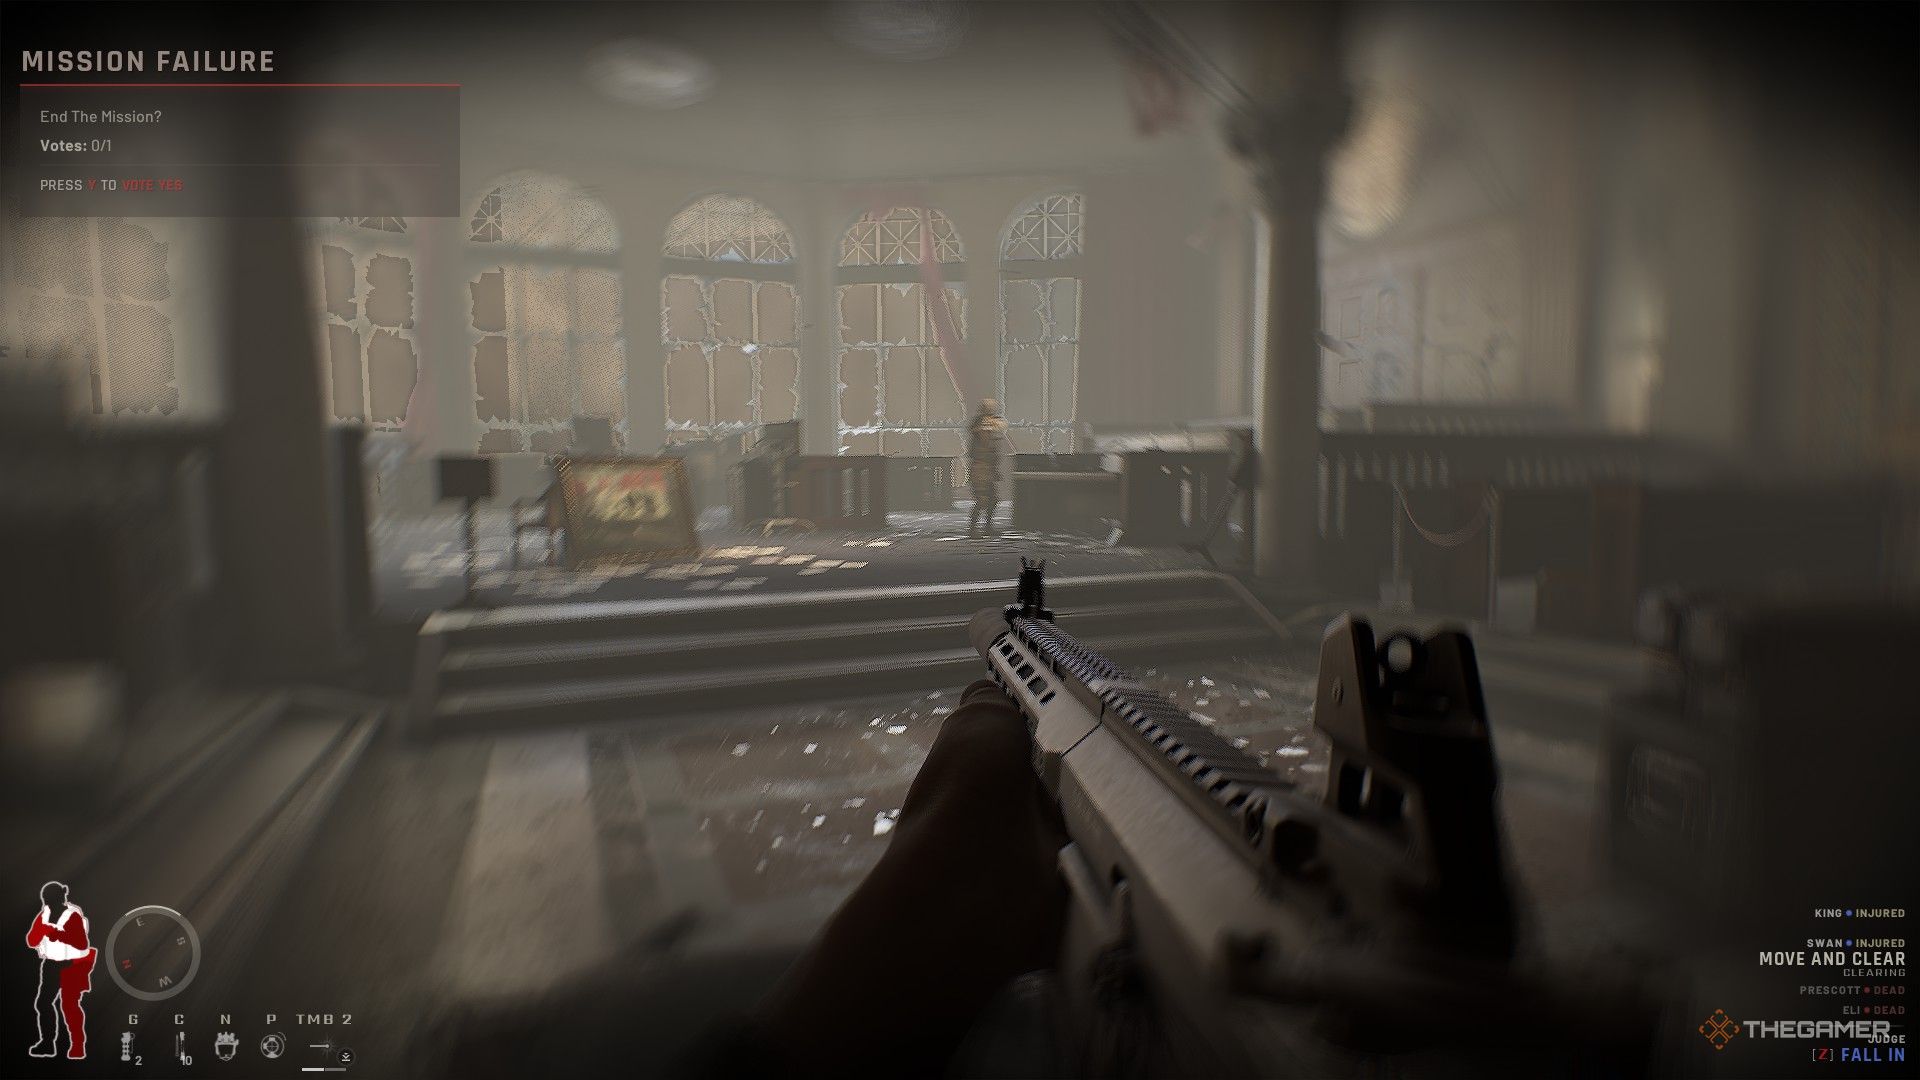
| 22nd Floor | Courtroom Lobby | Very challenging—many suspects and civilians; use covers | Image |
| Reporter Lobby | Usually hosts enemies; watch this door when entering from the main room | Image | |
| Courtroom | Final area with suspects and the VIP; capture but don’t kill him | Image | |
| Conference Room | Usually contains the detonator’s safe signal; accessible from the previous room | Image | |
| Large Hall with central statue | Suspect and civilian presence; potential gas bombs; stairs to top floor | Image | |
| Other rooms like the Lobby, Waiting, and Offices | Various civilians, suspects, and potential threats | Screenshots included above |
Getting the Bad Ending
As a single-player commander, you can unlock a secret “bad ending” for extra rewards. To do this, follow all standard steps, then change the last moment: instead of neutralizing the VIP suspect peacefully, grab the detonator and activate the bomb yourself. This triggers unique cutscenes showing you in custody and talking with an important character.


