Select Language:
The world of Hytale is huge and filled with all kinds of magical places to explore, creatures to find, and dangerous foes lurking at night. It can feel overwhelming at first, especially when you’re just starting out and unsure of where to go, what to do, or which loot is worth grabbing.
We’ll cover everything you need to know — from surviving your first nights in Orbis to defeating whole enemy camps once you’re properly equipped. If you’re wondering what gear to aim for, what Zones and biomes are, or just need help figuring out your next move, we’ve got you covered.
Note: Hytale is currently in Early Access, so many ores and gameplay features are still being added. The info here might change over time as we learn more and as the game updates.
First Steps and Exploring Zone One
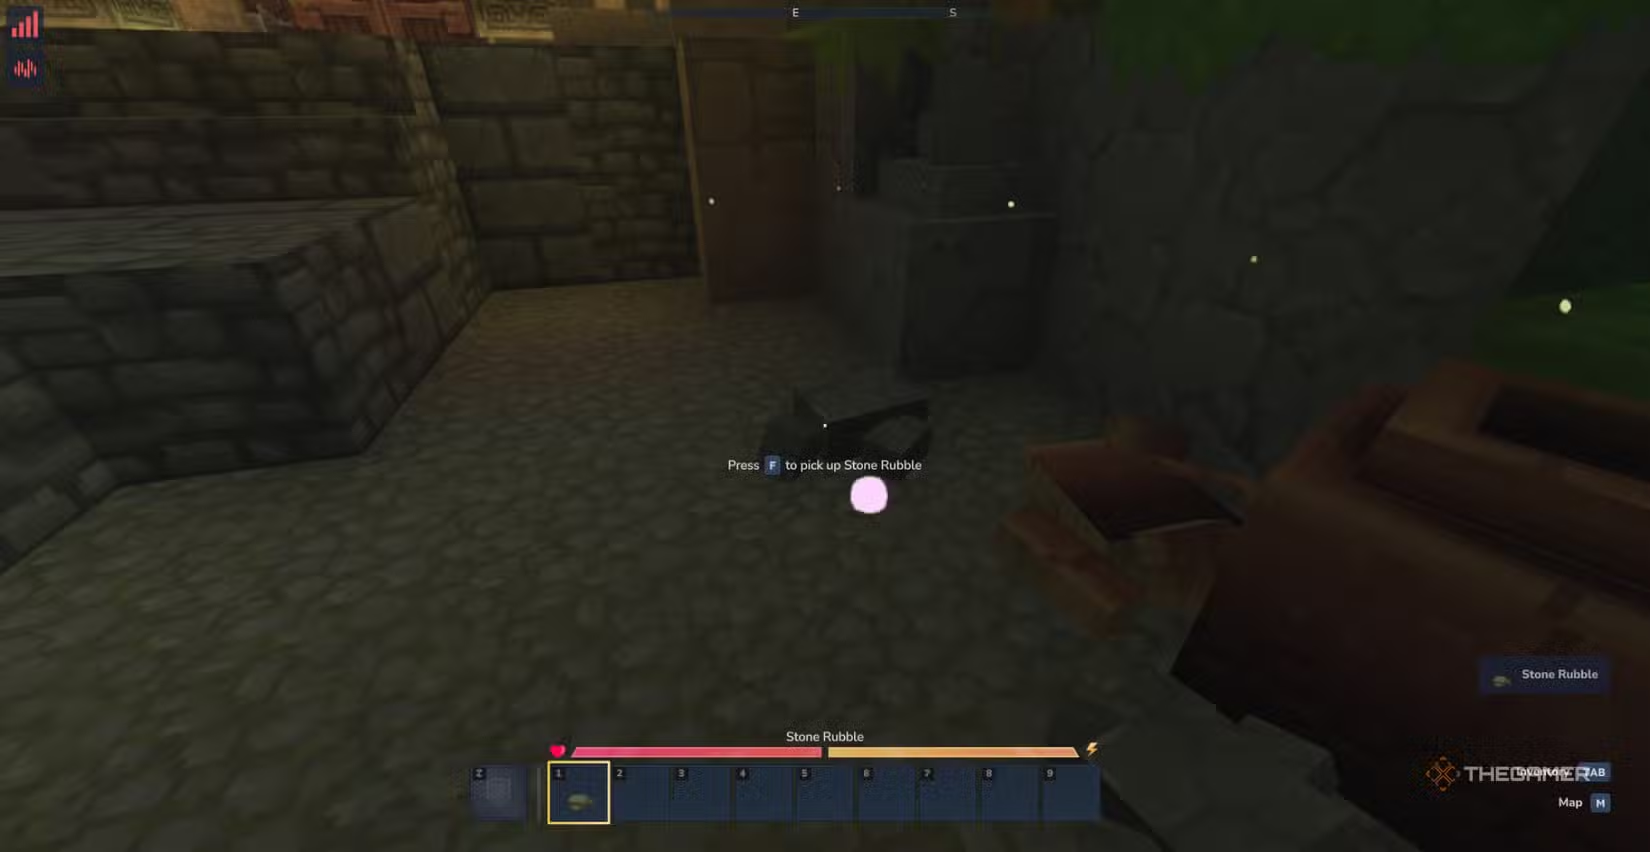
When you enter Exploration Mode, you start in a special safe spawn room. Take some Stone Rubble from around the area and then head out into the world. You’ll always begin in Zone One’s Drifting Plains, which is fairly safe. Here, many passive mobs like chickens and cows appear, and at night, skeleton fighters are your main enemies.
The world is divided into different Zones, each containing a few biomes with unique enemies, animals, and resources. Zone One includes the Drifting Plains, Seedling Forest, The Fens, Autumn Forest, and Azure Forest. Zone Two features the Golden Steppes, Badlands, and Desolate Basin, while Zone Three covers the Boreal Reach, Frostmarch Tundra, and The Everfrost. Zone Four is the Devastated Lands, with Charred Woodlands and Cinder Wastes.
Start by collecting sticks, rubble, and breaking bushes to gather plant fiber. Also, pick up all the wild berries since they are your first healing items.
Use your sticks and rubble to craft basic tools like a crude sword, axe, and pickaxe from your inventory’s crafting menu. Build a campfire to cook raw wildmeat from animals into cooked wildmeat, a better food source.
As you explore, gather wood and stone to start building a small base for protection, especially since nights become much more dangerous. Use the resources to craft a workbench, which unlocks a wider array of items and the ability to craft more workbenches. Once you get a weapon, you’ll also be able to block enemy attacks, helping you fight tougher foes like bears if you keep an eye on your stamina.
Setting Up Your First Base
While not mandatory, having a small base makes survival easier. A simple 5×10 structure is enough to hold a bedroll or bed for respawning, some chests, and the basic workbenches. Most biomes in Zone One feature common woods like Birch, Beech, Oak, and Ash—Birch is especially plentiful, and Ash trees tend to grow larger.
Most building blocks can be upgraded using the Builder’s Workbench, turning wood into planks, stone into bricks, and creating decorative or structural items like windows, doors, and fences. You can also craft a Crude Bedroll at your workbench, which sets your spawn point and appears as a waypoint on your map.
If you prefer not to build a base, you can use pre-made structures like abandoned houses or camps found throughout Zone One, then repair or fill in missing parts. Be prepared for potential enemy respawns.
Gearing Up with Copper
Once you’ve collected enough stone and wood, start searching for caves to find copper ore—your first major ore, essential for upgrading your gear. Caves are common in Zone One biomes. Make torches from sticks, tree sap, and plant fiber, then explore inside to spot gleams, which indicate ore deposits in darkness.
Also, gather wild mushrooms—useful later for cooking—and kill rats, as they drop wildmeat and high-quality Light Hide needed for early armor sets and workbench upgrades.
Deep inside caves, if you dig far enough, you’ll likely find iron ore too. Smelt your copper in a furnace using wood or sticks as fuel to produce copper ingots. These allow you to craft the Armorer’s Workbench, Blacksmith’s Anvil, Chef’s Stove, and start farming with the Farmer’s Workbench.
Moving Beyond Copper Equipment
After establishing yourself with copper gear, seek out caves rich with iron ore to craft better armor and weapons. Explore further to find new resources, including Thorium, which is the next step for high-tier gear.
The main places to find thorium are in Zone Two biomes like the Golden Steppes, Badlands, and Desolate Basin. These areas appear as shades of gold, yellow, red, and brown on the map and feature fewer trees apart from other biomes.
Caves in these biomes are large sources of thorium ore, necessary for advanced equipment and several upgraded workbenches. Enemies here, such as Venom Sacs-dropping beasts and bosses, are tougher but manageable with proper gear. Remember to bring antidotes crafted at an Alchemist’s Workbench to counter poison enemies like the Scarak Seeker, and arm yourself with bows and arrows for aerial foes.
Cobalt Ore and Zone Three Biomes
When you have enough thorium gear, focus on finding caves with cobalt ore — crucial for the third gear tier. Zone Three is north of spawn and includes the Boreal Reach, The Everfrost, and Frostmarch Tundra. Its landscapes feature snow, ice, and cold enemies like Frost Skeletons, Polar Bears, and White Wolves.
Defeating Frost Skeletons yields Frost Essence, useful for crafting the Ice Crystal Staff and upgrading the Blacksmith’s Anvil. You’ll also find new vegetables like onions and chili, as well as Bloodcap Mushrooms for high-level healing potions.
Many valuable loot chests and hostile camps like the Ruined Castles and the Outlanders’ bases can be found here. Outlander camps, marked on the map, are good places to gather Shadoweave Scraps, loot, and gear drops, including the Outlander armor and weapons.
Key Resources in Zone Three
Once equipped with high-tier armor and weapons, you can start gathering more advanced resources. Caves are filled with Cobalt ore, crucial for the next level of gear and expansions. The biomes also contain tougher enemies, but with upgraded gear, you’ll handle them more easily and gain access to new structures like the Frost Strongholds and the Outlander hideouts, which contain valuable items like Tomato Seed Bags, Iron weapons, and Shadoweave Scrap.
Keep exploring and collecting resources like Blood Leaves, which are easy to spot against snow and ice blocks. These, along with various enemies and structures, provide the materials needed for ongoing upgrades and progression in the game.