Select Language:
Quick Links
The Wanderer’s Palace (Hard) is a level 50 dungeon in Final Fantasy 14 that takes you back through the Wanderer’s Palace, where you’ll face new bosses and mechanics. Although the Tonberries were rescued from the cruel Tonberry King, they now confront a new threat as Mamool Ja mercenaries have taken over the Palace.
Your mission is to return to the Wanderer’s Palace and defeat the Mamool Ja forces so the Tonberries can enjoy peace once more. Below, we’ll cover everything you need to know about this dungeon, including how to access it and strategies for defeating its three bosses.
How to Unlock the Wanderer’s Palace (Hard)
You can access the Wanderer’s Palace (Hard) after you’ve completed the main scenario quest titled ‘The Ultimate Weapon’ and the level 50 side quest ‘Trauma Queen’, which unlocks the regular version of the dungeon.
Once both quests are done, head to Bloezoeng in Mor Dhona (X:22.1, Y:8.7) to accept the quest ‘Not Easy Being Green’, which will officially unlock the dungeon.
Frumious Koheel Ja
The first boss you’ll encounter in the Wanderer’s Palace (Hard) is Frumious Koheel Ja.
This boss has straightforward attack patterns, but if you’re not cautious, they can quickly become overwhelming. One of Koheel Ja’s main mechanics involves launching Sacred Spears that land on the ground, dealing area damage and causing a Burn status effect that inflicts damage over time.
If you get hit by the Burn effect, the debuff timer resets each time you are affected, which means you’ll be continuously losing health if you don’t act fast. To prevent this damage, make sure to destroy the Sacred Spears as they appear.
In addition, Koheel Ja will target its main foe with Fire Angon for direct damage and will use Clobber, charging at a player and knocking them back.
The healer must monitor the entire party’s health during this fight since everyone will be affected by the damage from the Sacred Spears.
The key to success in this battle is to eliminate the Sacred Spears as quickly as possible. By doing so, you’ll have an easier time defeating Koheel Ja.
Slithy Zolool Ja
Next up is the Slithy Zolool Ja, the second boss of the dungeon.
This encounter may seem complex at first, but it’s rather straightforward. Zolool Ja employs the Sacred Standard mechanic, summoning colored standards across the arena. Getting near any of these standards triggers a specific effect based on its color:
- Red Standard: Reduces Fire Resistance.
- Blue Standard: Grants a Damage Up buff.
- Green Standard: Turns you into a Toad or removes the Toad effect if you are already transformed.
- Purple Standard: Applies the Heavy debuff.
The goal here is to avoid all standards except the Blue one. Allow DPS characters to run into the Blue Standard to receive the damage boost.
After some time, Zolool Ja will use Standard Retrieval to clear all active standards from the field. If the Blue Standard is still present, he will gain the damage buff, so it’s important to secure this buff before he does.
Zolool Ja will occasionally cast Toad, randomly transforming a player into a Toad. That player can use the Green Standard to revert back to their original form.
Throughout the encounter, Zolool Ja uses abilities like Fire, Firespit, and Groundburst, targeting the main player with damage. The healer should keep a close eye on the tank while the rest of the party avoids the harmful standards.
Manxome Molaa Ja Ja
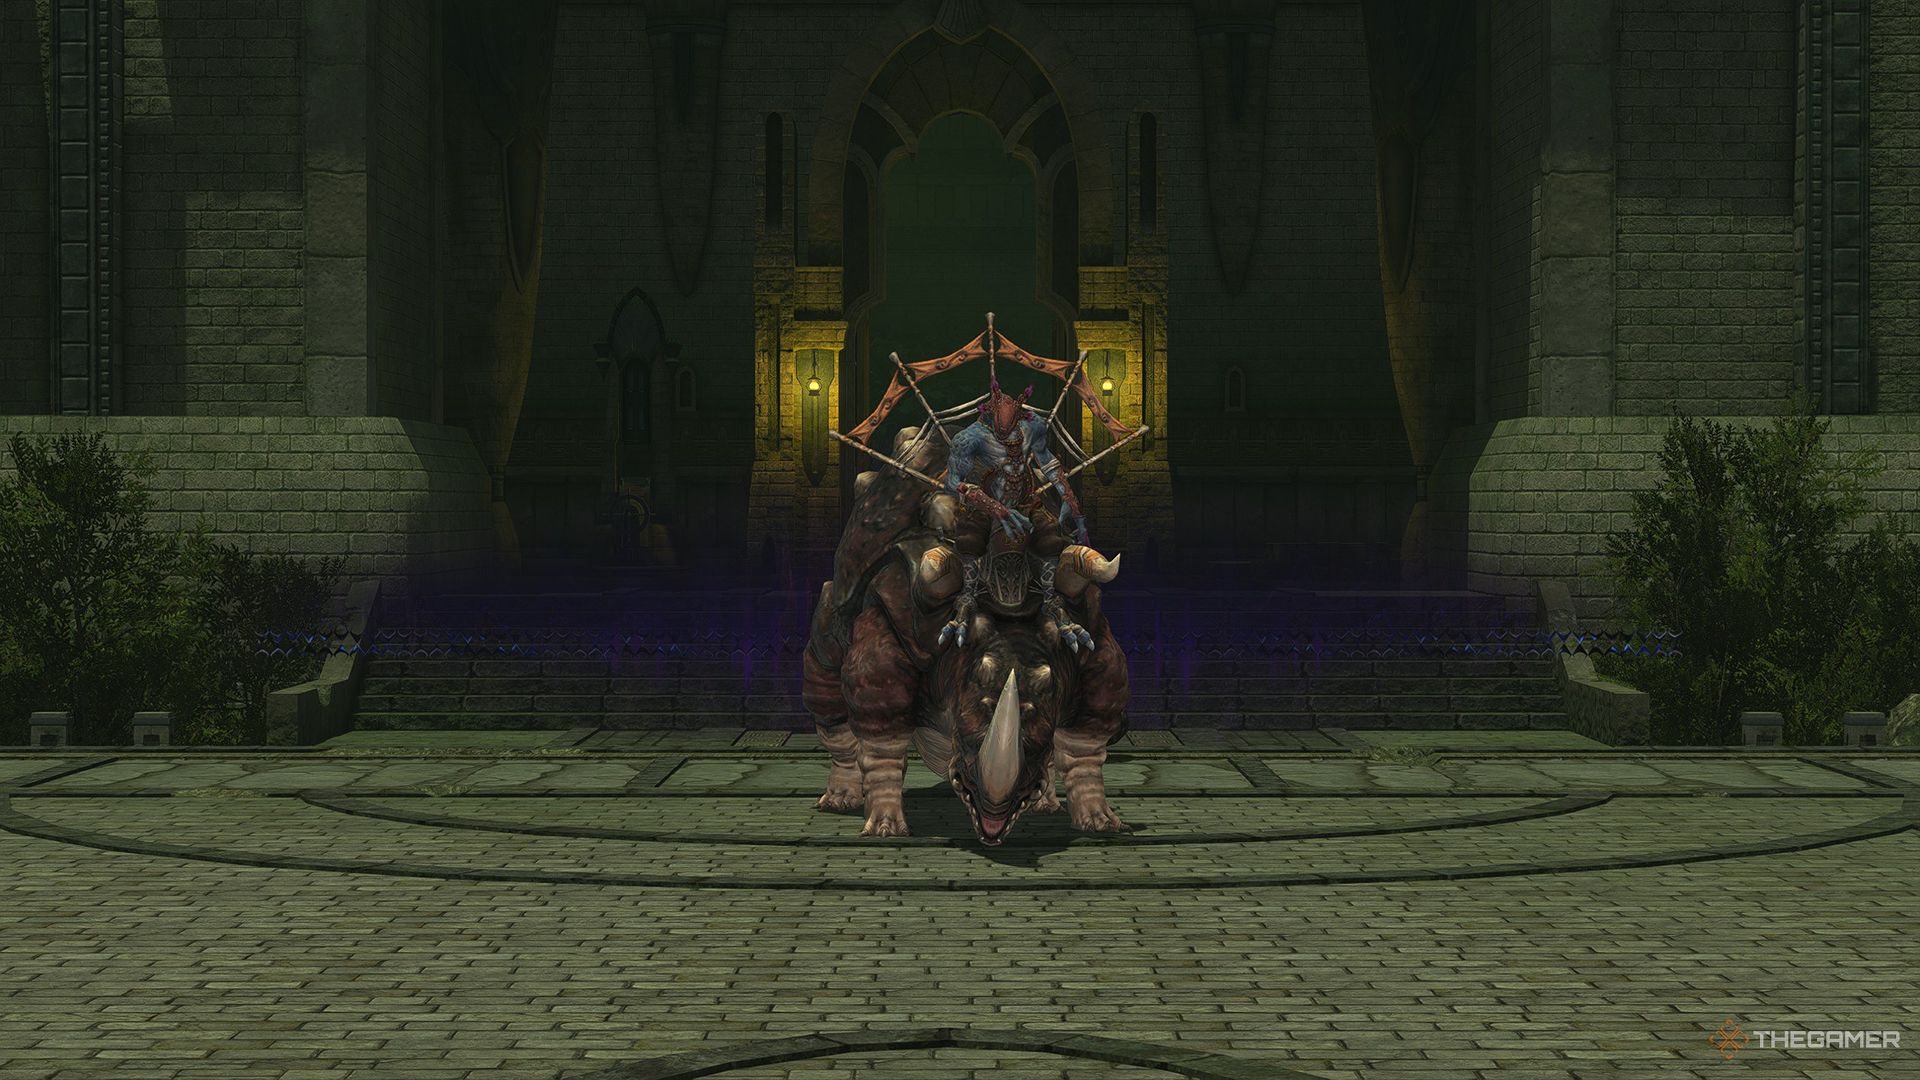
Finally, you will face the ultimate challenge, the Manxome Molaa Ja Ja.
|
Attack Name |
Type |
Details |
|---|---|---|
|
Tyrannic Blare |
Conal AoE |
Molaa Ja Ja unleashes a considerable damage attack in a wide conal area, causing Stun and Magic Vulnerability Up. Stay close to the boss during the fight to avoid this. |
|
Rot Gas |
AoE/Summon |
This move deals AoE damage around the boss, inflicting Poison and Disease. It also summons a Sacred Standard that provides Molaa Ja Ja with a Damage Up and Vulnerability Down buff. The tank should pull Molaa Ja Ja away from the Sacred Standards to avoid these enhancements. |
|
Soul Douse |
Doom |
One player will be marked with Doom, which will kill them instantly after a 20-second countdown if not managed. The affected player must be restored to full health within this time. When Soul Douse is used, the healer should immediately prioritize cleansing the Doom effect. |
|
Vorpal Wheel |
Debuff |
This ability targets a random player with damaging effects and applies the Rotting Lungs debuff, which will cause them to explode with damage if hit by Rot Gas. |
|
Sacred Idol/Silverscales Zenist |
Summon |
A Sacred Idol will appear, tethering to the boss and granting him the effects of a Sacred Standard even when he’s outside an area. In addition, two Silverscales Zenists will spawn, which have low health and should be defeated promptly. |
Molaa Ja Ja will repeat these mechanics until defeated. It’s not necessary to destroy the Sacred Standards that appear after using Rot Gas since they have high health. Simply moving the boss out of their area will negate their effects.
As long as you cleanse Doom and manage the boss’s positioning away from the Sacred Standards, you’ll be able to defeat Molaa Ja Ja and complete the Wanderer’s Palace (Hard).


