Select Language:
Soon, you’ll encounter your first Manabound Area in Atelier Yumia. You’ll be tasked with reaching a lighthouse to calm a large area that is distorted. This won’t be a one-time mission; the Research Team will depend on Yumia for similar tasks in the future.
Here are some suggestions to help you navigate these Manabound explorations successfully and even survive them. These tips should serve you well as you venture into Sivash and other areas while you seek to uncover the mysteries of this continent.
Understanding Manabound Areas
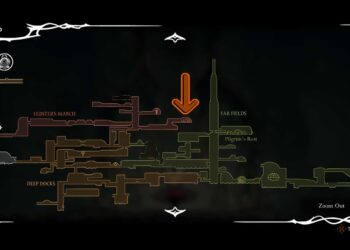
When you approach the edge of a Manabound Area, Yumia will be enveloped by a brief reddish glow. Additionally, a member of your team will make a comment. Before this, you’ll notice that your map will show fog, indicating Manabound Areas.
However, not every non-Ligneus region is just filled with Manabound Areas, as it may seem until you reach the second region. What you’re likely observing is fully covered areas that cannot be accessed yet. The “fog” here resembles the fog in Ligneus prior to completing tasks in those locations.
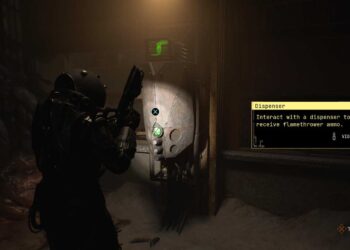
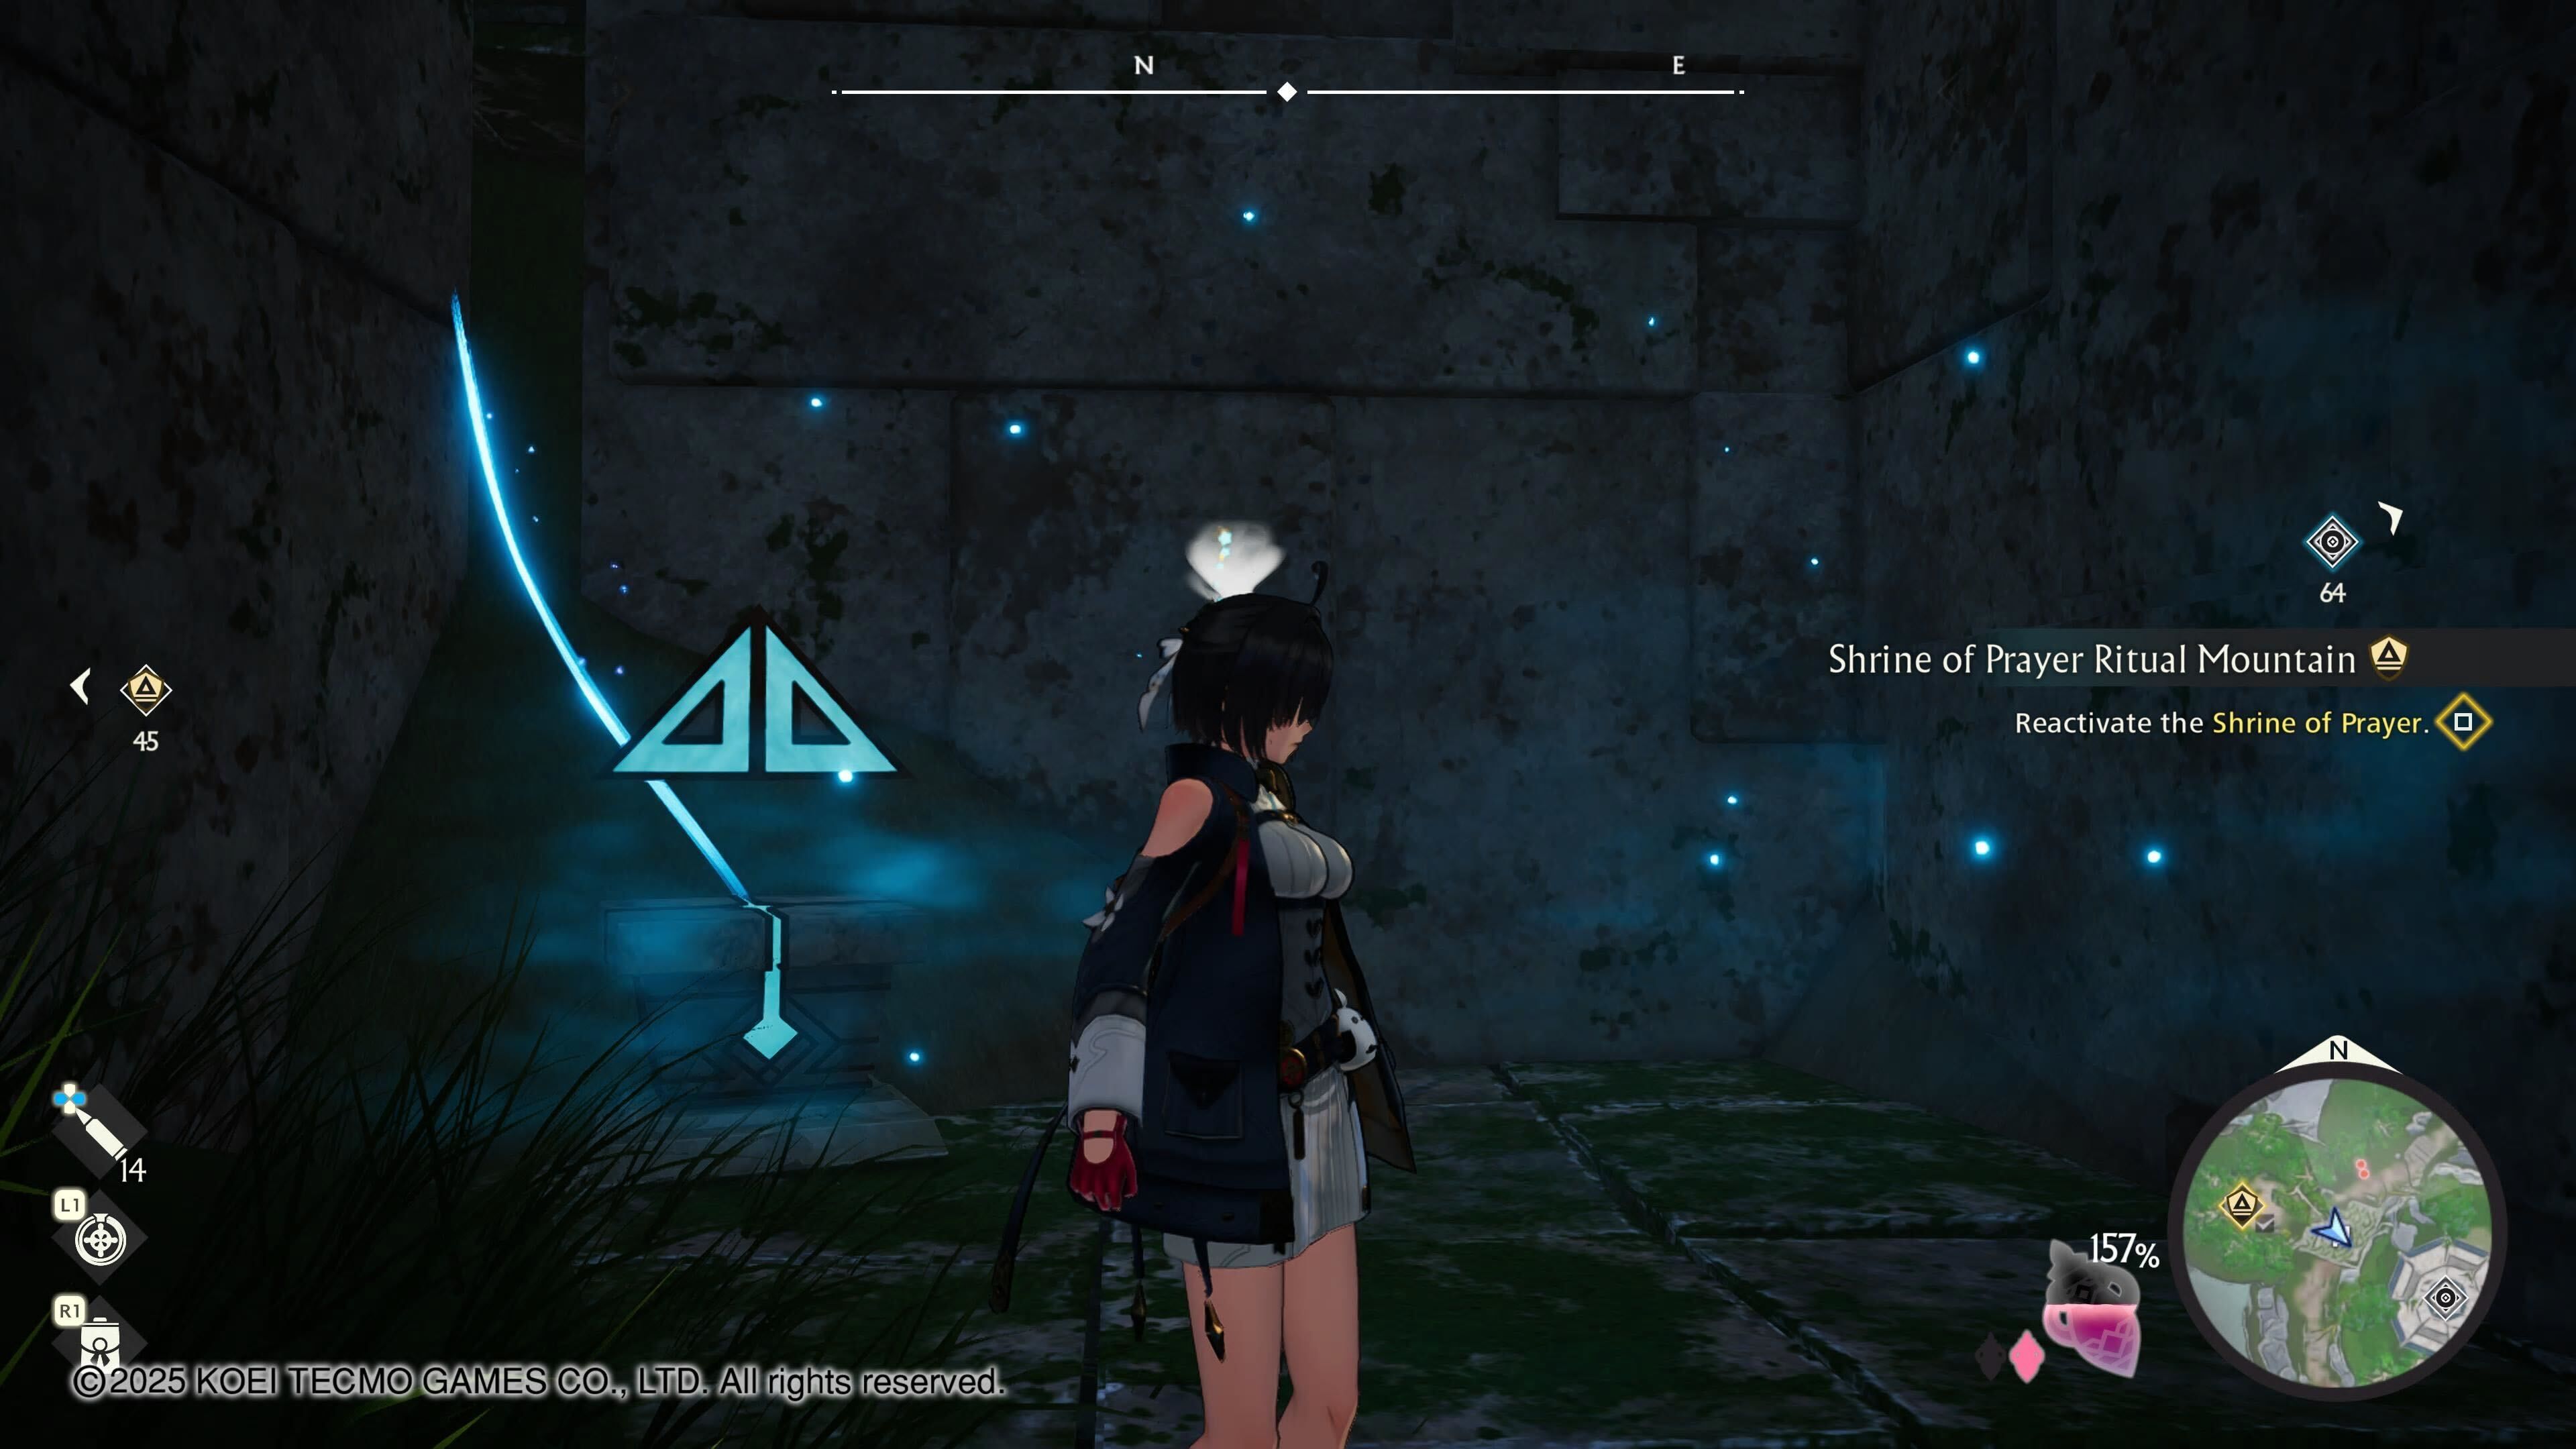
When you enter a Manabound Area, your main goal is to locate the source of the distortion, which will be marked as a larger location on your map, then interact with the central mechanism to eliminate the harmful Mana and essentially restore the area.
Activating these mechanisms will cost you 20 percent of your Energy Meter, so always ensure you have at least that much available when you arrive.
Challenges in Manabound Areas
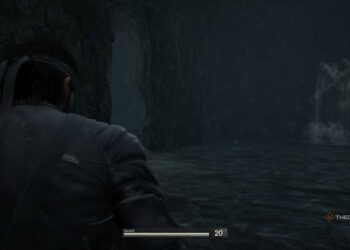
While inside a Manabound Area, your Energy Meter will decrease continuously. If it drops to zero, it’s like a mini game over and you can’t continue until you resolve the situation. Therefore, your primary focus should always be on reaching those distortion sources.
Don’t forget, you can always return to these areas later for further exploration once they are no longer classified as Manabound Areas. There’s no need to rush.
This becomes a significant challenge in the early game, especially when your Energy Meter has not yet been upgraded and is limited to its standard capacity of 100 percent. Here’s a tip: whenever you activate a Shrine of Prayer, consider using Energy Prisms to increase your Energy Meter.
Skip the fall damage reduction upgrades for now, or at least until you’ve boosted your Energy Meter to its highest capacity. To be honest, fall damage only slightly affects your Energy Meter and is rarely a major issue; it doesn’t drop nearly as much as you might think.
Once you manage to increase your Energy Meter to about 250 percent, most of your Energy depletion concerns will be addressed. You may still operate under a “timer,” but finding flowers that replenish your Energy a little should keep you going comfortably.
If you do run into trouble, you can always fast travel out of the Manabound Areas. This will be a common action for you until you’ve upgraded your Energy Meter.
You can upgrade to a maximum of 400 percent, but that’s more than most players will need, especially since you’ll want to save Energy Prisms for other upgrades too. However, if you find yourself with a surplus of Energy Prisms, feel free to go for it!