Select Language:
Assassin’s Creed Shadows is an expansive game filled with various gameplay mechanics, such as the need to gather resources for gear upgrades and to explore different map areas. The good news is that you can simplify the grind by utilizing the hideout, which serves as a crucial hub in the game.
As you settle into your hideout, you have the opportunity to construct different buildings that influence multiple gameplay features. You can also enhance these buildings, providing greater benefits while raising the overall level of your hideout.
Unlocking the Hideout
Since the hideout is central to your experience in Assassin’s Creed Shadows, unlocking it is straightforward. You’ll start off with a lengthy prologue that takes a few hours to complete. During this time, you will meet Tomiko, and at the end of the prologue, she will offer her homestead to serve as your operational base for tracking down the Shinbakufu. This moment marks the official unlocking of the hideout and introduces the basic mechanics associated with it.
Once you’ve unlocked the hideout, it becomes available on your map as a fast travel point in the Izumi Settsu province. It’s advisable to visit frequently to stay updated on upgrades for both your hideout buildings and your gear.
Constructing Hideout Buildings
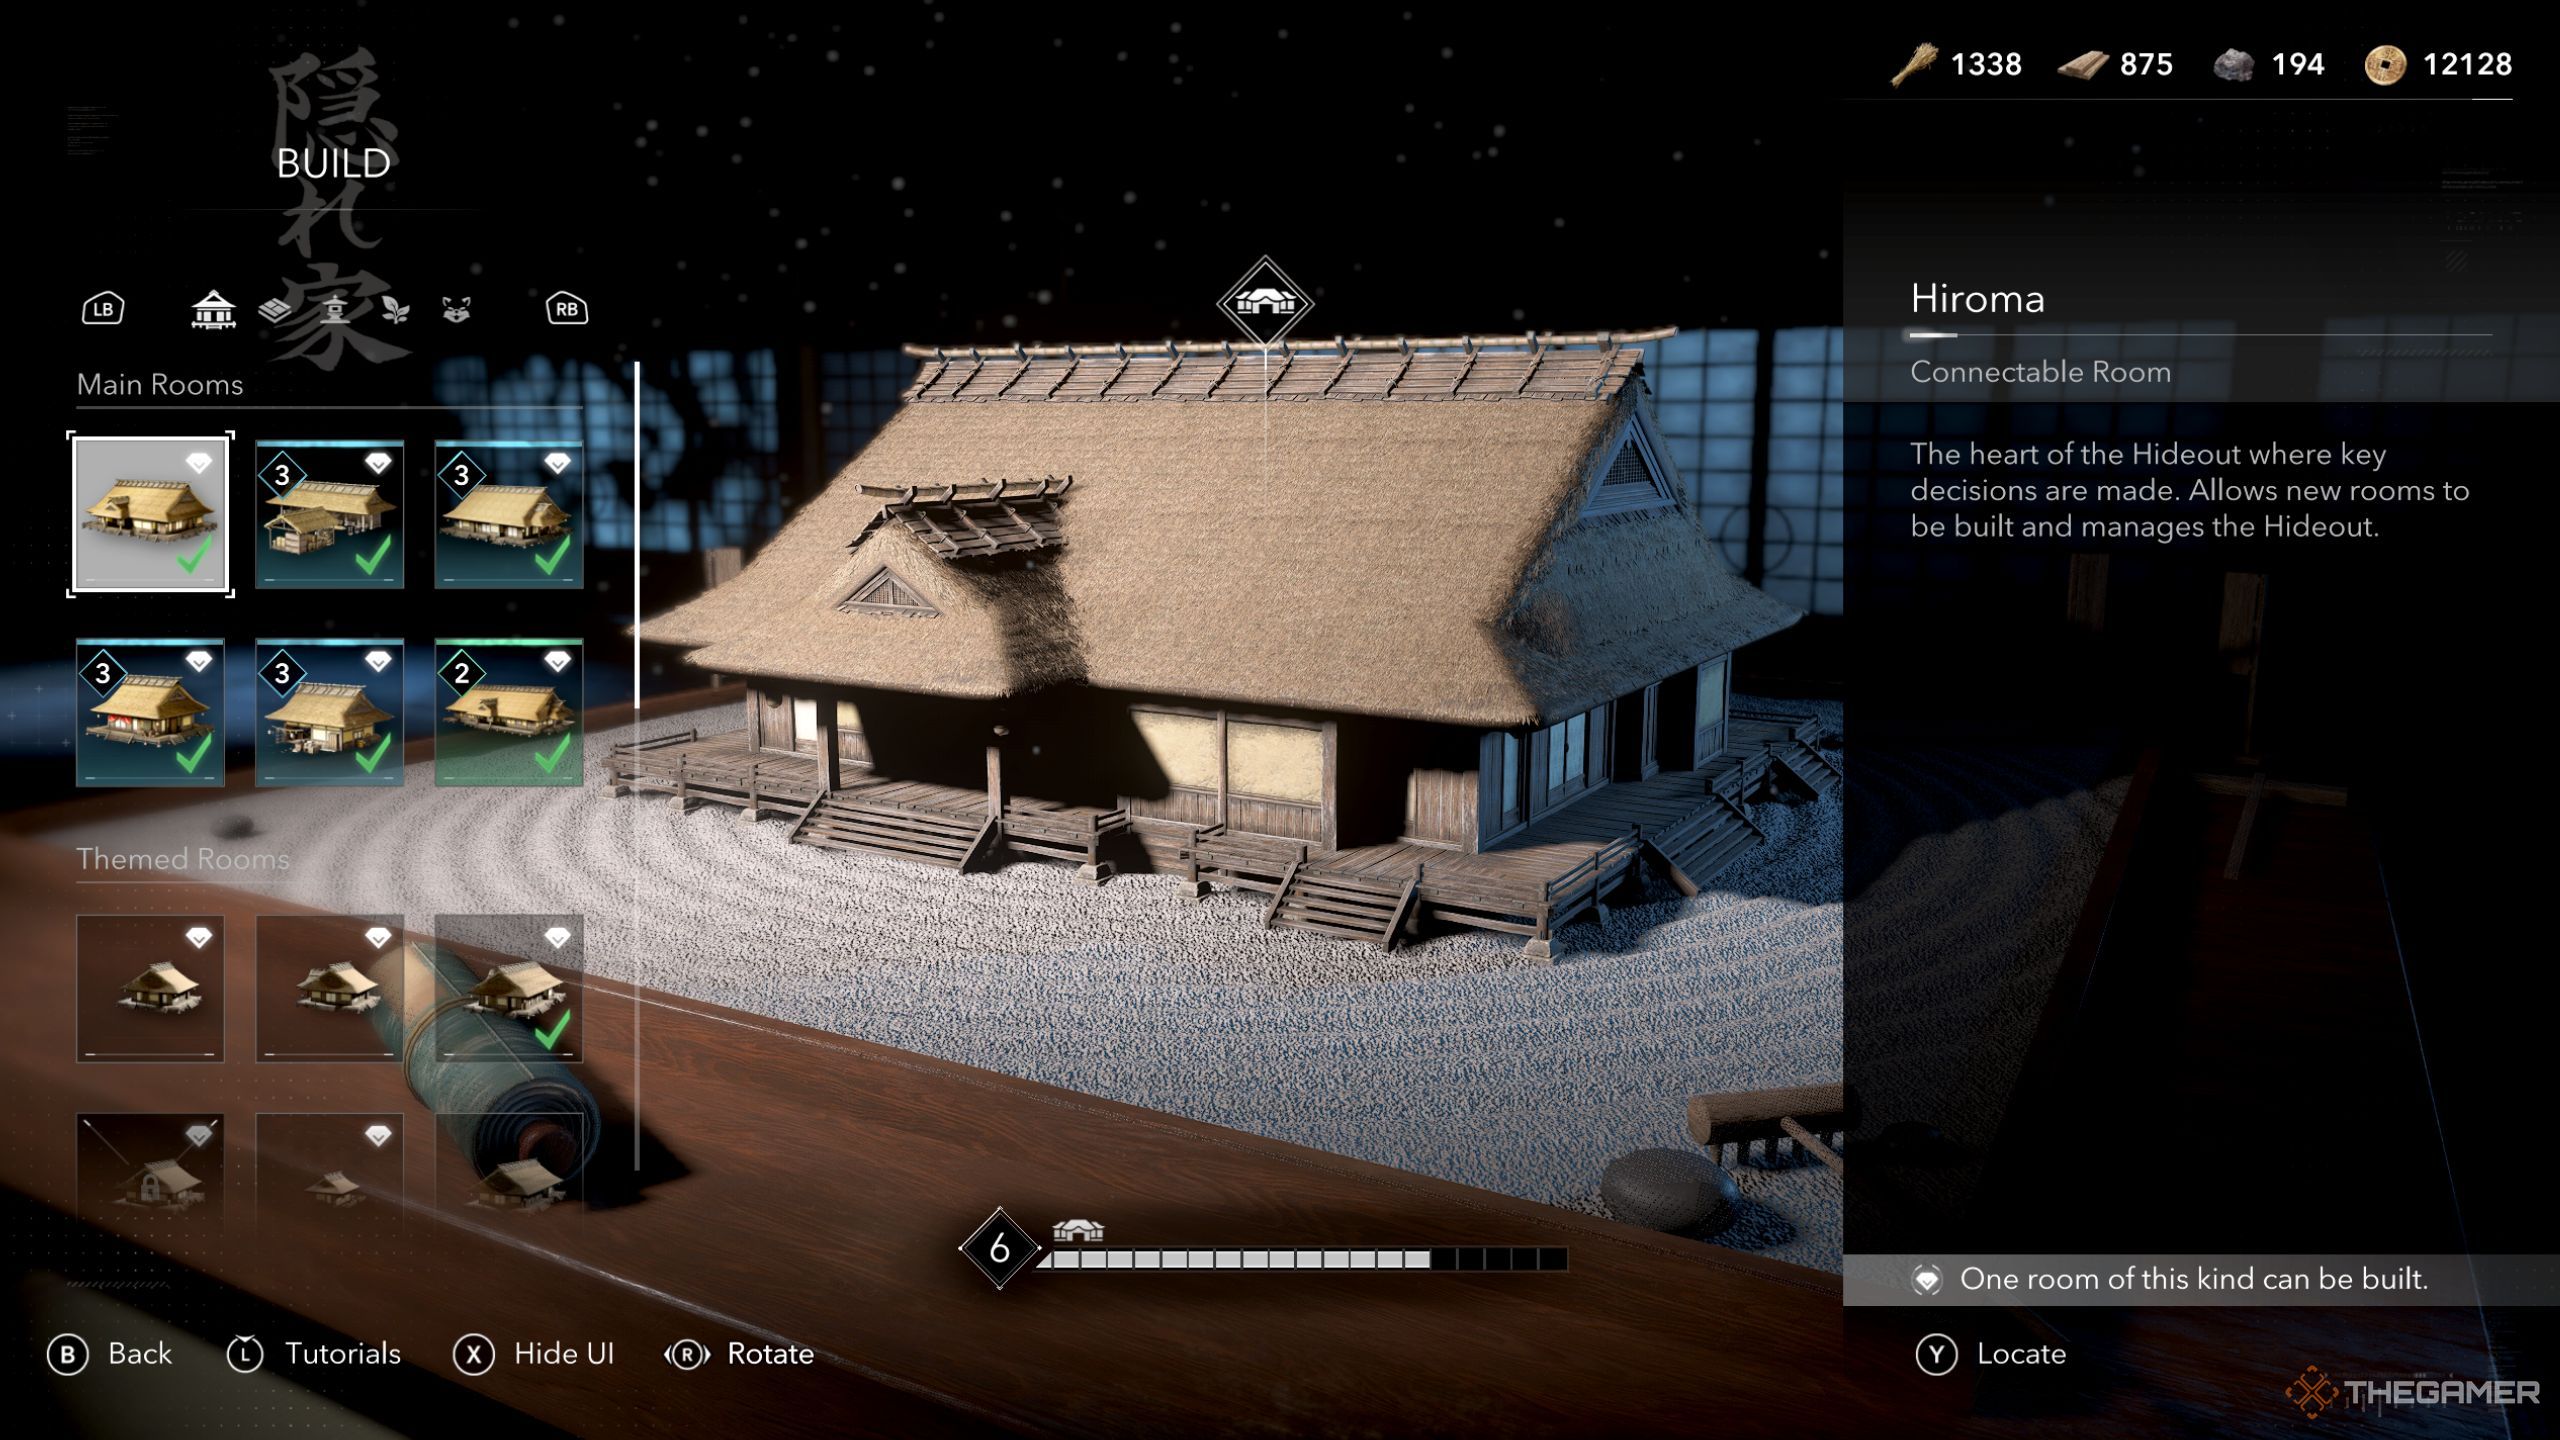
Inside your hideout, you can either build or upgrade structures by accessing the central area and clicking the "Improve Hideout" button or by heading to the Hiroma building and interacting with a desk equipped with a lamp. By getting close to this desk, you’ll find the same option available.
When you first access the build menu, you’ll notice it is organized into various room types. There are six main rooms that provide essential buffs to enhance your gameplay, and you can also acquire themed rooms from different merchants scattered throughout the world.
To construct or upgrade these rooms, you’ll need a specific amount of crops, wood, and minerals. The best way to gather these resources is by raiding enemy territories and tagging stockpiles for your scouts.
Initially, the Hiroma and Stables will be built for you, and you can also create a Kakurega if you have the necessary resources. However, to construct a Study, Forge, or Dojo, you’ll need to progress through the story, recruit a blacksmith, and enlist an ally, respectively.
Here’s a brief overview of what each main and themed room provides:
| Room Type | Name | Effect |
|---|---|---|
| Main Rooms | Stables | Marks stockpiles during raiding, doubling resource collection. |
| Kakurega | Enables new fast travel options and access to contracts, ration refills, and additional scouts. | |
| Study | Allows for increased scout capacity each season, essential for marking quest locations. | |
| Forge | Upgrades the gear of your characters. | |
| Dojo | Manages and upgrades ally abilities. | |
| Themed Rooms | Tera | Provides a 10% experience boost from all sources. |
| Jinja | Enhances the effects gained from praying at shrines, lasting for 15 additional minutes. | |
| Nando | Offers a 30% discount on scouts purchased at Kakurega. | |
| Zashiki | Increases healing from Ration usage. | |
| Tea Room | Also boosts healing effects. |
In addition to the main rooms, you can also earn themed rooms of various sizes, which can be customized to your liking. In the build menu, you have the option to browse different tabs to find paths, decorations, trees, and pets you’ve collected during your adventures. These elements can enhance the appearance of your hideout, making it more visually pleasing. You can discover various decorative items, plants, and paths through exploration and trade with merchants. For pets, you may encounter dogs, cats, and other animals in your travels, and interacting with them allows you to add them to your hideout.
Additionally, by completing the "Thrown to the Dogs" side quest, you’ll unlock a dog named Tsuki-maru, which can also be included in your hideout.
Prioritizing Upgrades in Your Hideout
When you build your main rooms, they initially come at a white rarity. With upgrades, all but the Hiroma can reach a blue rarity, implying that they can be improved twice. Such upgrades may either impose new limits or introduce fresh benefits related to each building. However, it’s essential to prioritize these upgrades wisely since they demand more resources compared to the initial construction.
Here’s the recommended order for upgrading different rooms, ranked by priority:
| Upgrade Priority | Building Name | Effect |
|---|---|---|
| 1 | Stables First Upgrade | Allows one scout to mark stockpiles, effectively doubling resource collection. |
| 2 | Forge First Upgrade | Lets you upgrade gear to level 40 and adds the option for non-legendary engravings. |
| 3 | Study First Upgrade | Increases your scout capacity by one. |
| 4 | Dojo First Upgrade | Enables two ally ability slots. |
| 5 | Forge Second Upgrade | Upgrades gear to level 60, enabling legendary engravings. |
| 6 | Stables Second Upgrade | Offers 20% more resources when tagging stockpiles. |
| 7 | Study Second Upgrade | Provides another scout slot and reduces quest search zones by 60%. |
| 8 | Kakurega First Upgrade | Grants provincial rumors while inside Kakurega and lets two scouts clear the "wanted" effect. |
| 9 | Dojo Second Upgrade | Unlocks an extra ability for each ally at a cost in Mon. |
| 10 | Kakurega Second Upgrade | Unlocks more Kakurega locations across the map and reduces their unlocking costs. |
Understanding Hideout Levels
Beyond the effects gained from constructing and upgrading your hideout, there is also a hideout level system. You’ll find your current level displayed in the top left corner of the building menu. As you create or upgrade both main and themed rooms, you earn XP toward this level.
Increasing your hideout level unlocks additional gameplay benefits. Here’s what you can expect as you progress:
- Starting level with no special effects.
- Scouts bring back some Mon when seasons reset.
- Shrine boon lasts an extra 15 minutes.
- Scouts also retrieve hideout resources upon season resets.
- You can engrave gear at a discounted rate.
- Scouts now deliver crafting resources after a season reset.
- Full health and adrenaline replenishment at any Kakurega.
- Scouts can collect gear after season resets.
- Upgrading gear at a reduced cost.
- Scouts will bring seasonal crafting materials when marking stockpiles.
By the time you’ve attained all these upgrades, you’ll be well into your journey, making future gameplay significantly smoother.