Select Language:
Bonny Gaol is a newly introduced dungeon in Elden Ring, available exclusively through the Shadow of the Erdtree DLC. This hidden area lies to the south of Bonny Village and is populated with jars and shamans.
This guide will assist you in finding Bonny Gaol by first locating the concealed Bonny Village within Elden Ring, and will also walk you through the items you can gather there. Be sure to achieve at least Scadutree Blessing Level 10 for a smoother experience in this dungeon.
Finding Bonny Gaol in Elden Ring

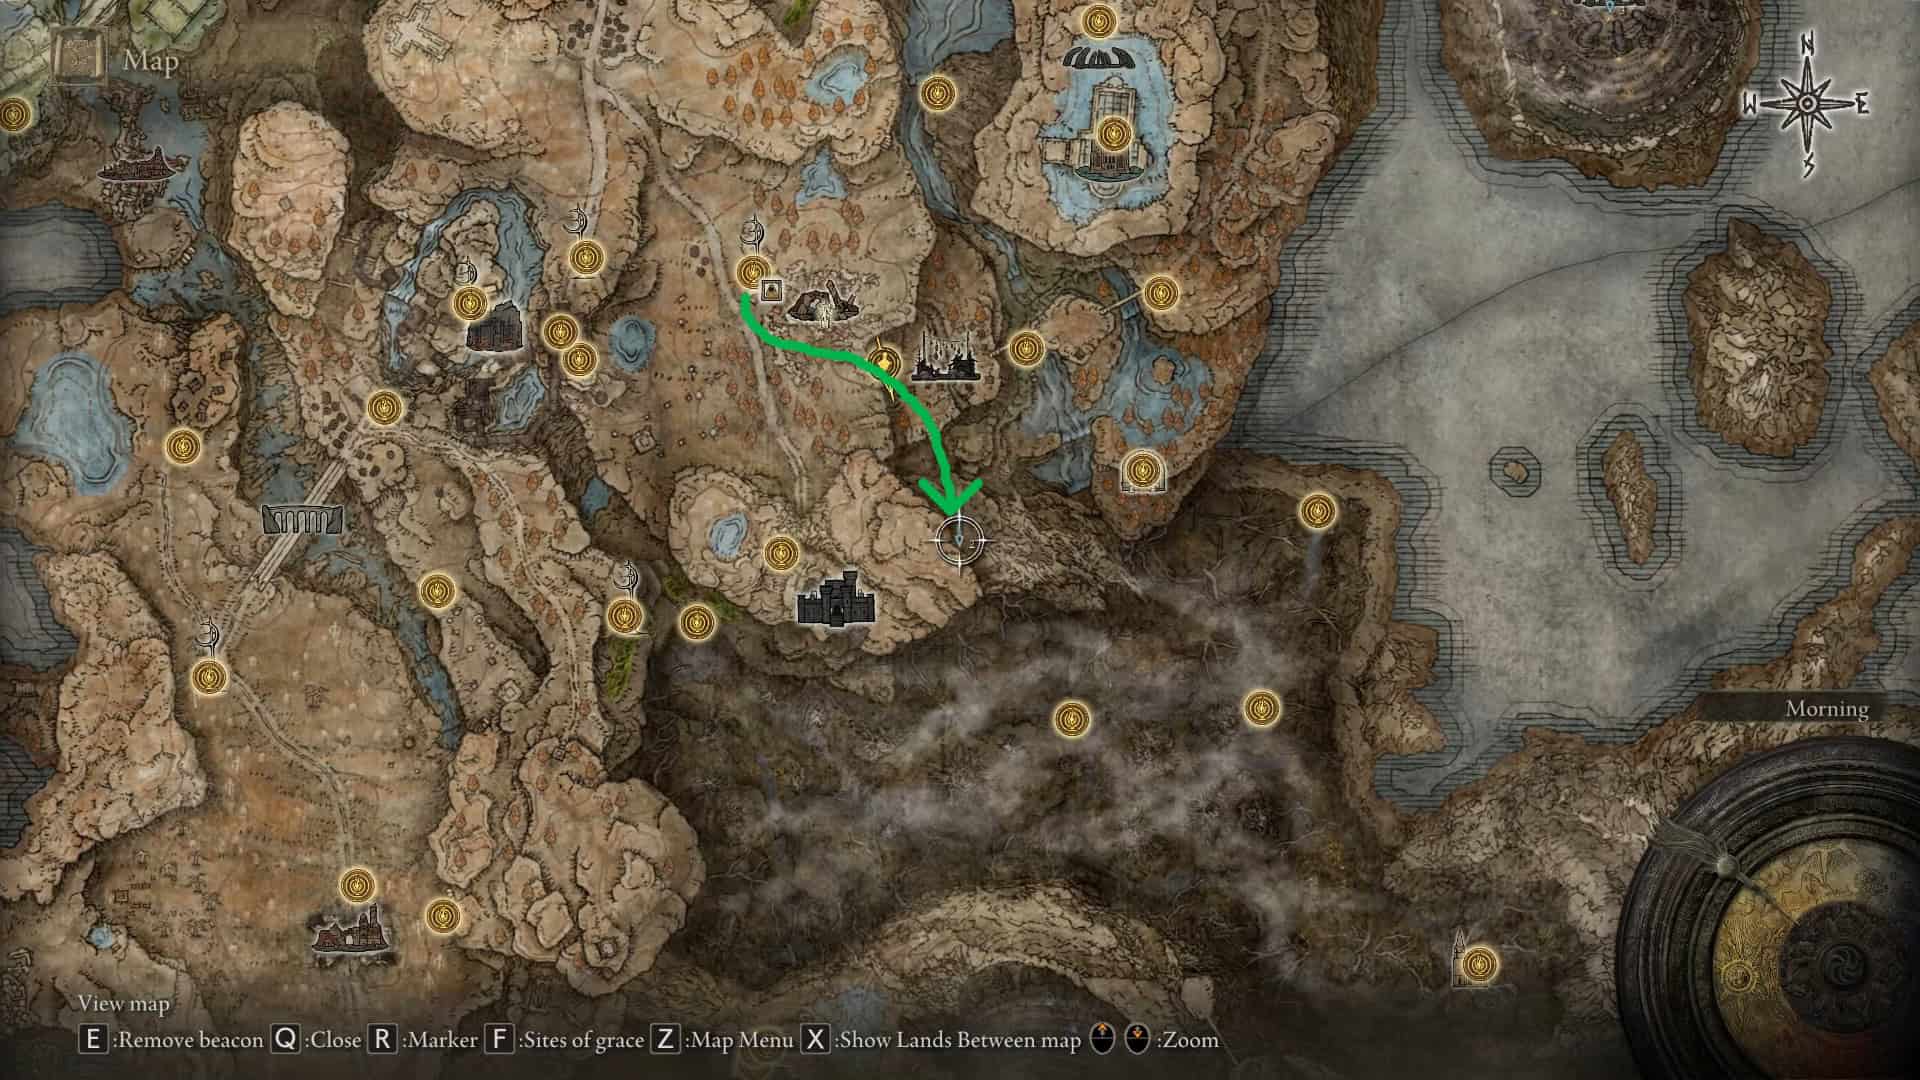
To locate Bonny Gaol, head south from Bonny Village. Start your journey at the Moorth Ruins site of grace, then head south and to the left near the gate to find a collapsed and leaning structure.
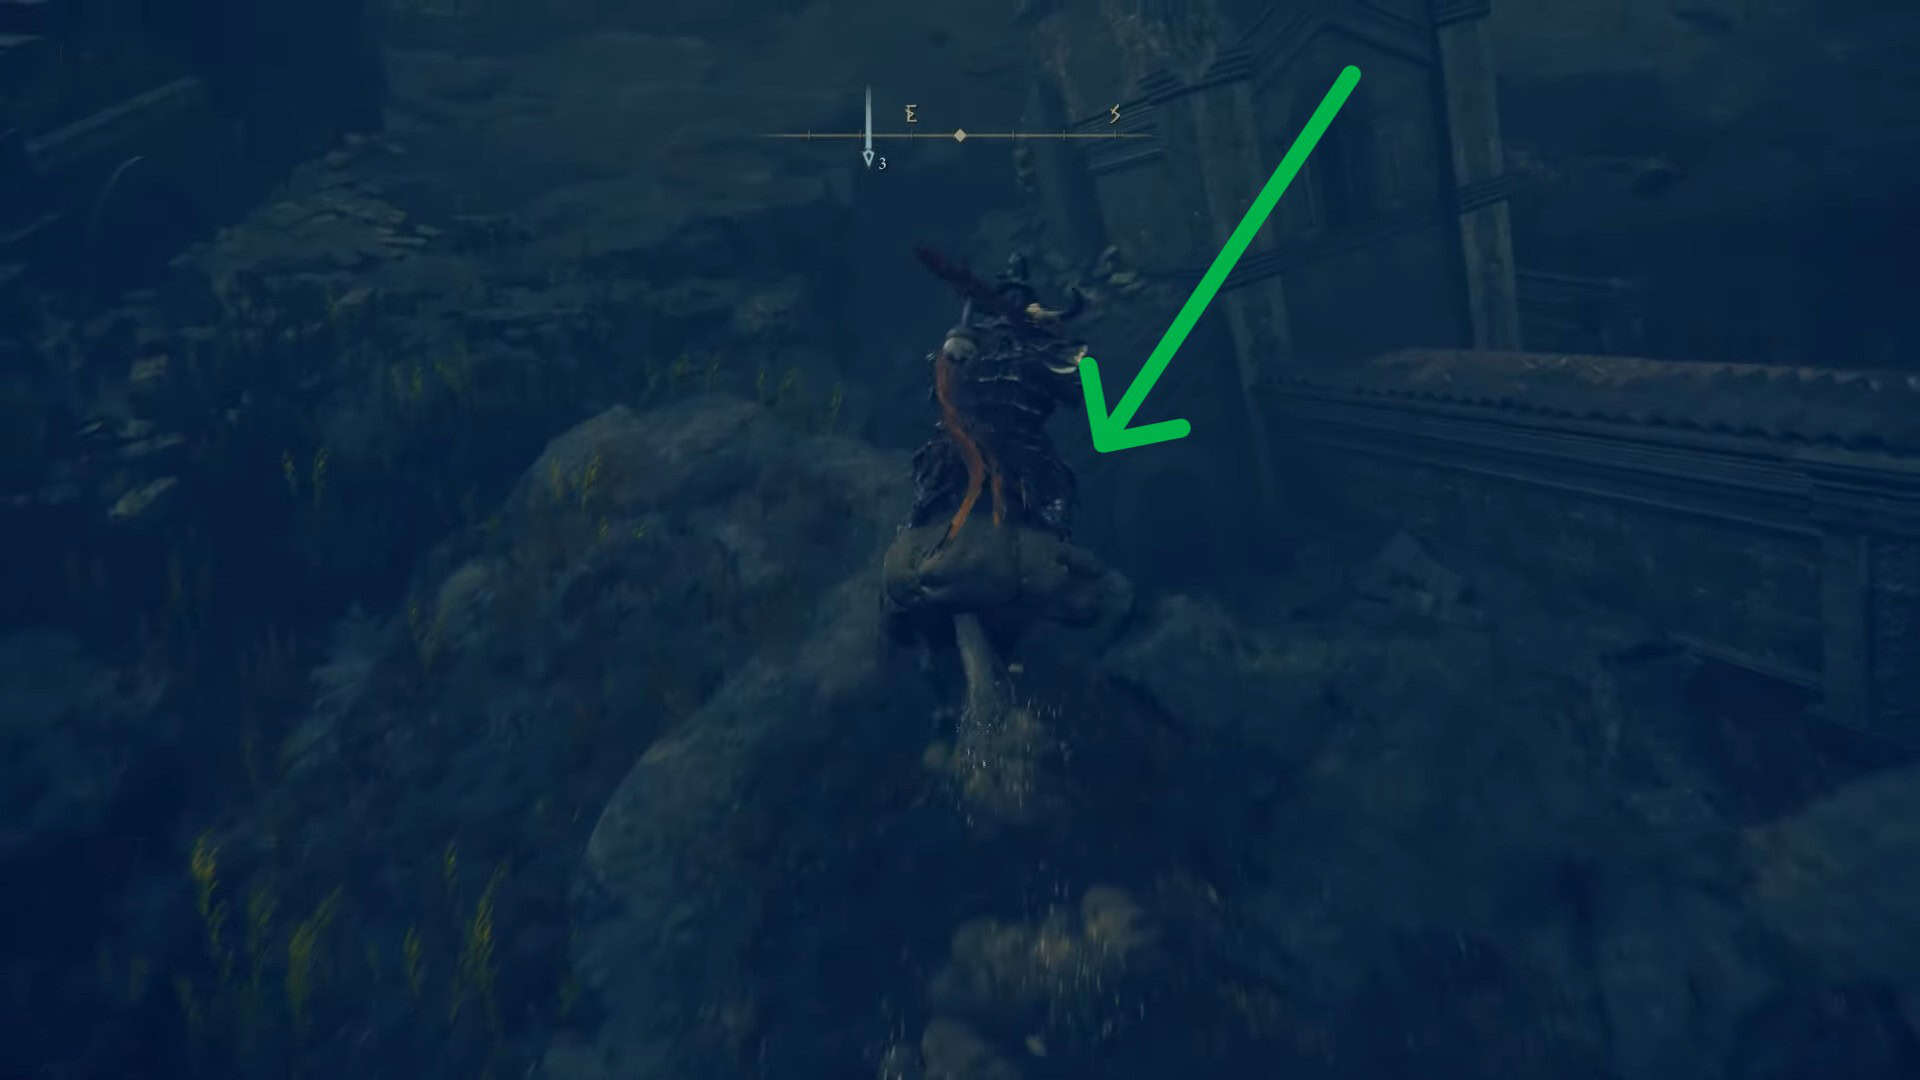
Drop down the hole near this house. Use your Torrent to reach the bottom and follow the winding path down until you arrive at the very base.
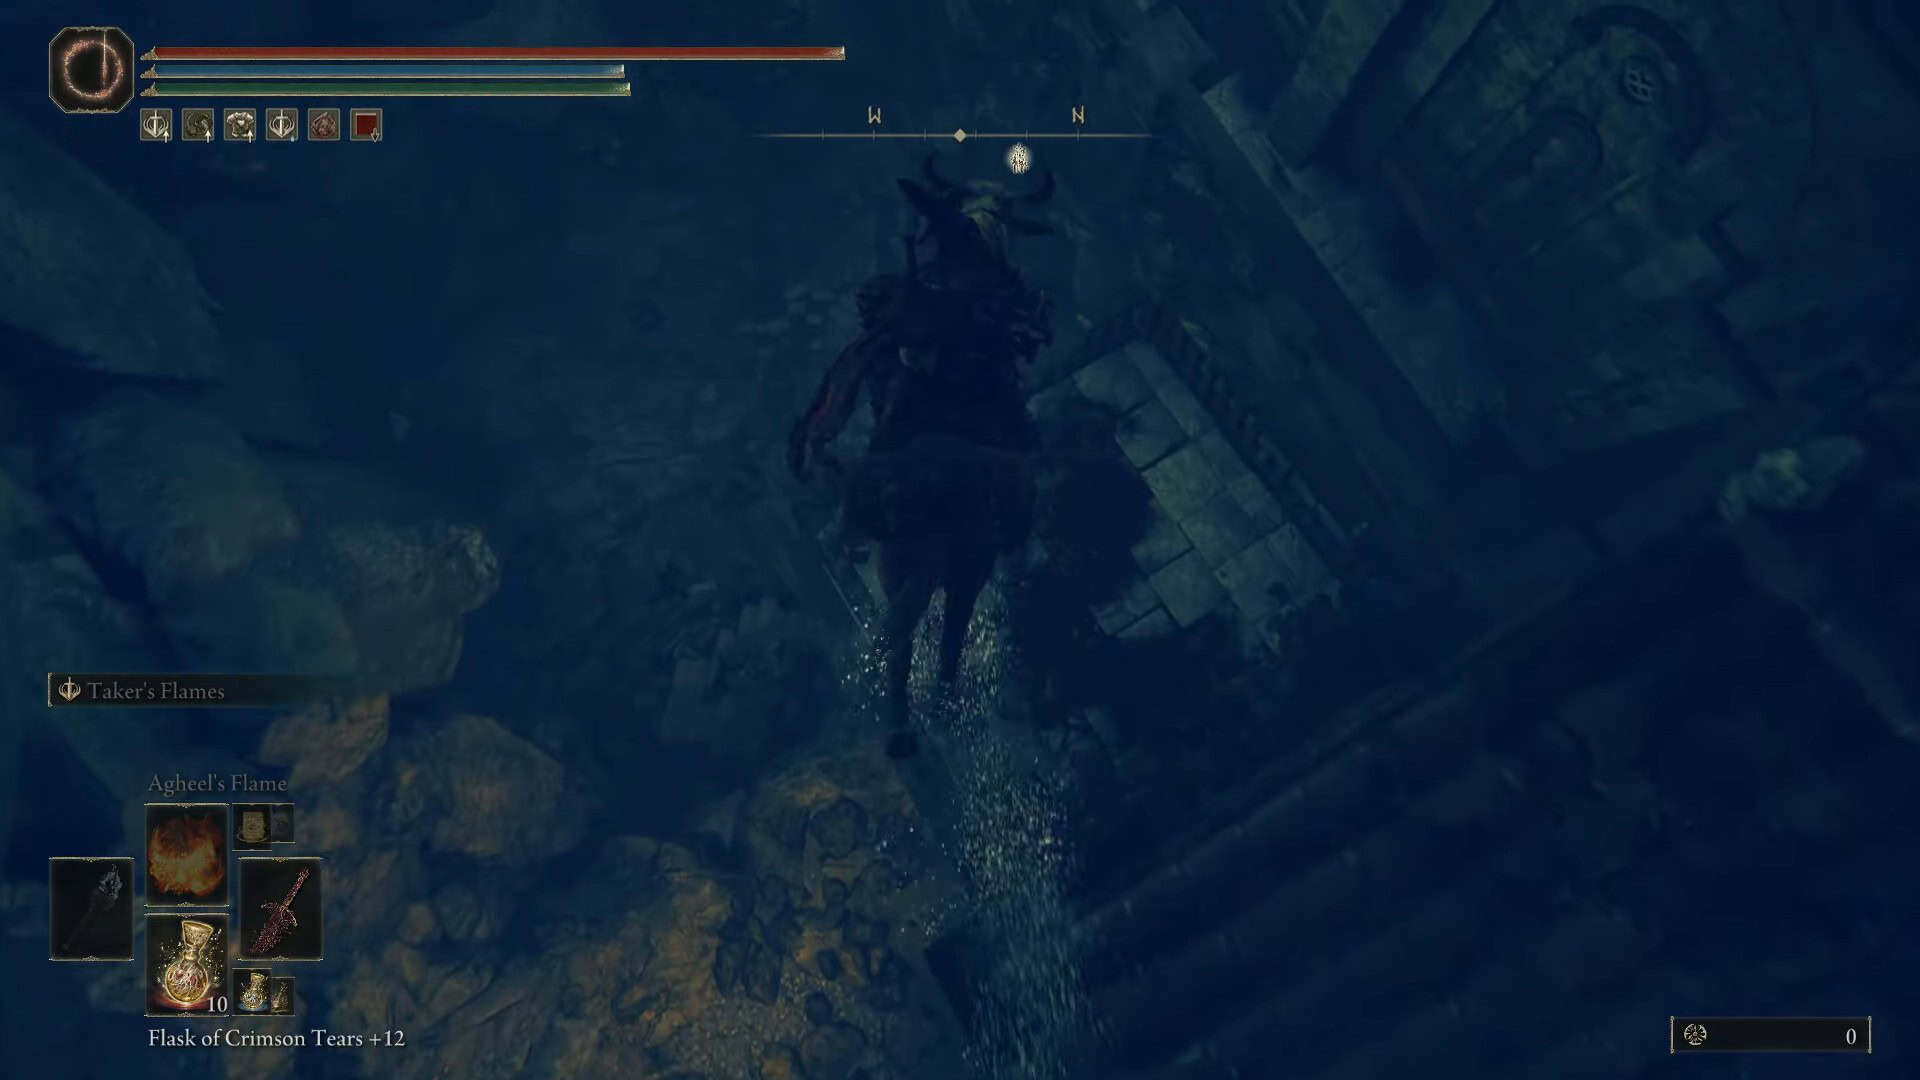
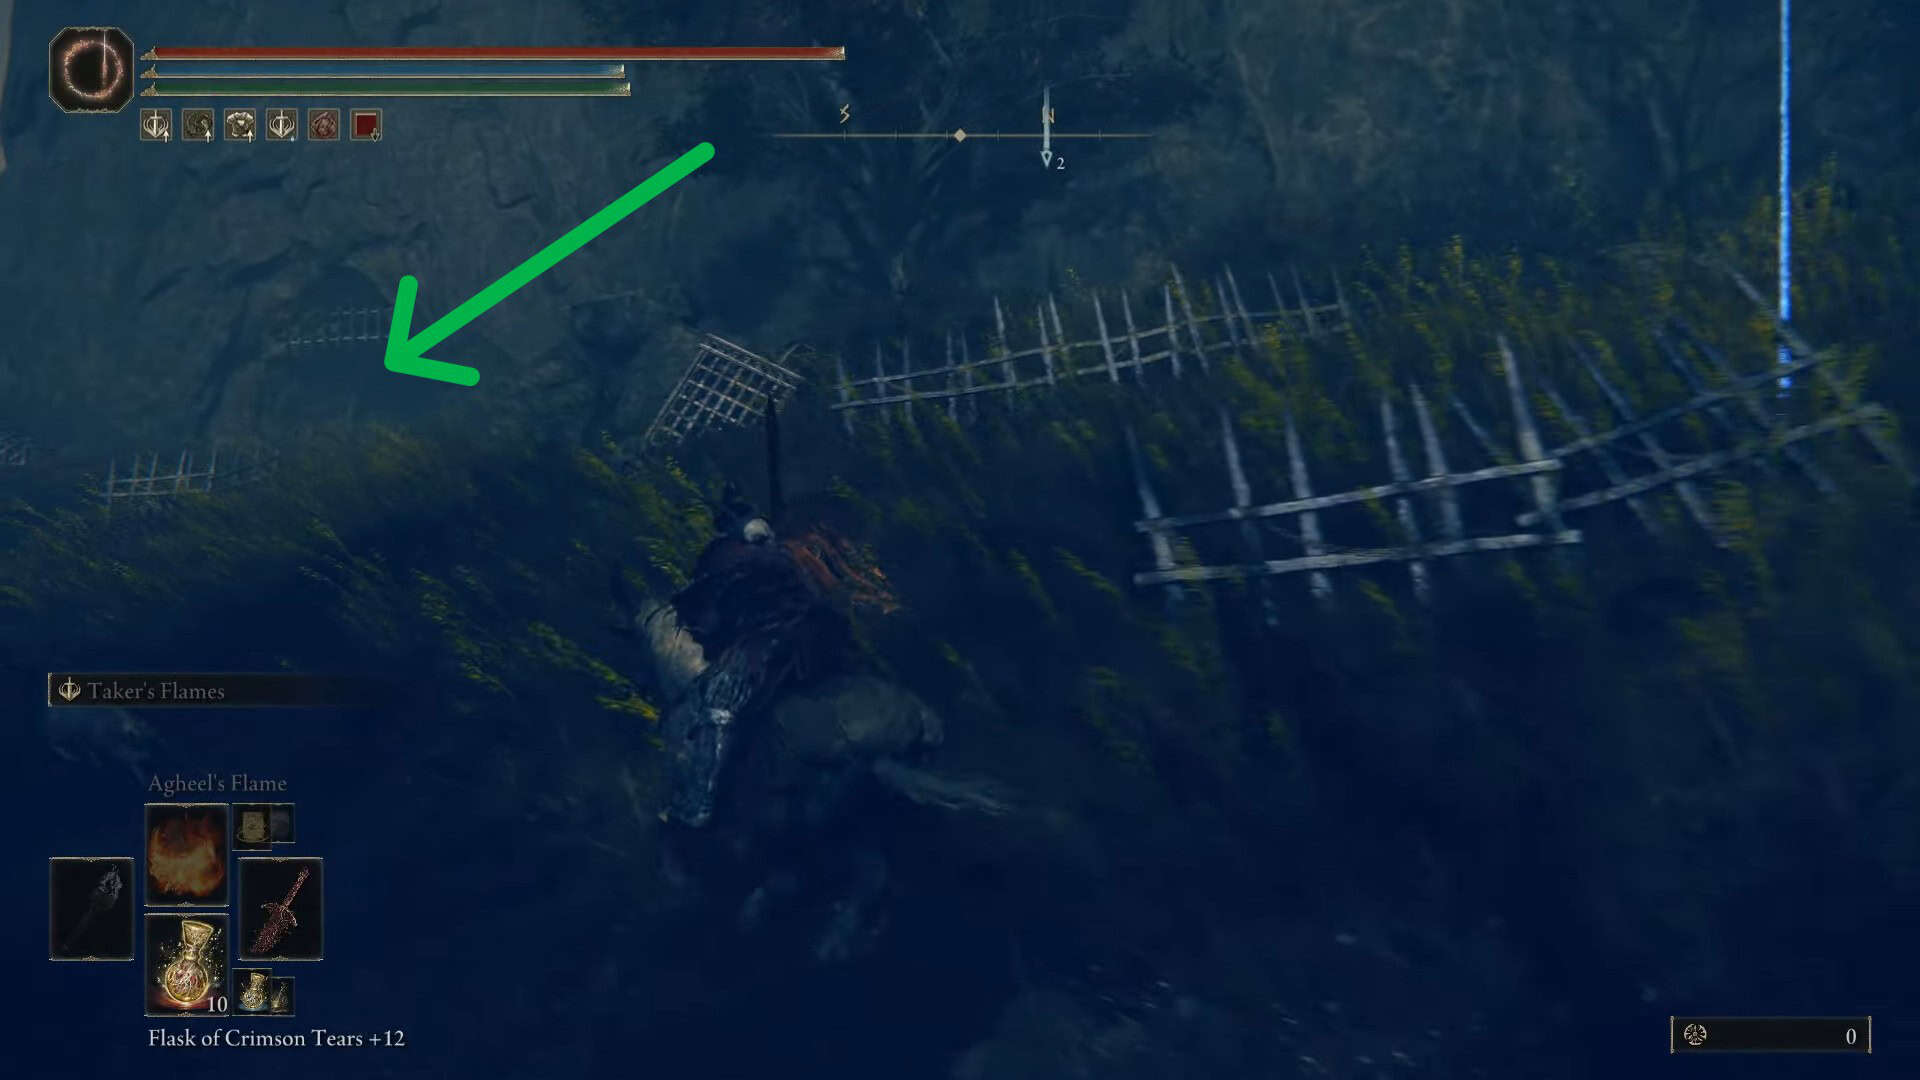
Keep heading south until you find a ladder leading outside. Use it to enter Bonny Village. From the Bonny Village site of grace, proceed south and cross the bridge to reach the entrance to Bonny Gaol, as indicated on the map.
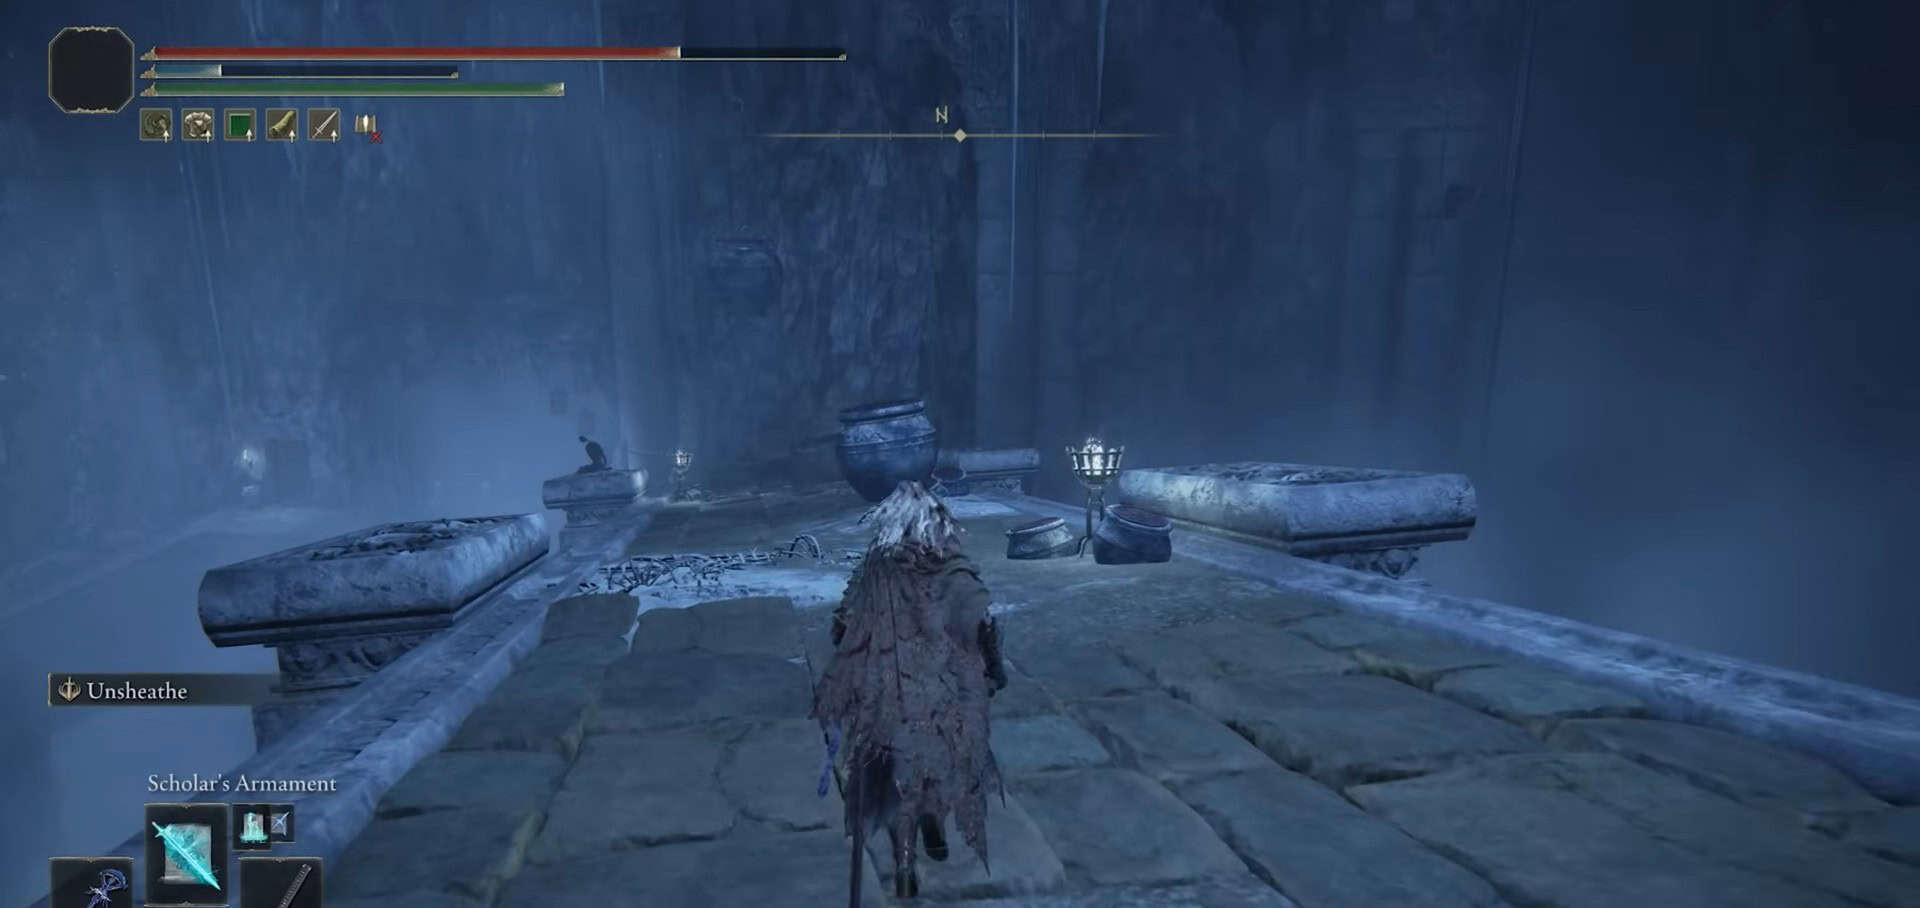
Bonny Gaol Walkthrough

From the Bonny Gaol site of grace, proceed down the cave and take your first right near the hanging jars. Turn right again to access a small jail cell containing 8x Frozen Maggots.

Be cautious of a shaman ambushing you in the jail cell. Exit and defeat another shaman in the vicinity. You can skip the next room on the right, as there are no valuables there.
Before entering the third room on the right, turn back and drop down using a couple of hanging jars. Inside the first room, defeat an enemy and grab 1x Frozen Maggot from the ground.
Return outside and veer left. Move slowly, as there is a room to your left at the path’s end, where another shaman awaits an ambush.
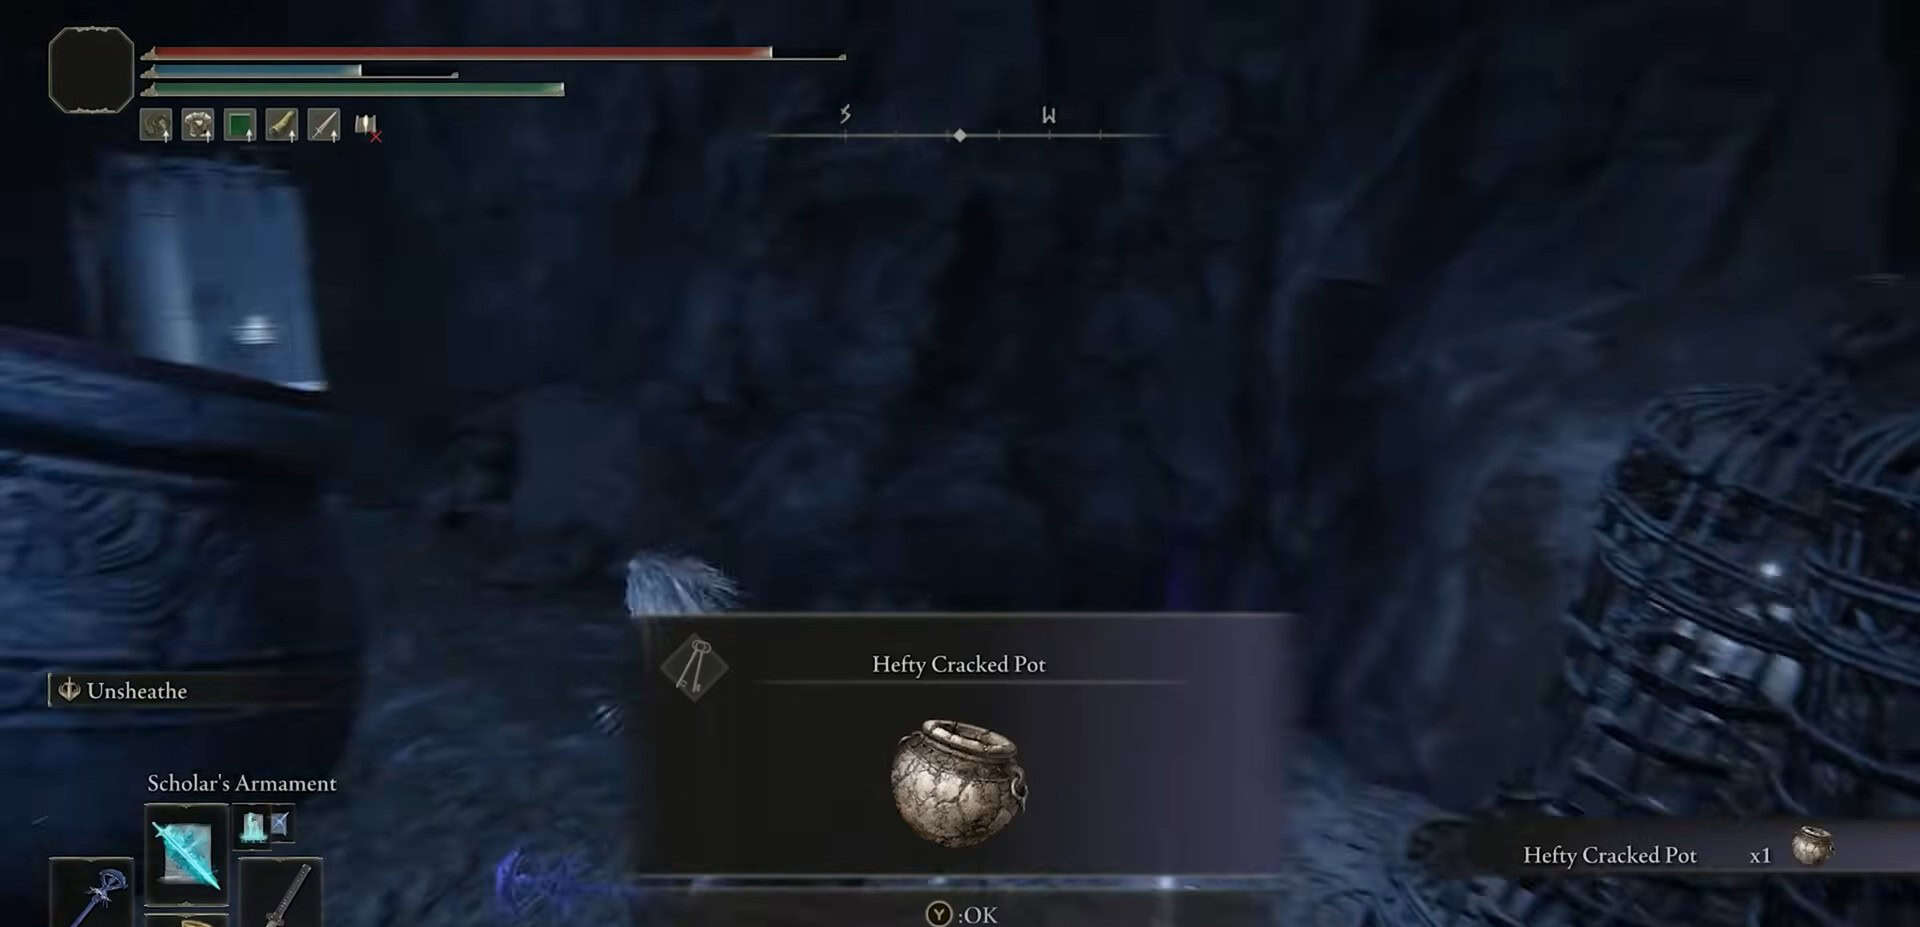
If you move too hastily, the shaman may push you off the edge. Once inside the room, defeat another shaman and collect 1x Hefty Cracked Pot.
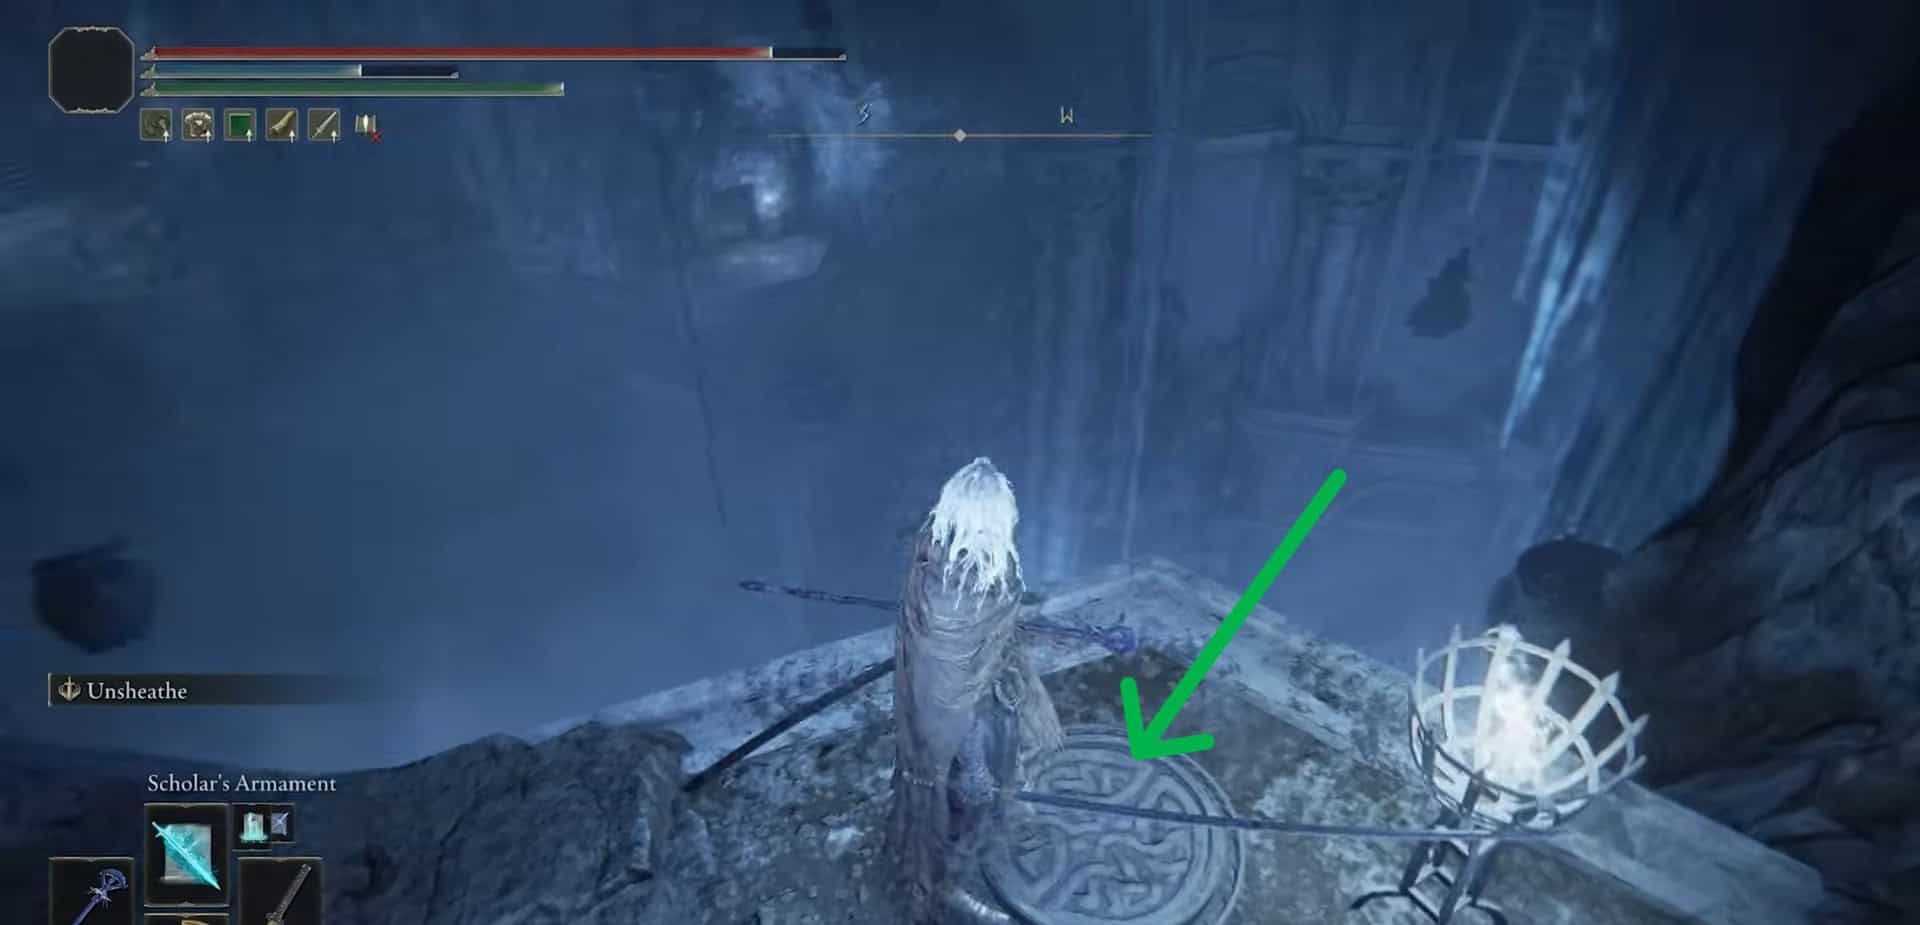
Exit the room and turn right, heading to the ledge’s edge. Stand on the button to call down a hanging jar. Use it to lift yourself back up and then proceed into the third room on the right.
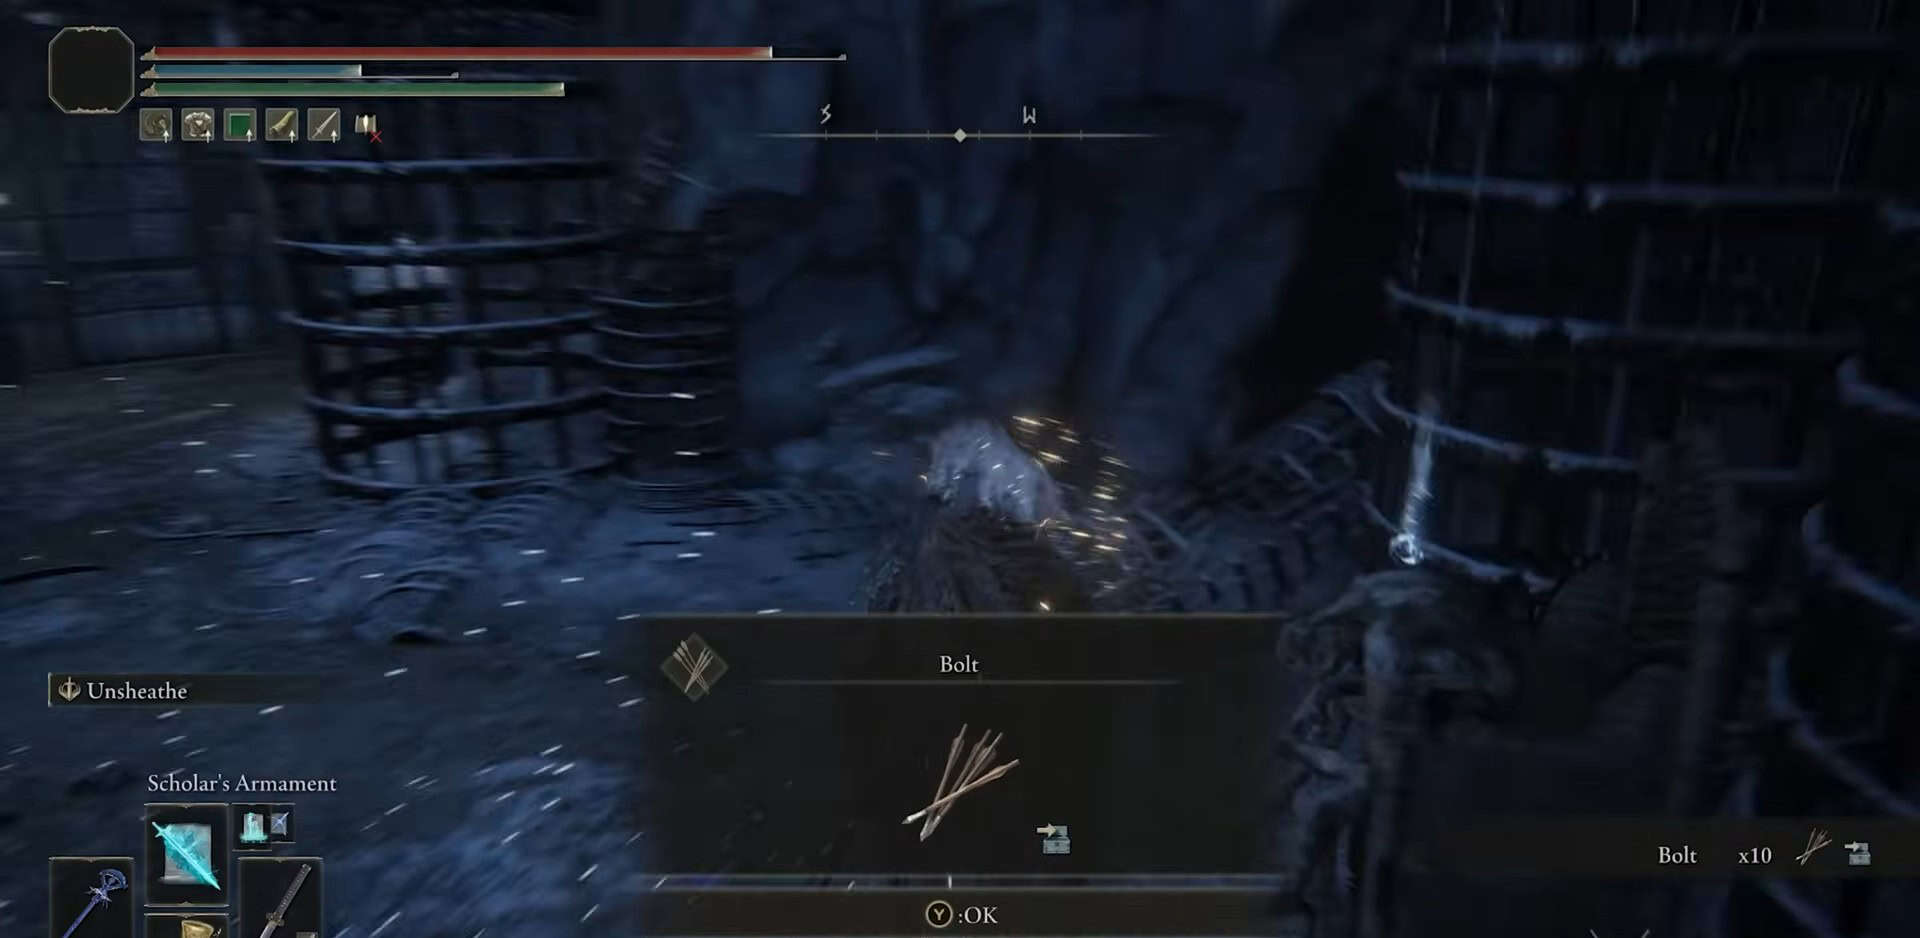
Eliminate the scorched enemies in this space and loot 10x Bolts. Open the closed door to access the next room.
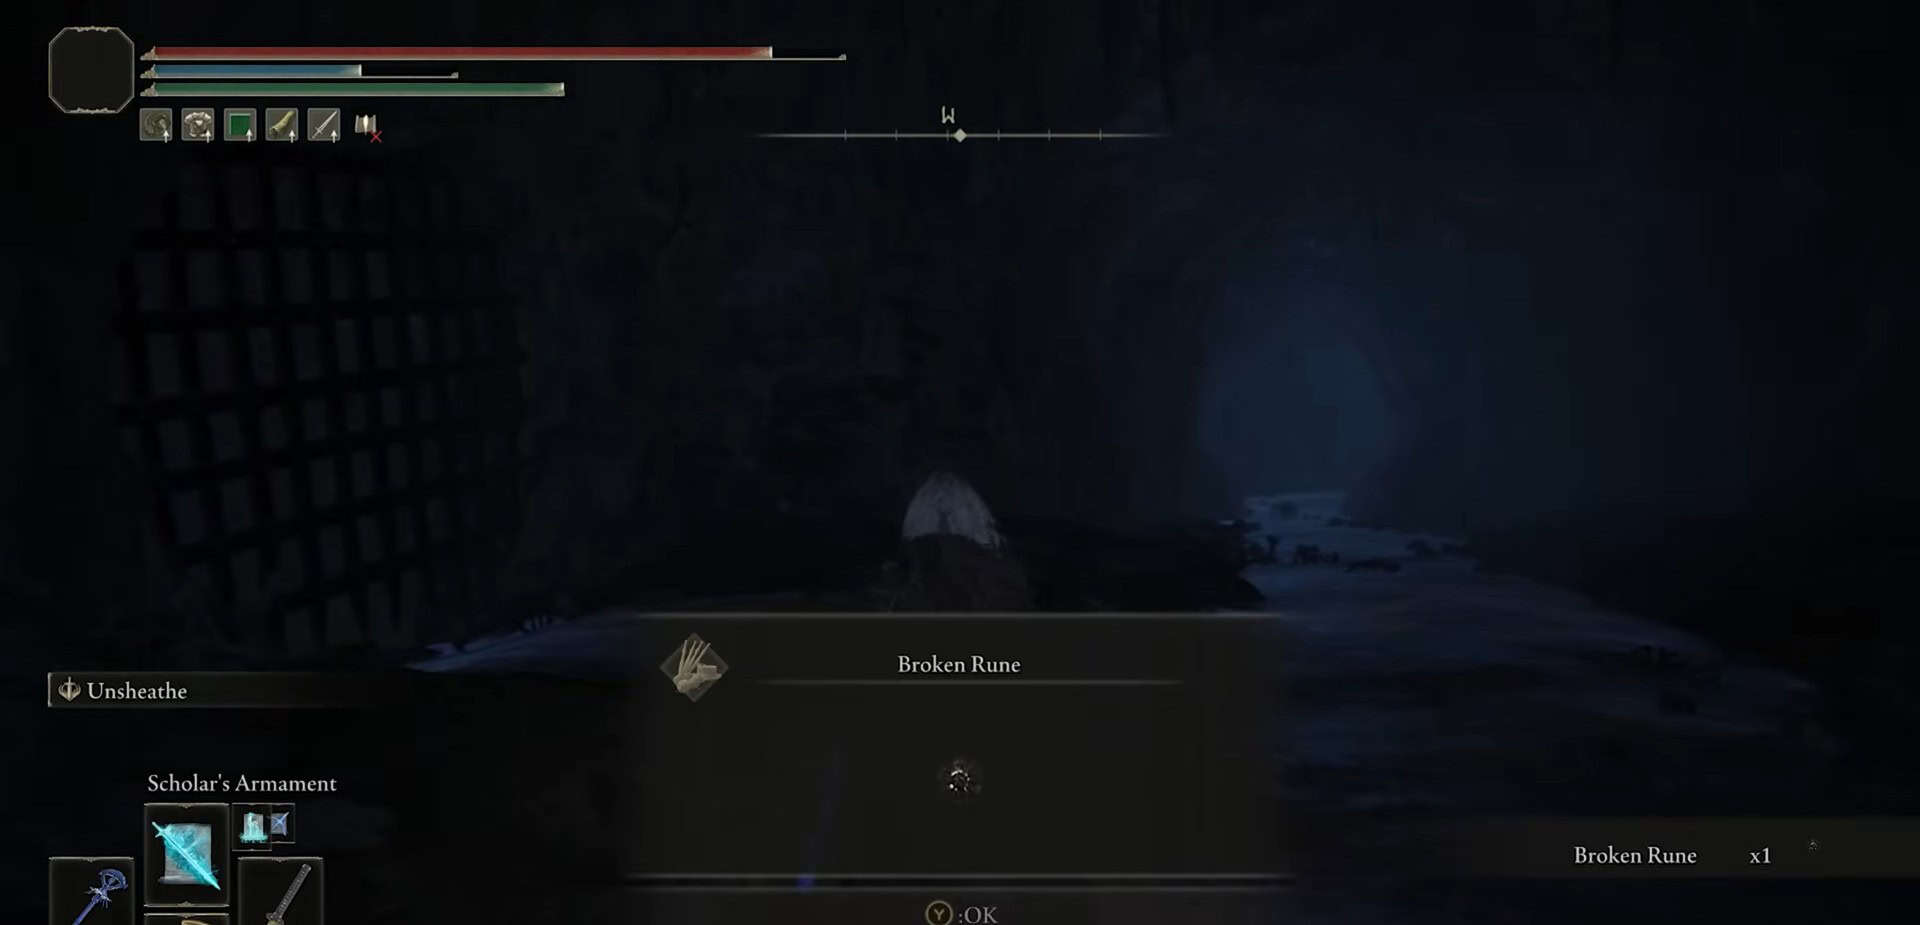
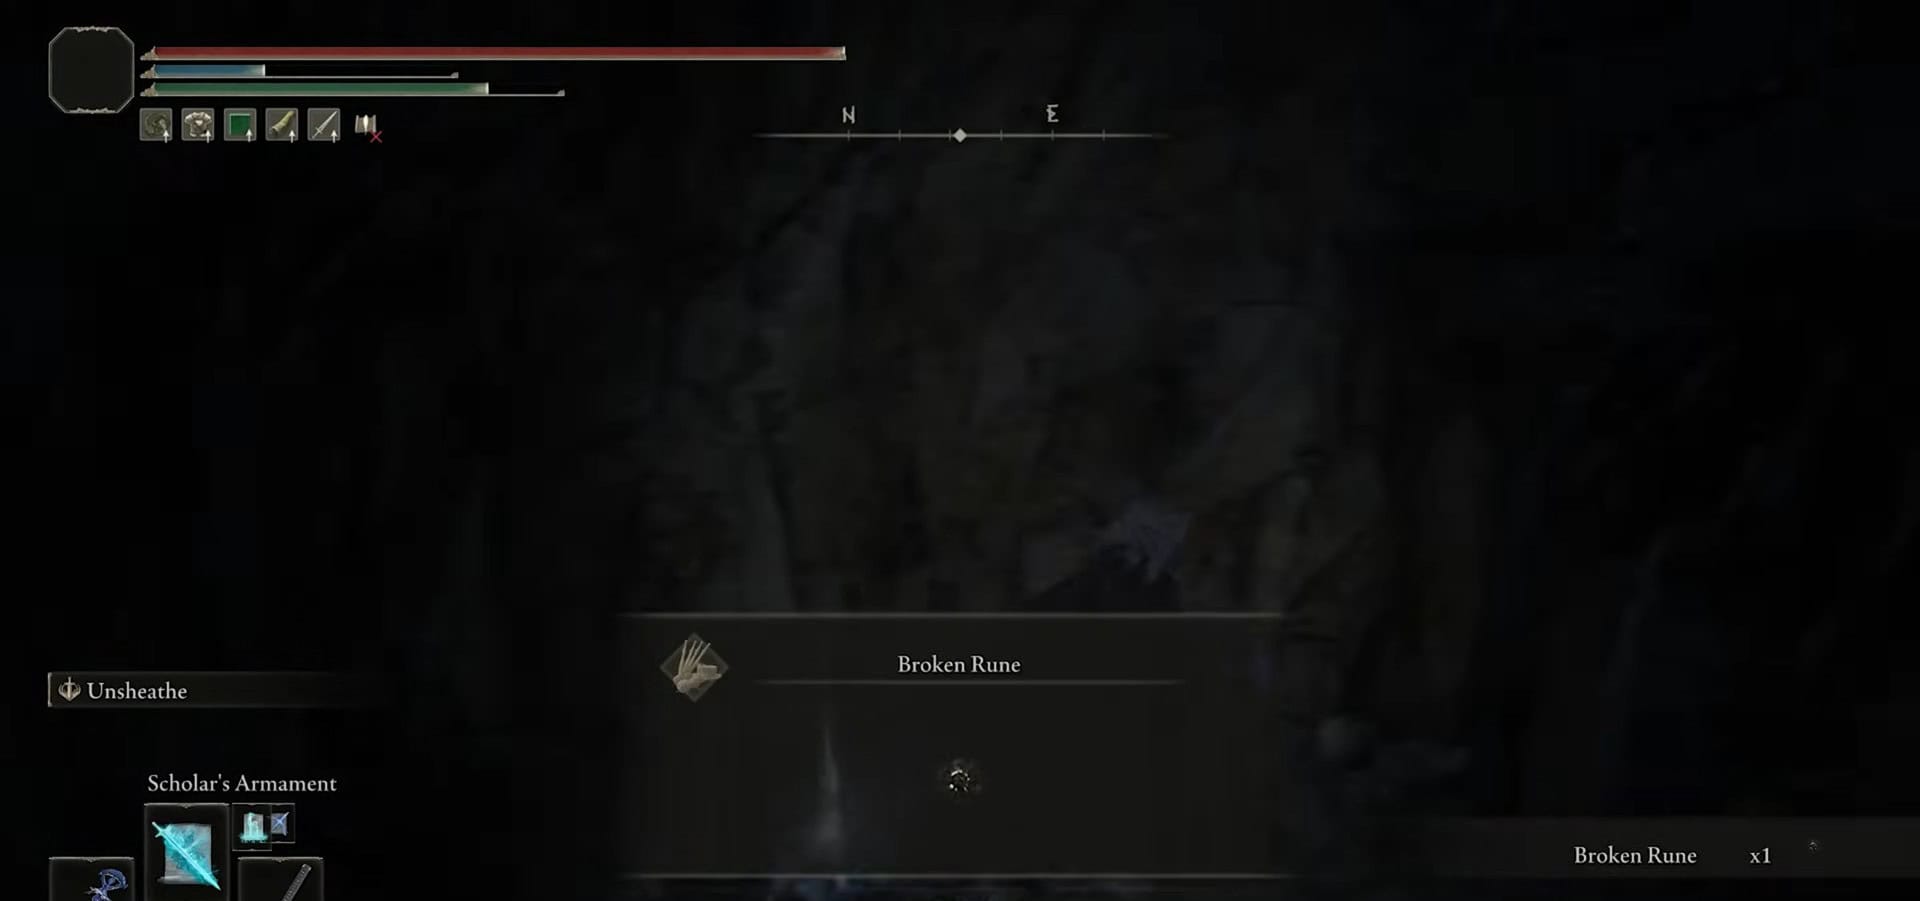
Defeat a few enemies and jump down a hole at the far end of the room. Grab 1x Broken Rune, then turn back immediately.

Follow the water flow back upstream, eliminating any rats you encounter. Squeeze through a small opening on the right to secure 1x Smithing Stone 2.

Return outdoors and follow the path until you spot a ladder. Climb it to find another jail cell above. As you enter, watch for another Shaman ambushing you. Defeat it and take home the Stalwart Horn Charm +2.
Drop down the hole, exit the room, and turn right. Enter the adjacent room and continue following the path until you jump back into a hole.
This time, follow the water downstream to uncover 1x Broken Rune from the end of the tunnel.
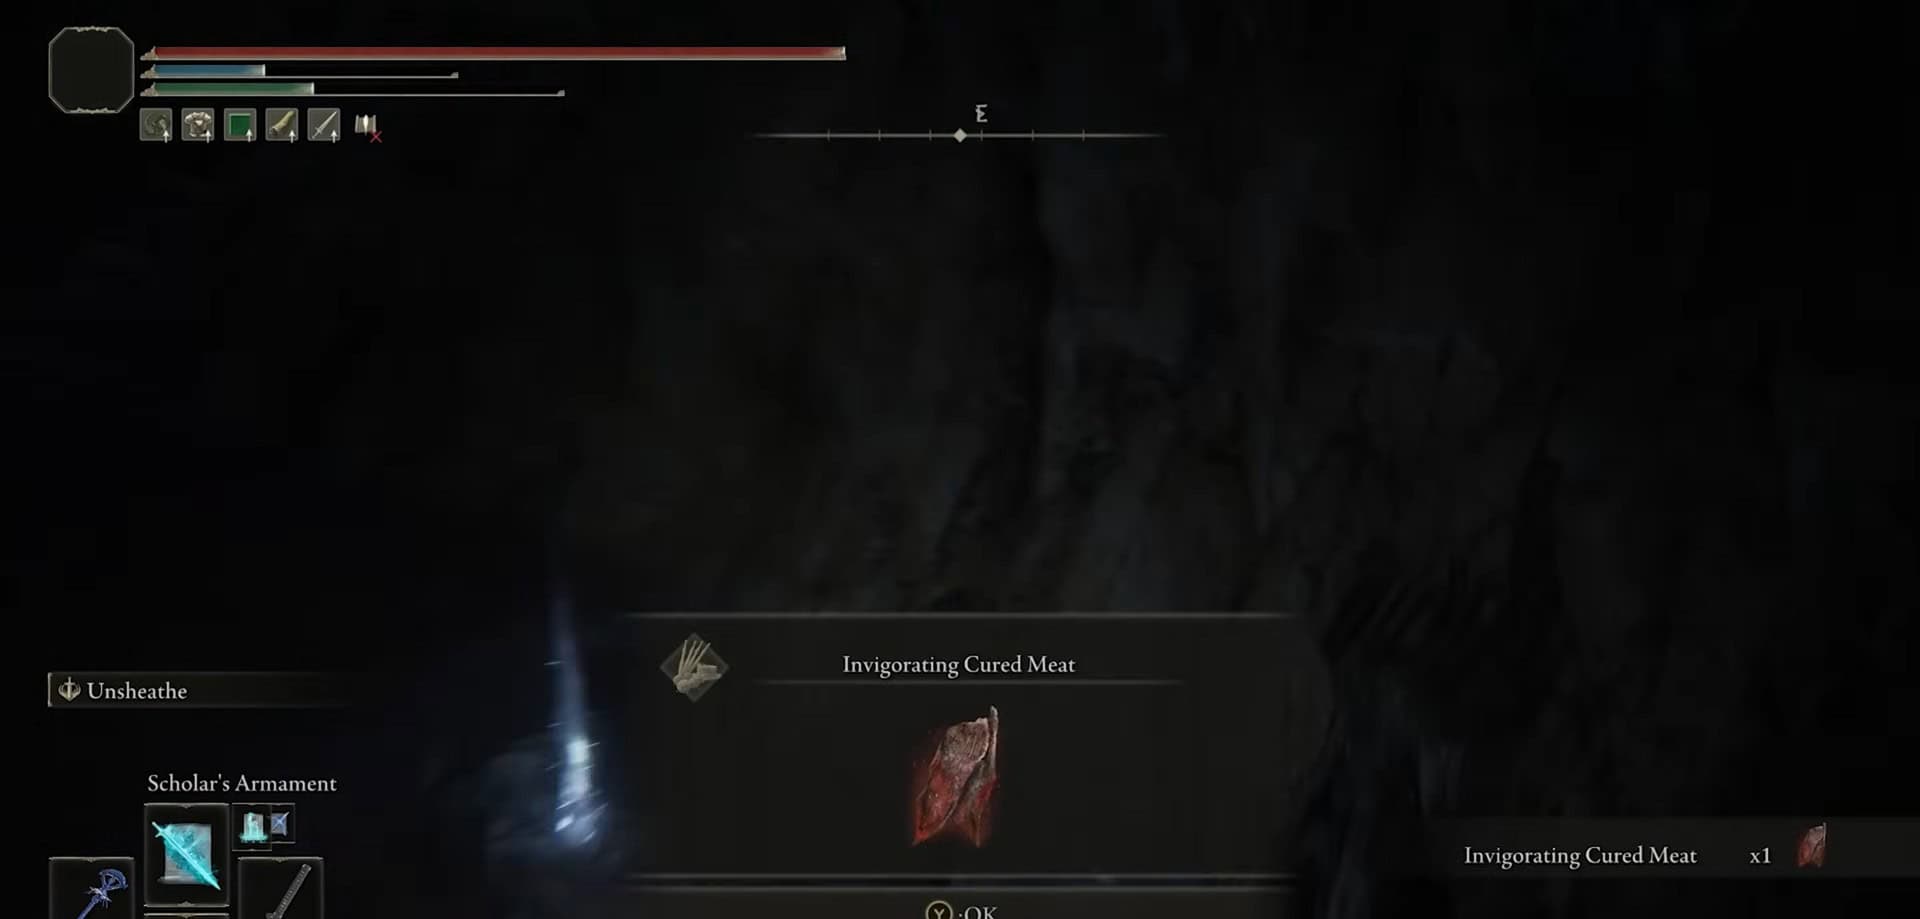
Head back and take your first right. Travel this route while keeping clear of slug enemies. Turn right to collect 1x Invigorating Cured Meat.
Retrace your steps and drop down from an opening in the wall. Follow the path and immediately veer left. Stick to the left wall and defeat a jar enemy. Collect 1x Broken Rune near a jail cell.
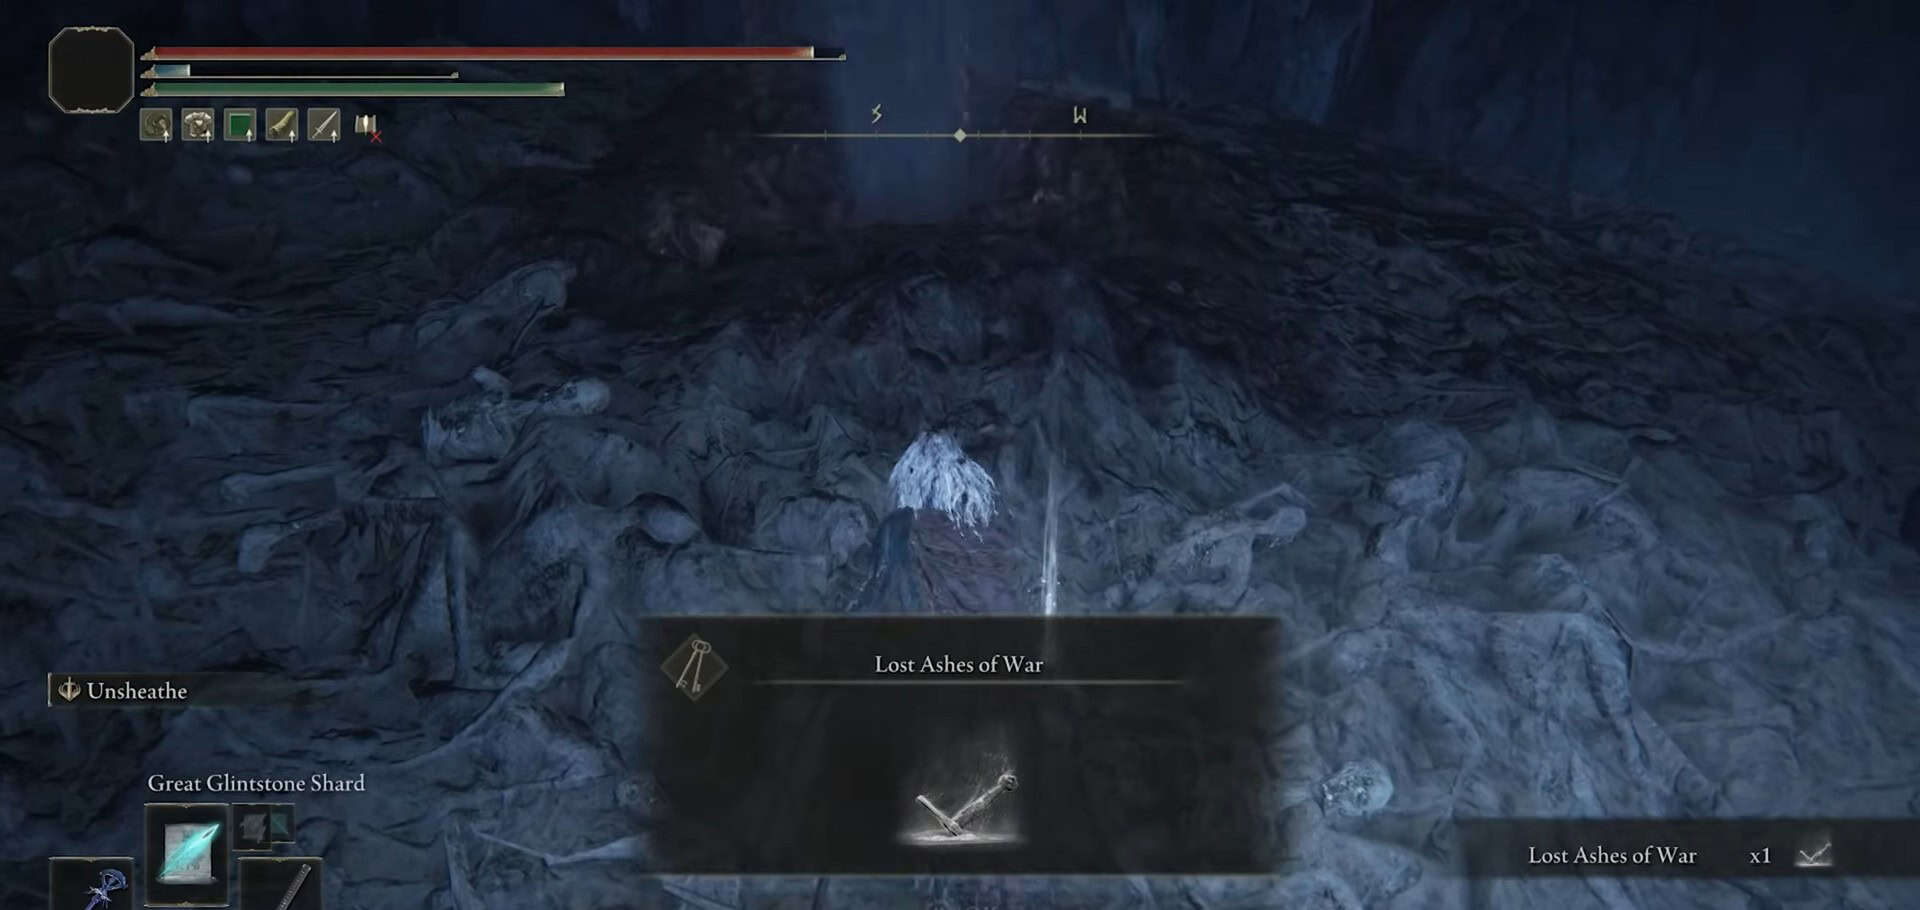
Turn back and go left to confront five more jar enemies. Defeat all of them to find 1x Lost Ashes of War from a mound of corpses on your right.
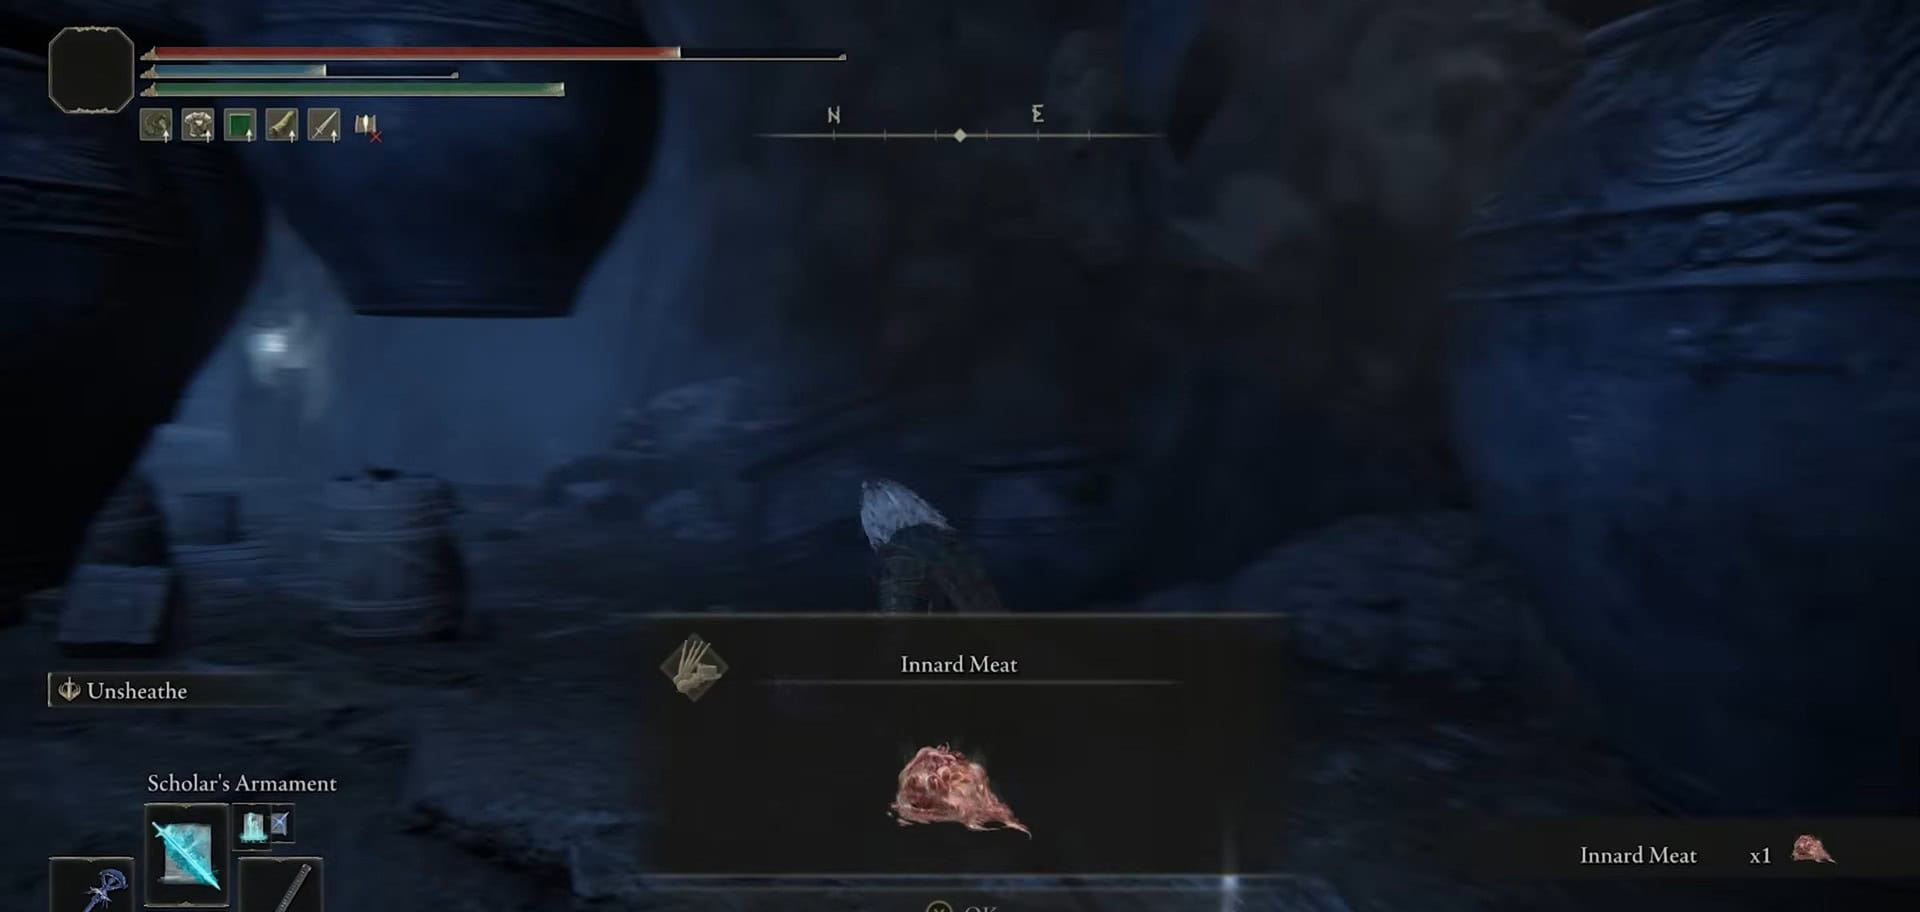
Follow the path until you drop down another opening in the wall. This room features numerous hanging jars. Collect 1x Innard Meat and take down a pair of Shaman enemies.
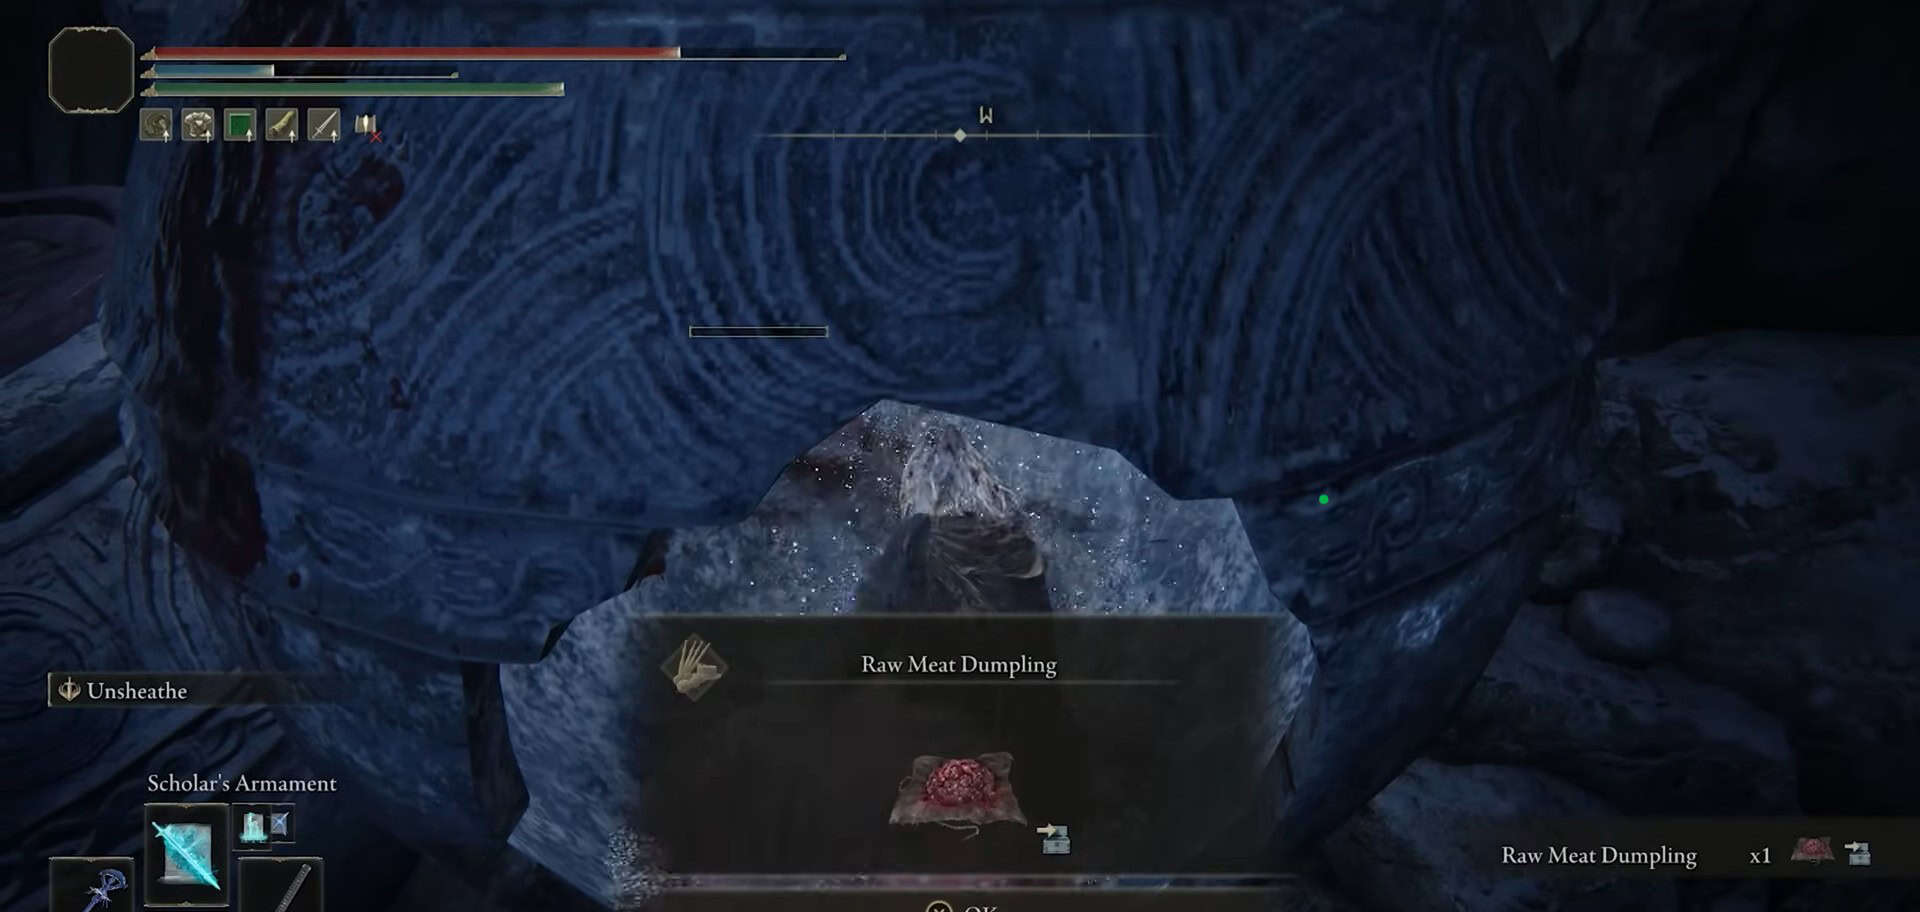
To your left, you’ll find 1x Raw Meat Dumpling nestled within a shattered jar. Proceed into the next room and leave through a door on the left.
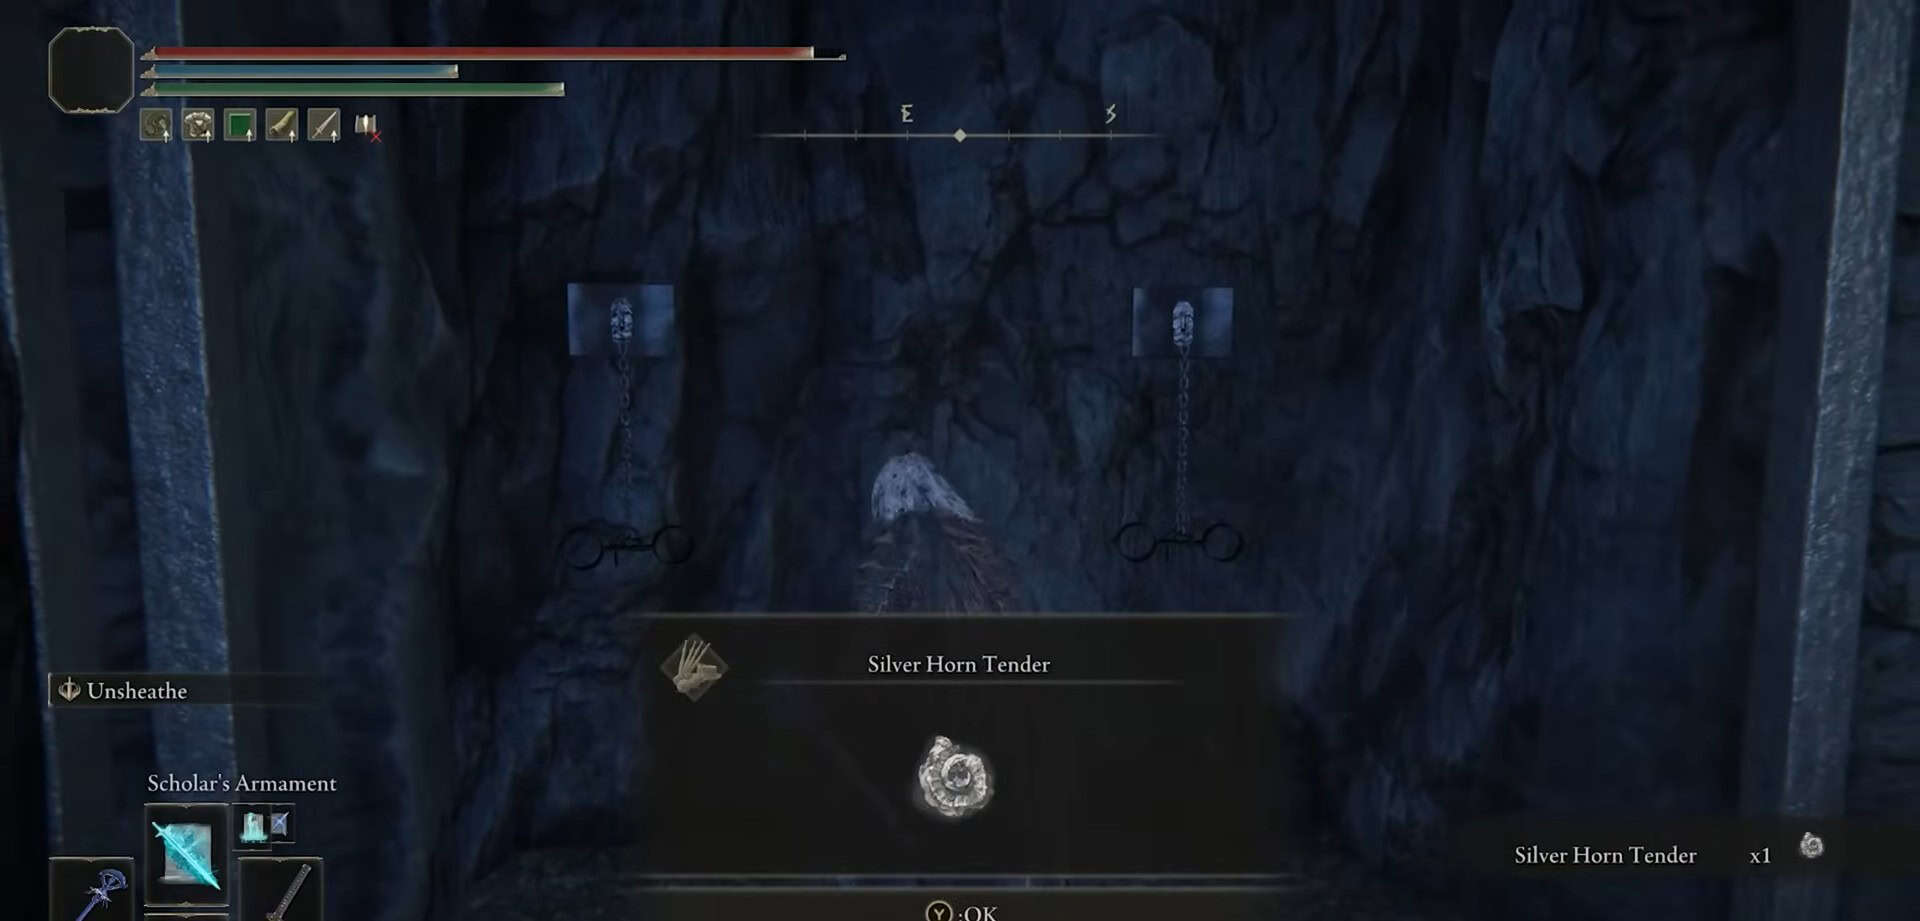
Immediately take a left and descend the stairs to gather 1x Silver Horn Tender from a body inside a small jail cell on your left.
Follow the path and eliminate a few scorched enemies to enter the room on the opposite side. Survive the ambush, advance to the next room, and exit outside, waiting for the hanging jar to lower.

Use this hanging jar as an elevator to descend. Hit the elevator button and jump on the jar once again to elevate back to the top.
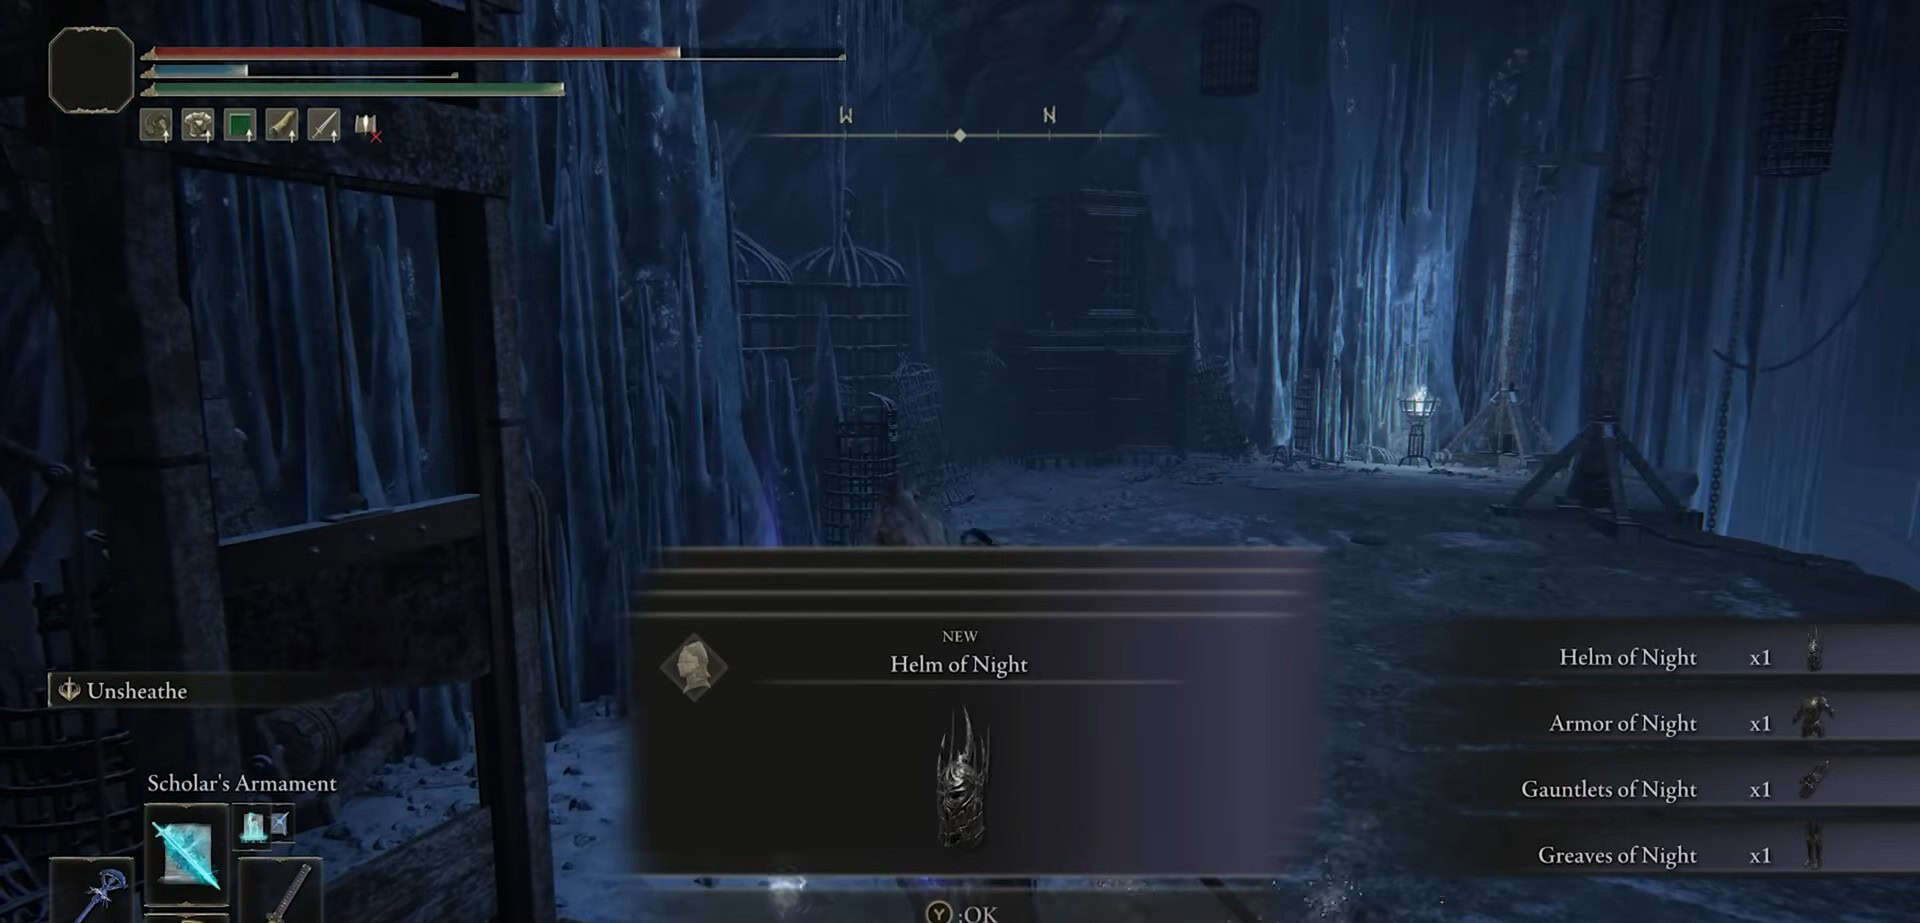
Jump onto the platform and eliminate the scorched enemies. Acquire the complete Night Armor set, which consists of:
- Helm of Night
- Armor of Night
- Gauntlets of Night
- Greaves of Night
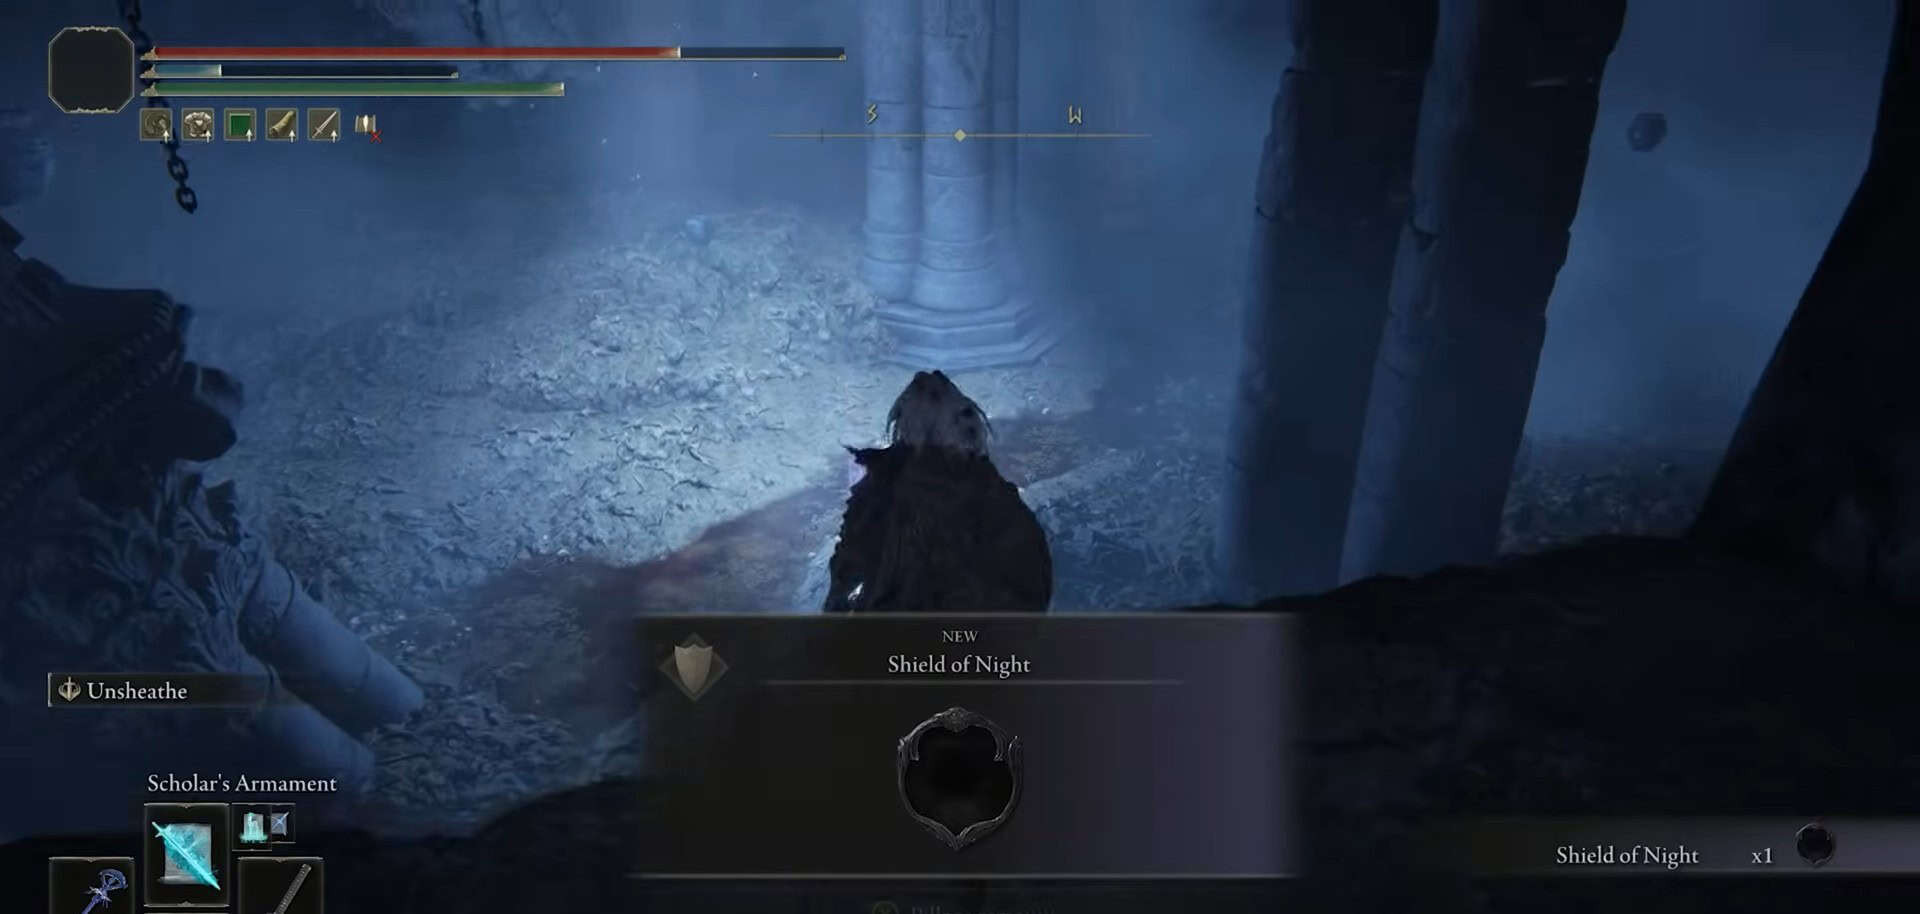
Ascend the stairs and eliminate the shaman enemy behind the right door. Collect the Shield of Night from a corpse on a ledge.
Turn back, head downstairs, and use the jars to lower yourself further down to reach the bridge. Two shaman enemies will ambush you on the bridge. Defeat both and drop down to the left.
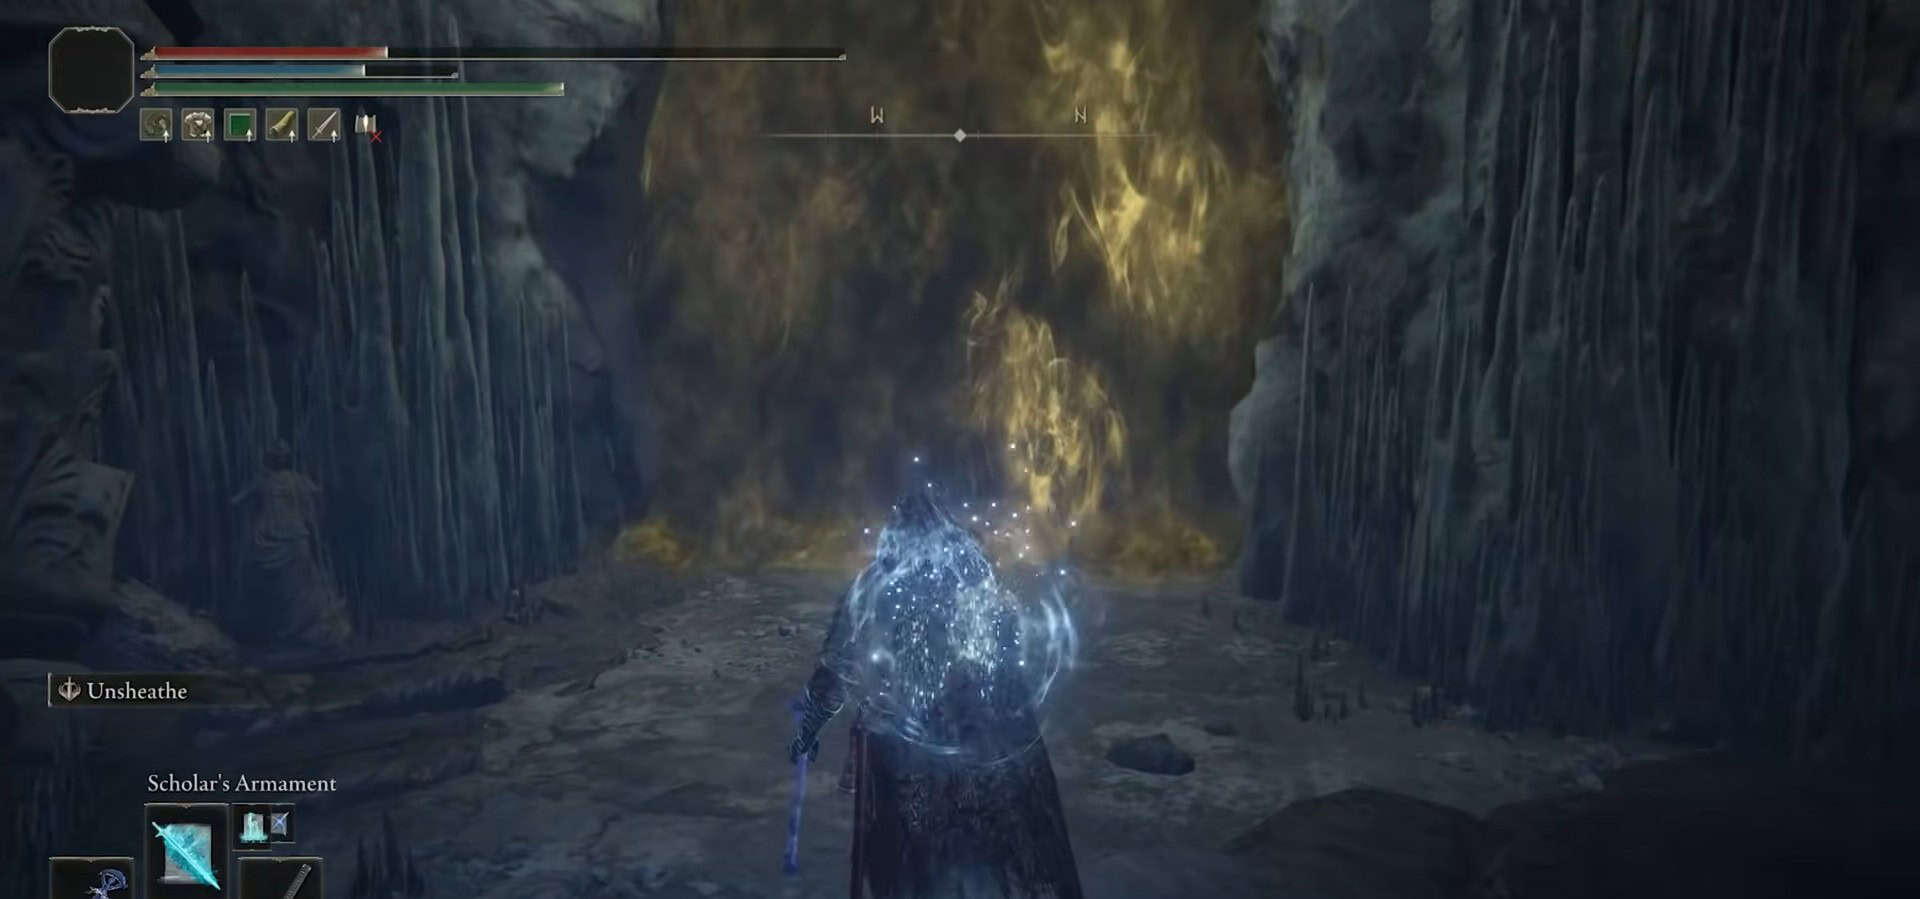
Follow the path and descend the stairs. To your right, you’ll locate the yellow fog door of the boss.
How to Defeat Curseblade Labirith in Elden Ring
This boss fight is manageable, particularly if you’re utilizing a magic build. Curseblade Labirith will cast darkness over the arena at the start of the battle.
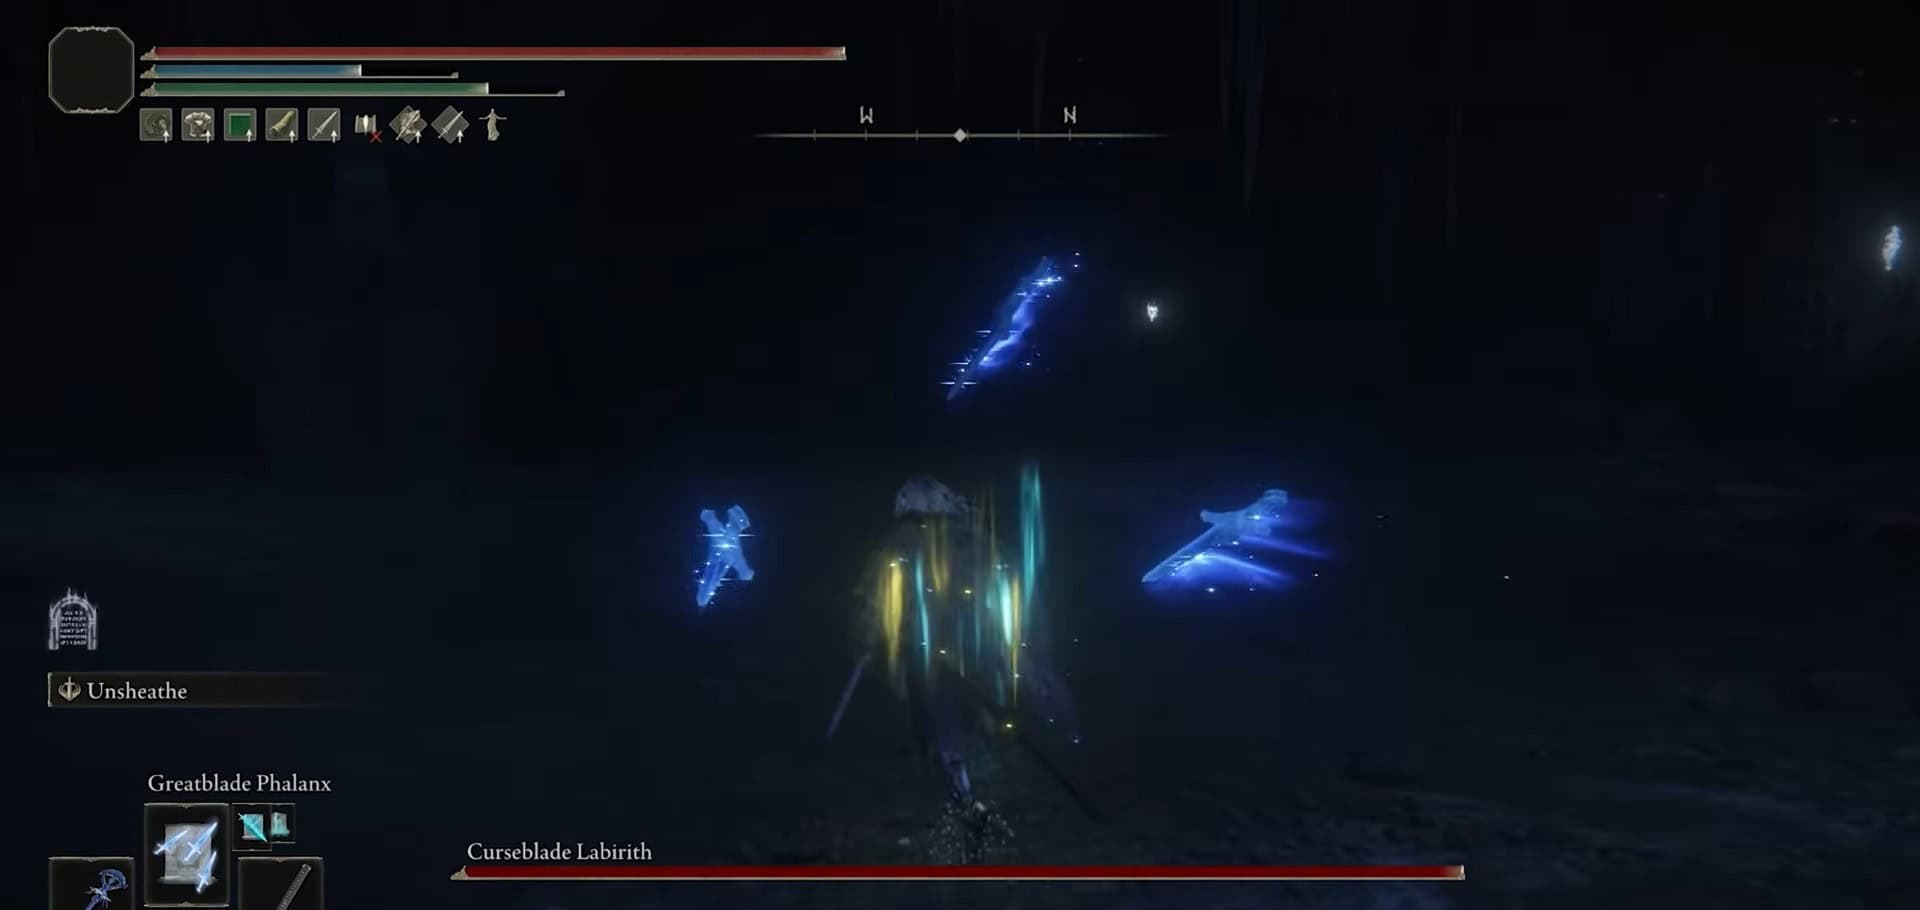
Focus on the boss and summon Greatblade Phalanx. This spell tracks the enemy and delivers a powerful magic attack.
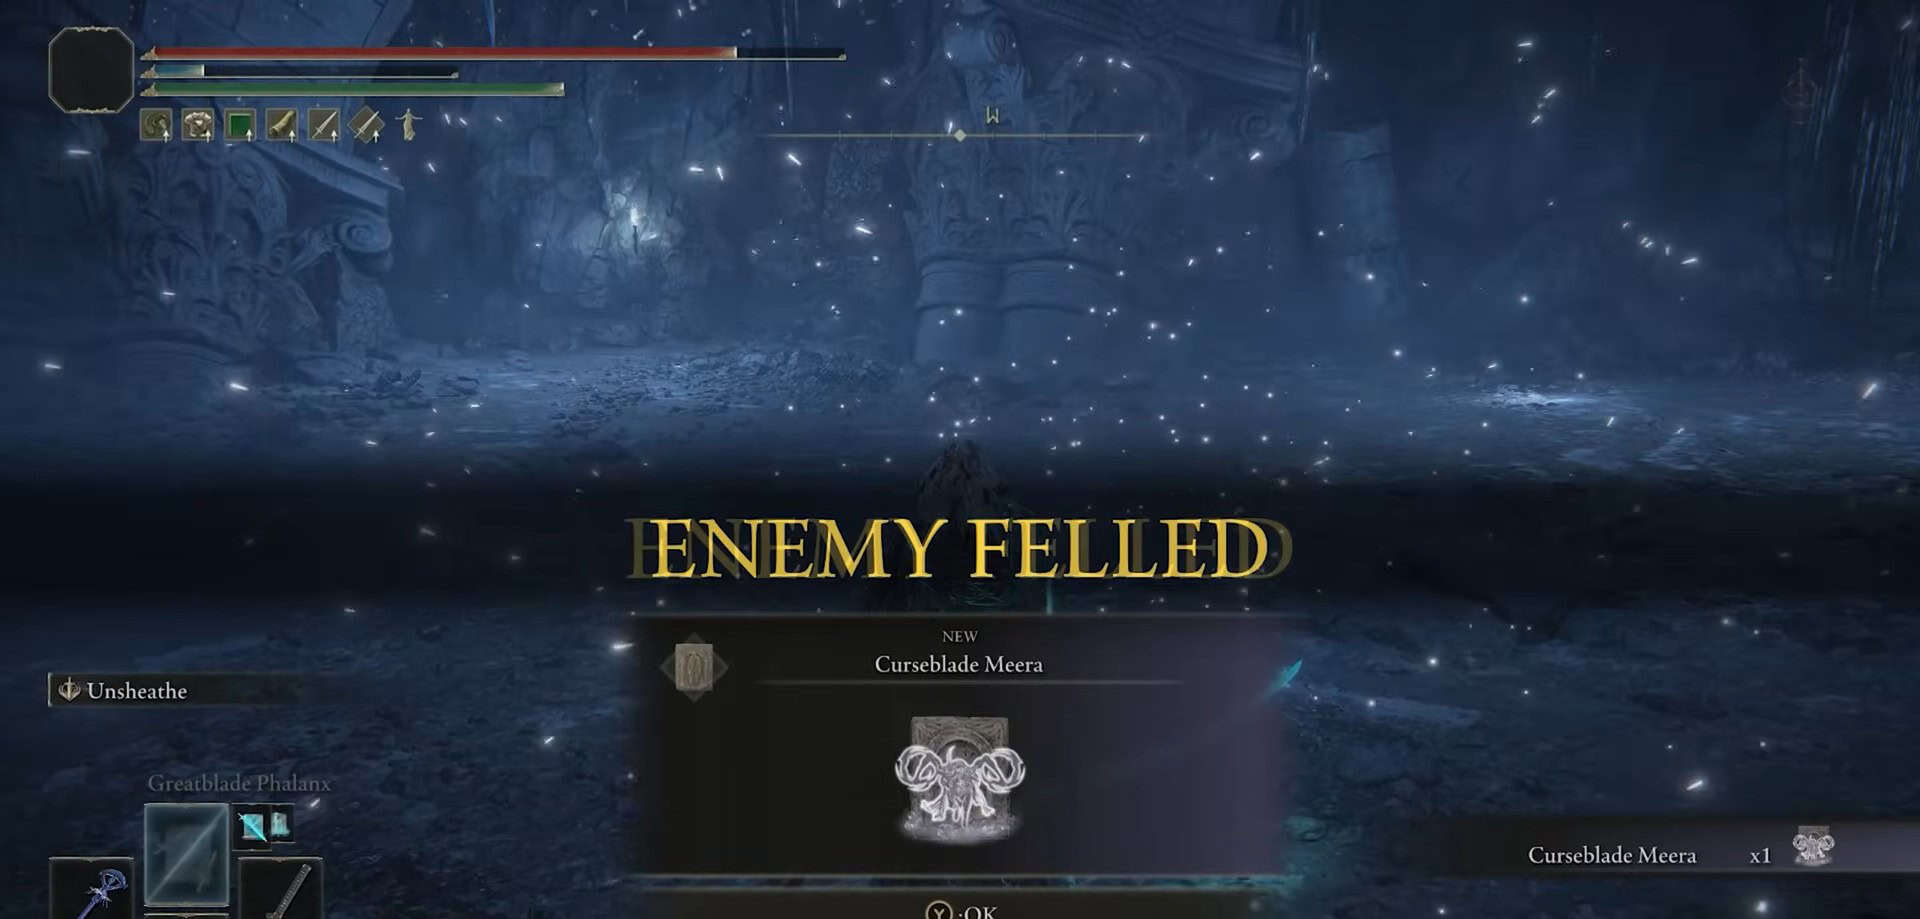
The boss employs rapid attacks that can be easily blocked or dodged. Upon defeating the boss, you’ll earn Curseblade Meera’s ashes as your reward.
Your journey through Bonny Gaol in Elden Ring will conclude here.