Select Language:
DOOM: The Dark Ages may offer a more straightforward gameplay experience compared to typical RPGs or shooter games like Halo Infinite. Still, this doesn’t mean it’s devoid of secrets. In fact, each level features multiple concealed areas filled with upgrade materials and collectibles.
While it’s possible to complete DOOM: The Dark Ages without hunting down every hidden item, seeking them out can significantly enhance your gameplay. In particular, upgrade materials are essential for ensuring your weapons remain effective as the game’s difficulty increases. Additionally, finding Hidden Life Sigils allows you to instantly recover after dying without reverting to a checkpoint, keeping your progress intact.
Quick Links
How to Find All the Secrets in Hebeth
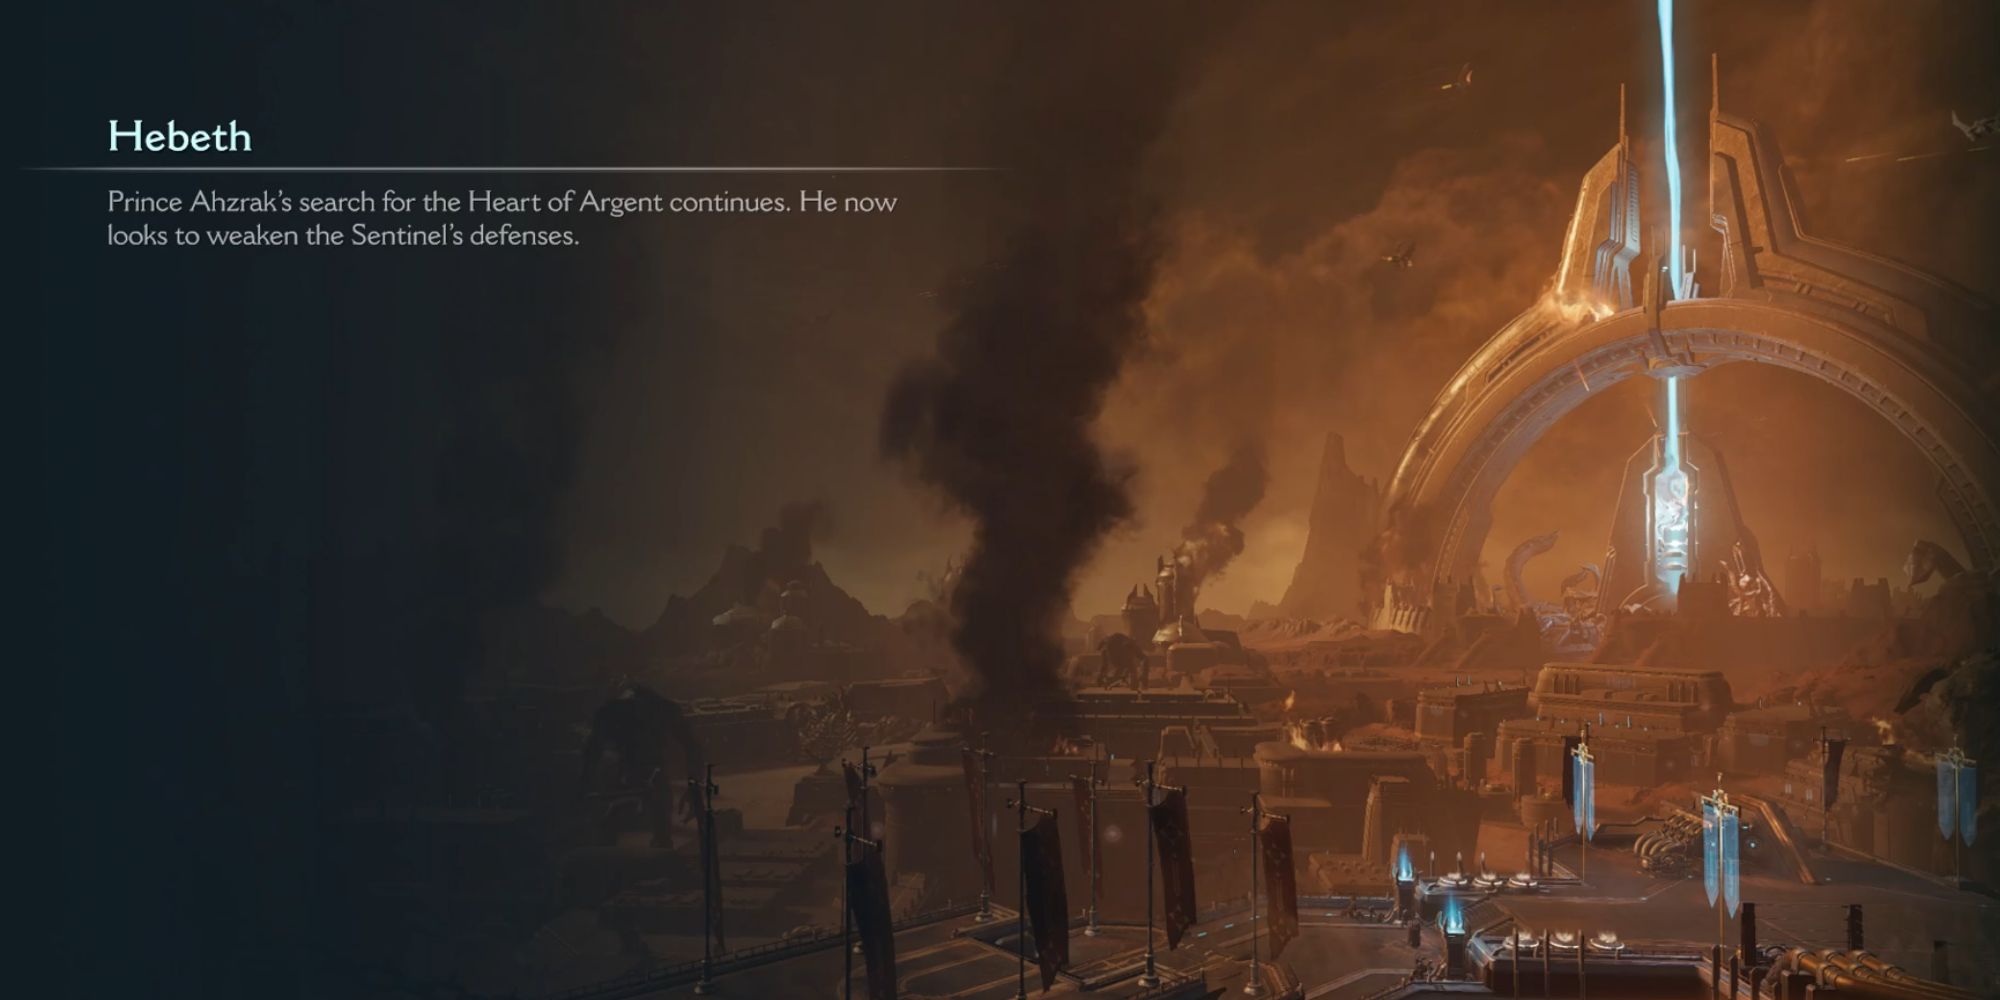
There are nine secrets to uncover in Hebeth. Given that this level is more expansive compared to its predecessors, finding these secrets can be somewhat challenging. You can refer to your map for indications of hidden areas, but actually discovering them requires a keen eye. Here’s a detailed guide on how to locate each concealed spot in Hebeth.
How to Find the First Secret Life Sigil
The first secret area in Hebeth closely resembles the initial secret in the previous level of DOOM: The Dark Ages. After mastering a new shield ability, you’ll enter a structure where you must eliminate enemies in a small room. Once they’ve been dispatched, retrace your steps to the room’s entrance, where you’ll discover a blue circle painted on a damaged metal door. Shield charge through it to confront a group of cultists.
Beyond the cultists lies a hidden Life Sigil. Although this secret area doesn’t provide much if you’ve already accumulated all three Sigils from the prior level, finding it is essential for 100% completion of the current level.
How to Find the Collectible Toy
The next secret in Hebeth is located in the room that follows the one where you found the Life Sigil. After clearing out more enemies, head up some stairs. At the top, your quest marker will suggest going left, but you should head right instead and look behind a wall. There, you’ll find some crates to climb and a hole to jump into. At the bottom, you’ll come across a secret area housing the hidden Collectible Toy.
To exit, throw your shield at the metal fastener locking the gate beside the Toy. This action will return you to the first floor of the original room. From here, you can head back upstairs and resume following the quest marker.
How to Find the Codex
Jump over the crates to find some friendly soldiers, who seem to be hiding from the demons and surrounding a codex. While this area may not register as a secret on your HUD, be sure to collect the Codex for completion purposes. Once you’ve finished here, return to the gate and continue through the level.
How to Find the First Hidden Gold
You can stick with the quest marker for a bit after snagging the Codex. You might notice nearby hidden areas on your map, but don’t worry about them just yet. Keep an eye out for the next secret when you reach a room with high ceilings, a blue forcefield in front of you, and a large glowing blue tube on your right.
After the battle here, move down the only available hallway, which will eventually branch off in two directions. To your left, you’ll see a damaged door marked with the familiar blue circle indicating it’s a target for a shield bash. Break through the door to reveal a secret room filled with gold.
How to Find the Next Hidden Gold and Life Sigil
The subsequent hidden area appears shortly after you acquire the new Accelerator weapon. Once you’ve defeated the enemies in the room and claimed the gun, head into a hallway with a large hologram of an Atlan helmet in front of you. Your quest marker will direct you to the right, but take a left instead.
You’ll find a vent that you can shield charge through to enter the next secret area. Ahead, there’s some gold, and to your left, a ramp leads up to a Life Sigil. There’s also another vent nearby that you can break to return to the room where you got the Accelerator, allowing you to continue through the level.
How to Find the Third Hidden Gold
After acquiring the Accelerator, you’ll loop back into a hallway you’ve visited before, though it will now have been repopulated with enemies. Once you’ve dealt with them, a red barrier blocking your way previously will disappear, allowing you to find more cultists, along with ammunition, health, and armor. However, the secret area is actually just above the entrance to this area.
Before entering to confront the cultists, you’ll notice scratch marks on the wall to your right. Jump up to the marks and enter a vent to discover hidden gold and one weak enemy. This secret area can be easily overlooked, but you can spot the gold on your map, so you’ll know it’s accessible.
How to Find More Hidden Gold and Another Life Sigil
After reaching a Point of No Return, you’ll exit the building you’ve been in and enter an outdoor area featuring an Atlan engaged in combat with a large demon in the background. Following a few brief skirmishes, you’ll arrive at a location with three pipes belching flames in front of a door, offering two pathways to explore. Head right, towards the flames, and make a turn at the corner. Before leaping down toward the Atlan and demon, turn left to find scratch marks that you can climb.
At this height, you’ll discover a small trail of gold leading to a metal latch you can break with a shield throw. Jump through the gap you created, revealing a small room opposite the flaming pipes. In front of an opening overlooking the pipes, you’ll find a valve that can be turned off to stop the flames. Use a shield charge to burst out of this room and proceed to the secret area previously blocked by fire.
How to Find More Hidden Gold
The next secret area comes right after you leave the pipe room and is almost overt. You’ll enter into a combat scenario with red barriers that deactivate only once all the demons are vanquished. After you’ve cleared the enemies, while the quest marker will urge you to move on, you should backtrack to where you initially entered the fight.
To your left, there’s a door that was previously closed but is now open and contains a pile of gold. You might easily overlook it after the battle, but it’s far more blatant than most secrets in DOOM: The Dark Ages. After collecting the gold, continue tracking the quest markers to your next Point of No Return.
How to Find the Golden Chest
Shortly after the Point of No Return, you’ll learn how to execute a shield return jump across a gap. Upon landing, you’ll observe some fleshy growths surrounding a hole in the wall. Enter this hole and follow the upward path.
At the top, you’ll uncover a hidden golden chest. After breaking it open, you can jump right back down to your original spot. This secret may be easy to find once you’re aware, though it could be missed the first time because the hole seems too small to enter.
How to Find the Weapon Skin
The final secret in Hebeth is located just after finding the golden chest. Climb up the scratch marks next to the shrine near the hole, then head back in the direction opposite the shrine once you’re on the upper level. Your quest marker might suggest you head right, but ignore it.
You’ll find a stack of crates leading to more scratch marks, allowing you to access the vents. Navigate through the vents and drop to the lower level. Eventually, you’ll reach a room containing the weapon skin along with more enemies. With no more secrets left in Hebeth, you can now proceed to the next level in DOOM: The Dark Ages.