Select Language:
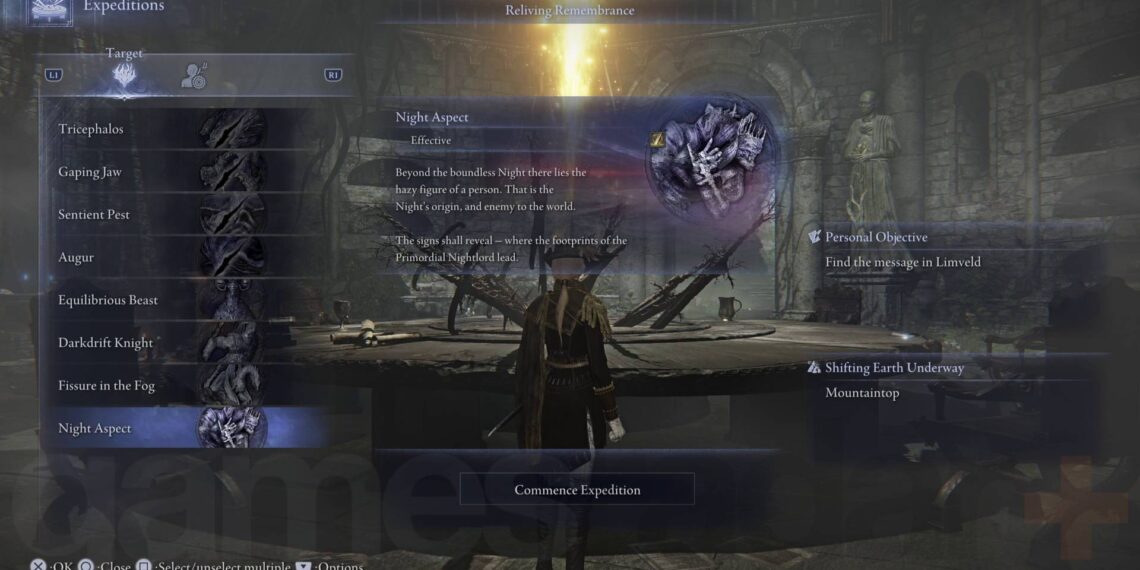
The Elden Ring Nightreign Night Aspect Expedition features a tough final boss, Heolstor the Nightlord. This battle is not just challenging due to its difficulty, but also because reaching Day 3 and leveling up is quite the task. You’ll need to gather essential gear on Days 1 and 2, adding extra pressure to succeed even before facing the last day of this expedition.
If you push through the obstacles of the first two days, you should be ready to confront Heolstor with ranged weapons, Holy damage, and plenty of flasks—all crucial for defeating a boss capable of tearing through dimensions to harness the power of another Nightlord. It’s an epic showdown, so here’s everything you need to know to tackle Heolstor the Nightlord in Elden Ring Nightreign and successfully complete the Night Aspect Expedition.
How to Defeat the Night Aspect in Elden Ring Nightreign
Taking down the Night Aspect Expedition is no small feat. Among all the bosses in Elden Ring Nightreign, it’s the only Nightlord boss with two health bars—the Shape of Night and then Heolstor the Nightlord. This makes it a true test of endurance, requiring savvy management of your consumables and flasks.
Here are some key points to remember before facing the final Nightlord:
- Best Characters: Opt for characters with strong ranged damage like Ironeye and Recluse. Duchess and Executor excel with high Dexterity, and Duchess boasts high Intelligence for sorceries. Wylder offers great mobility with his grappling hook if you prefer melee.
- Weakness: Holy damage.
- Boss Attack Types: Physical, Fire, Poison, and Magic.
- Phases: 4 (Shape of Night Phase 1 and 2, Heolstor Phase 1 and 2).
Given that the Night Aspect Expedition is arguably the toughest challenge in Elden Ring Nightreign, it’s essential to set yourself up for success early. Assemble a strong team and make sure your best Relics are equipped, particularly those boosting Vigor and Endurance as well as enhancing your abilities. Since Heolstor is particularly weak to Holy damage, any Relic perks that amplify Holy Attack Power are beneficial, though not absolutely necessary.
During the Expedition, you’ll need to move quickly, and I recommend striving to reach at least level 13 on Days 1 and 2. Higher Vigor and Stamina will be invaluable for this fight, so aim to defeat every goal and field boss to gather runes efficiently. Don’t forget to grab extra flasks from churches as well!
Be sure to aim for at least one purple-rarity (Rare) Holy-damage weapon to serve as your primary tool against the Nightlord. Seek out points of interest marked with a Holy icon on your map, or at minimum, stock up on Holy Grease or Holy Water Pots. For more info on the best Elden Ring Nightreign weapons, check out relevant guides.
Additionally, gather as many Warming Stones as possible. Each team member should carry at least two, but if one player manages to collect four for the final showdown, it can be hugely advantageous. Use any leftover runes to purchase useful items before entering the boss arena as well.
Tips for the Shape of Night
Now that you’ve hopefully reached the Night Aspect boss, here are some quick tips for defeating the Shape of Night, the first boss in this climactic battle:
- The Shape of Night is manageable, but conserve your flasks: The Shape of Night is generally slow, but its sword attacks can deal hefty damage. If you’re hit, it’s wise to retreat and place a Warming Stone instead of using a flask since those should be reserved for Heolstor.
- At 70% health, the Shape of Night unveils new weapons for Phase 2: While the phase transition offers an opportunity for damage, proceed cautiously afterward. With three weapons now in play, it becomes trickier to engage, as its wide swings can easily catch multiple players. This is a good moment for ranged attacks, with characters firing arrows or spells while taking turns to distract it.
- Scarlet Rot can amplify damage: Since minimizing incoming hits from the Shape of Night is key, manage to deal damage without exposing yourself. Inflicting Scarlet Rot can provide a helpful damage-over-time bonus, especially if you have a weapon capable of applying it. This strategy applies to Heolstor as well, who is resistant to most status effects.
Tips for Heolstor the Nightlord
Once you defeat the Shape of Night, it will transform into the much stronger Heolstor the Nightlord. You’ve made good progress, but this boss presents a significant challenge, so keep these tips in mind:
- Avoid clustering around the boss: Heolstor uses many area-effect attacks; staying grouped at melee range can quickly drain your health.
- Prioritize ranged attacks: Heolstor’s aggressive behavior often targets one player, making it safer for the others to chip away from a distance with bows and spells.
- Heolstor is agile and frequently changes targets: This boss can shift its aggression mid-attack, so always be alert, even if you’re positioned far away.
- Don’t rely solely on critical hits: While stance breaks can allow for critical hits, Heolstor’s resilience means reserving your heavy attacks for staggering and interrupting its more dangerous moves is often more strategic.
- Flee when Phase 2 begins: Phase 2 commences around when Heolstor is at 70%-60% health. It will rise, creating a huge rift in the sky, which unleashes powerful area effects (fire, poison, etc.). Move away during this phase to avoid being caught in the devastating explosions.
- Dodging Heolstor’s hard-hitting attacks is crucial: While it may seem obvious, evading Heolstor becomes even more vital post-transition, as certain attacks can inflict high-damage status ailments like sleep or madness. Unless you’re perfectly timing parries, prioritize evasion.
With Heolstor down, you’ve essentially completed the Elden Ring Nightreign. After a solo ending sequence followed by a cutscene and credits (which you can skip), you’ll be returned to the Roundtable Hold with new Elden Ring Nightreign skins to unlock!
If you haven’t already, make sure to finish the Elden Ring Nightreign Duchess Remembrance to acquire some of her best Relics.


