Select Language:
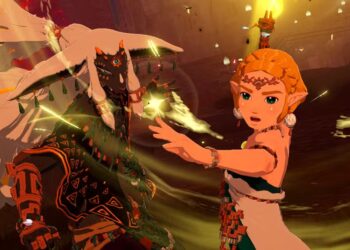
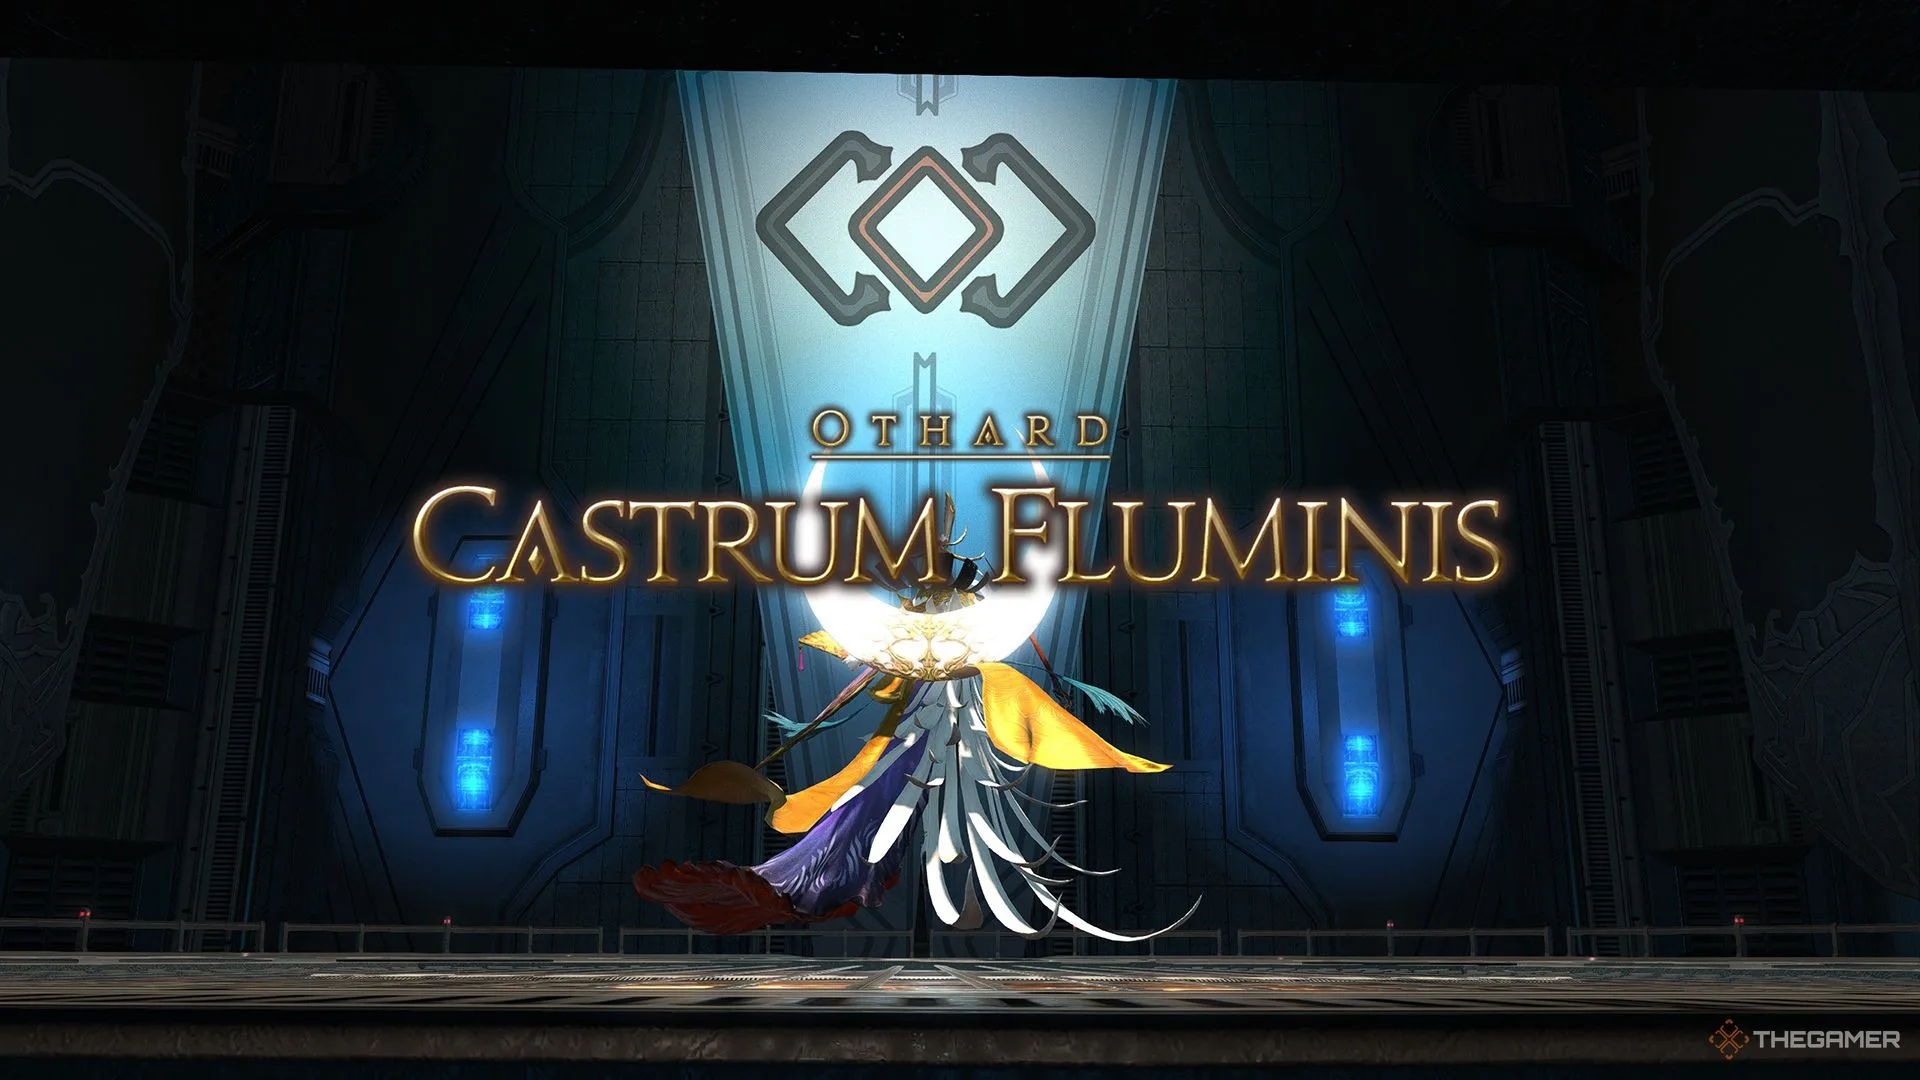
Castrum Fluminis is a Level 70 Trial in Final Fantasy 14, introduced in Patch 4.3 titled “Under the Moonlight.” After Yotsuyu, who is haunted by her past, uncovers her memories, she transforms into the night deity, Tsukuyomi, thanks to aether-infused crystals from Asahi.
As Hien chases after Asahi, it’s your responsibility to thwart Tsukuyomi’s plans and prevent her from plunging Doma into everlasting darkness. Below, we’ll go through essential information about this Trial, including how to manage Tsukuyomi’s mechanics throughout the battle phases.
How to Unlock Castrum Fluminis
To unlock Castrum Fluminis, you must complete the Main Scenario Quest titled ‘The Primary Agreement’ as part of the Patch 4.3 questline. Additionally, you need an item level of 335 to participate in this Trial.
Tsukuyomi Fight Walkthrough
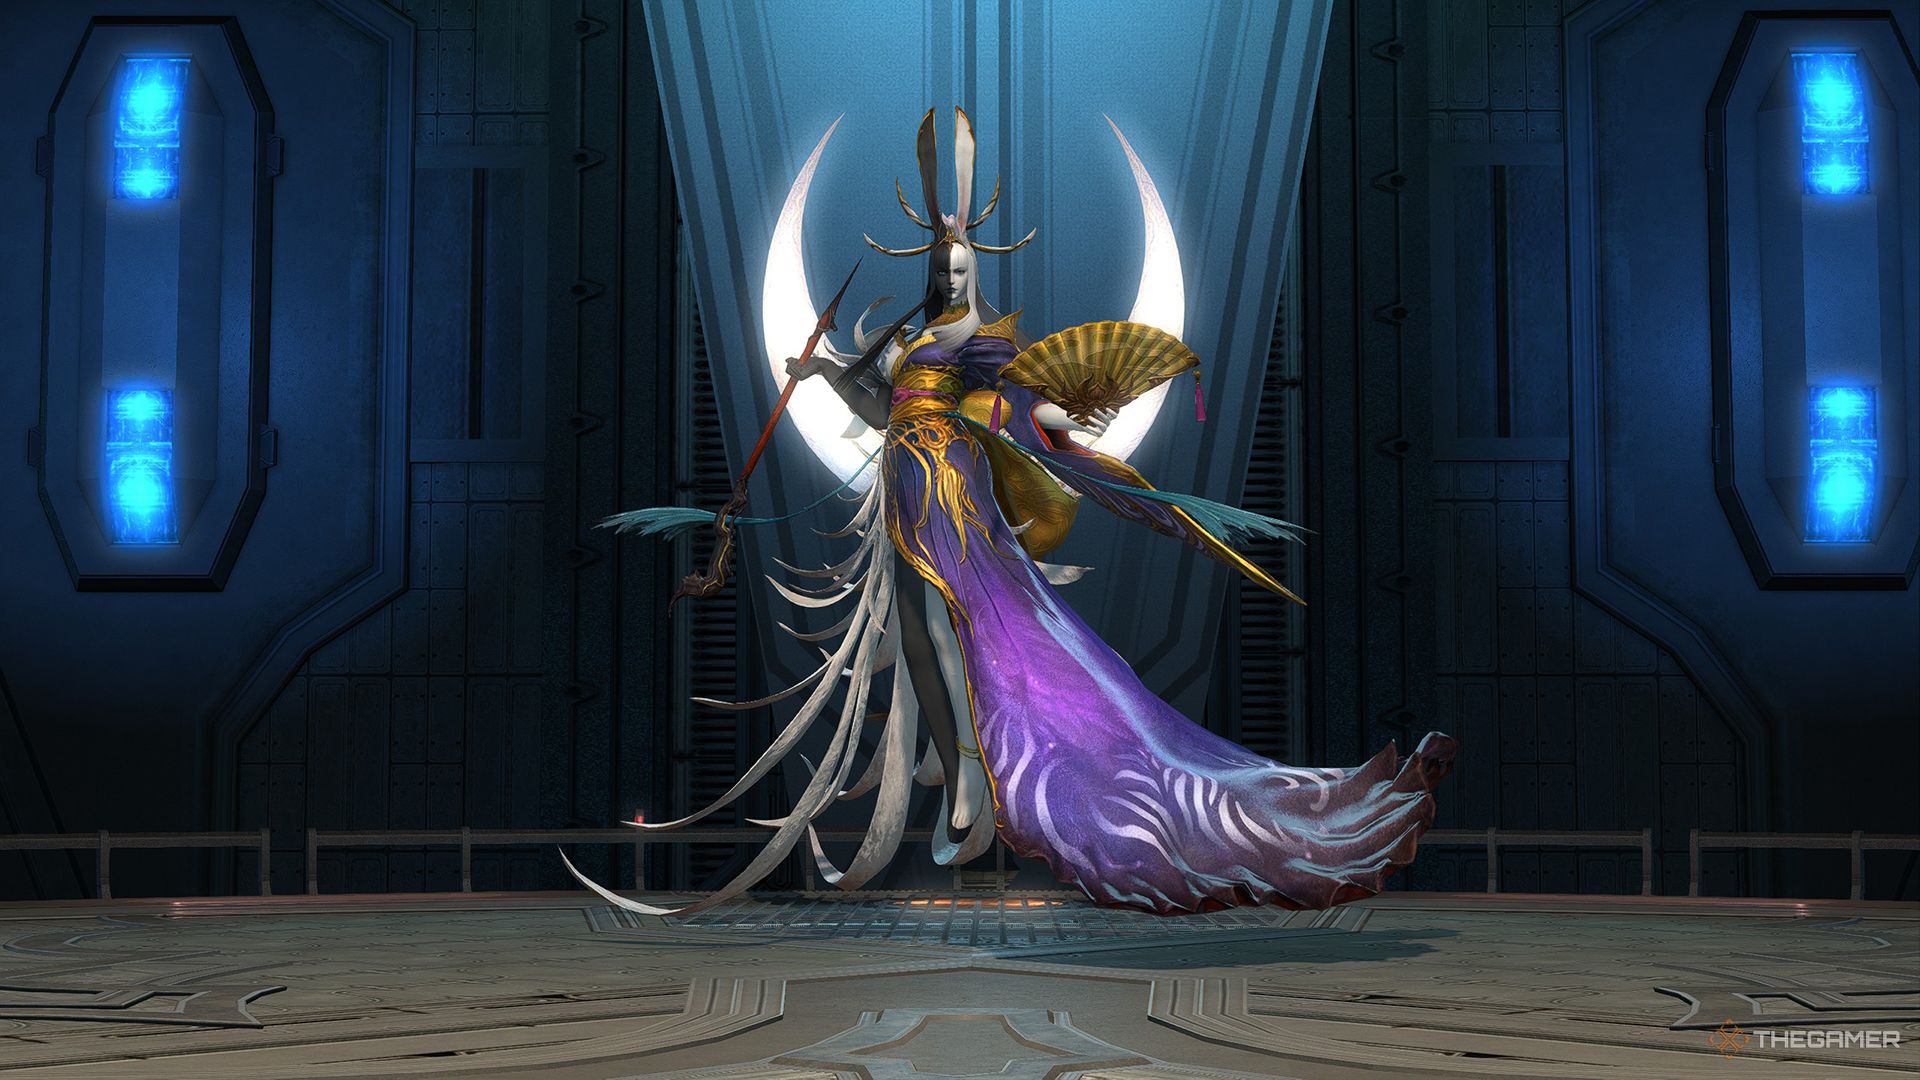
Phase 1
In the initial phase, Tsukuyomi will unleash a series of attacks and mechanics.
|
Attack Name |
Type |
Details |
|---|---|---|
|
Torment Unto Death |
Tankbuster |
Inflicts high damage in a cone in front of the boss, targeting Tsukuyomi’s main focus. The tank should turn the boss away from the team and use defensive cooldowns to mitigate damage. |
|
Zashiki-asobi |
AoEs |
Tsukuyomi spawns fans around the area; one at the center, and six in a circle at the edges. The fans will explode in an AoE, starting from the center and following the order they appeared. Watch for the first AoE and move to the safe spot beside it until the central fan detonates, then step into the center to avoid the rest. After that, Tsukuyomi will cast Nightfall. |
|
Nightfall |
Special |
Casts Steel of the Underworld, Reprimand, Midnight Haze, or Lead of the Underworld randomly. Tsukuyomi uses this during Zashiki-asobi as the fans explode. |
|
Steel of the Underworld |
Conal AoE |
Deals damage in a large cone in front of the boss. Move out of the AoE indicator to prevent damage. |
|
Reprimand |
Roomwide AoE |
Damages all party members. Heal through this with AoE healing. |
|
Midnight Haze |
Summon |
Tsukuyomi will create two Midnight Haze clouds on opposite sides of the arena that will tether together and slowly approach each other. If they collide, they’ll explode, causing damage to everyone. You must destroy both clouds before they connect. |
|
Lead of the Underworld |
Line Stack Marker |
Targets a random player with a Stack Marker. Gather around that player to distribute the AoE damage. |
Tsukuyomi concludes this phase with Nightbloom, which damages everyone in the party and inflicts Down for the Count for a short time, preventing any action.
Phase 2
Once you regain mobility, multiple adds will spawn and begin targeting Tsukuyomi. Their attacks will fill Tsukuyomi’s Suffering gauge, which will determine the damage of her end-of-phase attack.
Group up and eliminate each wave of adds to protect Tsukuyomi. Eventually, the Specter of Zenos will appear and cast Concentrativity, damaging the party while inflicting Stun and Down for the Count. After you regain the ability to attack, defeat Zenos’s Specter to complete the phase.
Following this, Tsukuyomi will cast Nightbloom again, dealing damage based on her Suffering gauge. If the gauge is full at 100, it will result in an instant kill for the whole party, so successfully finishing the add phase is crucial. After Nightbloom, phase three begins.
Phase 3
In this phase, Tsukuyomi will reuse several attacks from phase one, along with some new mechanics outlined below.
|
Attack Name |
Type |
Details |
|---|---|---|
|
Selenomancy |
Special |
Divides the arena into a white half and a black half. Standing on the white side accumulates stacks of Moonlit, while the black side gives stacks of Moonshadowed. Reaching 5 stacks of either debuff will inflict Doom and Bleed. Shifting to the opposite side will remove the stacks of the debuff you were standing in. To avoid Doom, you’ll need to switch between both sides periodically. |
|
Moonlight – Lunar Halo |
Ring AoEs |
Two Moonlight orbs will appear on opposite sides of the arena. They will cast Lunar Halo, causing damage in a large ring AoE with a safe spot near the orb itself. Transition to the other side to manage your Moonlit or Moonshadowed debuff and stand close to the orb to avoid Lunar Halo damage. |
|
Antitwilight |
Roomwide AoE |
Damages all players and returns the arena to normal. |
|
Dance of the Dead |
Roomwide AoE |
Deals damage to all players, followed by a cast of Lunacy. |
|
Lunacy |
Continuous Stack Marker |
A random player is marked with a continuous Stack Marker. The group should congregate around that player to share the damage of this attack. Healers must heal through this to keep everyone in good condition. |
|
Dark Blade/Light Blade |
Conal AoE |
Inflicts damage in a large conal AoE. Move away from the affected area to avoid taking damage. |
Throughout this phase, Tsukuyomi will continue to use Nightfall. If Nightfall triggers Lead of the Underworld, the targeted player should try to stand at the boundary between both halves of the arena so that everyone can gather for the Stack Marker while still being able to shift sides if necessary.
These phase three mechanics will cycle until Tsukuyomi is defeated. Keep a watchful eye on your Moonlit and Moonshadowed debuffs, and move accordingly to avoid Doom. You’ll also see a moon icon above your head, indicating the buildup of your stacks, which helps track your debuffs effectively.