Select Language:
In Fantasy Life i: The Girl Who Steals Time, you’ll find a total of 22 shrines. Some require combat skills, while others challenge your gathering speed and efficiency. A few involve memorizing the sequence of glowing mushrooms—don’t worry, we have a guide for that!
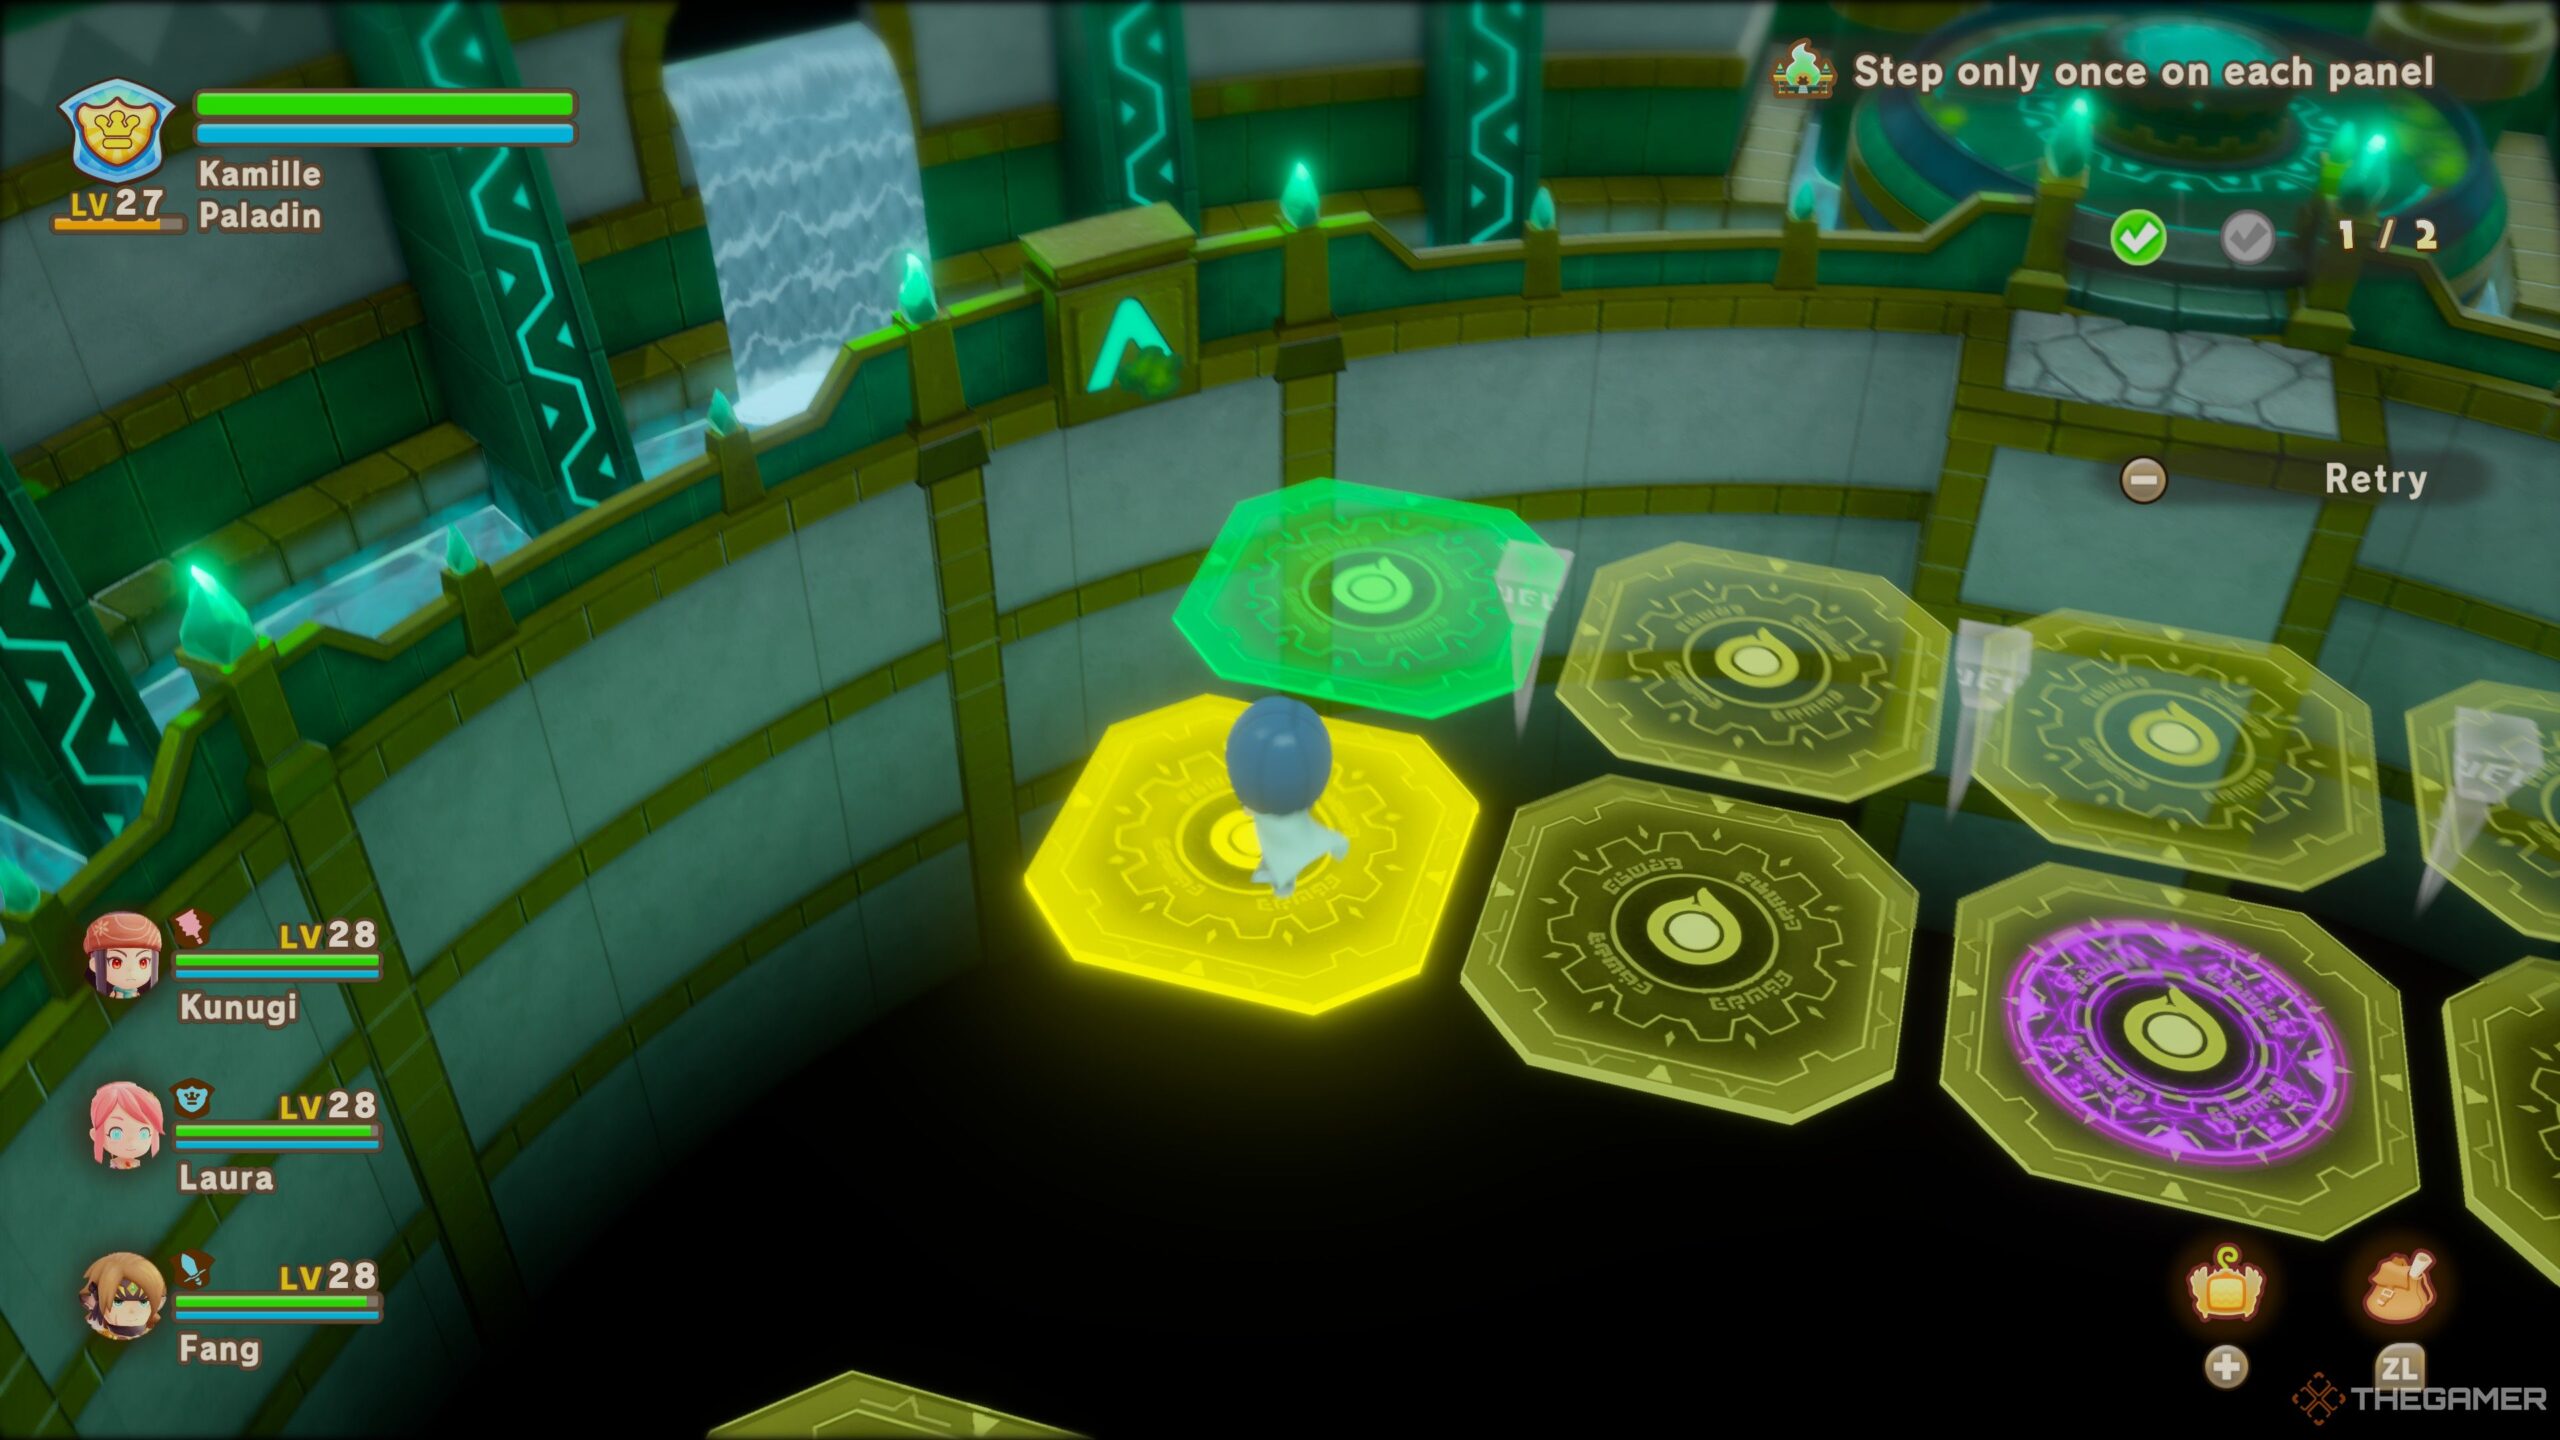
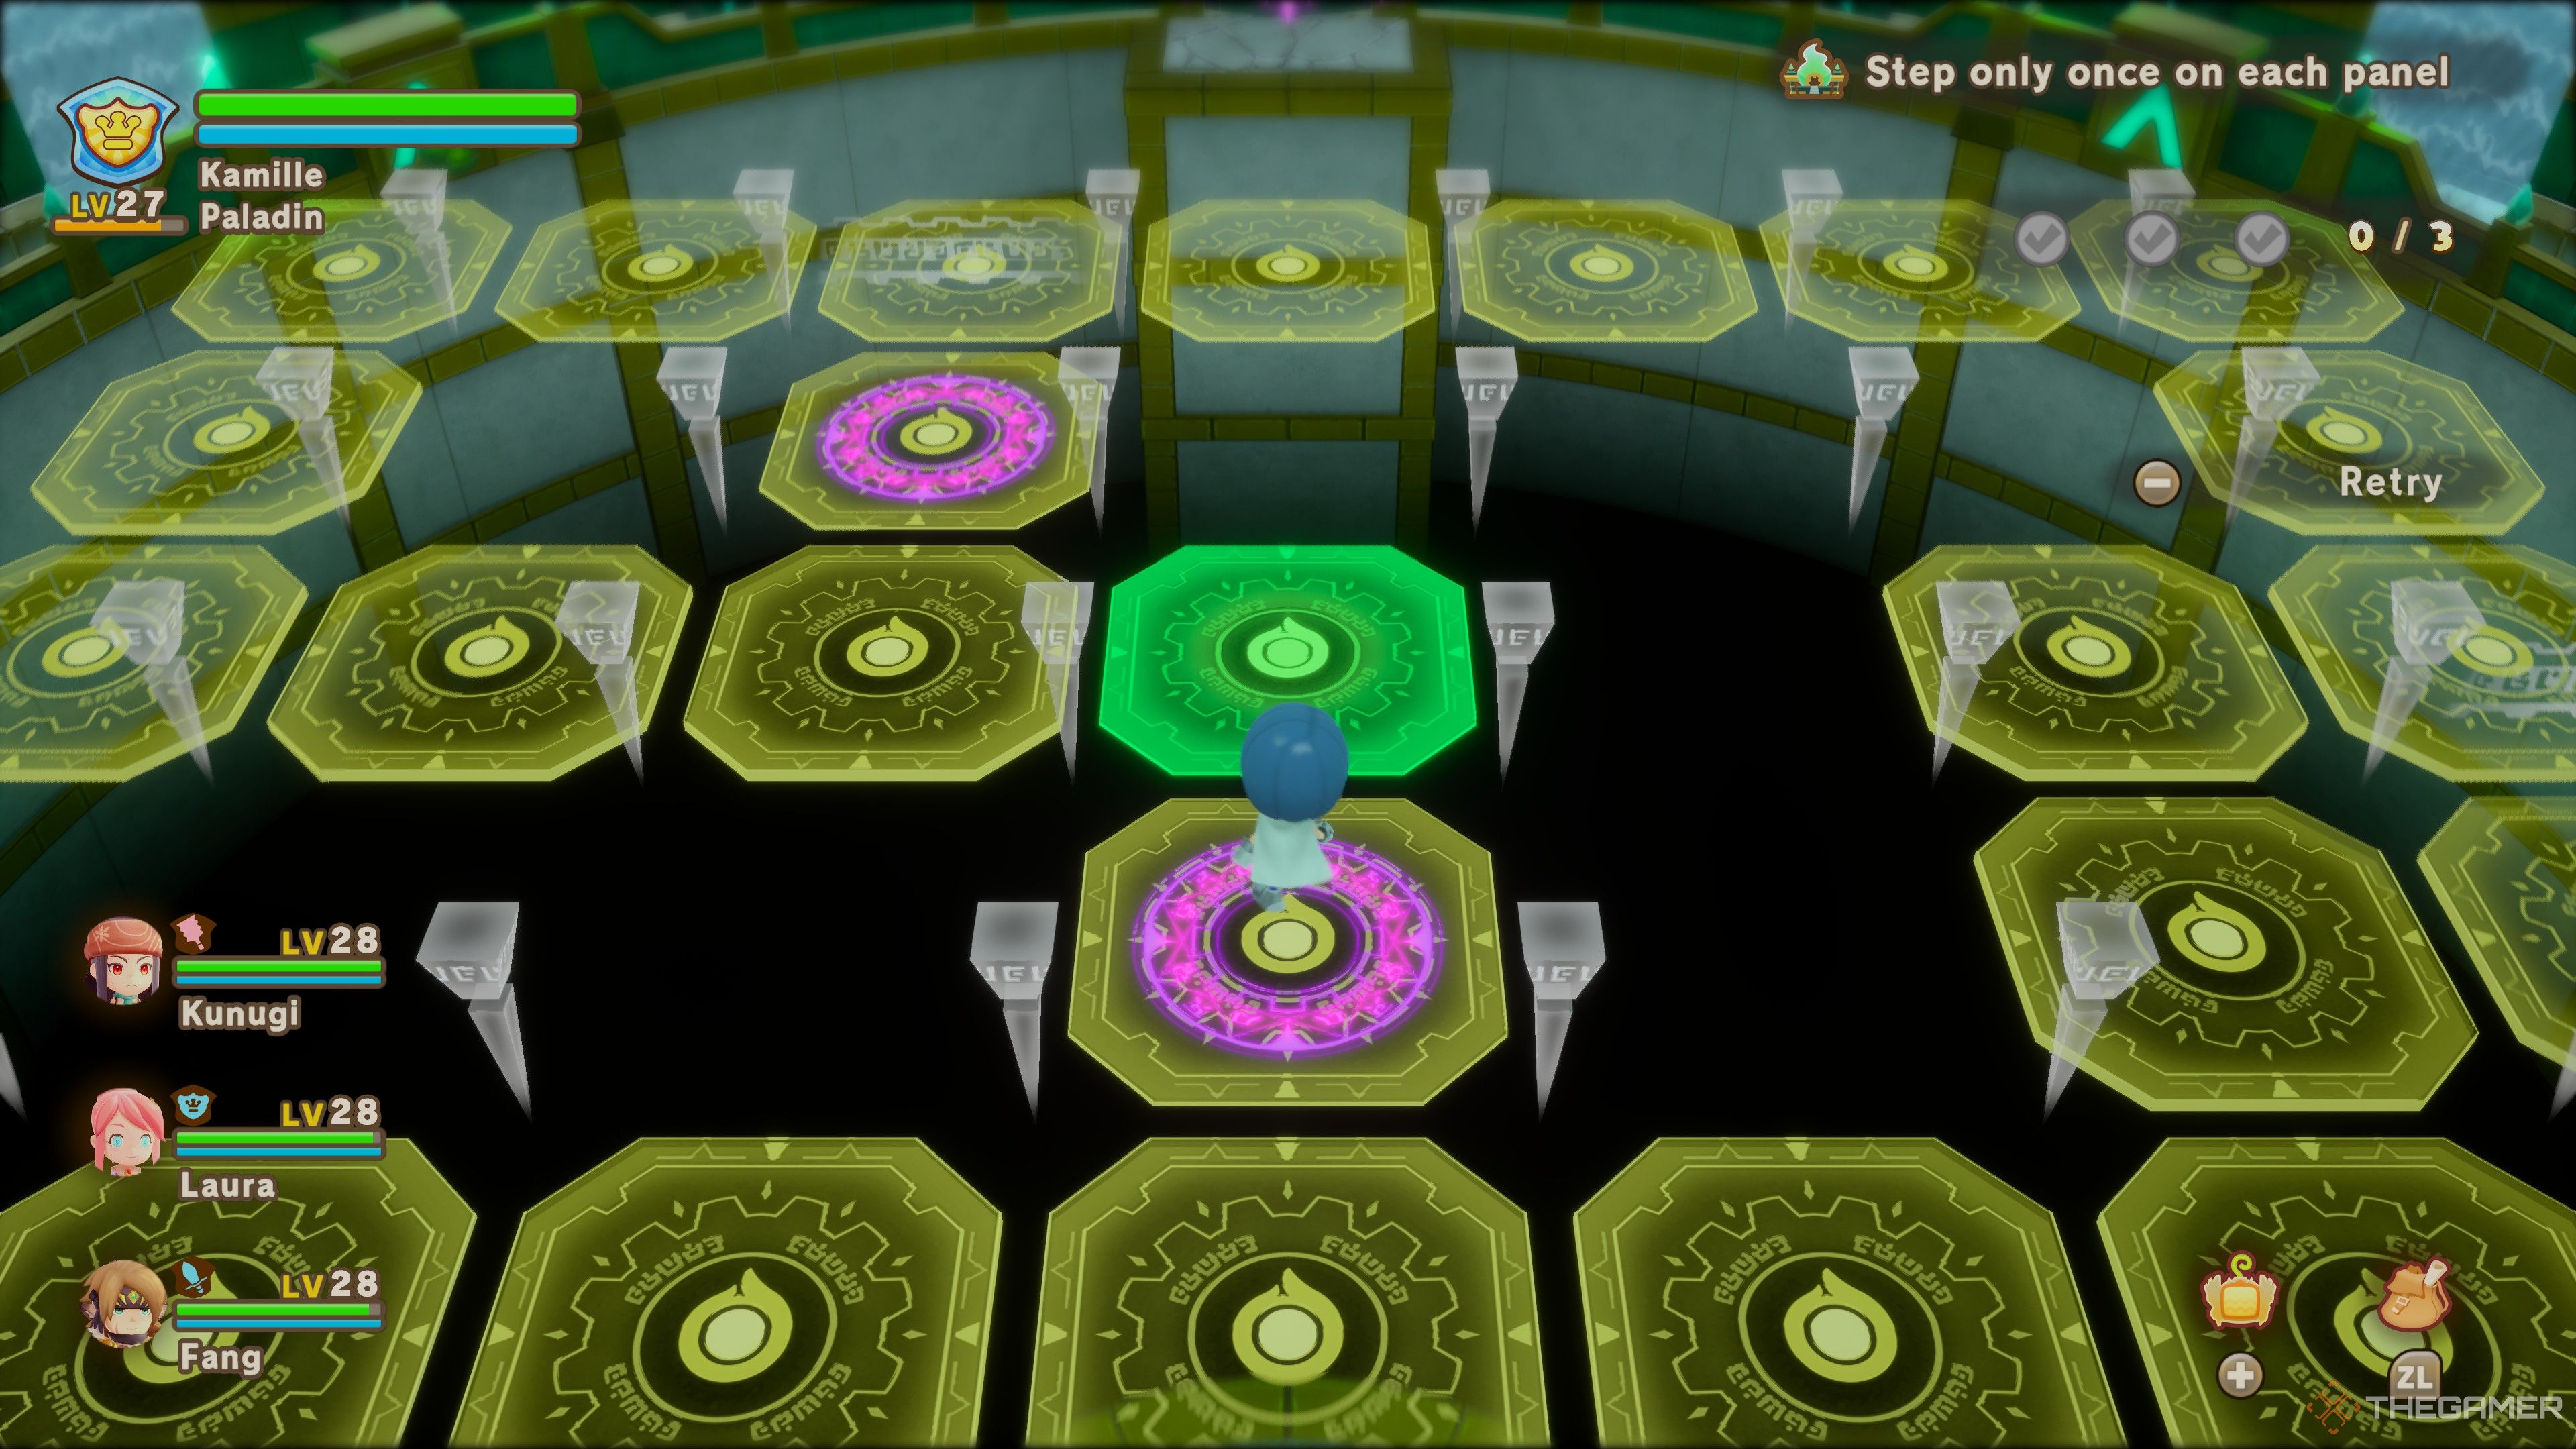
Then you have the tile puzzle shrines. If you’re familiar with gaming, you’ll easily recognize the concept: you need to activate tiles one by one to reach a target. However, stepping on the same tile twice leads to failure. Here’s how you can conquer every tile puzzle with ease!
Sed’nas Shrine Tile Puzzle
The Sed’nas Shrine is likely your first encounter with tile puzzles, located in the East Dryridge Desert. You can find it to the northeast of Haniwa Village.
As a beginner-friendly introduction to tile puzzles, Sed’nas Shrine’s solution is quite straightforward.
- Stage One: Move left one tile, then north one tile. Next, activate all remaining tiles until you reach the goal.
- Stage Two: Go north one tile, then right one tile, and south one tile. Activate the remaining tiles toward the teleporter. At the teleporter tile, move right, wrap around these tiles to the left, and activate all remaining tiles until you reach the green tile.
Lun’ii Shrine Tile Puzzle
The Lun’ii Shrine is located far west in Scorchrock Mountain, near the center of the area.
This one is considerably more challenging.
- Stage One: From the starting point, move all the way to the right past the teleportation tile. Once you hit the rightmost tile, go north, then curve left, followed by going north again, and then right. Move north again to the top-left corner and activate all necessary tiles to reach the second teleportation tile. You’ll be sent back to the first teleportation tile, located next to the green tile.
- Stage Two: This stage isn’t as tricky as it seems. Activate tiles in a zigzag pattern to cover them all, then move along the left tiles, leading you via “ramps” to the first teleportation tile. After teleporting, follow the only available path to finish.
- Stage Three: Rotate your camera 180 degrees for a better view of the puzzle. With this perspective, go two tiles north, one tile right, and one tile north. Wrap around this square area and activate the last few tiles to reach the teleportation tile. Once you reach the other teleportation tile, the route to the green tile will be clear!
Dahl Shrine

The Dahl Shrine is located in Crickneck Canyon. To get there, head west from Crickneck Canyon’s tower, continuing until you’re about halfway to the western edge of Crickneck.
- Stage One: Start by moving south one tile and then to the top-left tile. Stay along the edge of the area while navigating and once completed, activate the remaining tiles to reach the green tile.
- Stage Two: Move three tiles left, three tiles up, one tile right, one tile up, two tiles left, then reach the first teleportation tile. The pathway to the green tile from there is straightforward.
- Stage Three: Rotate the camera 180 degrees to face the puzzle better. From this angle, go two tiles up, one tile right, one tile up, wrap around the square area, and activate the remaining tiles leading to the teleportation tile. Once you teleport, the route to the green tile will be clear!