Select Language:
Playing a Metroid Prime game usually involves solving puzzles that make you stop and think about whether you’re using the right tools or if you need to find a new ability first. Metroid Prime 4: Beyond still has plenty of those moments, even in its more straightforward level design.
You’ll visit Volt Forge multiple times during the game. The first time, you have to restore power to all of its generators. The forge is currently running on backup power, and it needs a lot of energy to start making Vi-O-La bikes again. But it’s not just a matter of flipping a switch; it’s more complicated than that.
### Activating the First Tower Generator
Before moving on to any other tower in Volt Forge, you need to get the first tower’s power running. The journey involves careful navigation and battling Psy-bots along the way.
At the bottom of the area, you’ll find Tower 1 Generator. It’s straightforward to start up. Your goal is to reach the generator at the end of the long structure in front of you. To get there, you first need to open the entrance so you can fit inside with the Morph Ball.
On both sides of the entrance, there are anchors holding the passage closed. To open it, switch to Morph Ball, hop into the Bomb Slot, and drop a Psychic Bomb. Do the same on the other side. Once both are triggered, the tunnel into the generator will open.
Tip: In Morph Ball mode, you can perform a jump called Spring Ball, which lets you jump directly into Bomb Slots and place Psychic Bombs in the air.
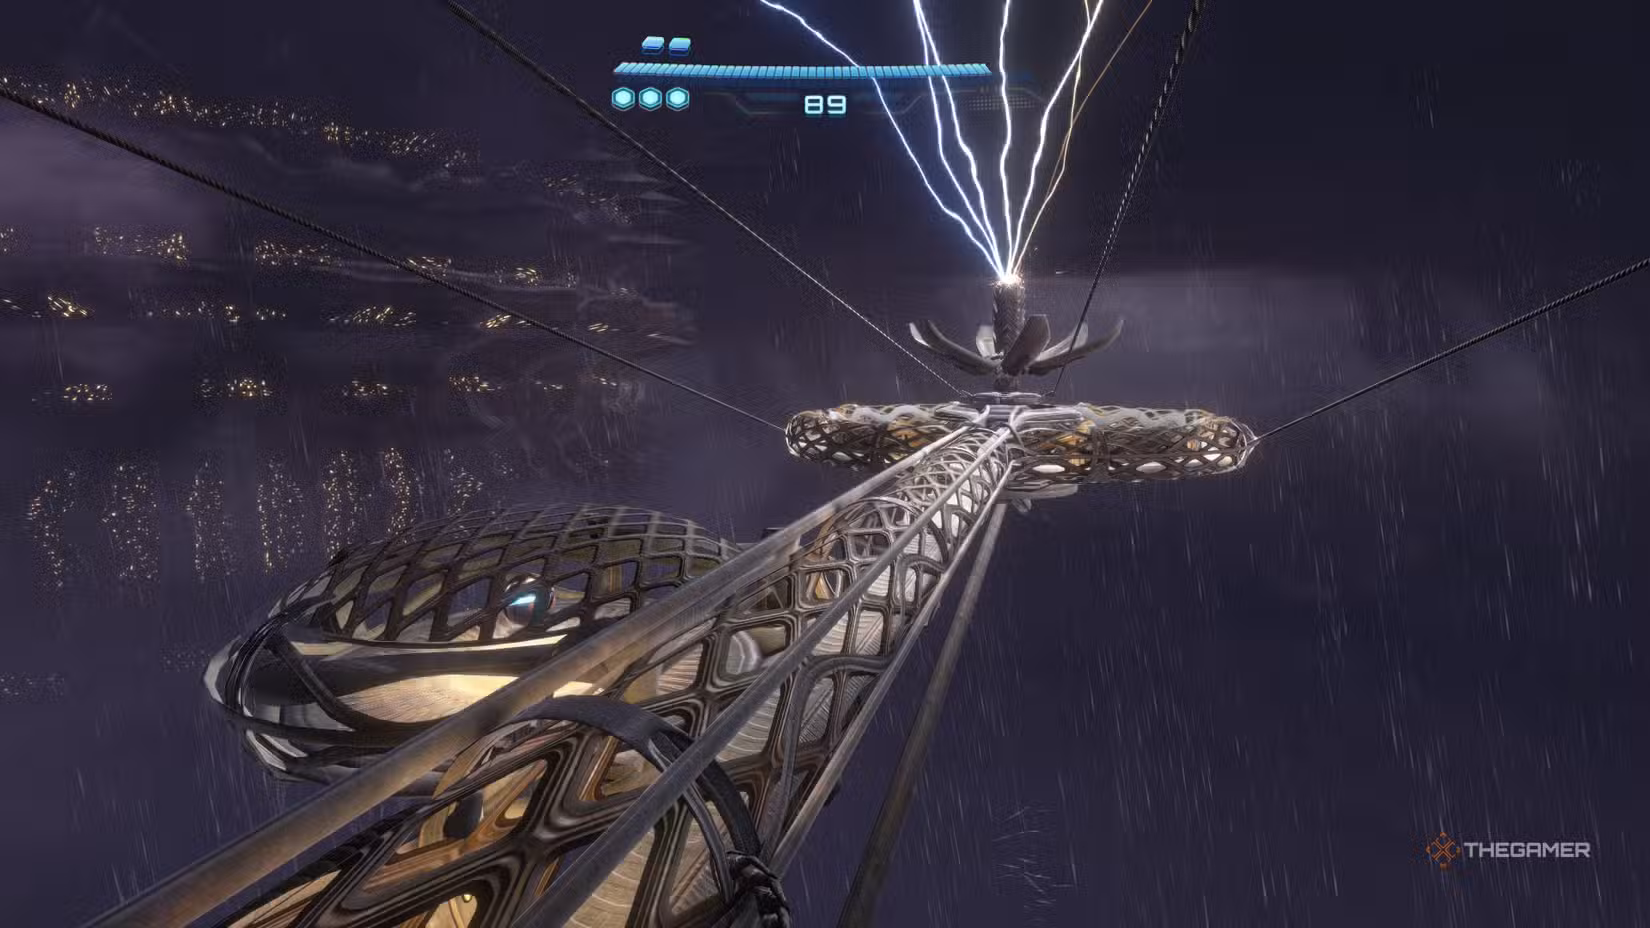
Now, roll to the end of the tunnel and activate another Bomb Slot. This will power up the generator, causing shocks to run along its tunnel. You need to escape quickly—there are small alcoves along the tunnel that you can enter to avoid electric shocks as you leave.
With the first generator online, you can now access Vi-O-La and head to Tower 2 to activate its generator.
### Activating the Second Tower Generator
After heading to Tower 2 with Vi-O-La, descend back down to a room very similar to the first generator room. In the middle is a long tunnel leading to the generator, with anchors holding it closed on both sides.
This time, the left anchor cannot be reached while in Morph Ball mode, though it has a Bomb Slot that needs activating. You should activate the Bomb Slot on the right first, then return to the left one later.
Remember, if you hold the Psychic Bomb button in Morph Ball, you transform the psychic bomb into a Psychic Mote that you can pick up. Drop a Psychic Bomb, go into the Psychic Visor, then pick up the bomb. When ready, release it toward the Bomb Slot—it will fly in and explode, activating the door as if you dropped the bomb directly into the slot.
Proceed to the end of the tunnel and place a Psychic Bomb in the Bomb Slot to activate the second generator. The tunnel will again be filled with electric shocks, which happen more frequently this time, so make sure to jump into alcoves to avoid getting shocked.
Note: If you get shocked, you’ll be pushed a small distance backward. Brute-force methods may be less effective because of this, so timing and careful movement are better.
After activating the second generator, you’ll be forced into a mini-boss fight against the MCU Flight Drone. The core of this fight is similar to other boss encounters: use the Control Beam to target and disable all three weak points at the same time. For more detailed strategies, check out the full boss guide.