Select Language:
The Sentinel Barracks mission sits between thrilling experiences like piloting a giant mech and riding a dragon, making it a more traditional, straightforward mission in Doom: The Dark Ages. In this level, you’ll traverse a series of hallways, courtyards, and fortifications. Although there are numerous hidden secrets, the overall design keeps you on a more guided path.
Don’t let that fool you—there are still puzzles to solve as you hunt for treasure. I spent more time than I’d like to admit trying to figure out how to reach a specific chest. But don’t worry! We’ll provide you with clear instructions on how to find all the secrets, so you can focus on battling demons instead.
|
Secrets |
6 ADVERTISEMENT |
|---|---|
|
Gold |
212 |
|
Demonic Essence – Armor |
1 |
|
Rubies |
2 |
|
Codex |
1 |
|
Collectible Toys |
1 |
|
Skins |
1 |
The Hell Knight Toy
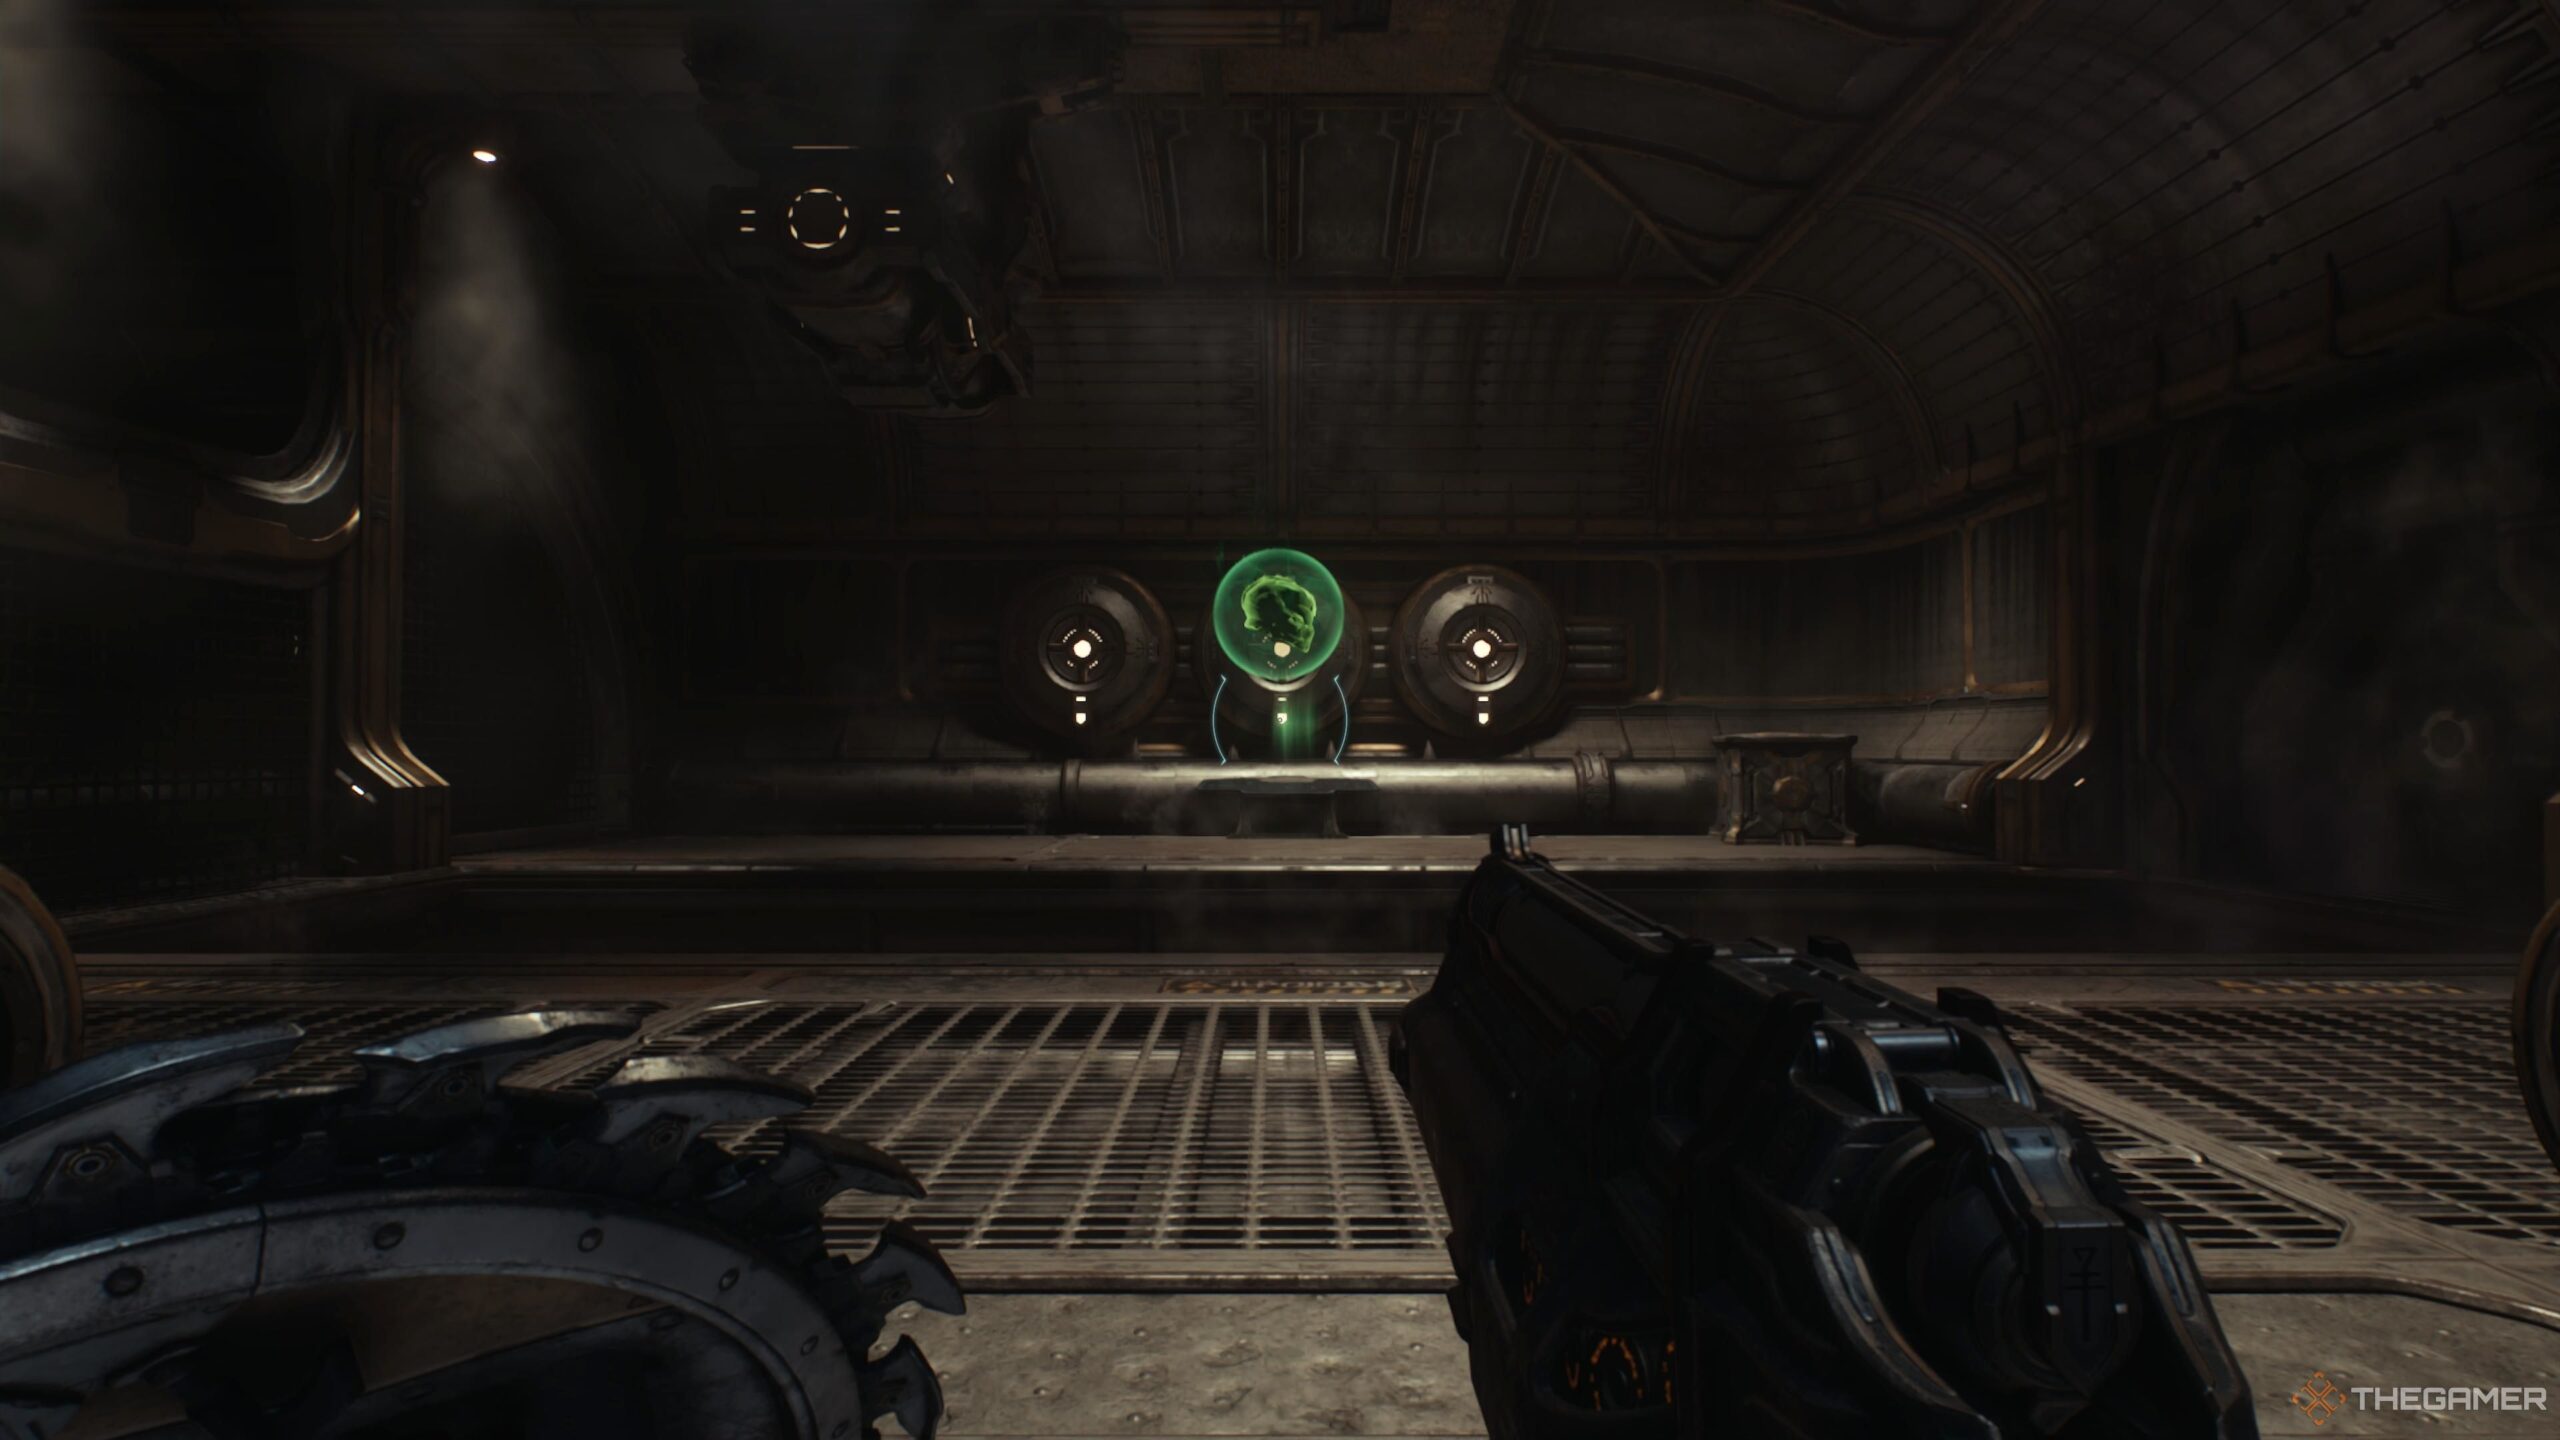
Your first collectible appears only after you’ve fought through a few monster-infested rooms. Once you reach the outdoor area, you can collect some gold. Although it may seem like that path leads to additional riches, it’s actually a dead end. Instead, head into the central room.
In this long hallway, you’ll face three waves of Shield Soldiers backed by a Mancubus. Take out the Shield Soldiers using shield tosses, then deal with the Mancubus by parrying his Hell Surge blasts while firing at him from a distance—getting too close will result in flames engulfing you.
After clearing the area, return to the entrance. With your back facing the entryway, look left, and you’ll spot a boarded-up doorway that can be demolished with a Shield Charge. Break through, and you’ll find a path lined with gold leading to a Hell Knight toy.
The Treasure Chest
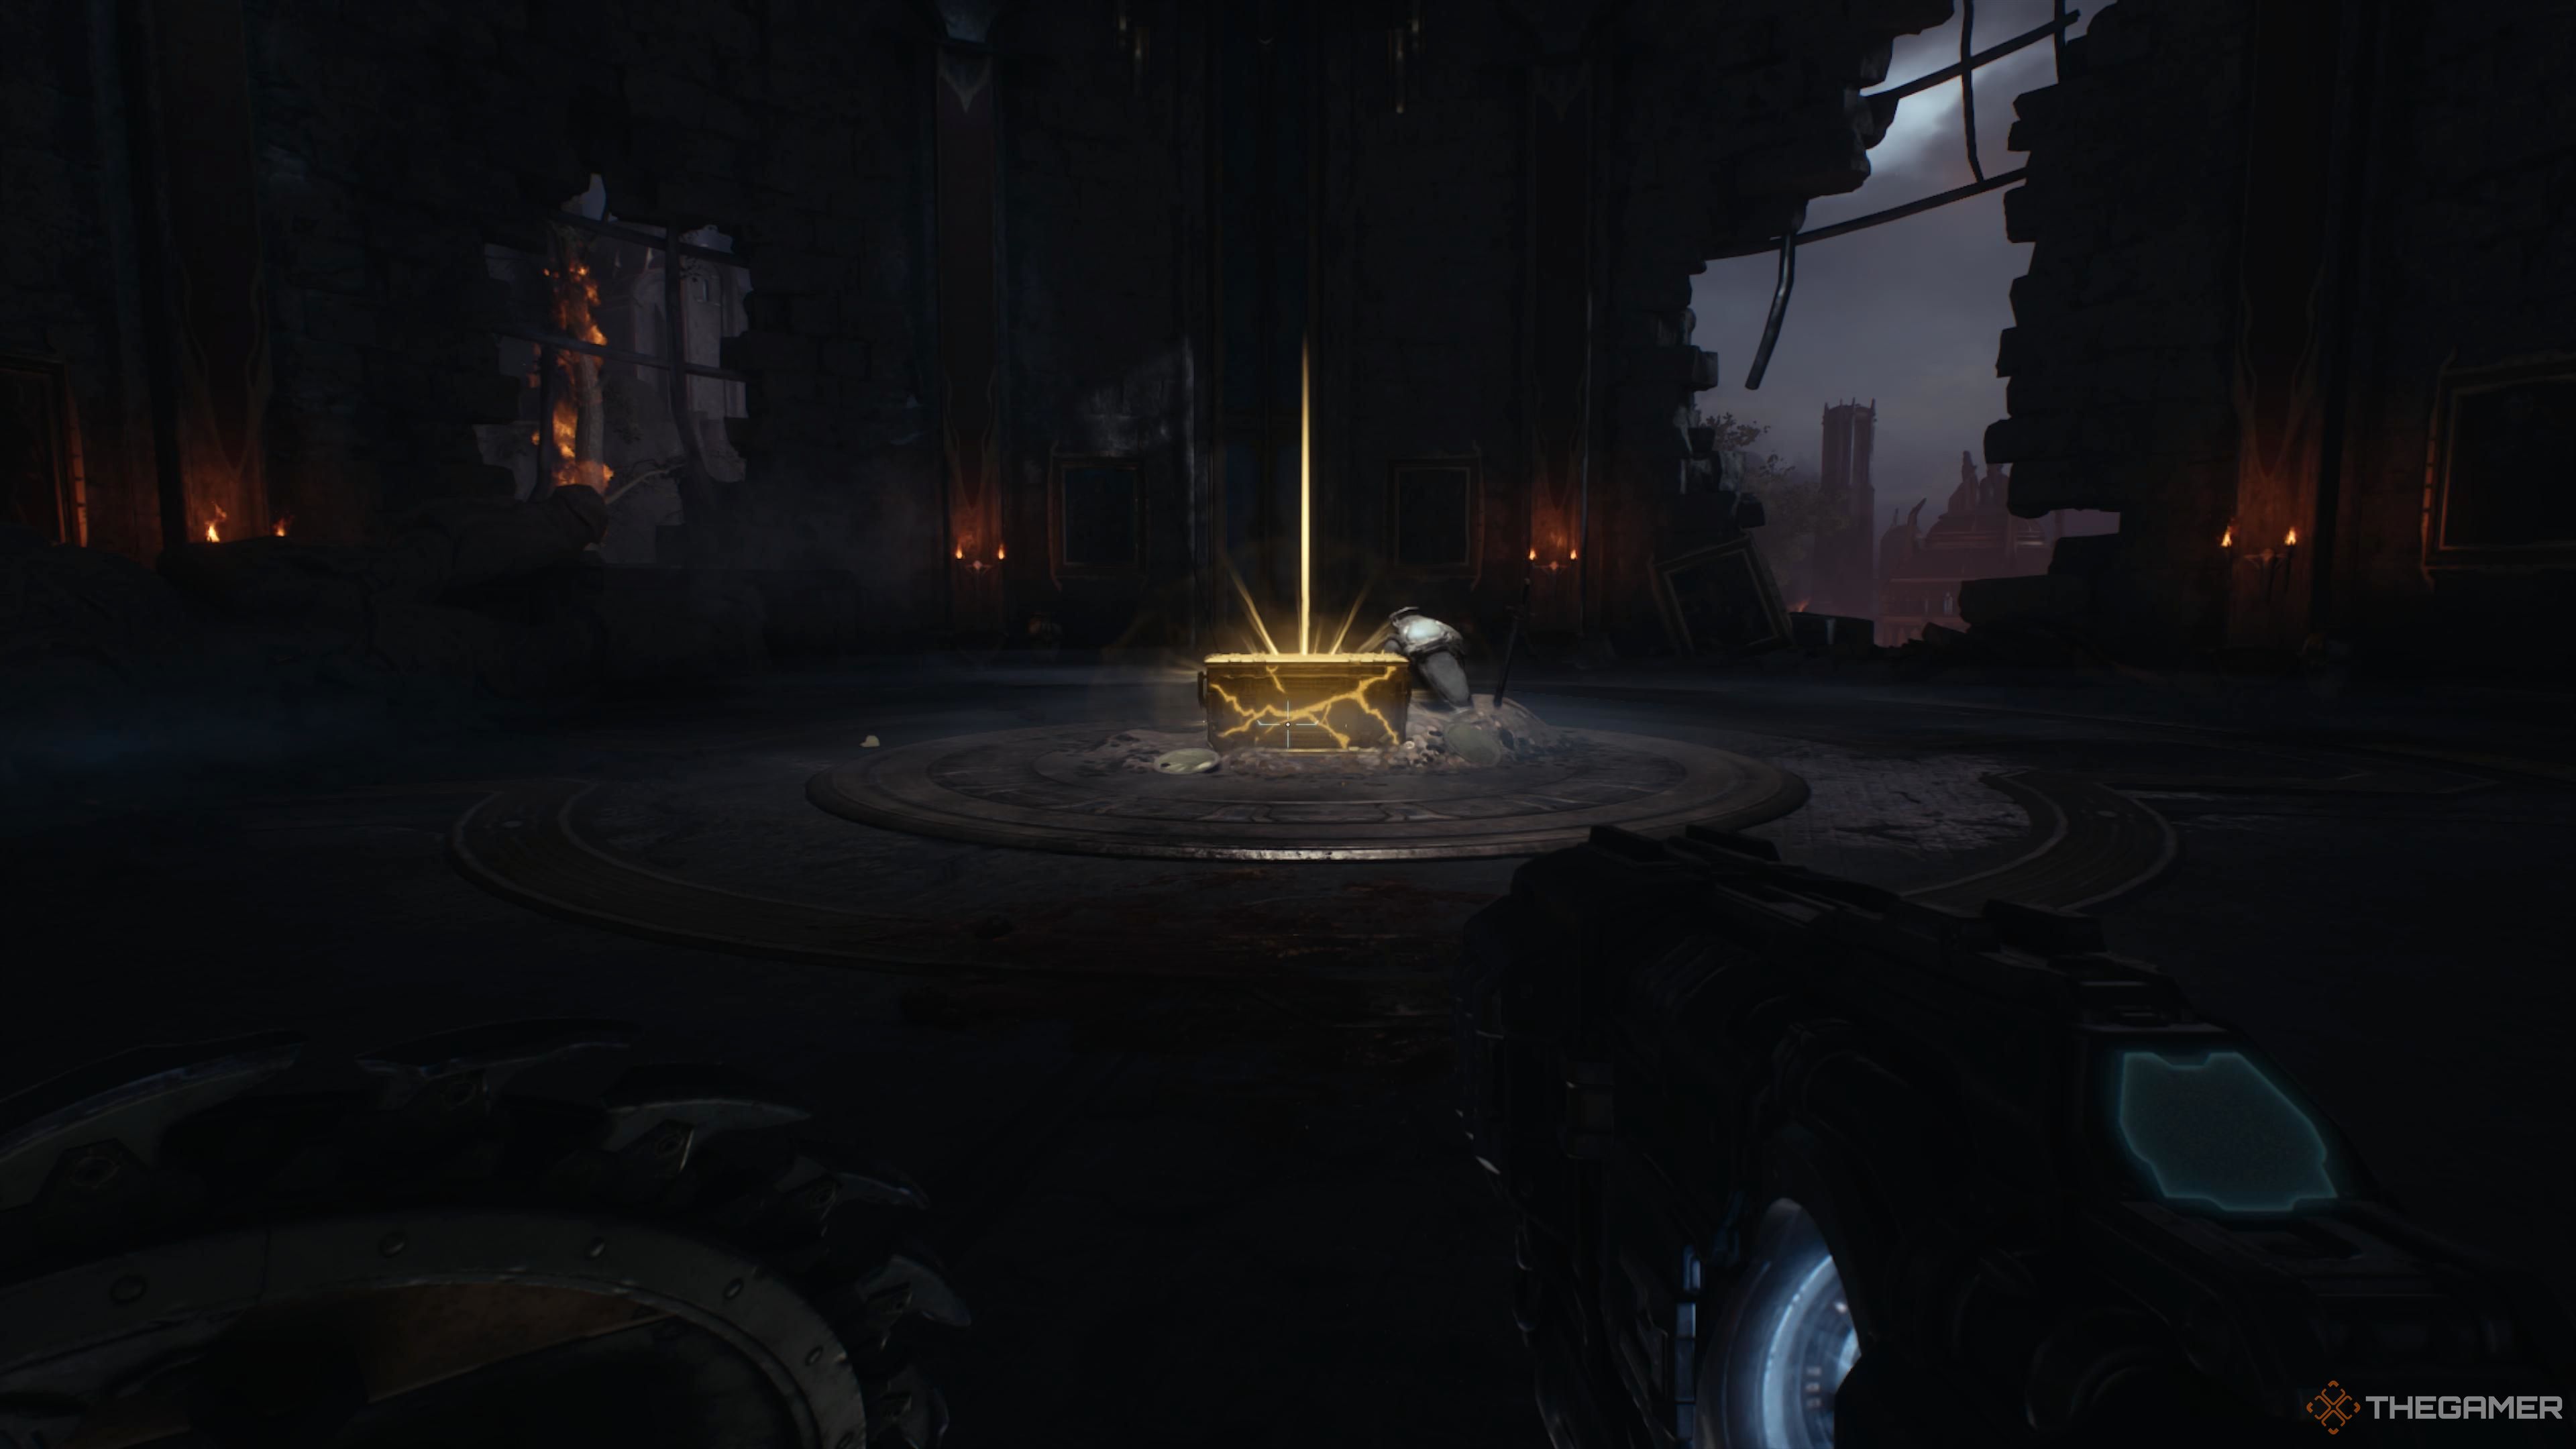
During the stage where you need to stand on a button to lower a lift and access the superheated metal beneath it, there’s a corpse in the adjacent section where you can throw your shield. Do this, perform a Shield Jump, and you can grab additional gold.
Follow that gold trail to the other end of the platform, then jump down where a significant block obstructs your path. Use Shield Rush to propel it, then climb up the block to claim more gold and open a treasure chest!
The First Life Sigil
After leaving the combat arena where you fend off waves of Hell Knights, you’ll enter a hallway. On your left, there’s a locked door with a terminal outside. You can only interact with this terminal after defeating all the enemies in the hallway. Once that’s done, use the terminal to unlock the door and follow the path of gold leading directly to the Life Sigil.
The Point Of No Return And The First Ruby
After exiting the hallway with the Life Sigil, you’ll encounter a deep elevator shaft. You must jump down to proceed, but make sure you’ve collected everything beforehand, as this is a point of no return (even though it’s not clearly marked on the map).
After dropping down, you’ll have to deal with more demons before moving on to a large hangar where the first Ruby awaits. You won’t be able to continue until you secure it, so it’s impossible to miss.
Demonic Essence – Armor
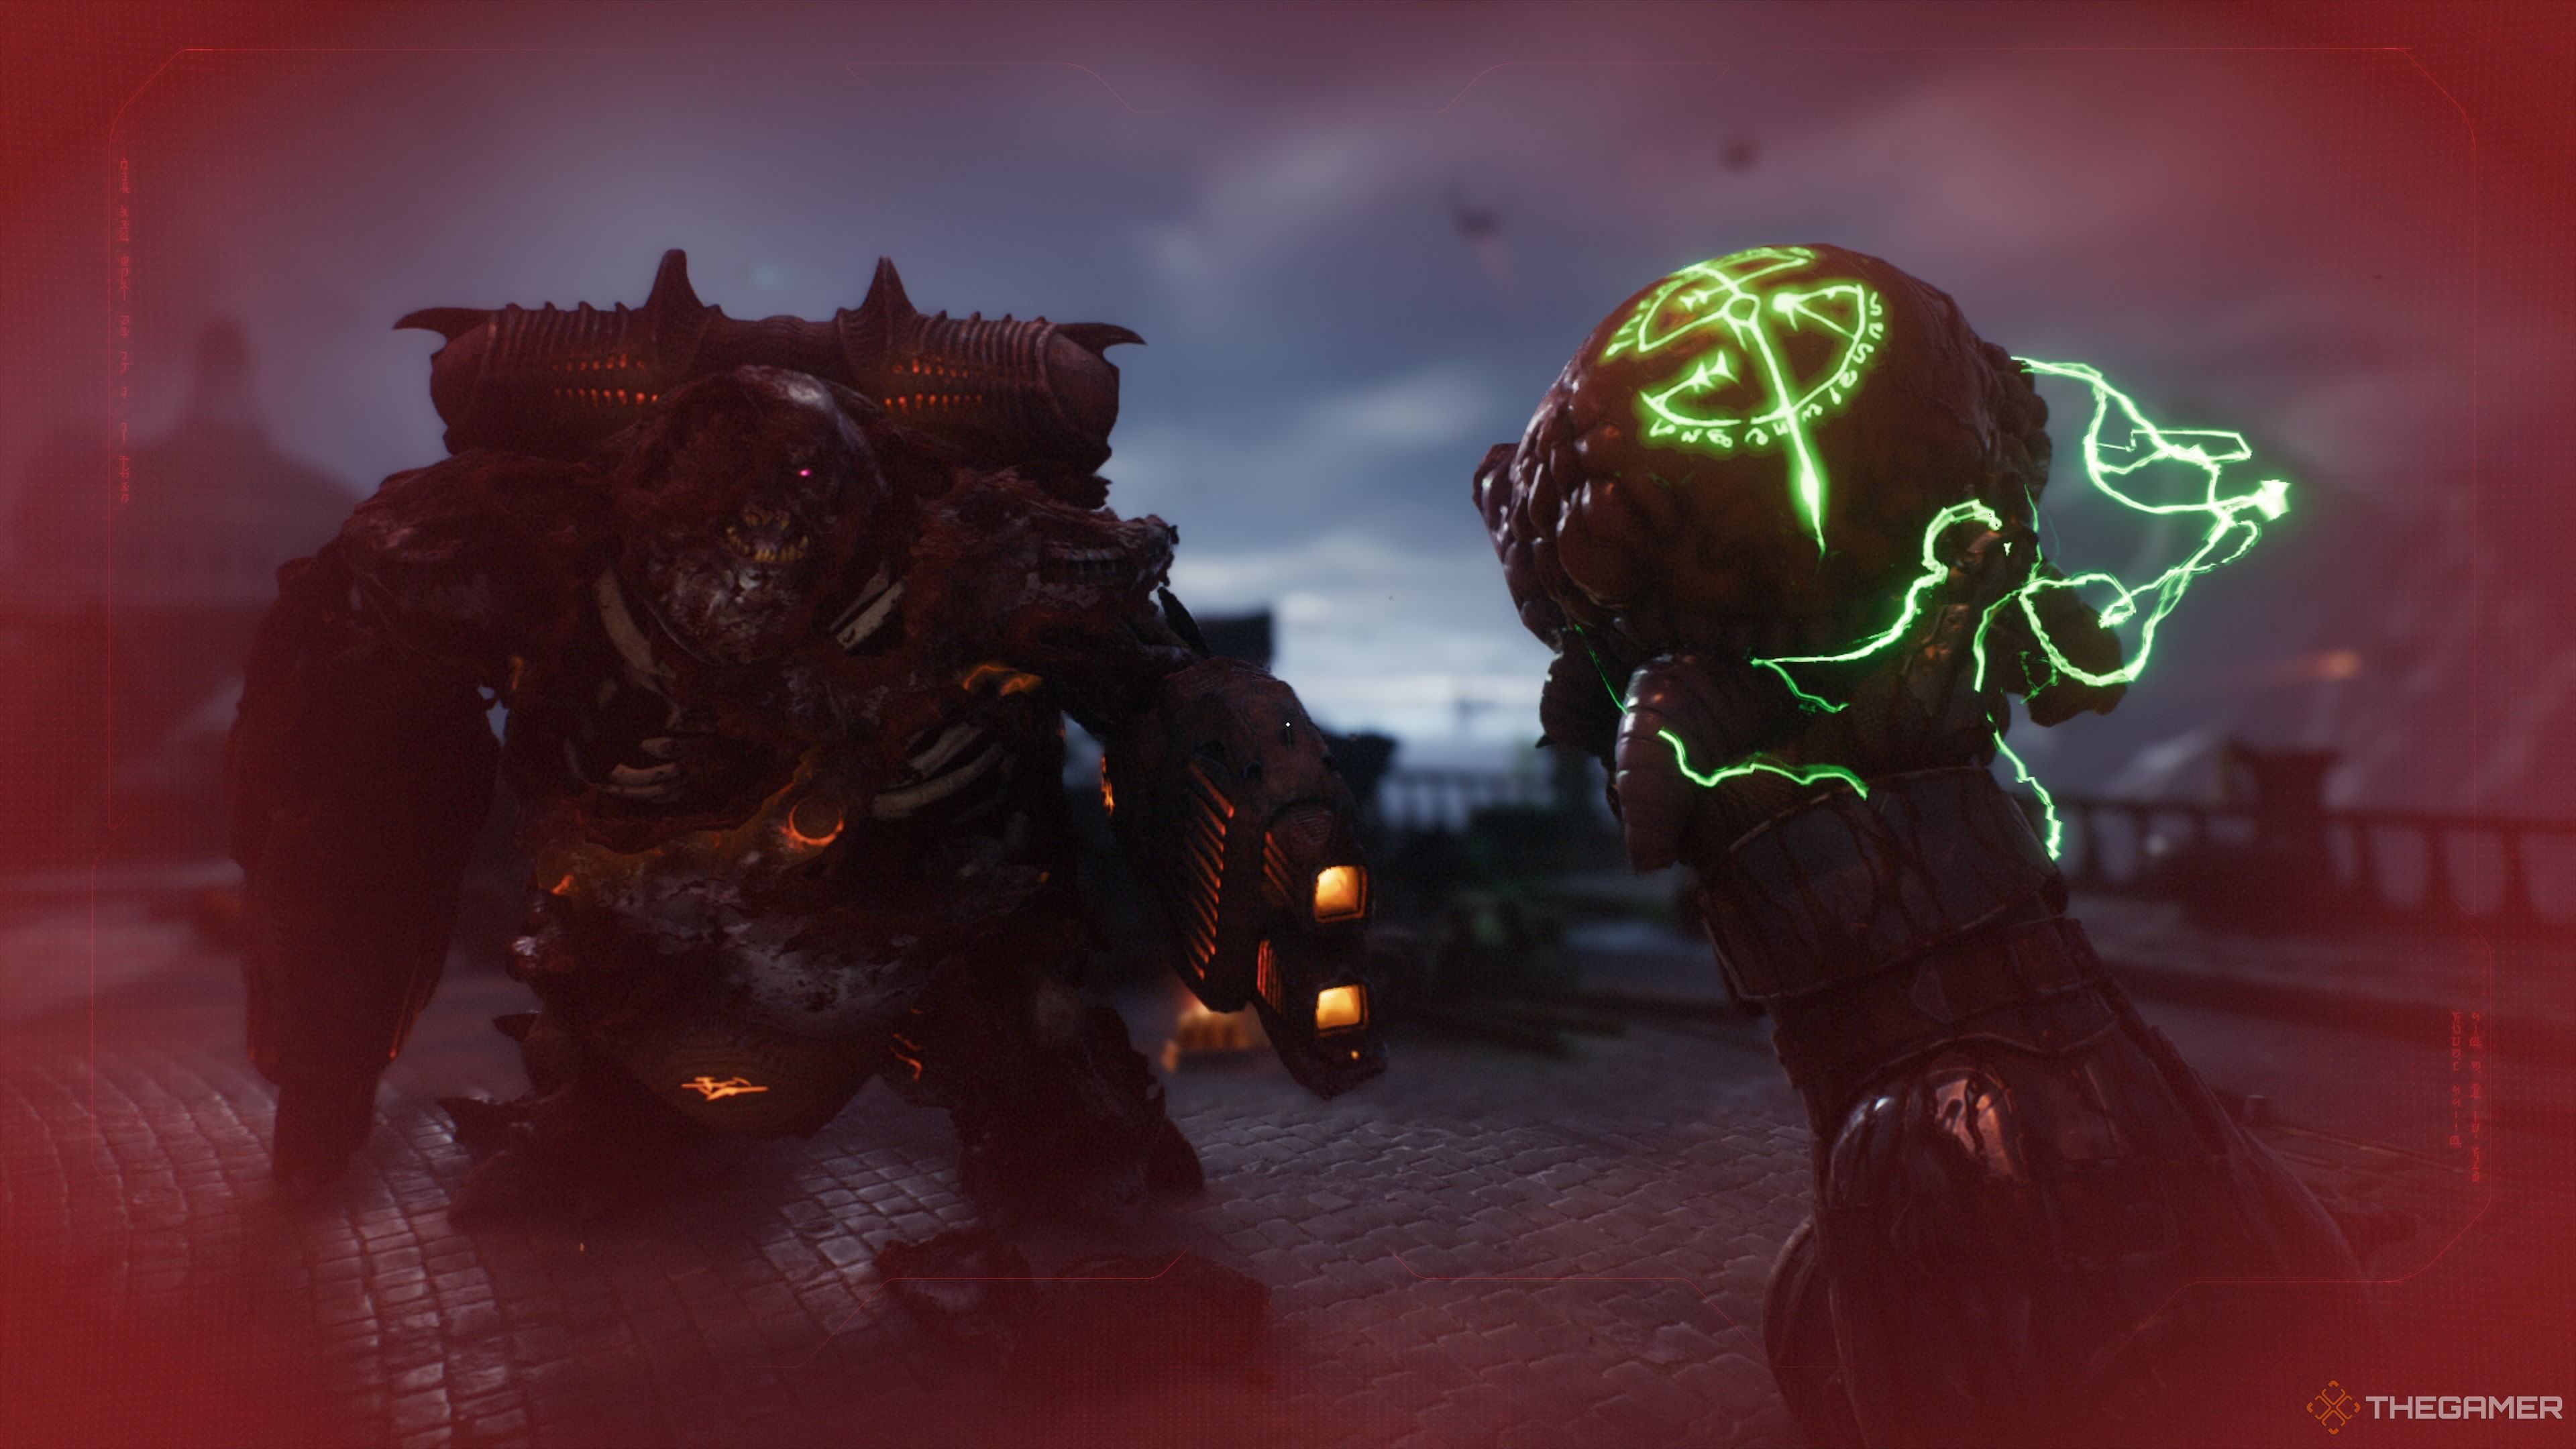
Once you enter the area where you battle the Champion version of the Mancubus, you’ll confront a multitude of Shield Soldiers, Pinky Riders, Stalker Imps, and regular Mancubuses. Make sure to stay agile, moving around the arena and reducing the number of enemies. The Mancubus Champion won’t show up until the initial waves are defeated. Defeating the Champion rewards you with its heart, providing a permanent armor upgrade.
The Second Life Sigil
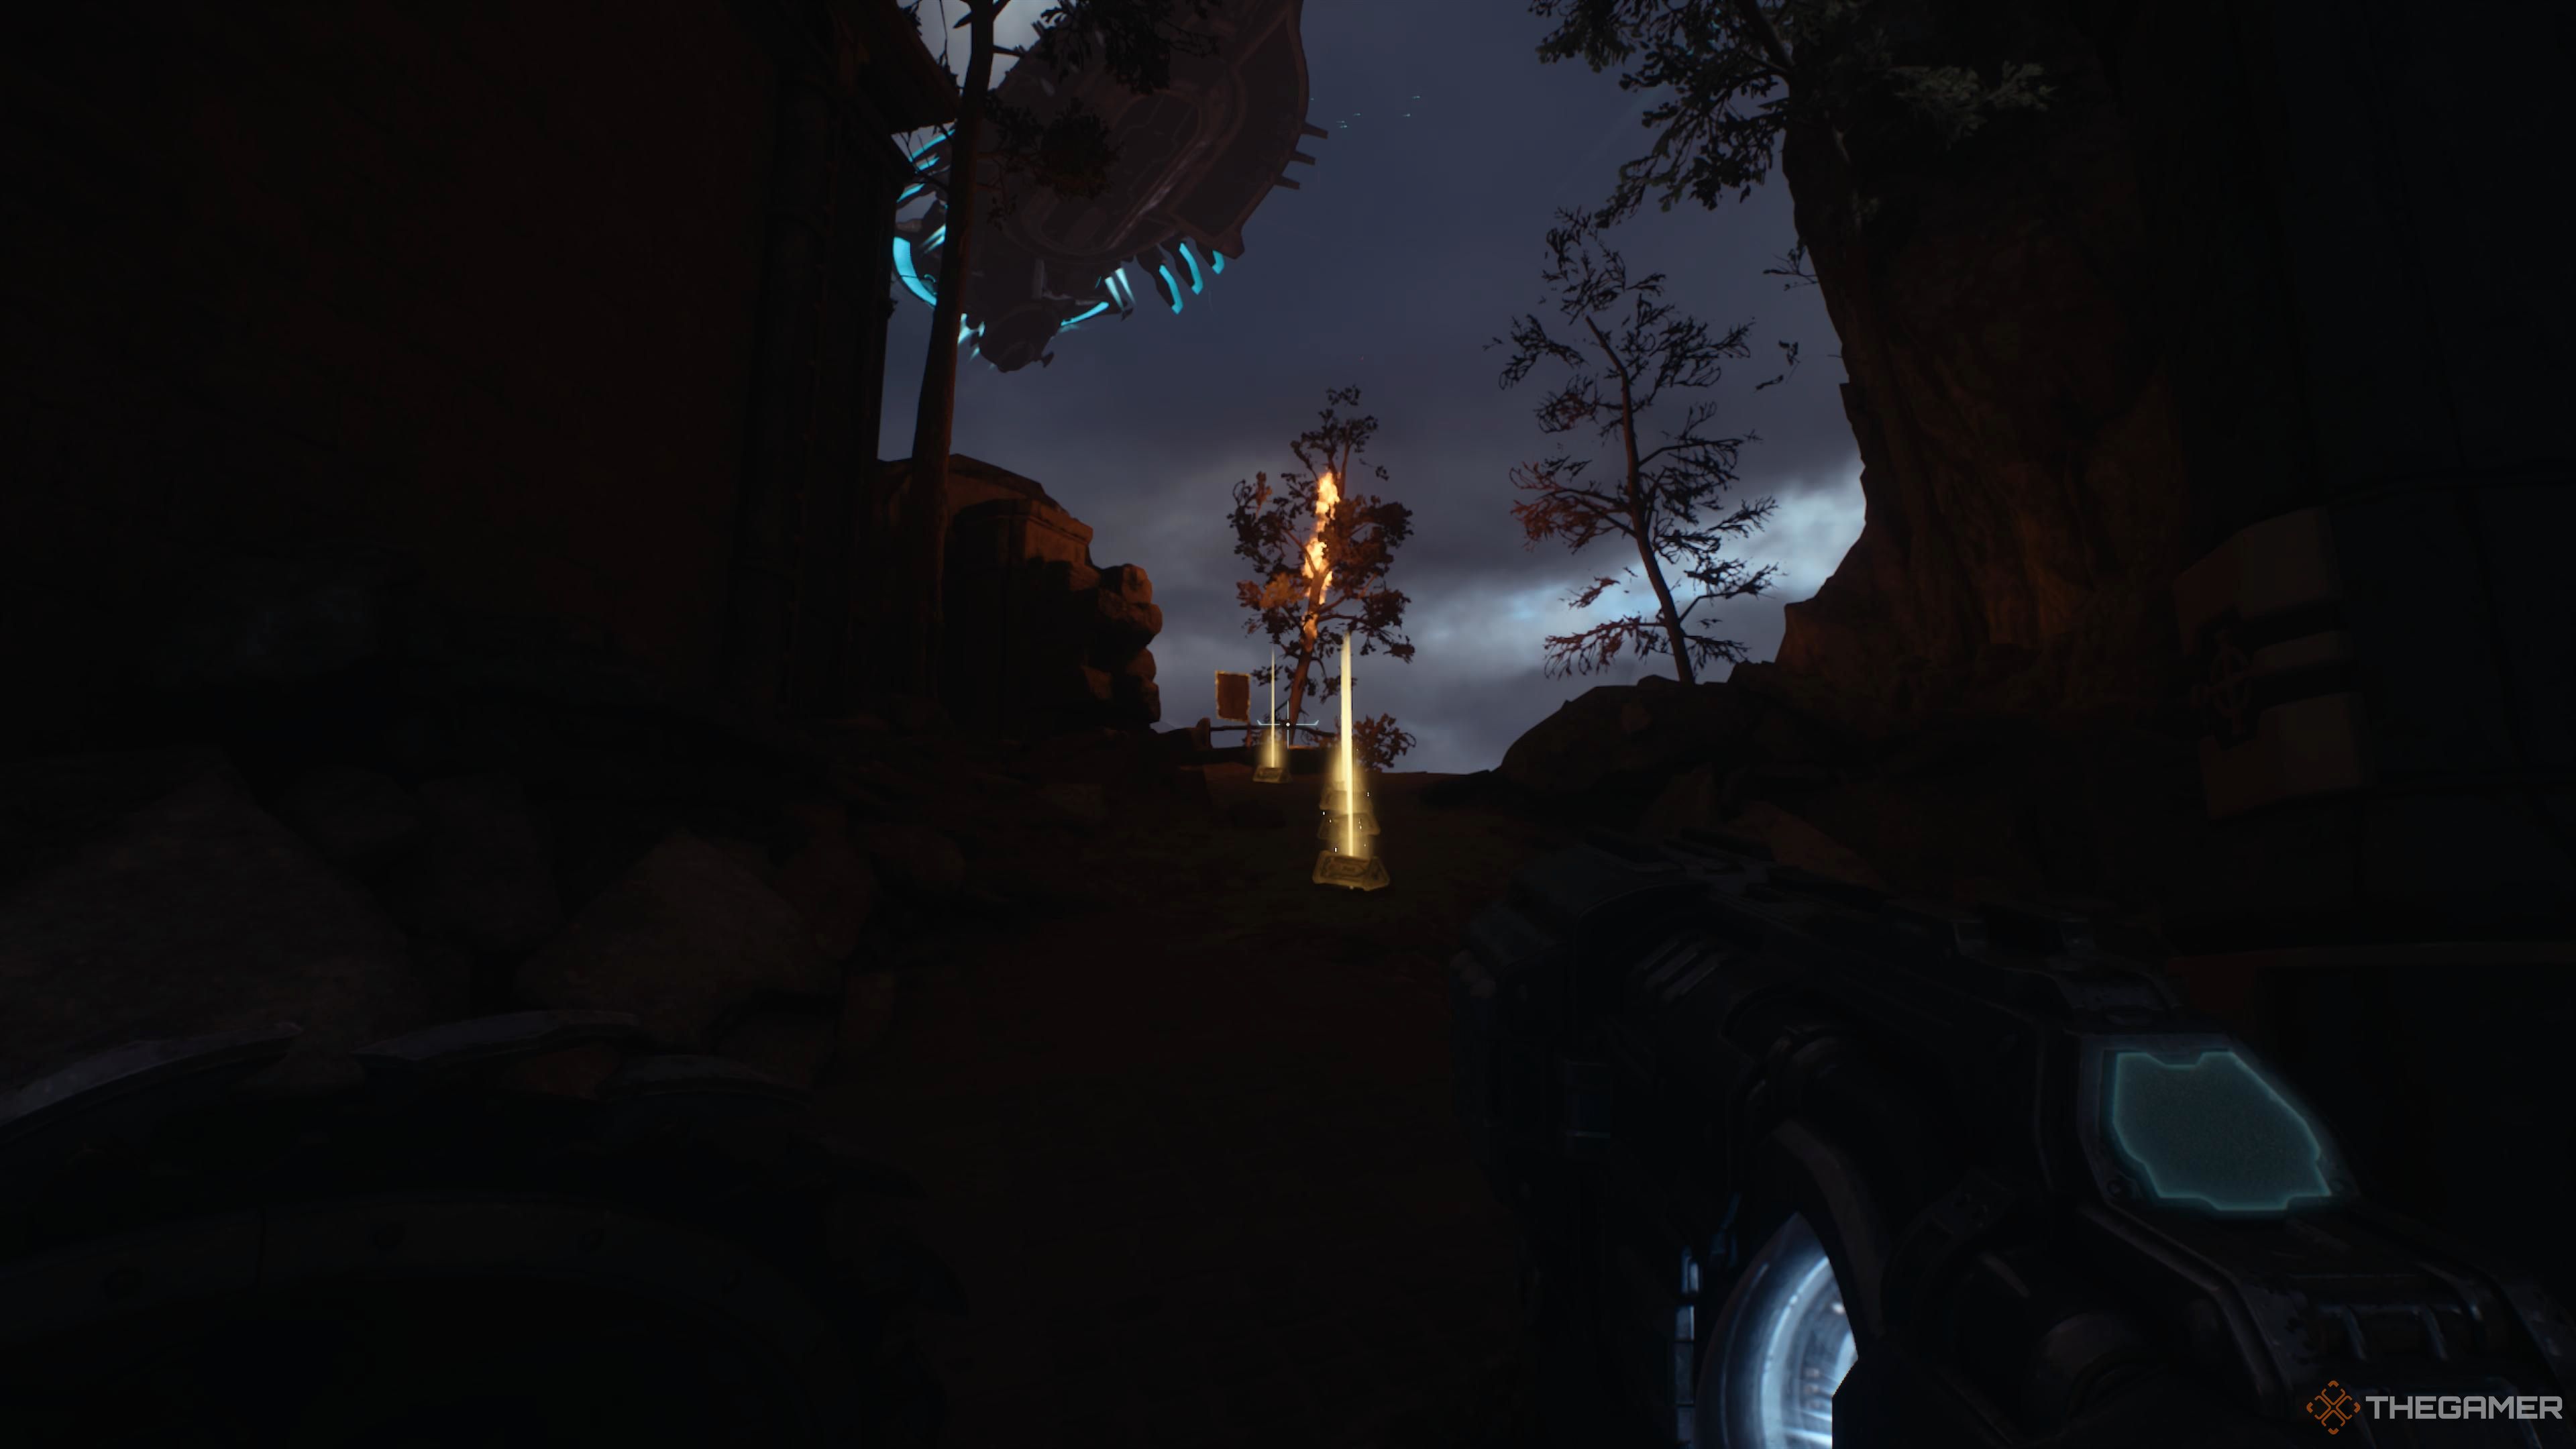
After taking out the Mancubus, look for armor shards leading toward the cliffside. Sprint to the ledge and jump to the nearby island. Once there, you can collect some gold and secure a Life Sigil.
The Second Ruby, Cultists, And Gold
Once you make it across the bridge, you’ll find a spiral tower. However, instead of moving forward, turn around to face the area you just came from. Beneath the island, there’s another space to explore. Jump over the gap and you’ll discover a gold trail on your right. Follow it while taking care of the Nightmare Stalker Imps (those sneaky, invisible foes) and lesser demons. Keep an eye out for fireballs filling the room and navigate to the back. There, you’ll find a climbable wall.
Climb up to face another group of cultists and locate a Ruby. Next, follow the gold trail over the wall, grab any gold pile on top, and jump down. You’ll return to the upper section of the island. Then, jump back across to the other side of the bridge and head directly towards the spiral tower this time.
The Treasure Chest
Move to the right and up the tower to find a room with a treasure chest. Be cautious—two Nightmare Imp Stalkers will be there as well.
Nightmare Skin For The Accelerator
As you drop into an area filled with flaming skeleton heads, look for a spiraling staircase lined with gold before you jump down. Follow these stairs to claim the skin for the Accelerator.
More Gold And The Codex
In the area just before reaching the Dragon’s Aviary, which features a Sentinel Shrine shop, you’ll encounter several crates you can break to reveal gold. Near the Sentinel Shrine, look left while facing the shrine to find a gold trail leading up a hill. Follow that trail to discover the Codex.