Select Language:
Quick Links
Taking on the formidable Elden Ring Nightreign is no easy feat, especially when it comes to defeating the night itself. Success requires a well-balanced and cohesive team, and no one exemplifies this more than the quiet yet powerful Recluse. The makeup of your team and the weapons chosen will significantly impact how effectively your sorceress can wield her magic.
To increase your odds of thriving in this challenging environment, it’s vital to grasp Recluse’s abilities before venturing out from the round table. Knowing how to combine her spells effectively is crucial, as a misplaced cast could mean using a warming stone when you meant to unleash a lightning attack.
Overview
| HP | D |
| FP | A |
| Str | D |
| Dex | C |
| Int | S |
| Faith | S |
| Arcane | C |
Recluse showcases typical witch stats, being a glass-cannon type character with low defense but potent magic abilities. She also possesses decent Dexterity, opening doors for interesting hybrid builds.

Unlike other Nightfarers, Recluse thrives not by obsessing over various weapons but by mastering her unique skills. Her abilities require a high level of user skill, demanding that players memorize combinations and time their actions carefully. Meanwhile, skilled players can still shine despite encountering setbacks.
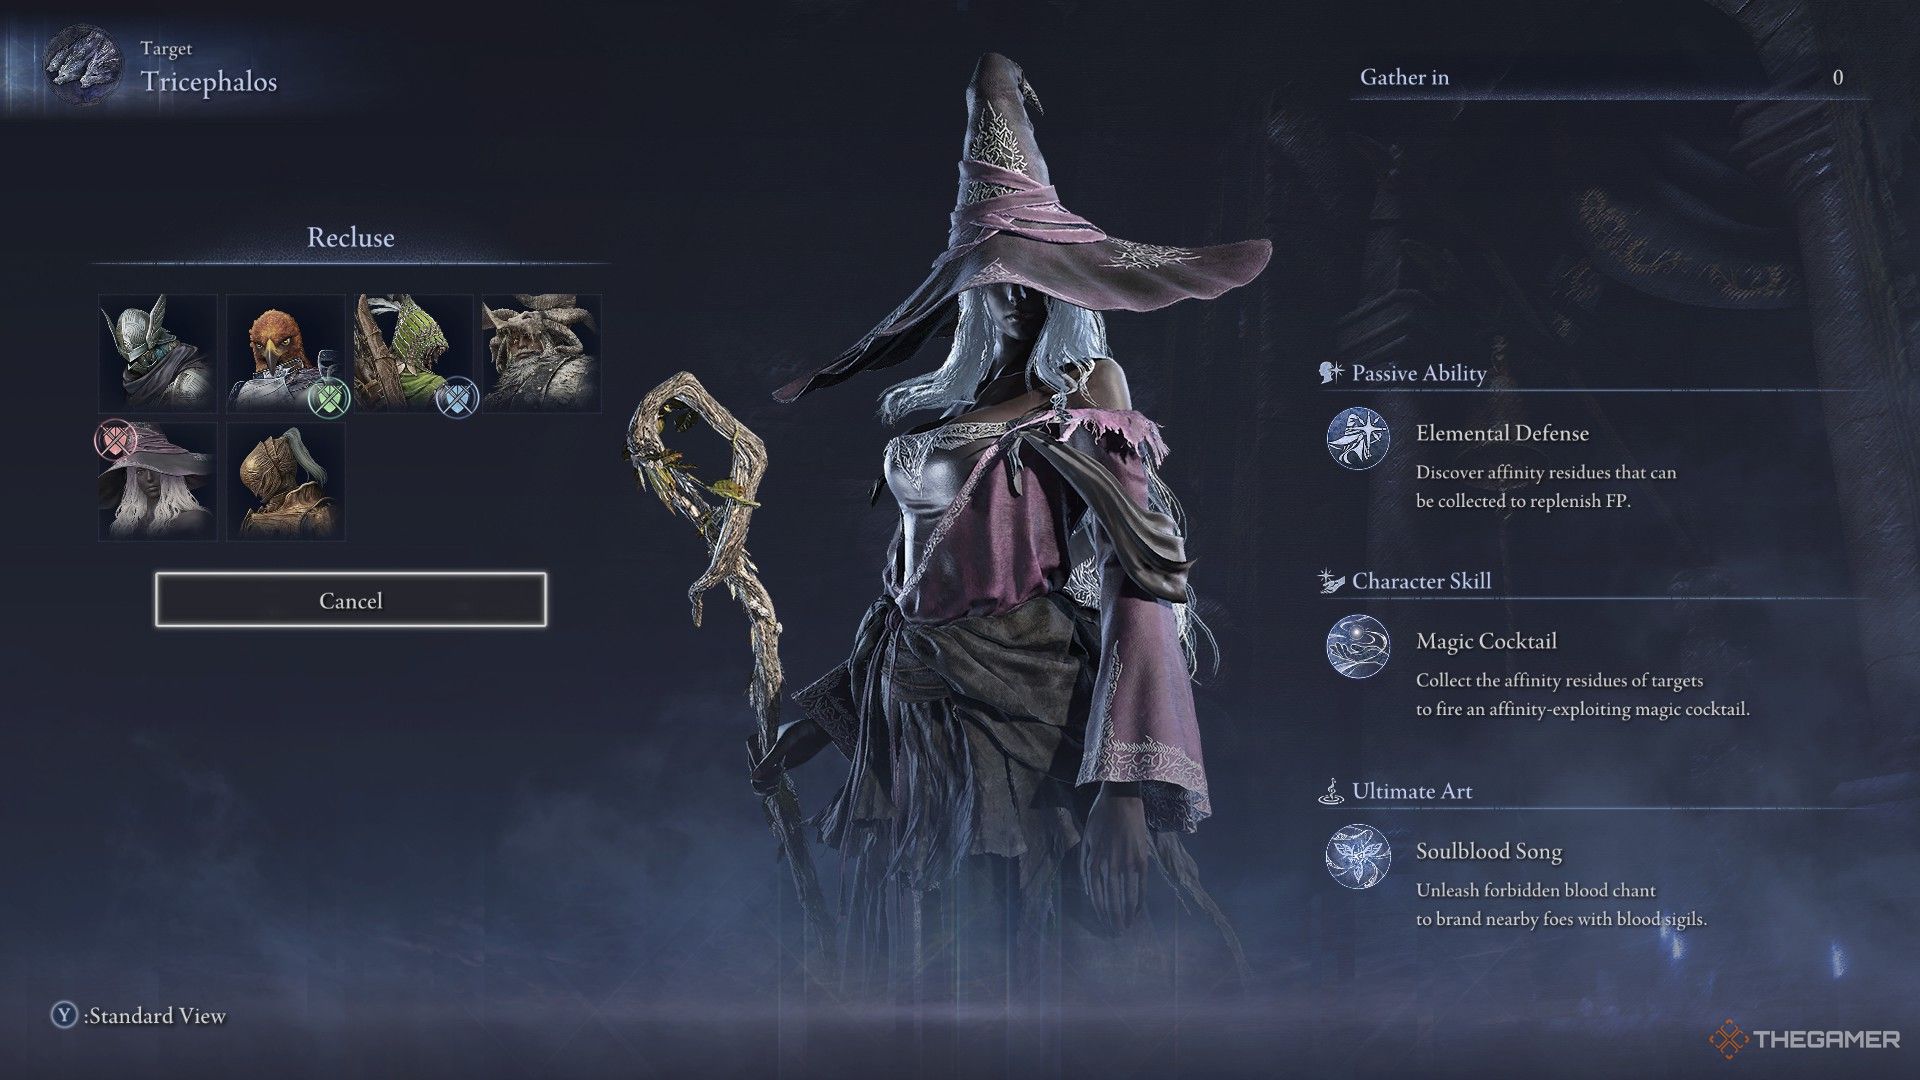
Recluse Traits

Recluse’s traits complement each other beautifully, allowing her to perform as a highly adaptable unit on the battlefield. However, this also means that mastering her techniques can be challenging for newcomers, necessitating a steep learning curve. Yet, the rewards for effectively controlling her abilities are significant.

Recluse possesses three essential traits:
- Passive Ability: Elemental Defence
- Character Skill: Magic Cocktail
- Ultimate Art: Soulblood Song
If you’re planning to utilize Recluse, we strongly recommend studying the following sections very thoroughly.
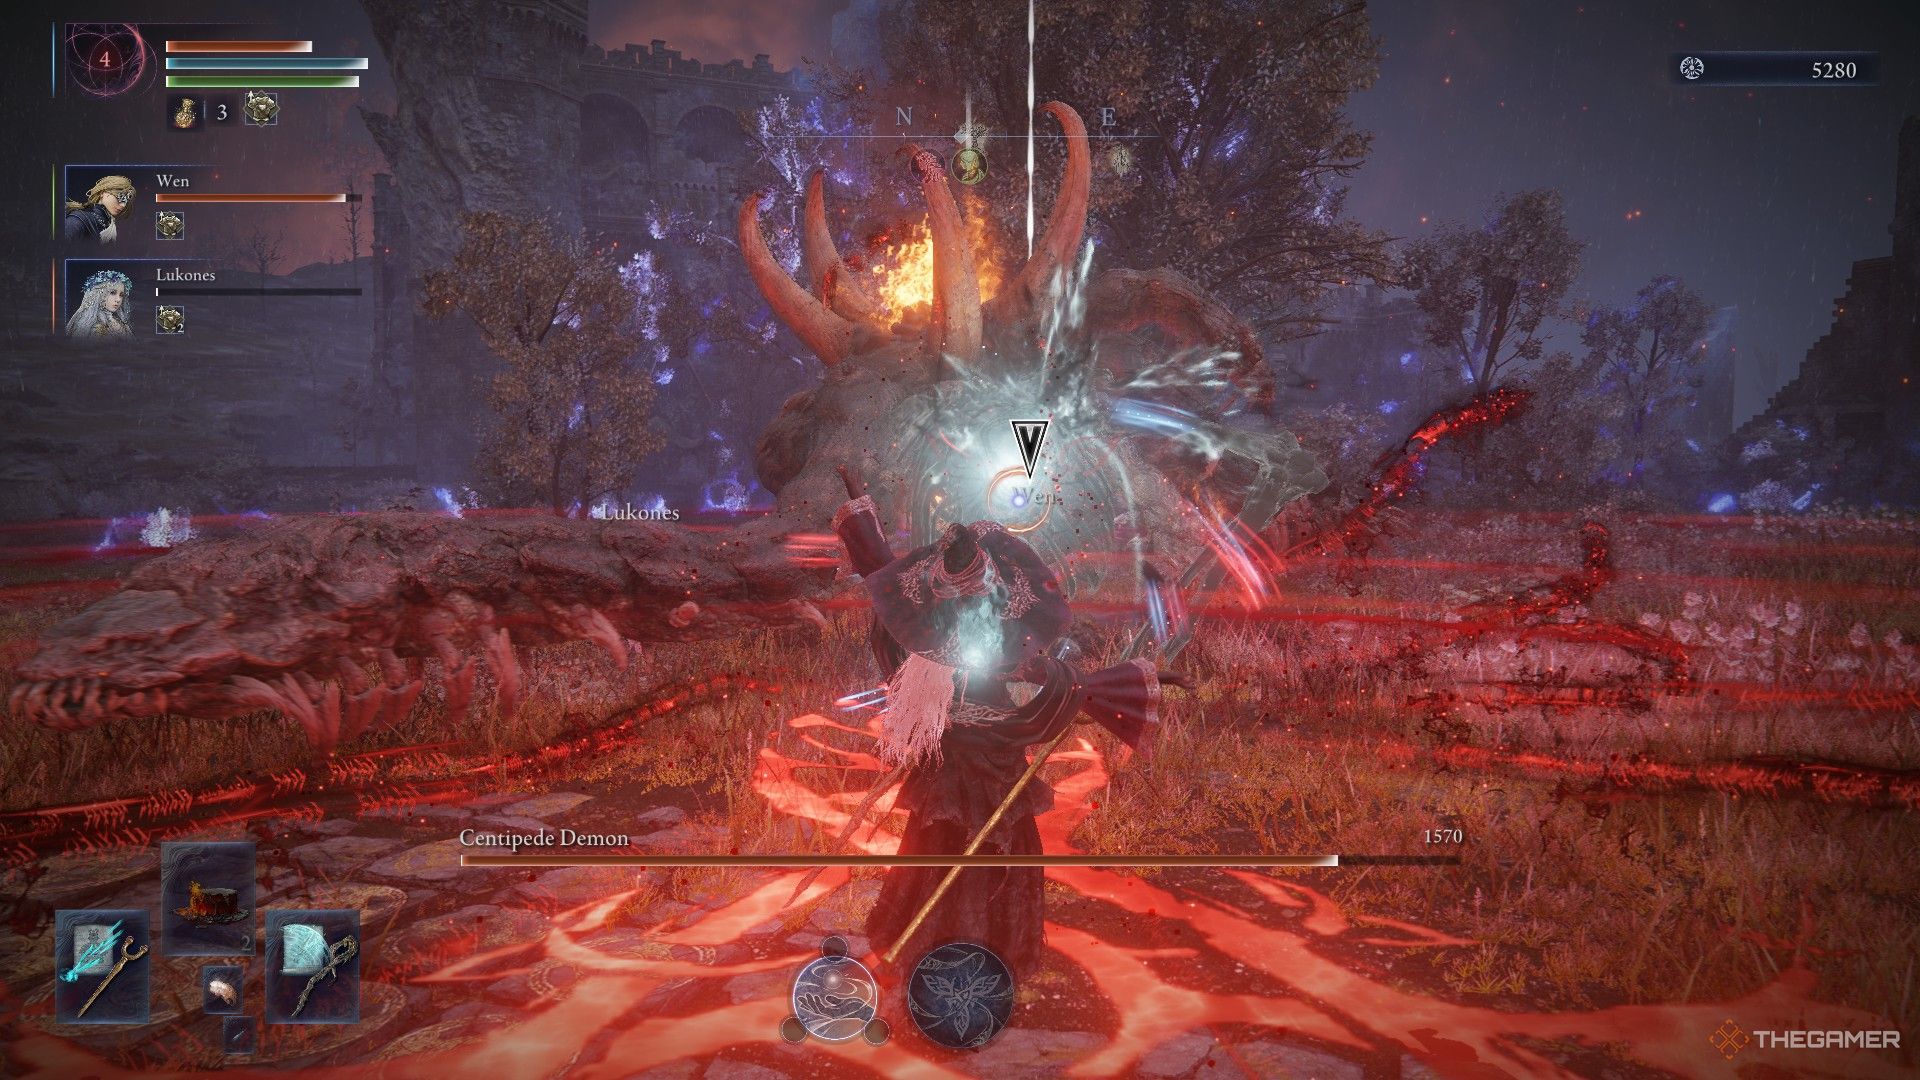
How to Use Recluse’s Character Skill: Magic Cocktail

Recluse’s passive ability and character skill are deeply interconnected. Using one skill often requires the other. Elemental Defence allows you to see color-coded circles displayed on nearby enemies, indicating the damage types they have recently sustained:
- Fire – Red
- Magic – Blue
- Lightning – Pale Yellow with lightning bolts
- Holy – Bold Yellow
You can absorb these elements up to three times in any combination (e.g., three Magic, one Magic and two Fire, etc.).
Absorbing elemental residues not only fuels your character skill but also partially replenishes your FP.

The most intricate part of Recluse’s abilities lies in effectively building her Character Skill: Magic Cocktail. Each combination yields different results. At first, memorizing them can feel overwhelming. However, here’s a simplified breakdown:
- Magic: Causes damage over time and staggering effects.
- Lightning: Provides intense, immediate damage.
- Holy: Buffs you and your allies.
- Fire: Delivers a powerful area attack.
While there are specific details for combinations, using this framework can serve as a helpful starting point.

For those looking for precise details, here’s a breakdown of each of Recluse’s combinations, their effects, and benefits. This guide categorizes them into:
- Simple Cocktails: Containing just one affinity.
- Duo Cocktails: Merging two affinities.
- All-But Cocktails: Including three affinities.
| Simple Cocktails | ||||
|---|---|---|---|---|
| Absorbed Elements | Effect | Best Uses | ||
| Magic | Creates blades that inflict repeated magic damage over time, staggering most enemies. | Outstanding for interruptions and creating openings for your teammates. | ||
| Fire | Engulfs an area in fire, similar to that in the Elden Ring Fire Giant fight. | Useful for crowd control and diverting enemies away from allies. | ||
| Lightning | Increases mobility and evasiveness through lightning effects. | Enhances dodging capabilities for the usually slow Recluse. | ||
| Holy | Boosts Poise for you and nearby allies for 30 seconds. | Excellent for supporting teammates who need to withstand attacks. | ||
| Duo Cocktails | ||||
| Magic | Fire | A fiery wisp tracks the enemy, dealing dual damage before exploding. | Pairs well with Recluse’s Ultimate Ability for rapid damage, distracting foes. | |
| Magic | Lightning | Creates a lightning-infused magic blade, launching a projectile. | One of the most damaging options for high-health bosses. | |
| Magic | Holy | Rains starlight to enable spellcasting without FP costs for eight seconds. | A powerful area effect, particularly beneficial for teams. | |
| Fire | Lightning | Dash forward cloaked in lightning, completing with an explosive finale. | Delivers robust poise damage and prevents allies from getting hurt. | |
| Fire | Holy | Emits a golden wisp that enhances allies’ Maximum Health. | Exceptional support, especially for tough encounters. | |
| Lightning | Holy | Applied auto-parry for 15 seconds; incoming strikes will be countered. | Can lead to significant critical hit opportunities. | |
| All-But Cocktails | ||||
| All But Magic | Causes a powerful area damage burst from a lightning stake. | |||
| All But Fire | Recluse turns into an ice crystal, generating an ice storm around her. | |||
| All But Lightning | Casts a sweeping fire breath attack, dealing multiple hits. | |||
| All But Holy | Creates a gravity well that pulls foes inward, erupting for considerable damage. | |||
Ultimate Art
Recluse’s Ultimate Art, Soulblood Song, may not be as dramatic as others, but its combat utility is top-notch. Marking all enemies in range, when a Recluse or her allies strike, they regain HP and FP. This makes it one of the best supporting abilities available.
This art is most effective in two situations:
- When teammates are low on health during a boss encounter and short on flasks.
- When Recluse draws unwanted attention from a boss or large enemy.
The second scenario is particularly beneficial since Soulblood Song’s lengthy animation offers her immunity, allowing allies to attack while the enemy focuses on the temporarily invulnerable Recluse.
Best Weapons to Use with Recluse

As a sorceress, the most natural choice for Recluse is the use of staves and seals, leveraging her high Intelligence and Faith stats. The ideal build typically includes a stave or seal in each hand, each channeling different elemental damage.
By diversifying your elemental damage types, you can gain greater control over her skill sets without being reliant on teammates.

Staves and seals are commonly found around the central Haight castle, but the challenging environment means you might not find an ideal weapon right away. However, Recluse remains effective, even without a fresh weapon on the first day.
Look for buffs at magic towers as well. The ruins also contain numerous staves, and the merchant near Fort Haight usually has a seal for sale.

During this interim, aim to assist teammates in finding their weapons while also collecting weapons with traits like:
- Increasing outgoing damage when wielding a weapon in each hand.
- Reducing the likelihood of being targeted.
- Boosting charged incantation damage.
- Improving magic attack power.
- Lowering spell FP costs.
Despite the weapons you collect, your initial staff will likely remain your primary tool. Your main focus on Day One is gathering Passive skills and experience. On Day Two, be sure to explore Fort Haight for your preferred staves, unless a more intriguing location catches your interest, such as one suited to the Nightlord you’re hunting.