Select Language:
The Ancestral Forge is a sprawling stage in Doom: The Dark Ages. While it may not rival the size of Siege Part 1, it is still impressively expansive. In this guide, we’ll navigate this grand monument of fire and metal, point out where to find collectibles, and prepare you for various demonic showdowns.
Most of your time in the forge will be spent battling waves of enemies, but there are also some platforming challenges. We’ll guide you to those elevated collectibles. Plus, this level includes several wolf statues that need to be destroyed. Defeating them will earn you the Shield Rune!
|
Secrets |
11 ADVERTISEMENT |
|---|---|
|
Gold |
250 |
|
Rubies |
2 |
|
Wraithstone |
1 ADVERTISEMENT |
|
Demonic Essence – Health |
1 |
|
Demonic Essence – Ammo |
1 |
|
Codex |
2 |
|
Toys |
1 |
Finding the Secret Key
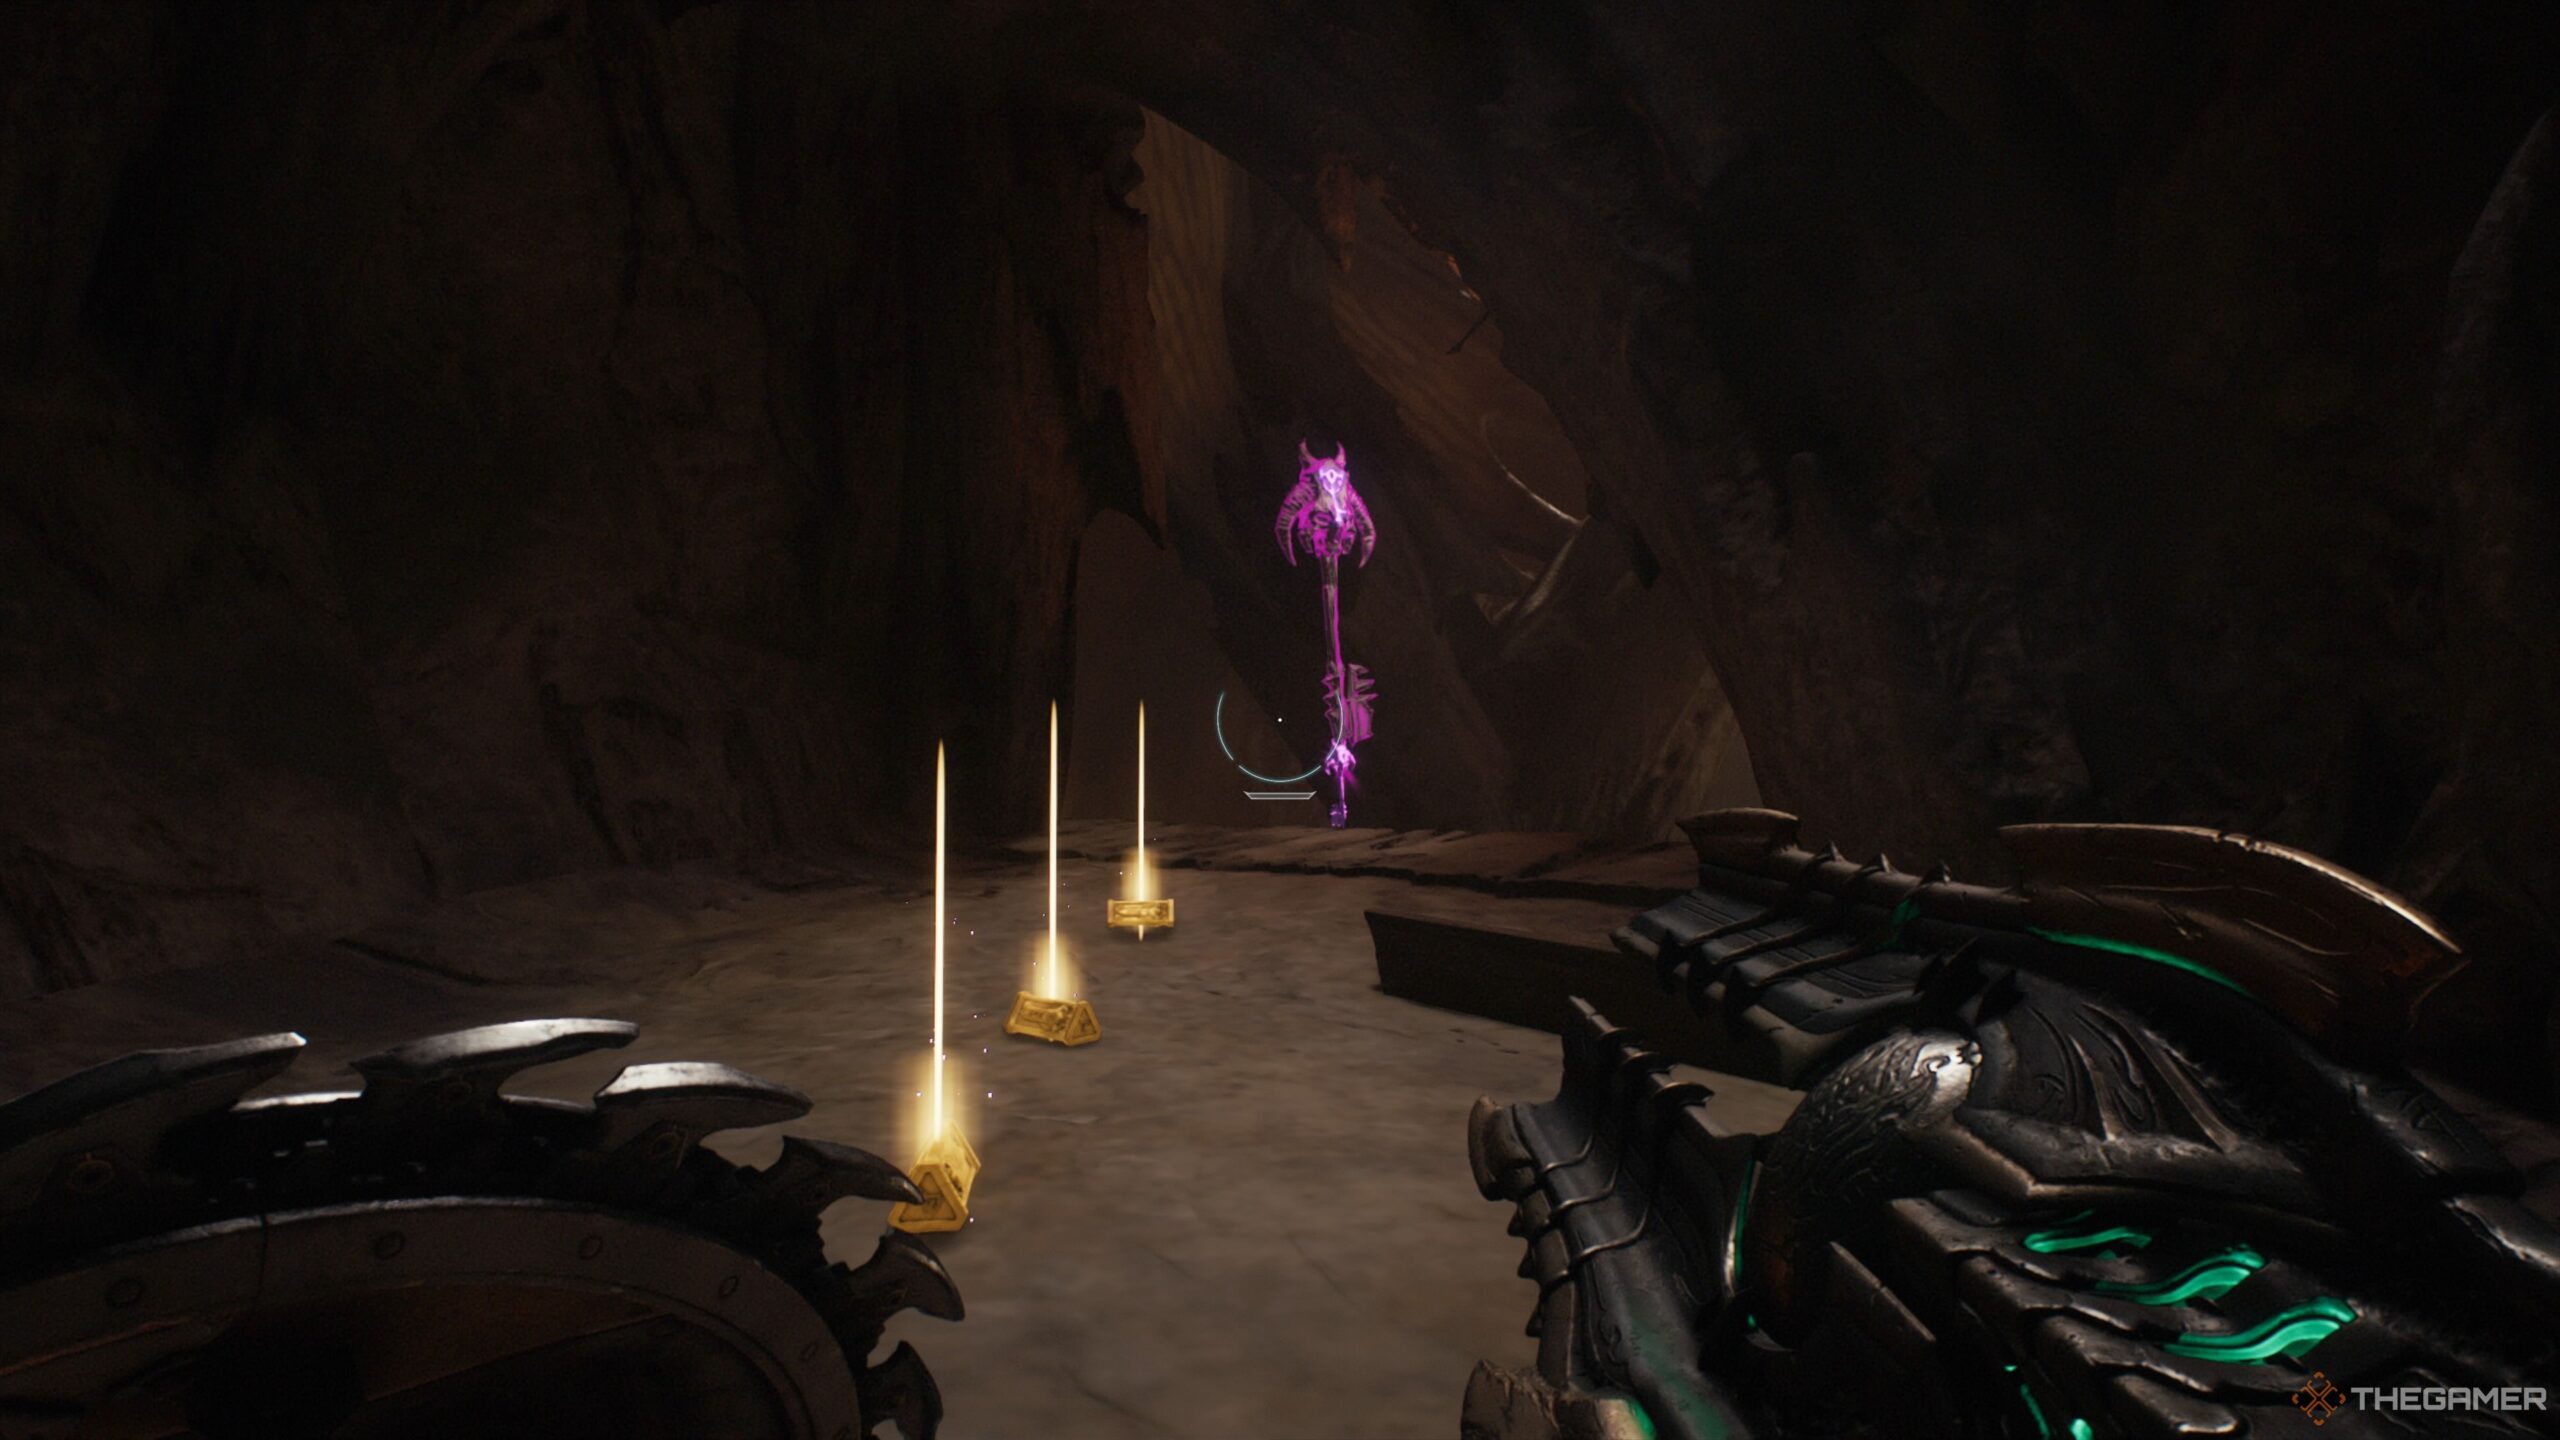
To locate the Secret Key, go straight from the starting point and turn right at the Sentinel Shrine, then make another right. You’ll find the key above you on the left after defeating a Pinky Rider and a Whiplash demon. Move up the ramp, and you’ll face more demons (details on them will follow). If you turn left after entering, you can charge through a blocked doorway and follow a trail of gold leading straight to the key.
Demonic Essence – Health
In the large arena outside the room where you found the Secret Key, you’ll face a multitude of demons, including Pinky Riders, Revenants, Mancubuses, Arachnotrons, Hell Knights, and Shield Soldiers. The last wave features a Demon Knight Champion. Once you defeat them, you’ll collect Demonic Essence. After clearing the area, pull the lever indicated on your mission marker.
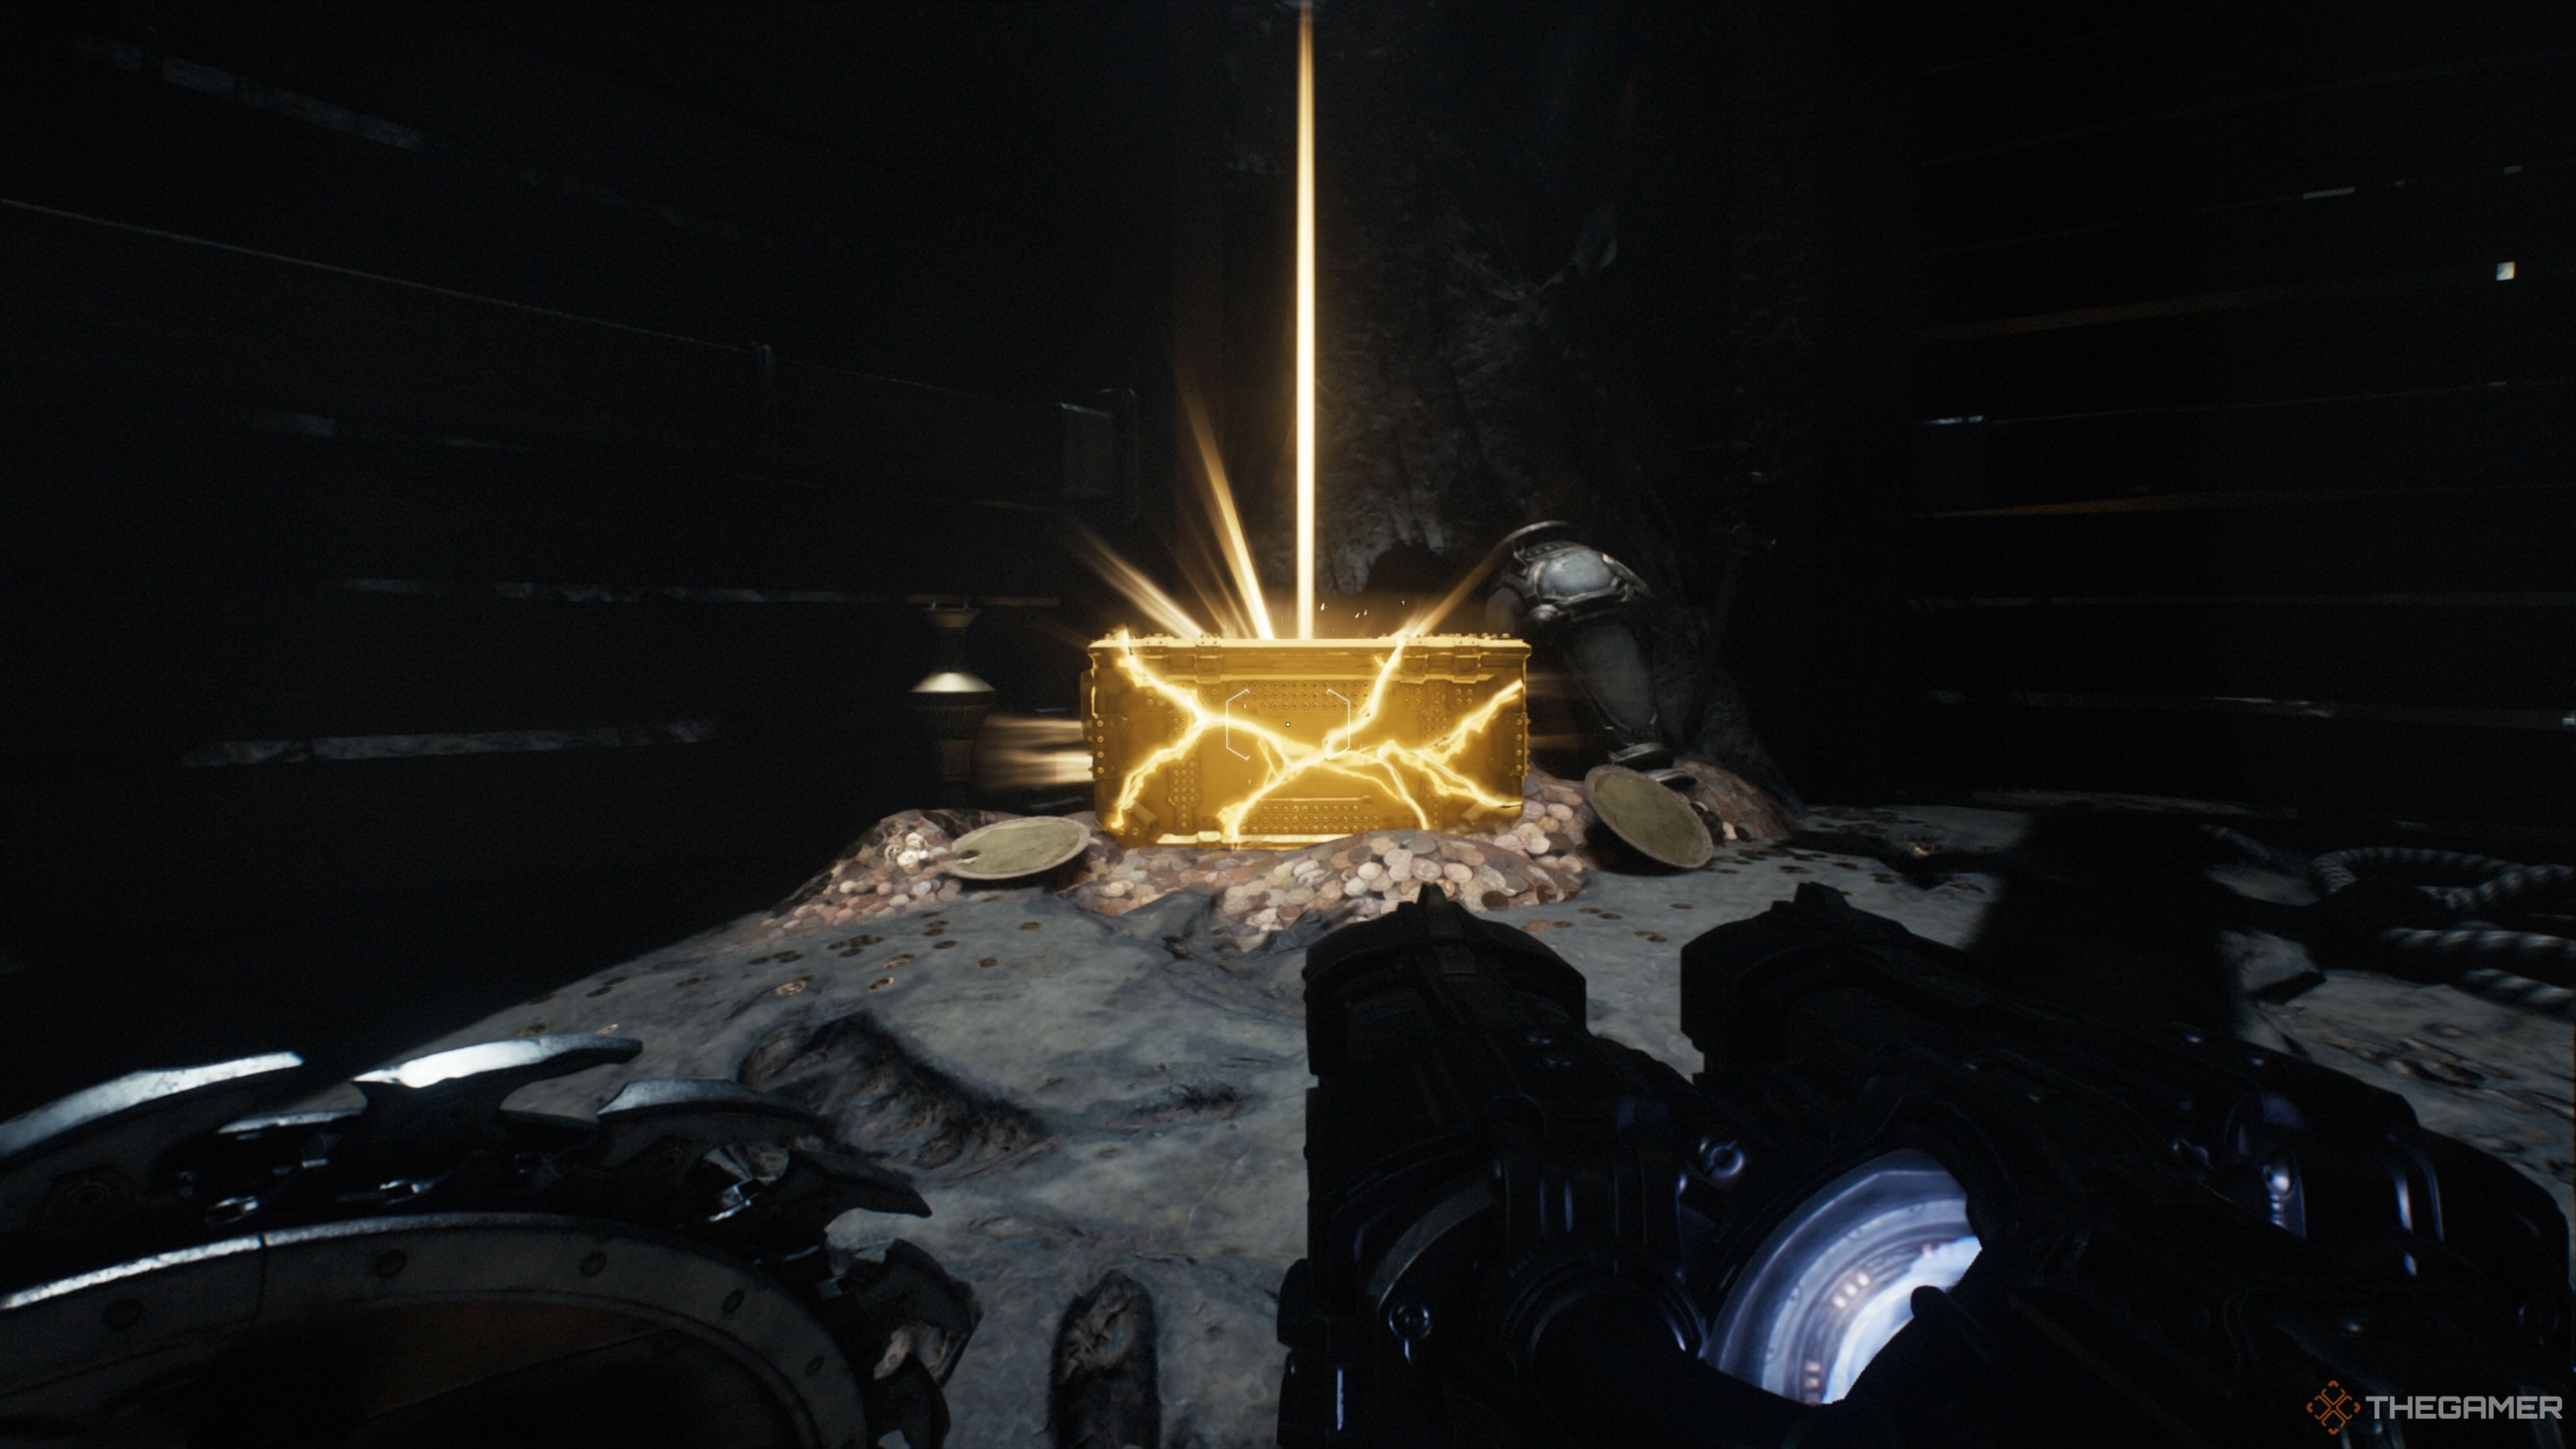
The First Treasure Chest
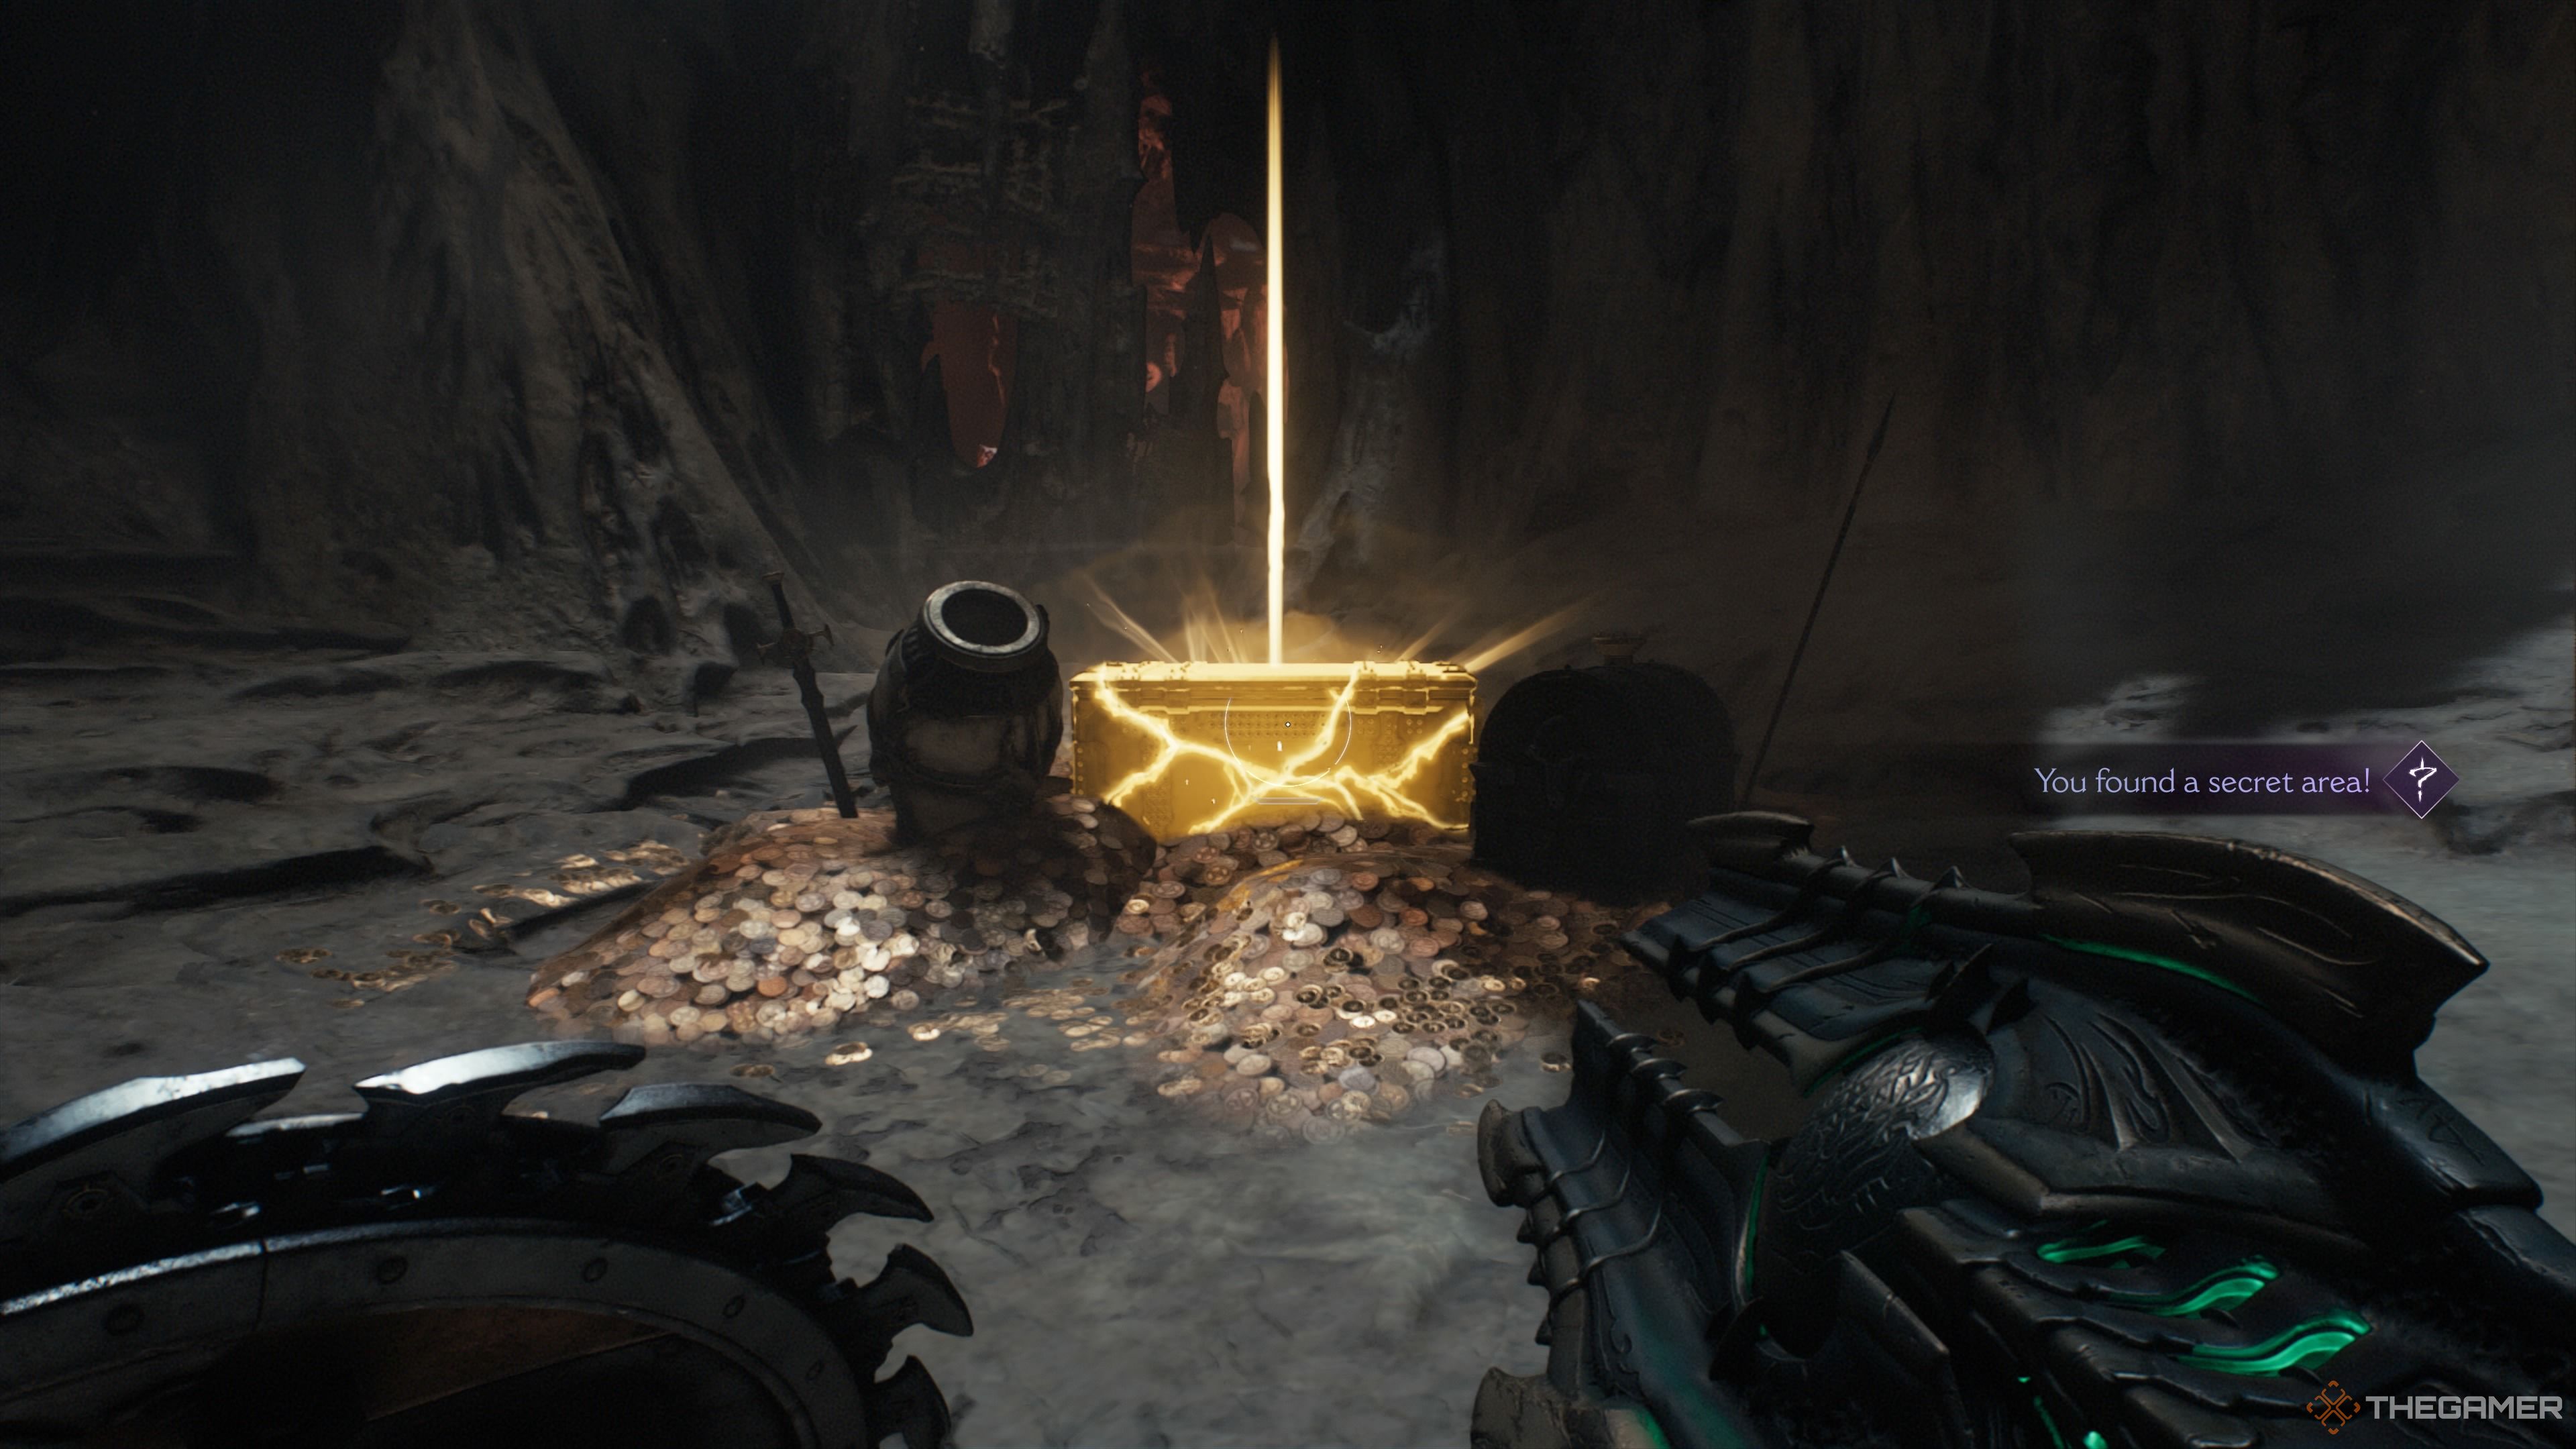
Head back to the room with the key and look across the arena for an earthen ramp leading into an alley. Jump down and proceed straight. By following that alley, you’ll pass through a gate and discover a treasure chest.
If you go in the direction opposite the treasure chest, you’ll reach the area containing the Wraithstone. However, you’ll need to destroy a few wolf statues before accessing it, so we’ll circle back to the Wraithstone later.
The First Life Sigil
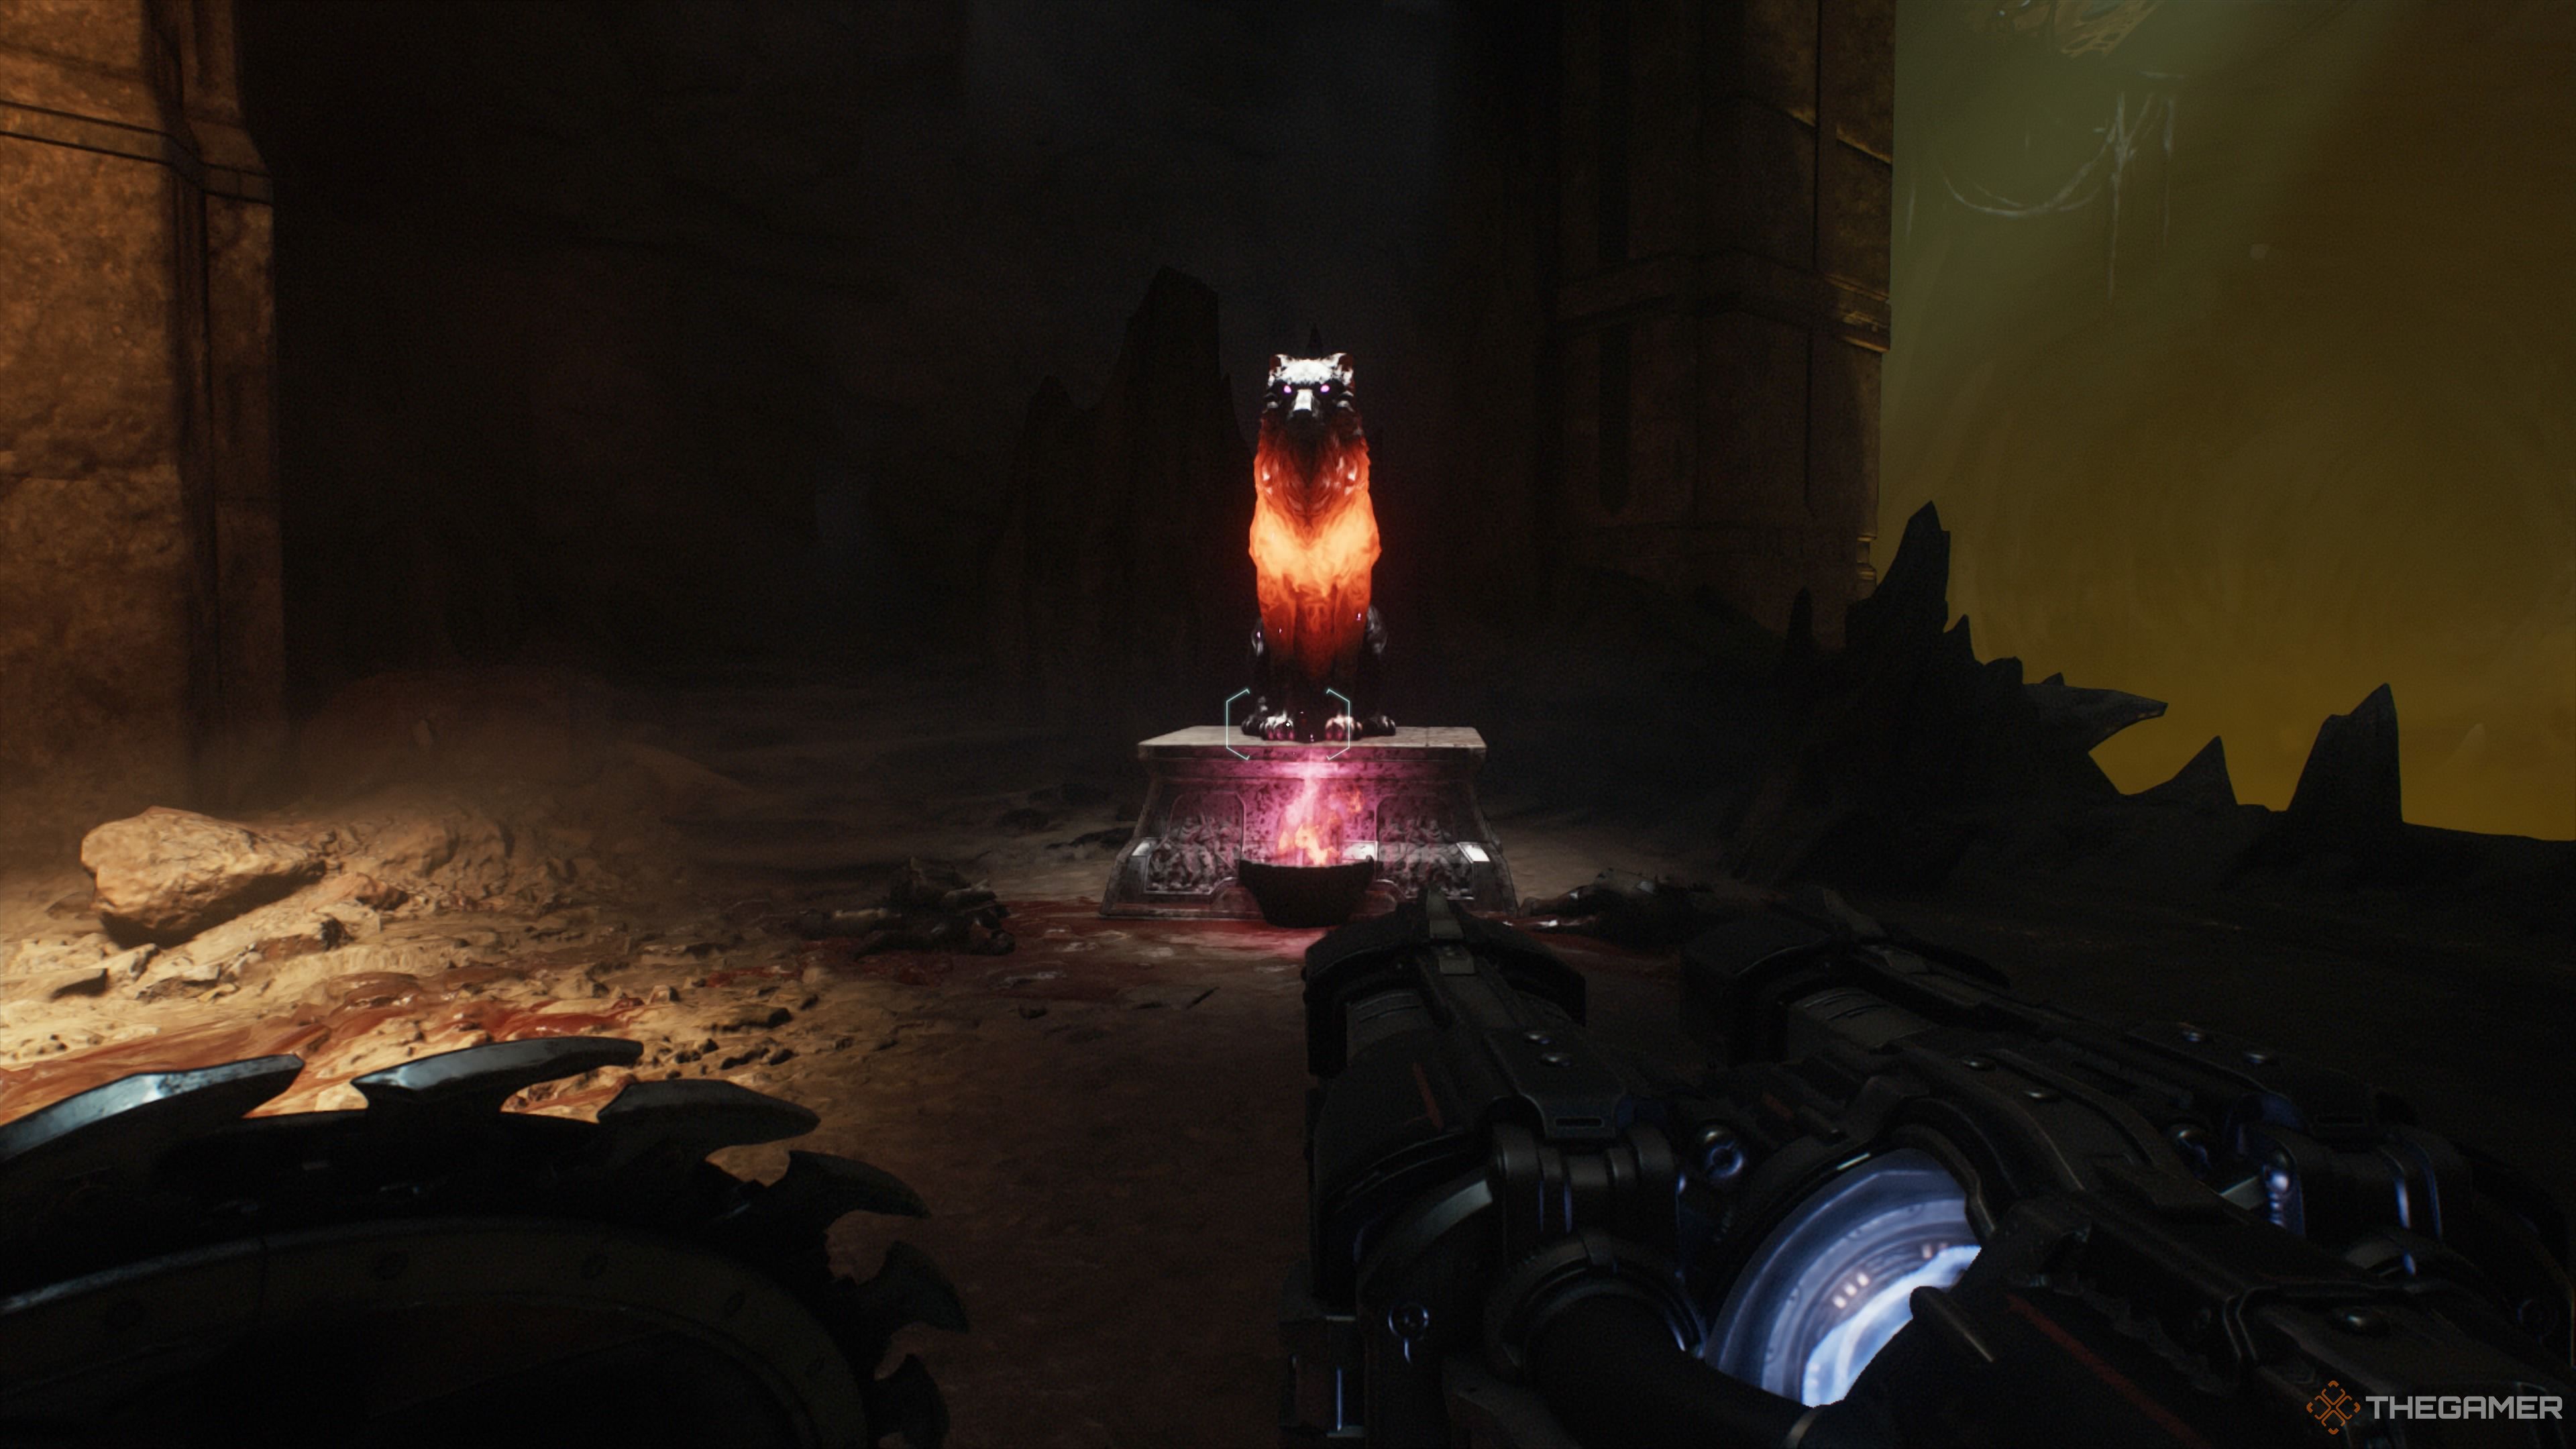
Return to the Sentinel Shrine near the entrance, head back toward the entrance, and take your first left. Use your new key to open the gate, then destroy the wolf statue inside. Head back toward the Sentinel Shrine, but this time take a left. Stick close to the wall on your left as you’ll be following the perimeter.
Eliminate the Lost Souls you encounter. To your right, you’ll notice a green corpse. Throw your shield at it, then make a shield jump up to the next level. Jump across, pull the lever, and you’ll drop down the Life Sigil. Go collect it!
The Second Treasure Chest
Follow the pathway to the right, and as you round the corner, look right and you’ll find a spot to jump down. Take this route, collect the gold, and at the end of the tunnel, you’ll discover the second treasure chest. After grabbing it, head back to where you jumped down and keep following the left wall.
The Second Wolf Statue
In this next area, you’ll face another group of demons, including a Mancubus and Whiplash. Eliminating them will give you access to the wolf statue that was previously protected by a force field. Destroy it and pull the switch to open the heart of the forge.
The First Ruby and the Vagary Demon Toy
Head north to engage another wave of Revenants, Pinky Riders, Hell Knights, and Shield Soldiers. Once the area is clear, pull the final lever. But don’t rush out yet. To the right of the lever is a cliff from which you’ll see a bridge ahead. Perform a running jump to cross the gap.
Once you make it across, face the locked door and look to your left. You’ll see a pile of gold on a balcony adjoining the bridge. After collecting it, return to the door and enter. Jump across the gap to the climbable wall, and around the corner, you’ll find an Arachnotron. After defeating it, climb up, eliminate a couple of Shield Soldiers, and then ascend the ramp to retrieve the Ruby and the Vagary Demon Toy.
After collecting your rewards, drop down and navigate toward the left side of the map (follow the gold trail) heading to the Northeast corner. During your journey, you’re likely to encounter an Agadonn Hunter.
The Wraithstone: Finding the Three Wolves
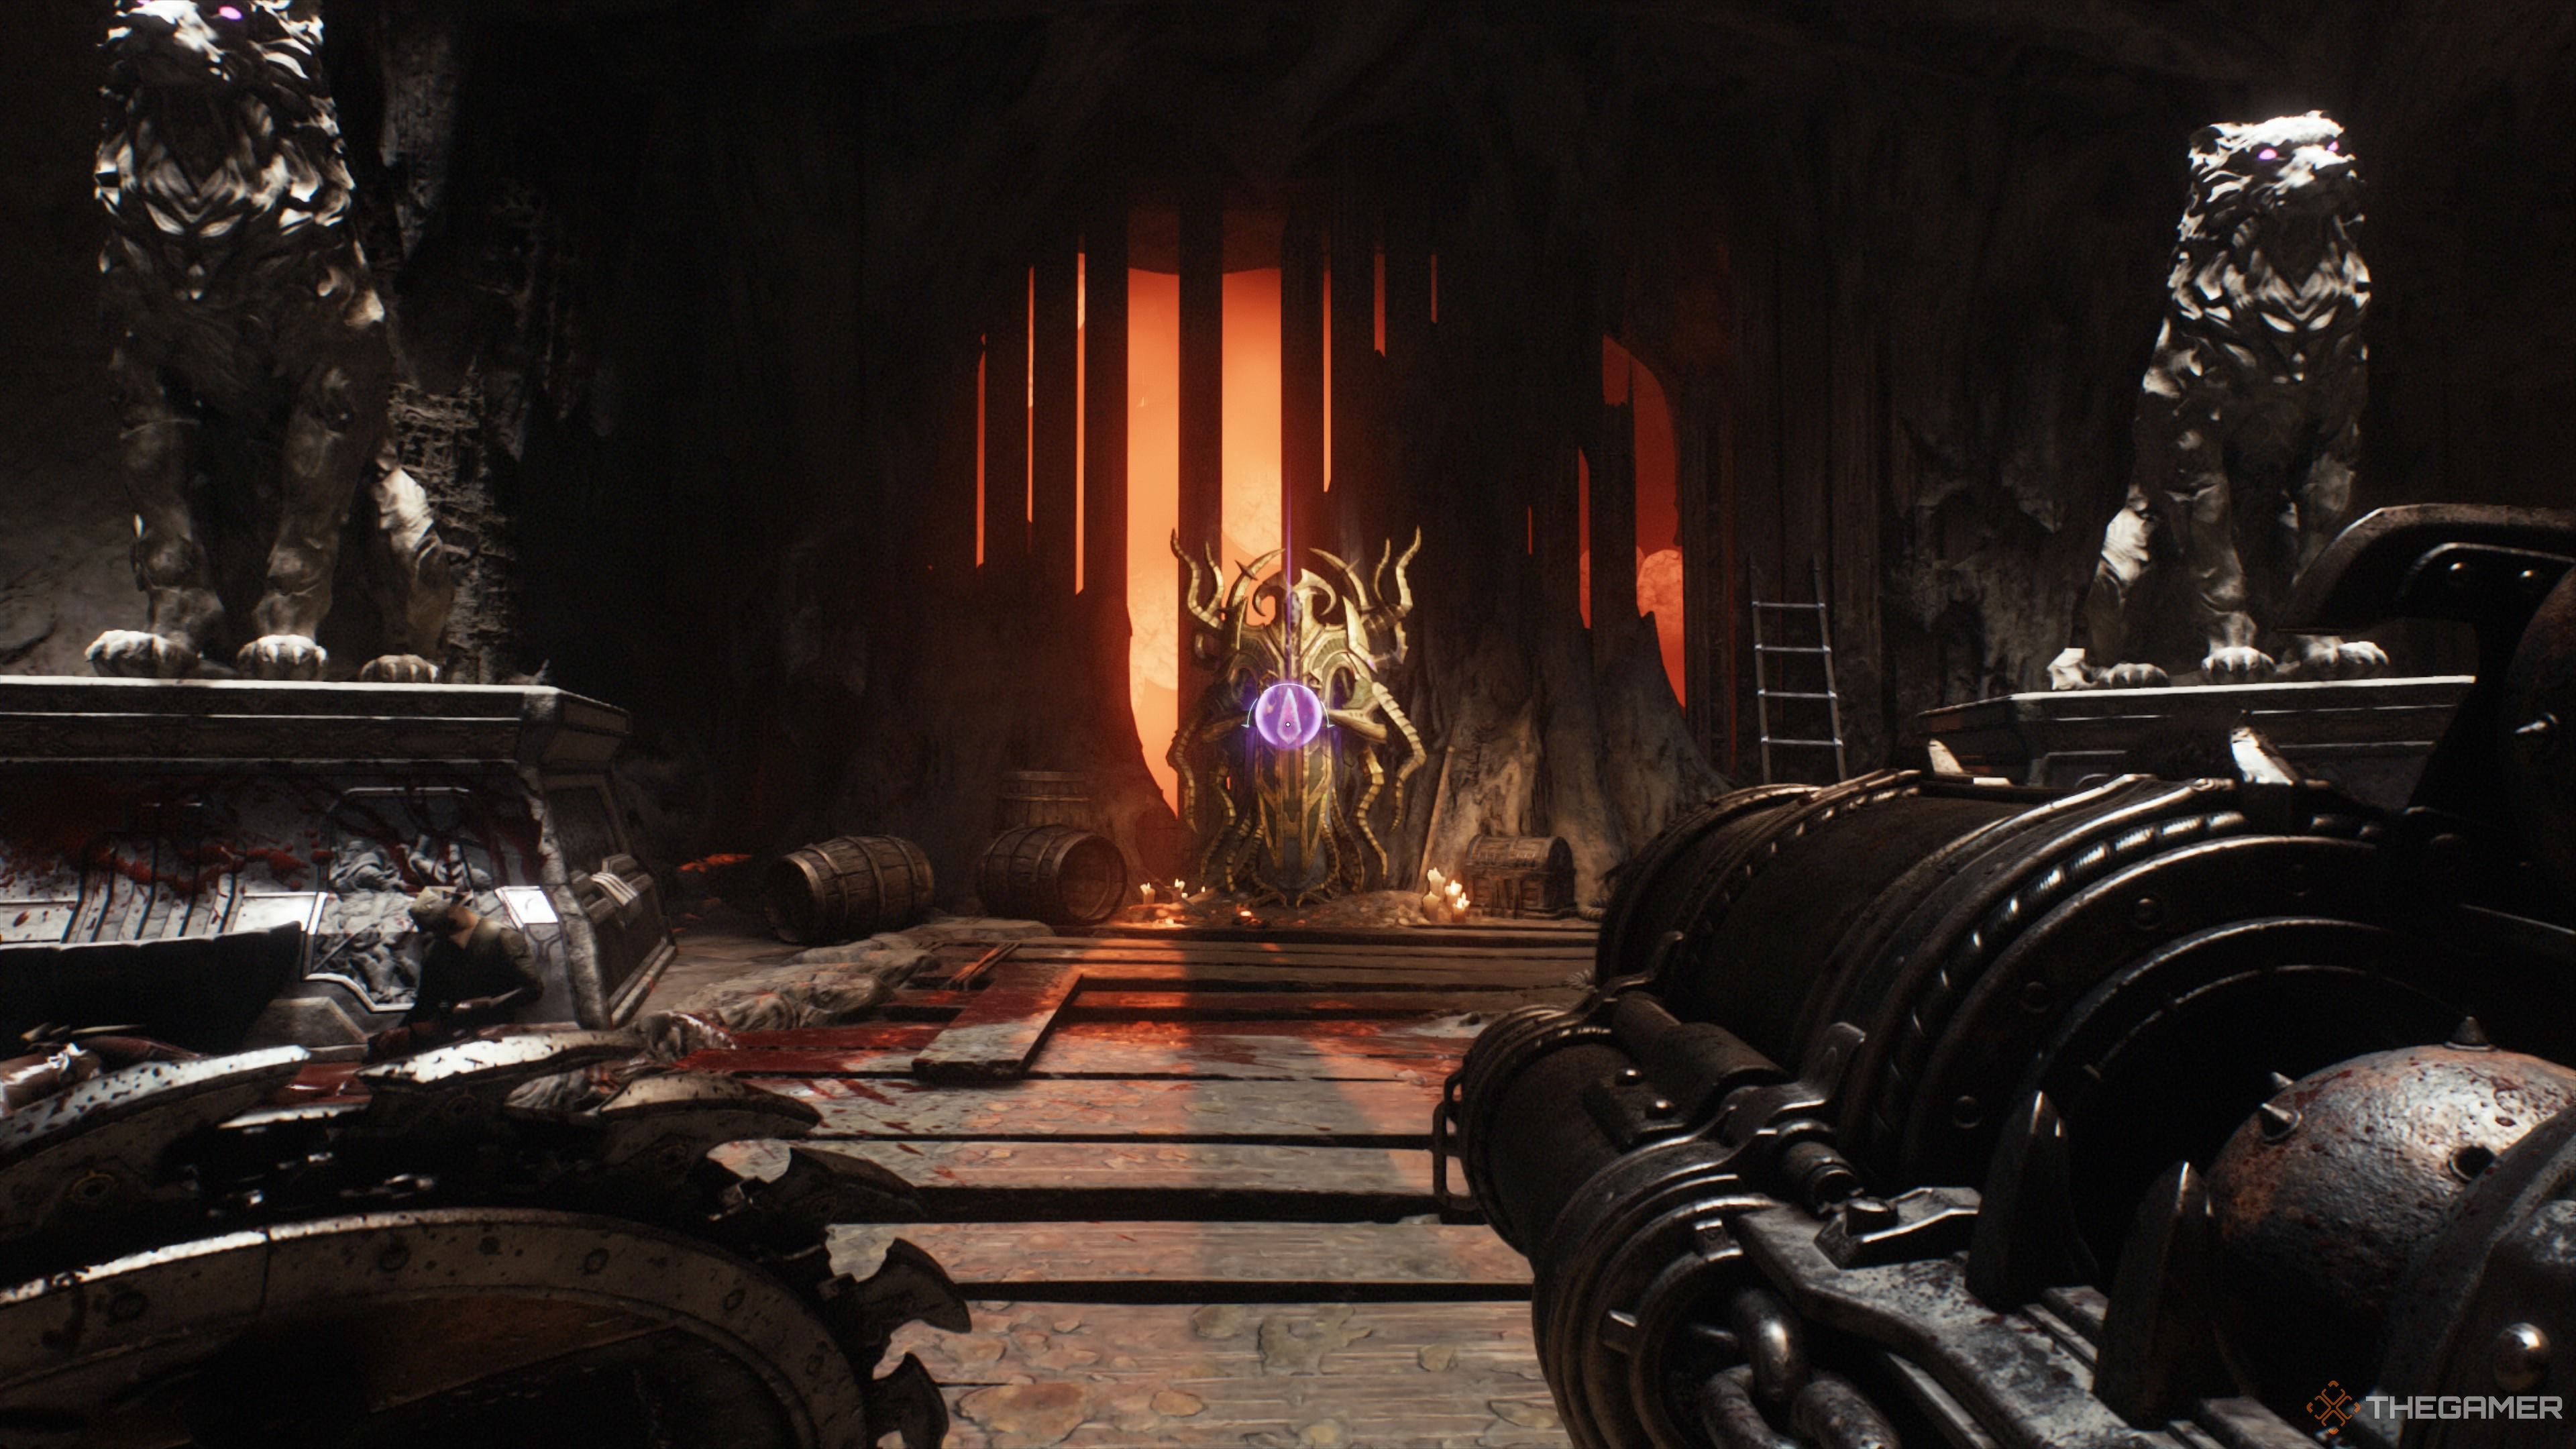
Once you’ve eliminated the Agadonn Hunter and made your way to the Northeast corner, you’ll find yourself back near the beginning of the level where you first found the Secret Key. You’ll see the Wraithstone, which is shielded by a forcefield. Just like in Siege Part 1, you’ll need to destroy the three wolf statues.
If you’ve been following this guide, you should have already destroyed two. The third statue is located above the Wraithstone and to the right. For completeness, here’s a quick rundown of their locations:
- From the stage entrance, this statue is in the first room on your right, accessible only with the secret key.
- The second statue is positioned on the left side of the stage, encountered along the perimeter, northwest of the southwest heart lever.
- The last statue is in the same area as the Wraithstone. Look toward the wolf statue in the water, then up, and it should be visible.
Once all the wolf statues are destroyed, collect the Wraithstone, then head to the northernmost part of the map (where you battled the hunter). Ascend the stairs to find a small room with a Whiplash and a Mancubus inside.
The Second Ruby
This room will be filled with a Revenant and several Shield Soldiers. Once you’ve cleared them, proceed to the end of the room, smash through the door, and you’ll find yourself in a small space with a hole in the wall. Throw your shield through it to sever the chain, which will open the gate, revealing a ruby.
The Final Treasure Chest
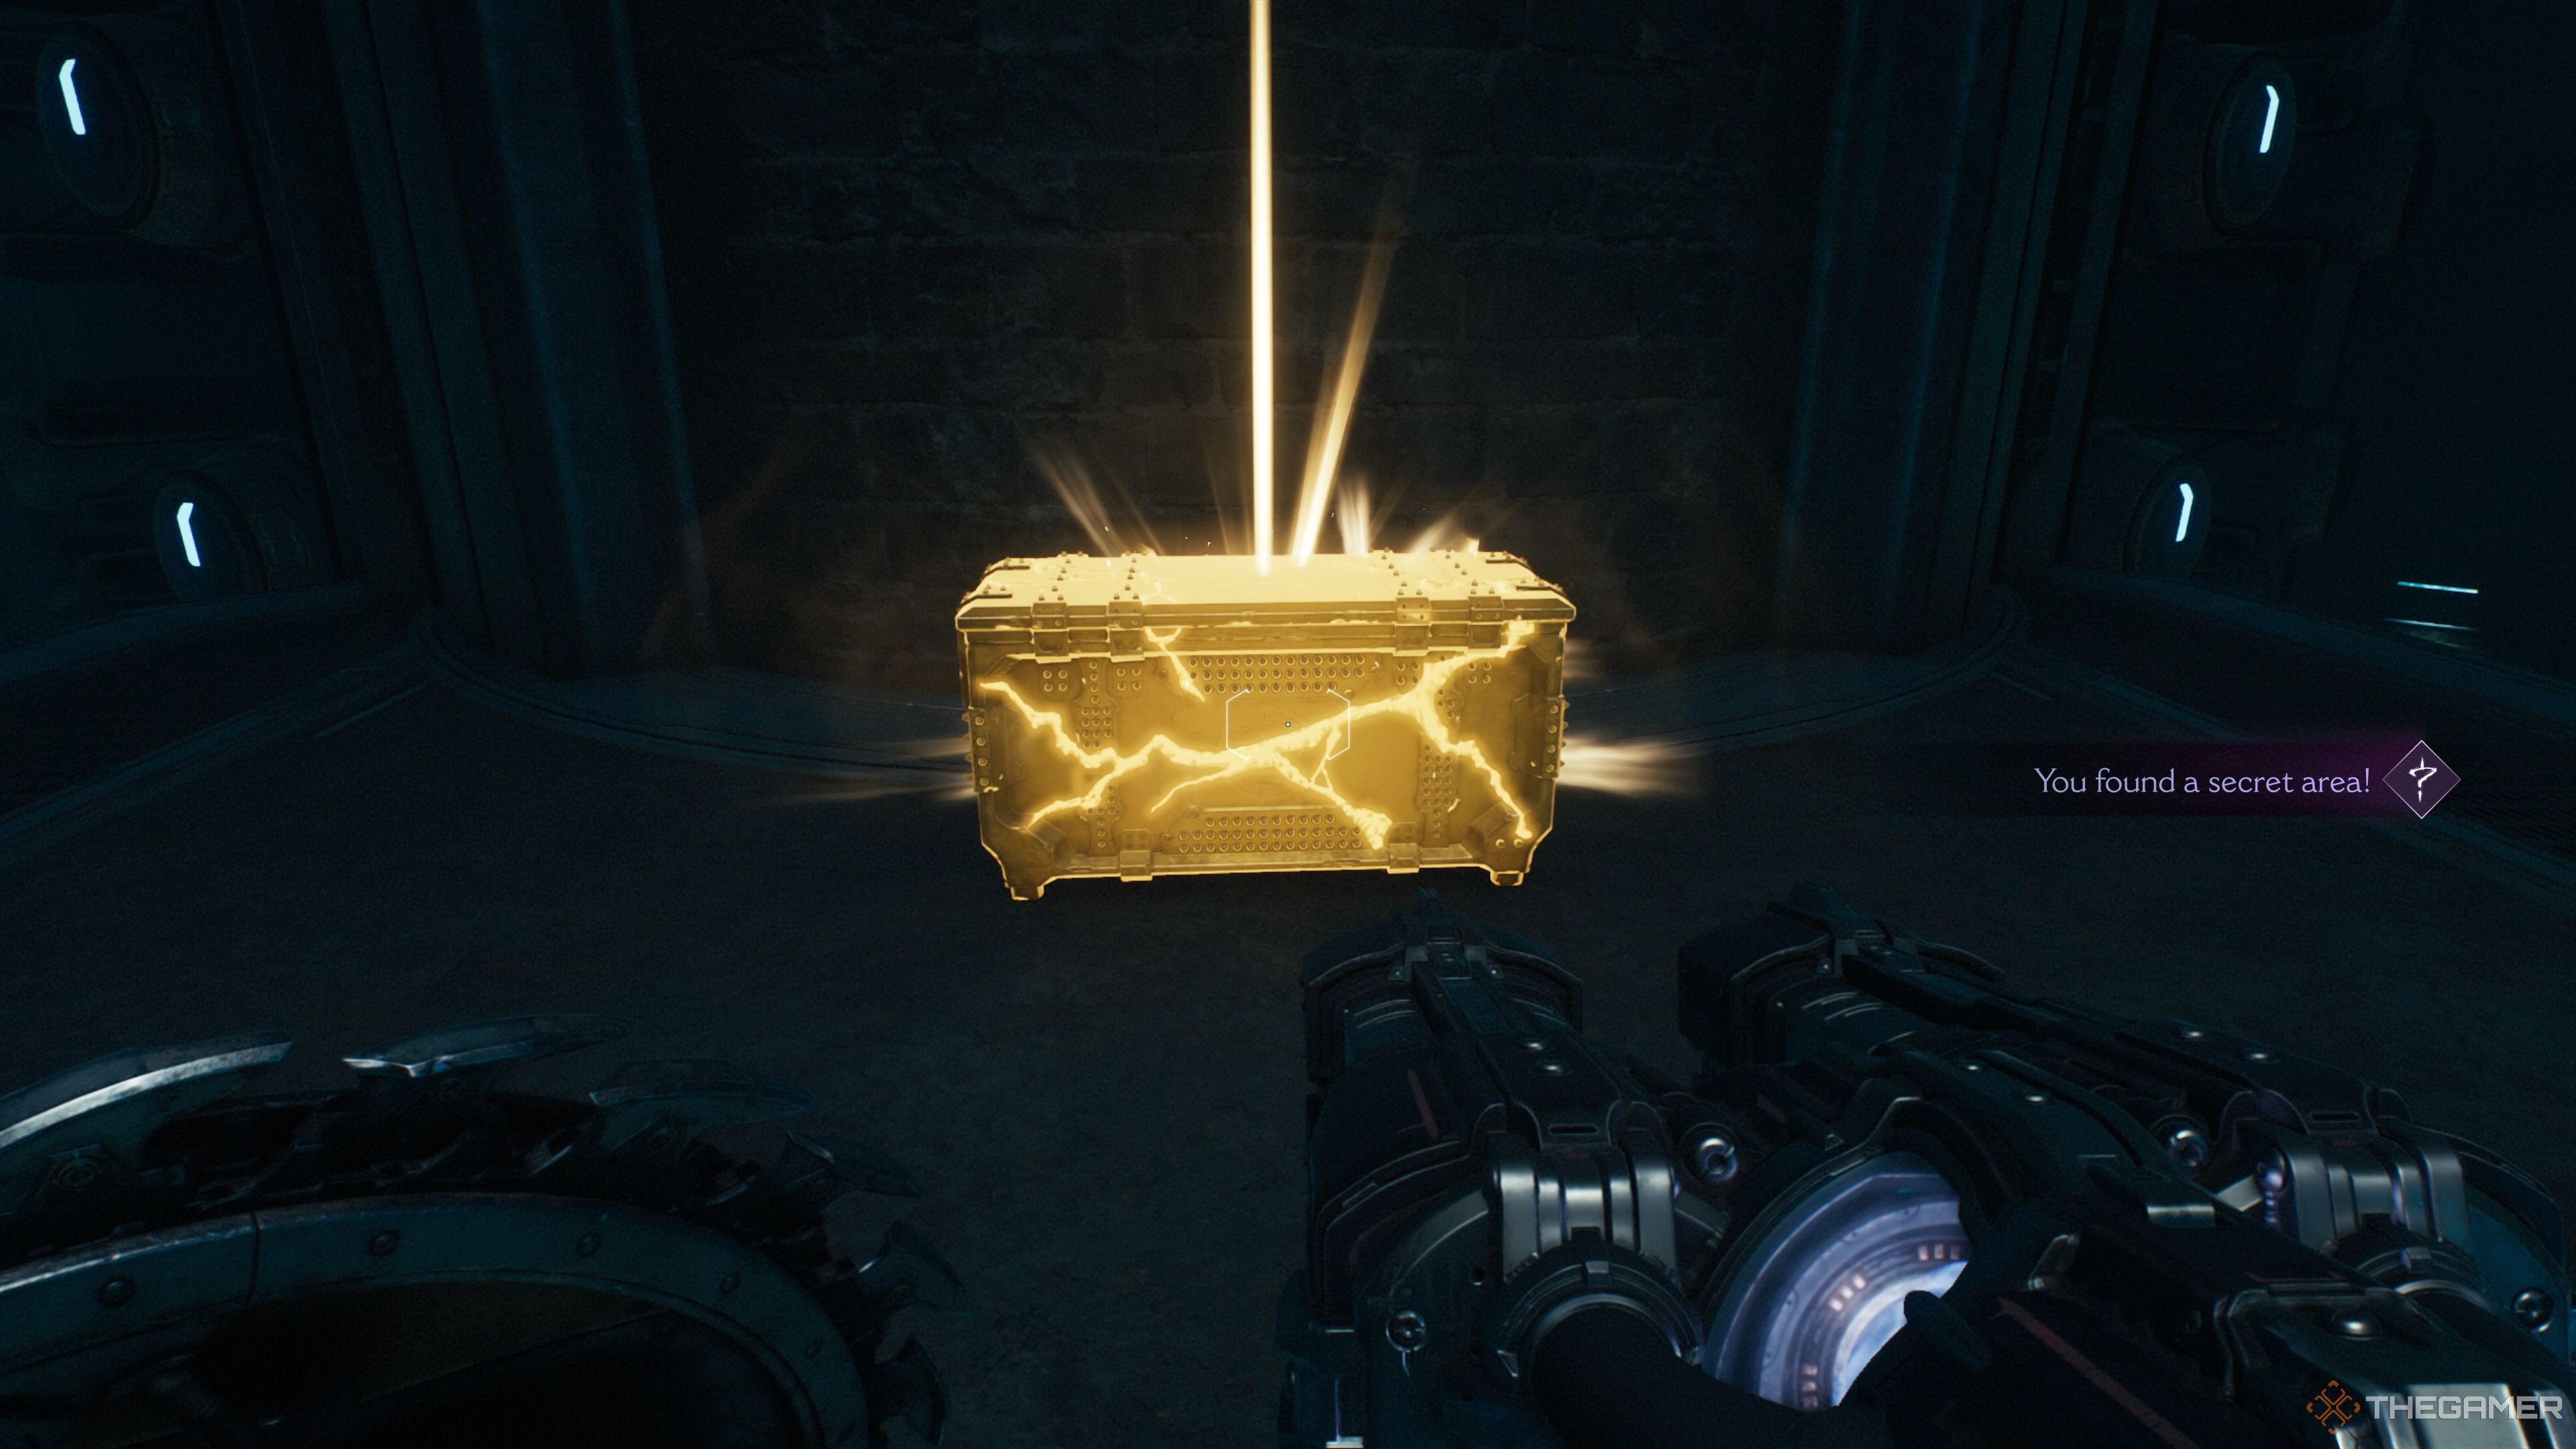
Once you reach the brightly colored room, move to the end of the long platform. Drop down and you’ll be facing blue gears. Throw your shield into the gears to raise the platform you’re on, then jump to the platform on your left, and perform a running jump to reach the platform with the chest on the far side of the room.
The Gold in the Secret Passageway
You’ll pass a locked gate with a heated chain inside. After turning the corner, climb the wall and get ready for an ambush by a Nightmare Imp Stalker. Once you defeat the stalker, check to your left, and over the edge. You’ll find a balcony below. Drop down onto it for access to a passageway filled with gold.
You’ll see a Life Sigil on a platform in front of you that will fly away. No need to pursue it; it will be waiting for you in the next section.
The Nightmare Skin for the Shotgun and the Second Codex
When you reach the second platform with a glowing gear, look to the left and up: there’s a chain that needs severing. Throw your shield at it. Then, throw your shield into the gears. Once the platform rises, ignore the Shield Soldiers and Mancubus for now. Instead, jump to the platform you just lowered. From there, place the shield in the green corpses to enable a shield jump across. Up there, you’ll discover both the Nightmare Skin for the shotgun and the second Codex.
How to Unlock the Shield Rune
At last, you’ll learn what those “runes” are. You will receive the Ground Fissure Shield Rune during the story, and it’s impossible to miss. You’ll also get the chance to use it immediately since you’re about to enter a large battle.
Demonic Essence – Ammo

The final battle will be packed with a diverse array of enemies. In fact, the only demons absent from this encounter are the Vagary Demon, Cyberdemon, and the Agadonn Hunter. Otherwise, you’ll face everything else and have plenty of space to maneuver. Aim to eliminate enemies with your Rocket Launcher and create a safe zone for combat.
After defeating enough foes, you’ll face a Mancubus Champion. Defeating them will reward you with Demonic Essence, permanently increasing your ammo capacity.