Select Language:
Having arrived in the Forlorn Swords region in **Tainted Grail: The Fall of Avalon**, you’ve not only come to the final resting place of King Arthur’s crown, but also the territory of the Dál Riata tribes. Like those in the Horns of the South and Cuanacht, they too are grappling with their own challenges.
The **Úlfr Tribe** finds themselves in a tough spot. Their chieftain has harnessed the Giant’s power against their wishes, leaving them without a say. Until they handle Thrygve, the Úlfr won’t be partaking in the Moot anytime soon.
How to Assist the Úlfr Tribe

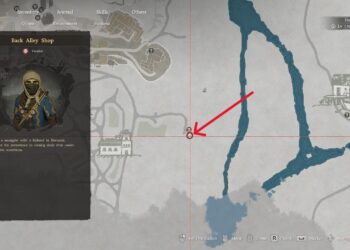
The **Úlfr Tribe**’s main quest is **Rise the Mountain, Face the Storm**. They’re situated on the **southwest side** of the Forlorn Swords, just **west of the Capital, where Gerf’hanr is**. Upon approaching, you’ll need to **speak with the guard.**
After your conversation, go inside and talk to Egill. Then head **up the stairs** to the main area of the Úlfr Village, and visit the **Forge of the Úlfr Tribe**, accessible through a large **doorway** in the wall below the stairs and scaffolding leading higher up.
Speak with **Stron’ner at the forge** near the entrance; he’ll guide you to Darv’hanr, who is located in the **Hall of the Stonewardens** at the **top of the staircase**.
If you’ve **completed** the side quest **A Pebble in the Pit** and started **Call of the Wintermoon**, speak with Darv’hanr once you possess the Stone Talisman.
Next, return to Stron’ner and ask about his wife. Then, head back outside to the lift that originally brought you to the village. This time, **follow the path around** to the **western edge of the Forlorn Swords**.
Enter the **house by the cliff**, unlock the **door to the basement**, and **talk to Vigdis**. From here, you will need to **locate each of the Giants’ resting places** and present them with an offering.
The Gunnvaldr Giant’s Blessing
The Gunnvaldr Giant can be found in the **ruined Gunnvaldr Village**, near the **center of the Forlorn Swords**, with the **shrine close to the entrance** where Vati and the fast travel point are located.
Make sure to **clear out the Undead and Brimshades around the village**, as the mist from the Brimshades can obstruct your view, and they may disrupt the upcoming trial.
Approach the shrine and **choose one animal component** for sacrifice. You can use any type of animal part, but creatures like Redcaps or Marrowghasts won’t qualify. Possible items to offer include:
- Croakmaw Skin
- Croakmaw Horns
- Deer Pelt
- Antler Fragments
- Bear Pelt
- Wolf Fangs
- Wolf Pelt
While it’s suggested, you don’t have to summon allies like the Battlemage or Corpse Eater to complete the trial, though it can be entertaining to do so within the narrative.
After the sacrifice, the **Giant of Summoning** will reach out to you and set up a trial. You’ll face off against two icy **Croakmaws**, which are tougher than the regular versions and can inflict the Frozen status. After defeating them, you’ll successfully complete the trial and earn the Gunnvaldr Giant’s Blessing.
The Forgotten Giant’s Blessing
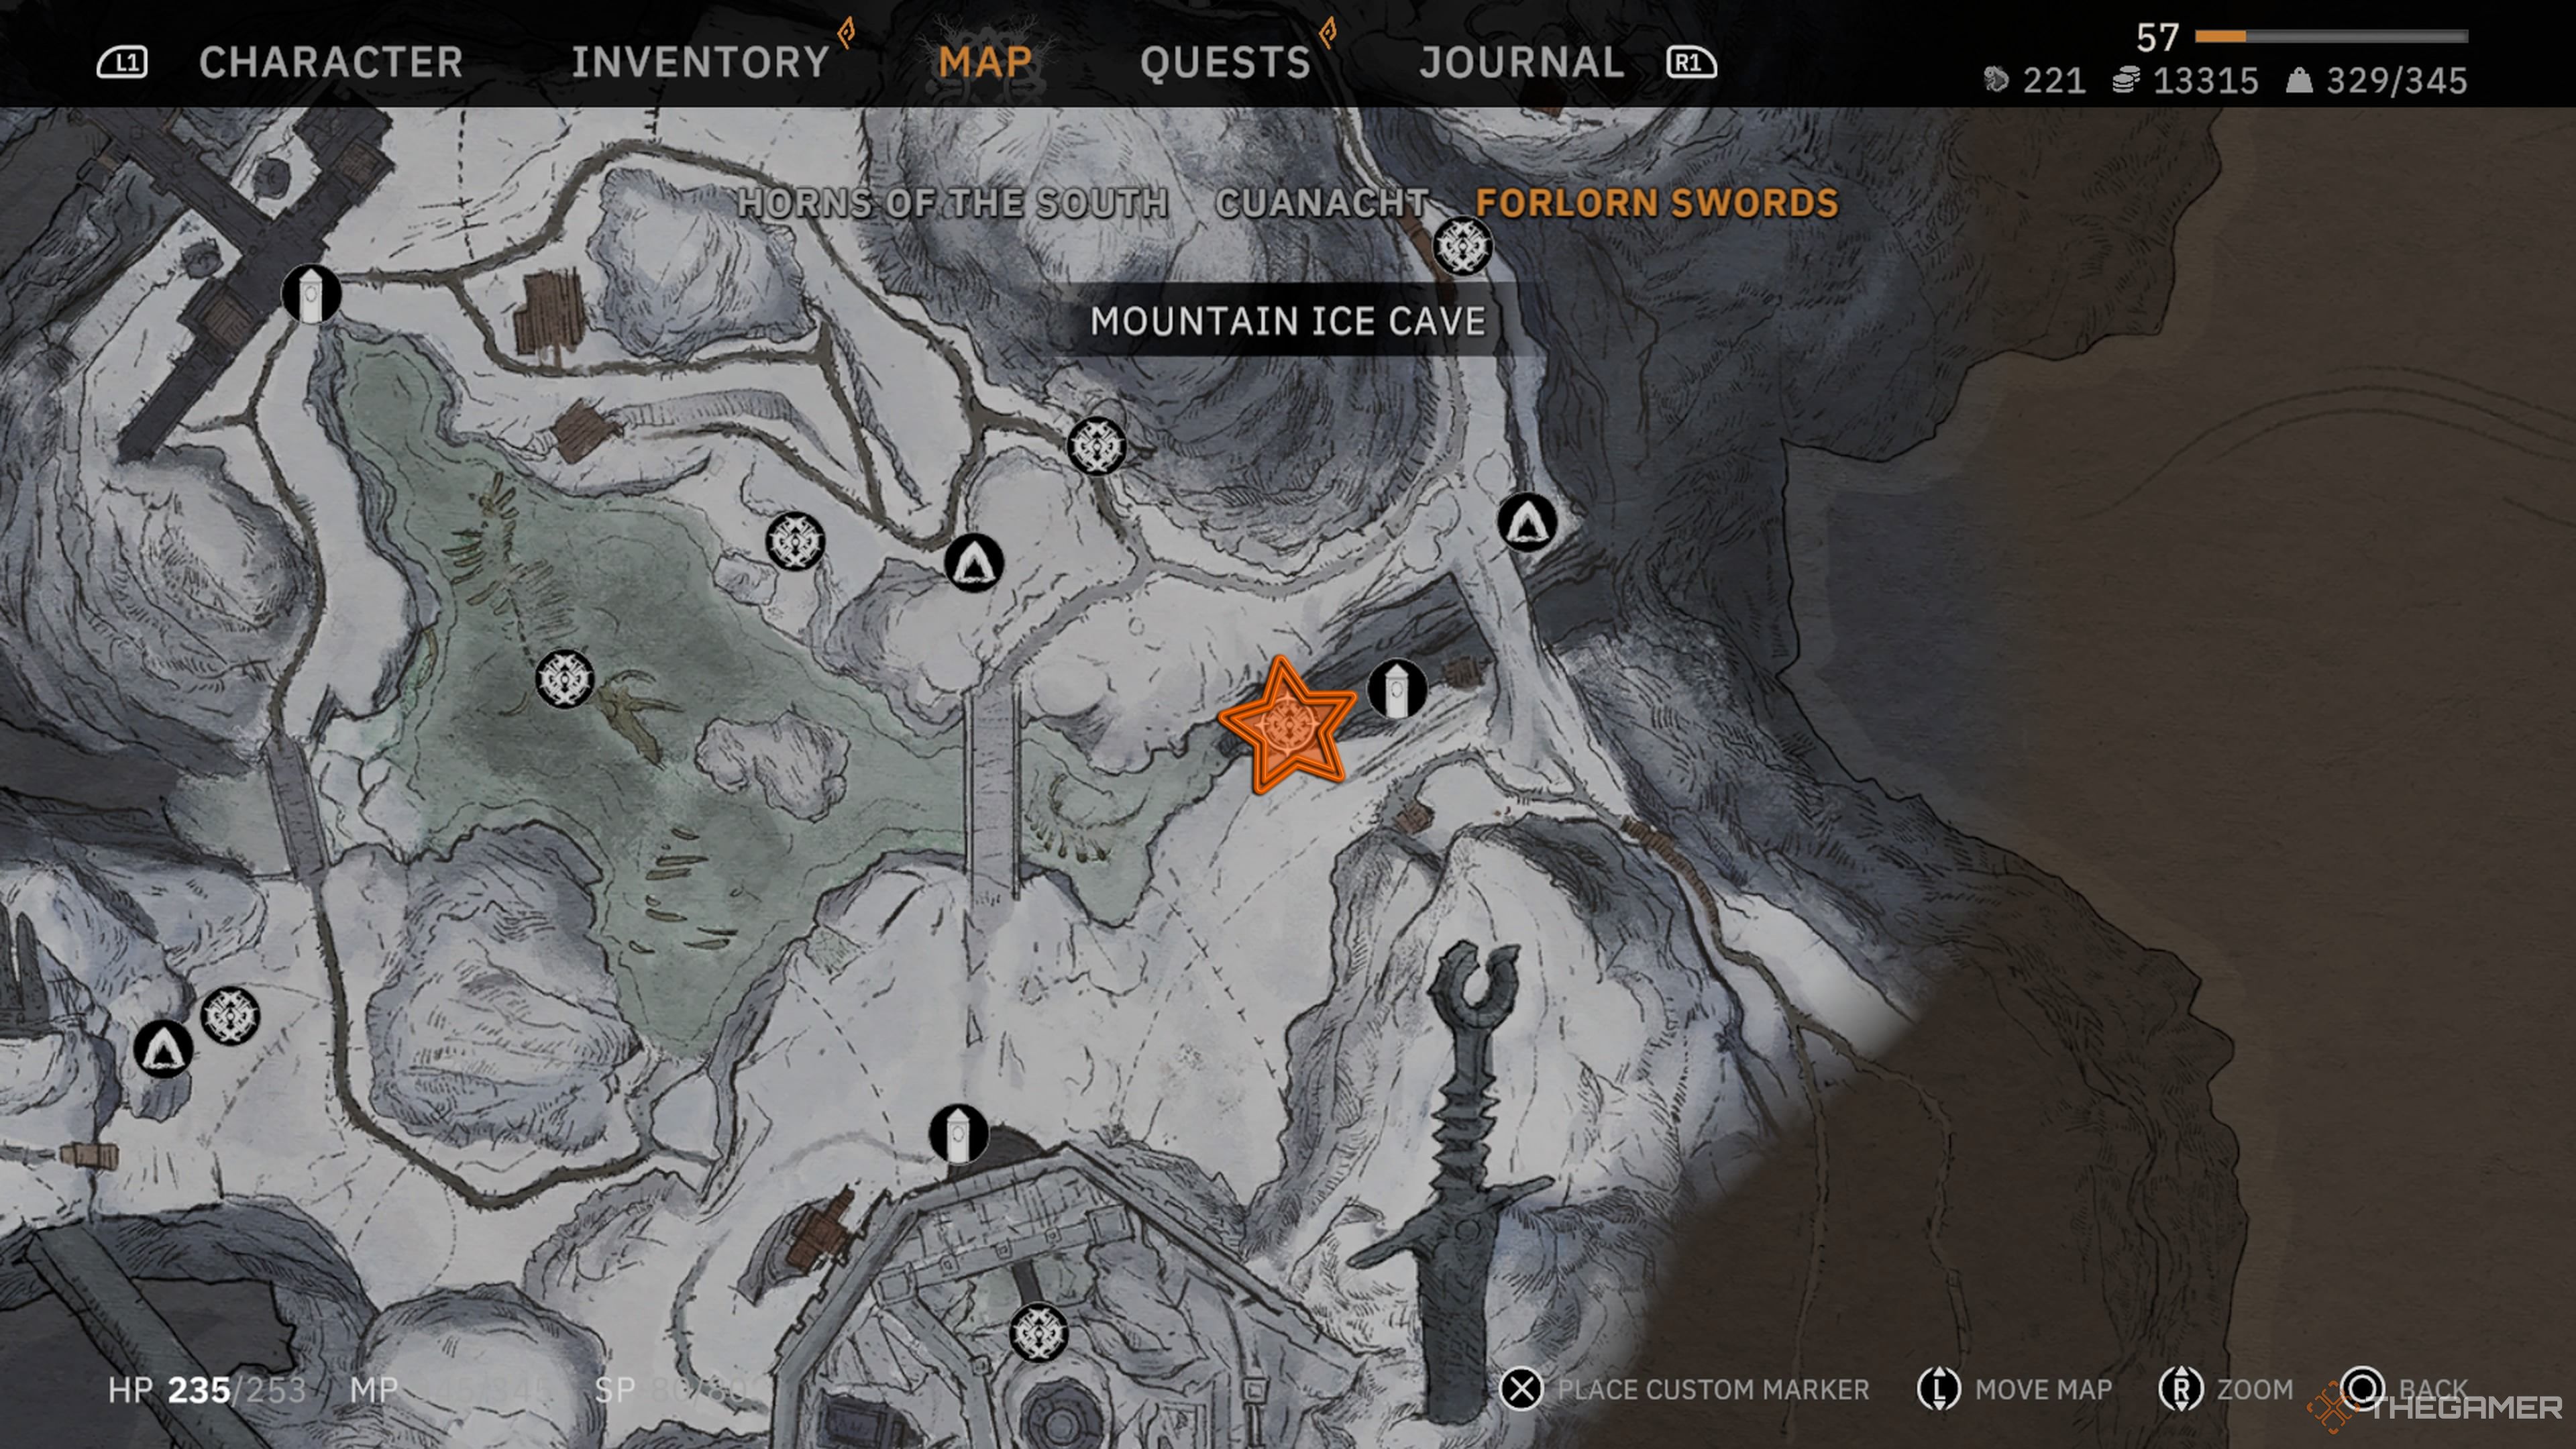
The Forgotten Giant resides at the **bottom of a canyon northeast of the Capital**. Start at the Capital and head east, following the cliff wall until you find a **cave called the Mine Pass**.
Venture inside and take the lift down to the bottom level. Exit into the gorge, and **follow the left path** past a fast travel point into the **Mountain Ice Cave**.
If you **take the small pathway next to the Mine Pass exit**, you can unearth a chest containing a two-handed greatsword called **The Unstoppable**, which has high damage and replenishes 50 stamina upon defeating an enemy.
Follow the **path down to the main chamber**, where you will find another Giant with a shrine before them. Similar to before, you’ll need to **sacrifice an animal component** from a common or monster source, such as a Deer Pelt or Croakmaw Skin.
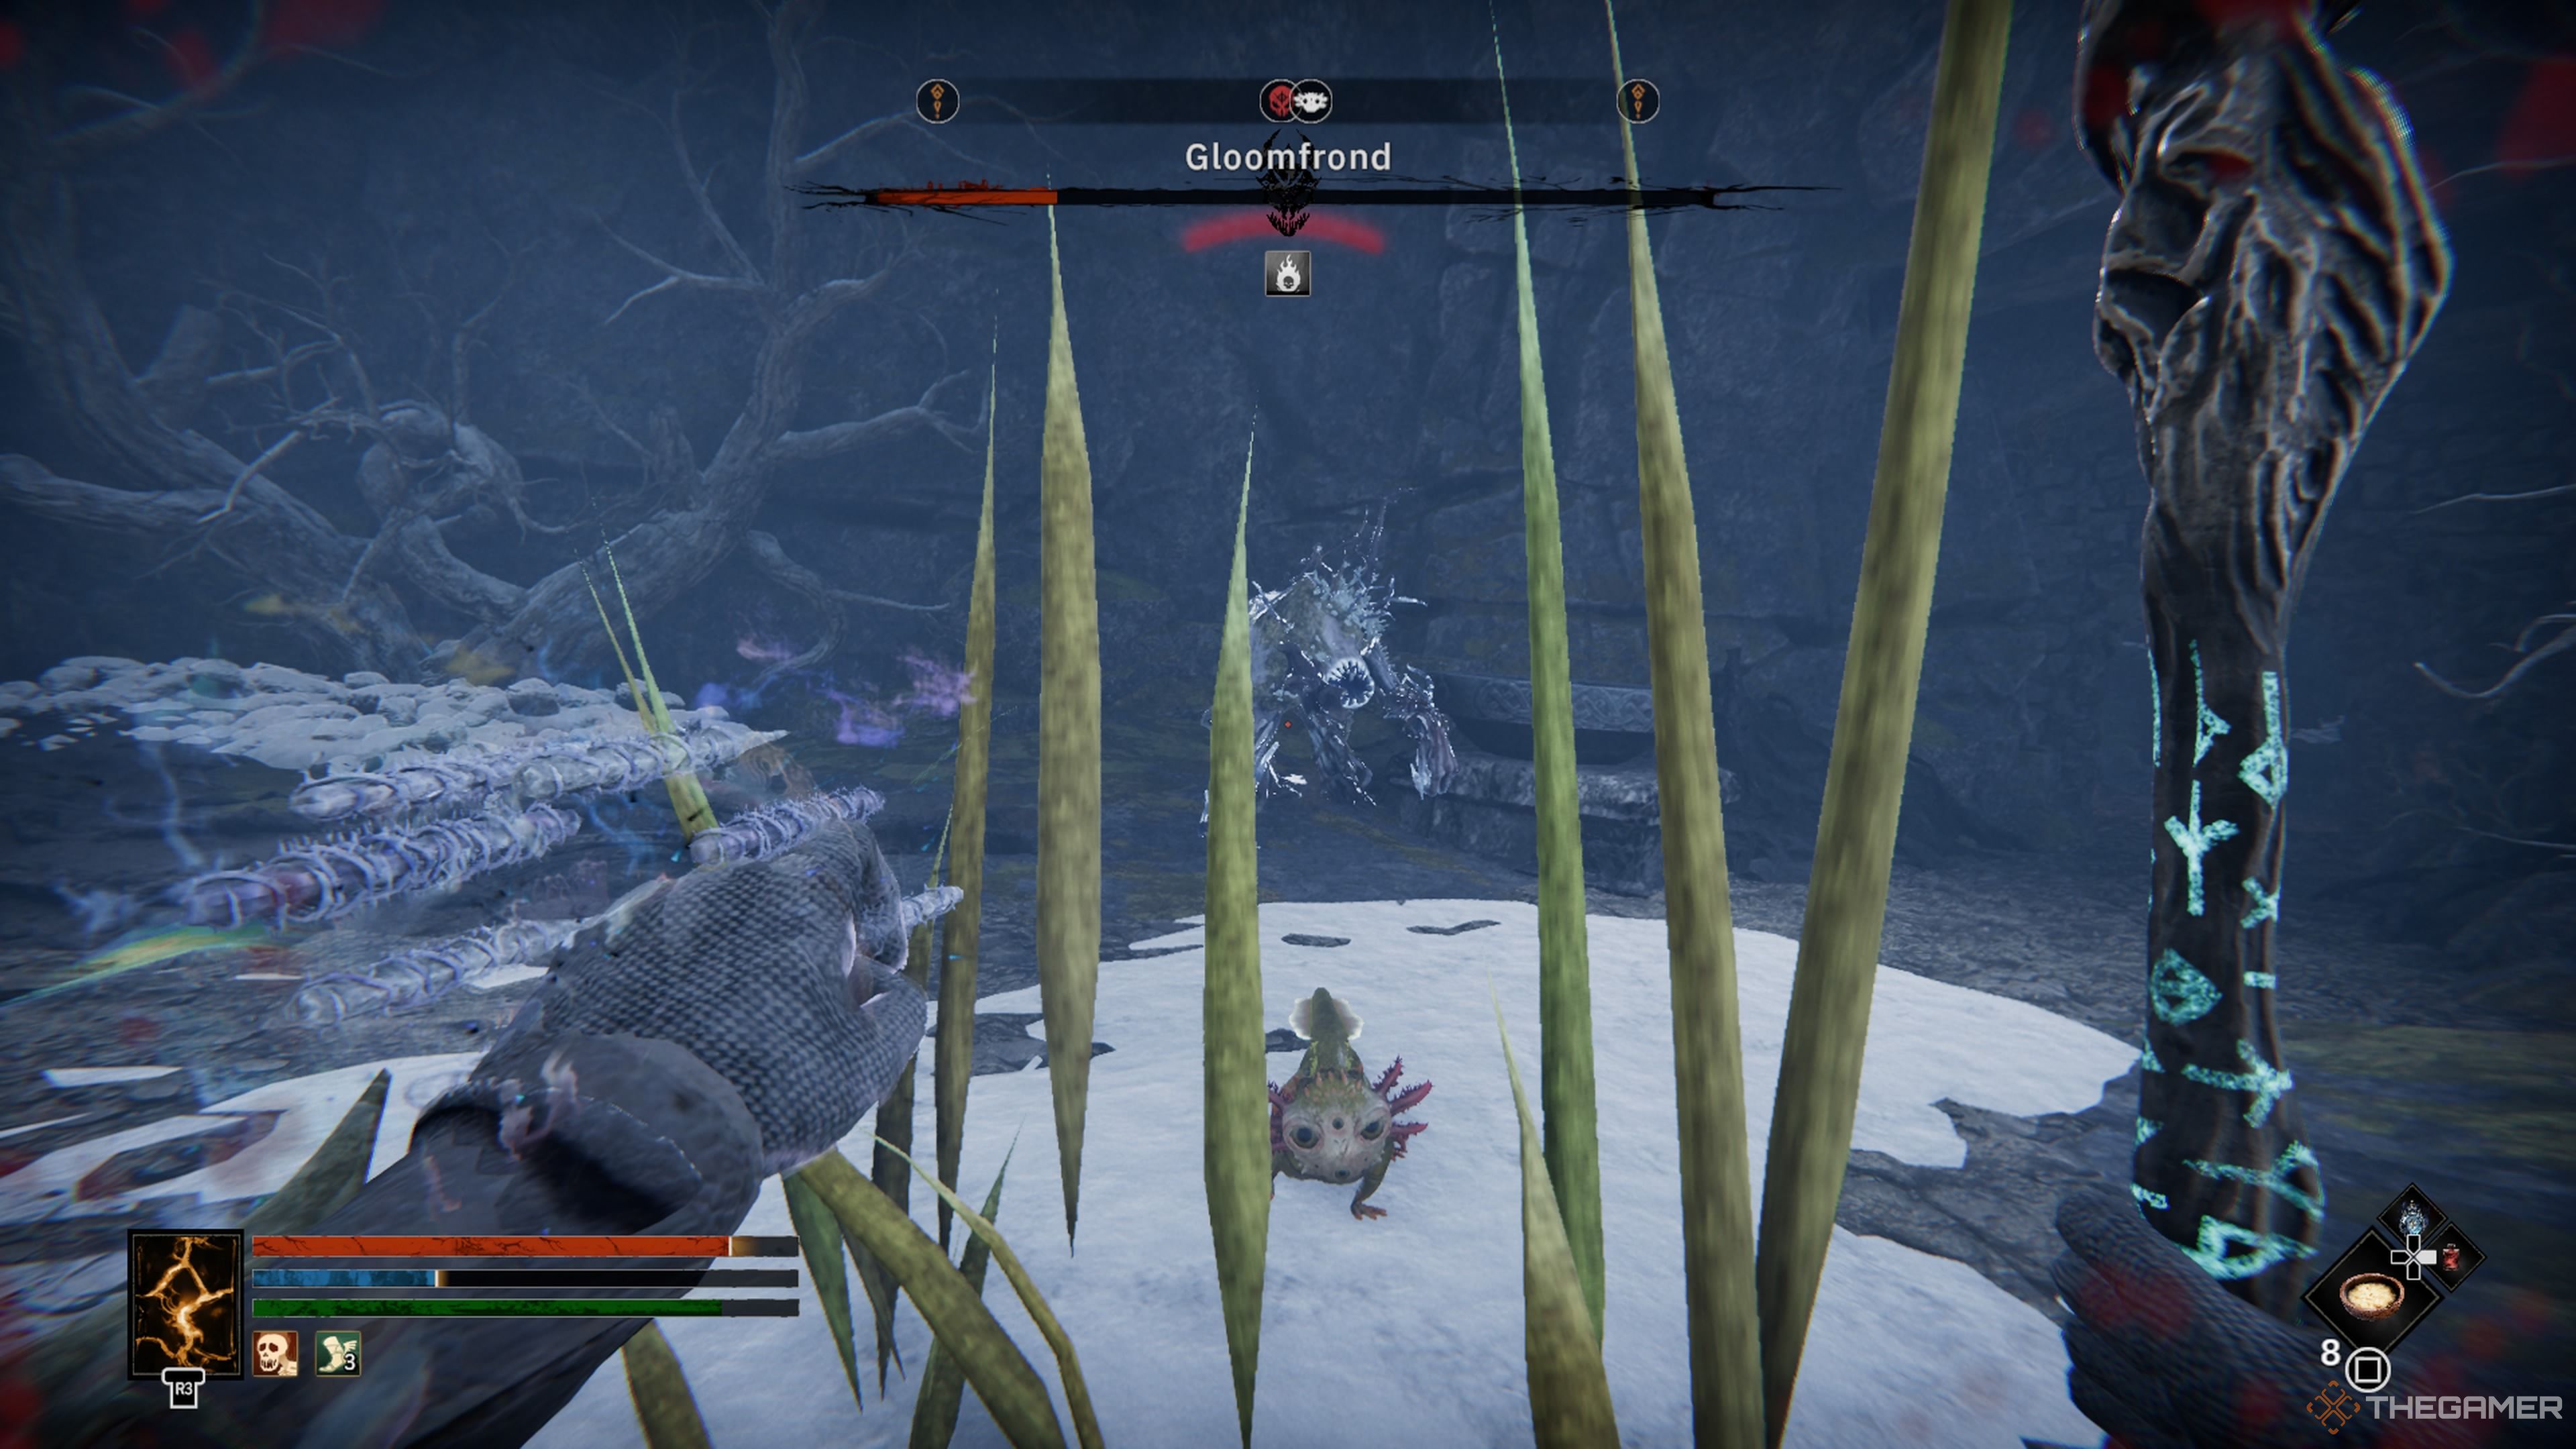
Upon making the sacrifice, the Forgotten Giant will set up a trial for you. A **Gloomfrond** will spawn behind you, a challenging enemy known for its powerful physical attacks, including a **charging move**, a **laser beam** reminiscent of the blind Marrowghasts, and **damaging roots** it can summon.
After you manage to defeat it, **loot its body** for the requested items, and the Forgotten Giant will converse with you again, rewarding you with the **Forgotten Giant’s blessing**.
You can **access the room blocked by roots by crouching and crawling through a hole before the doorway**, where a chest can be dug up.
The Theud Giant’s Blessing
To find the Theud Giant, start from the **Úlfr Village**, then head **east from the fast travel point**, moving toward the cliff edge where Vigdis is, but continue past it until you reach the **Elevator Pass**.
Pass through the short tunnel, **take the lift down**, and you’ll exit onto a beach area with a fast travel point. Cross the crumbling bridge and pray at the **Croakmaw Shrine nearby** if you have the required parts to gain an extra **50 points to your Encumbrance Limit**. After that, **follow the long path** up the mountain.
On the **bottom level of the Elevator Pass**, you can mine through two rock walls. One leads to a chest with standard loot, while the other has a chest you can dig up to obtain the **Amulet of Inspiration**.
A **magical lift** will carry you the rest of the way up to the **Theud Village**, which you must visit as part of **Divided We Fall** since the Theud have their own quest to complete. Go to the **southwestern corner of the village**, where the Theud Giant will be at the top of the stairs.
This time, you only need to sacrifice a **Rose**, which can be found throughout both Horn of the South and Cuanacht, or purchased from merchants like **Alwyn** in Cuanacht or **Jann Heber** in the Horns of the South Keep.
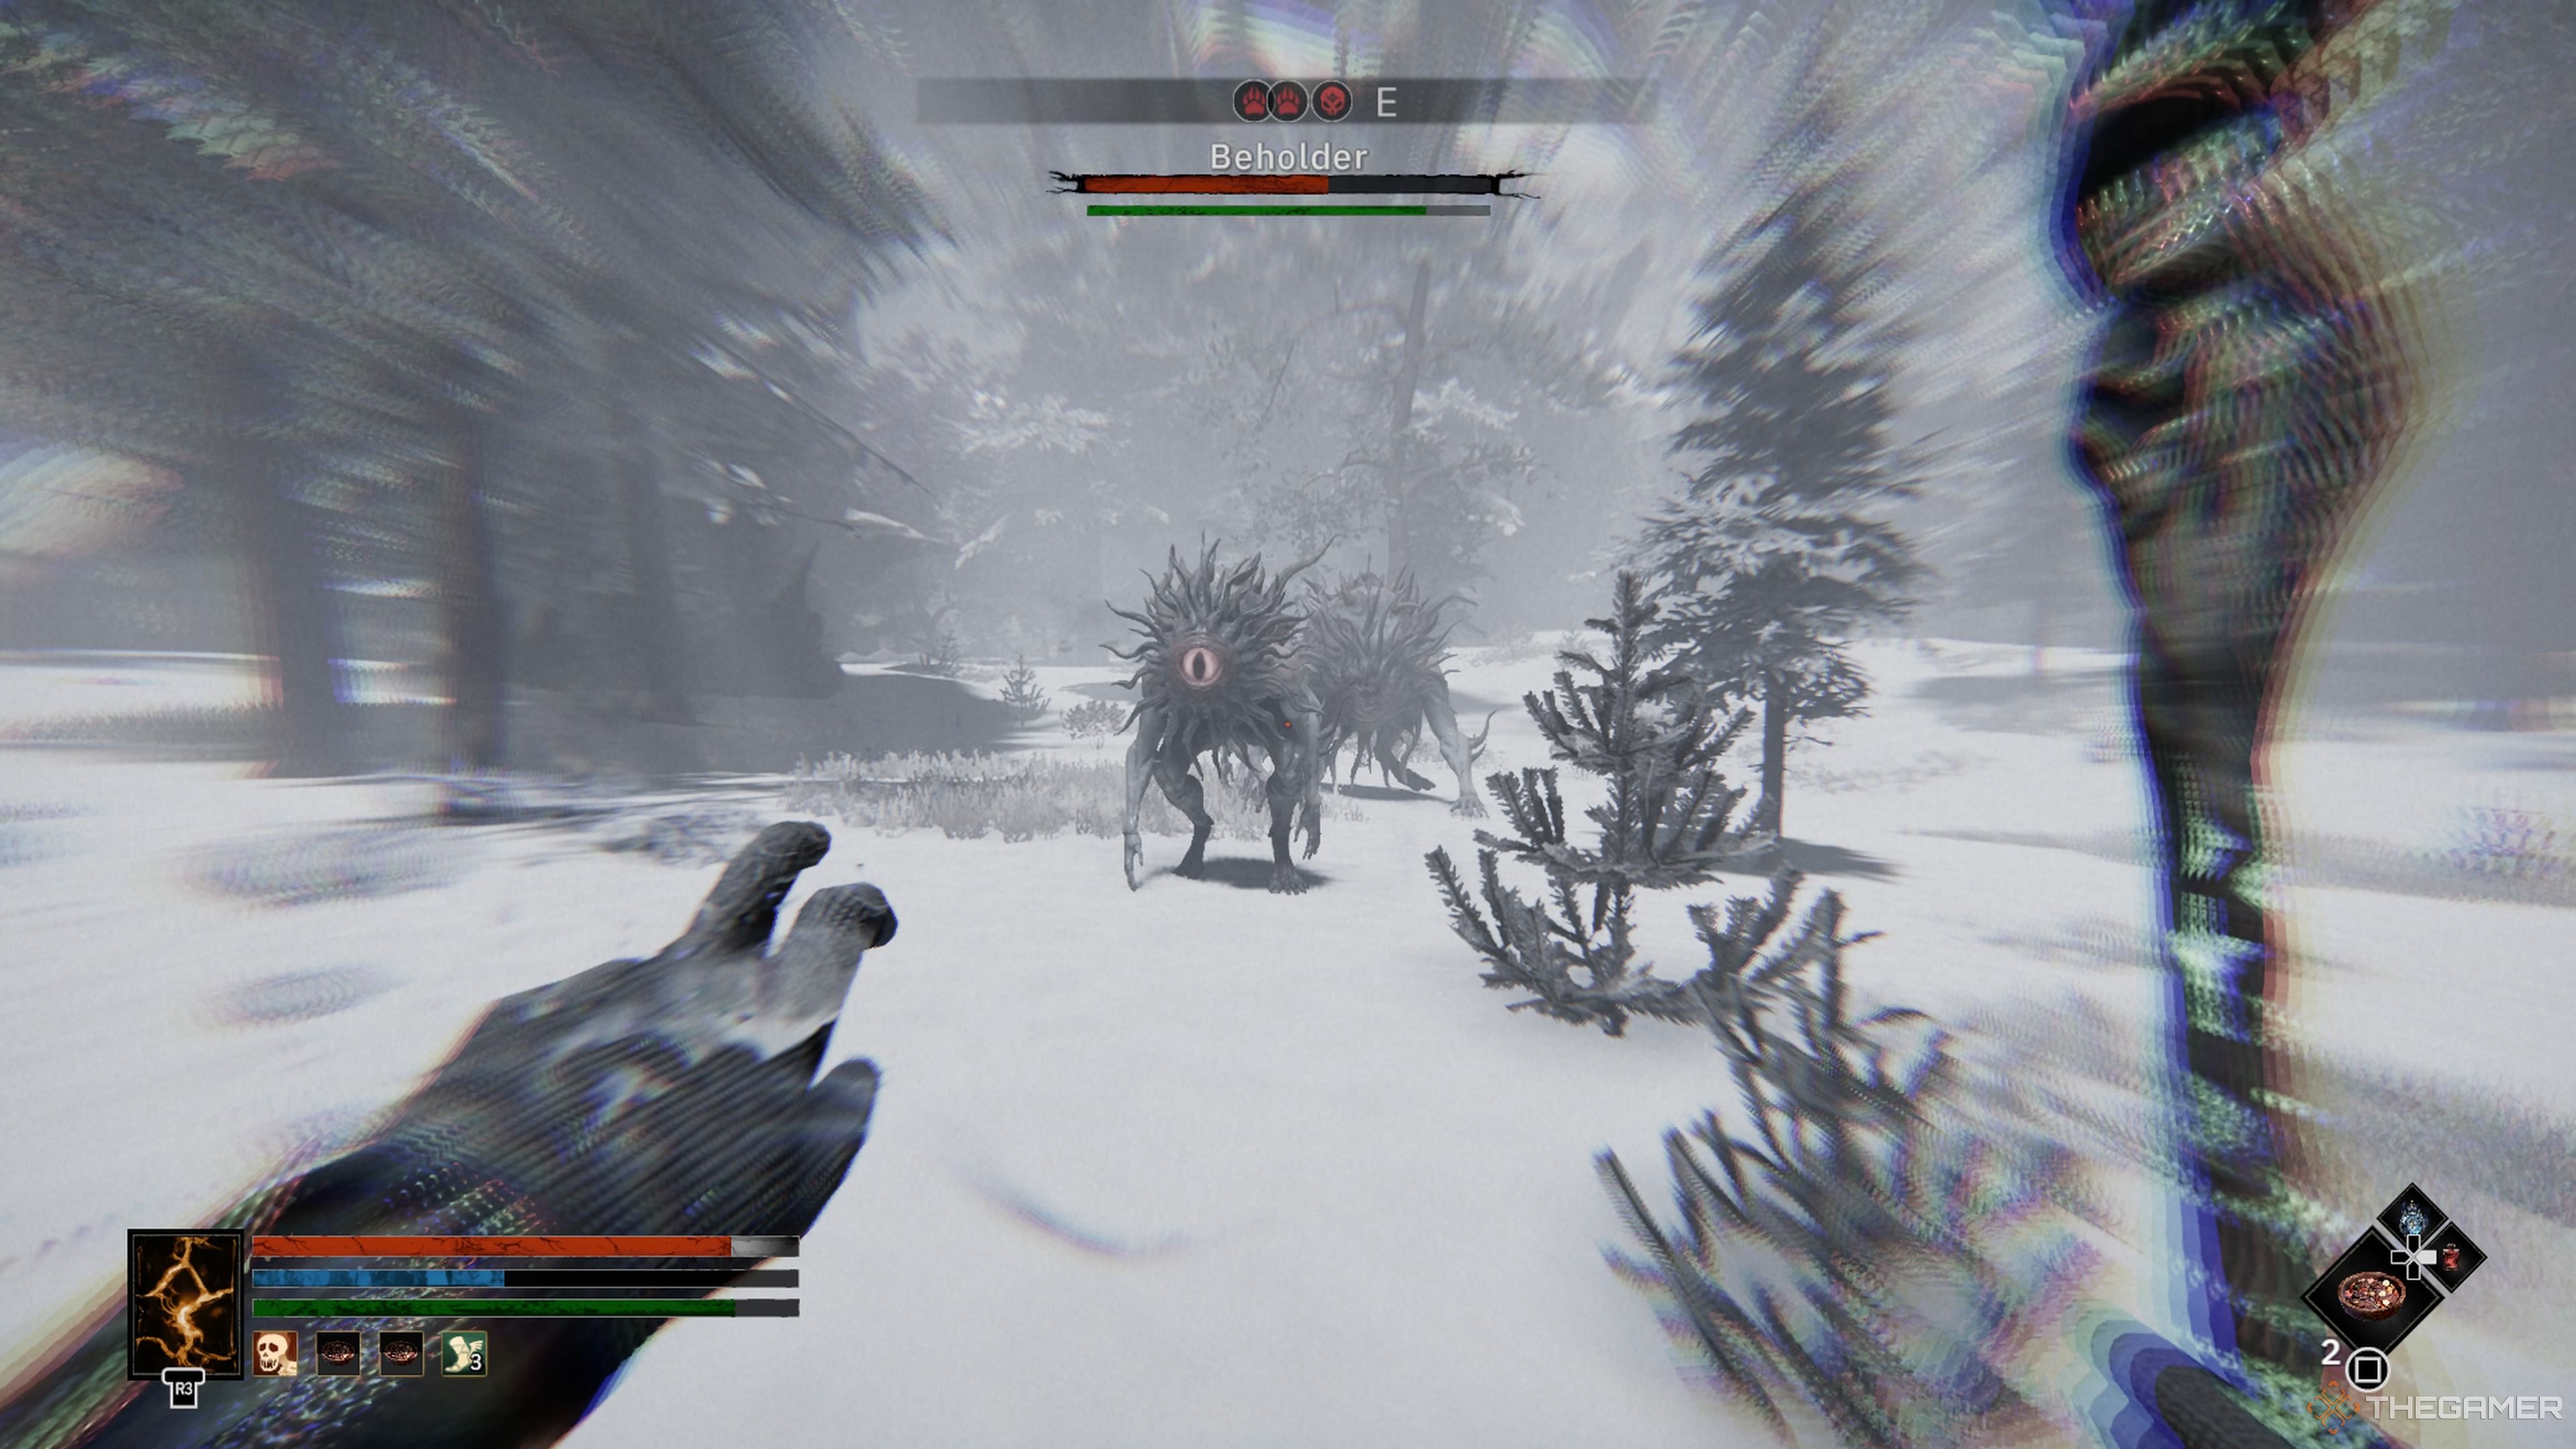
You’ll be **transported into a different realm** and need to **battle three enemies**: two Beholders and the boss, an Ancient Beholder. All three deal **extremely high damage with their laser beams**, especially the Ancient Beholder.
First, **eliminate the Beholders** as they have lower HP, and make use of the arena to your benefit; you can **hide behind the trees** if you need to heal.
Once they’re taken care of, focus on the Ancient Beholder. Watch out for the **attack when it kneels**, as it will charge a damaging beam, which you can dodge by moving around it.
After defeating all three, you’ll earn the **Theud Giant’s Blessing**, allowing you to return to Darv’hanr with the good news.
During your chat, you’ll be prompted to **ask him to forge the weapon** or to forge it yourself. Both choices yield the same weapon: the **Giant’s Grudge greatsword**, which has no stat requirements, making it accessible for any build.
How to Defeat Thrygve
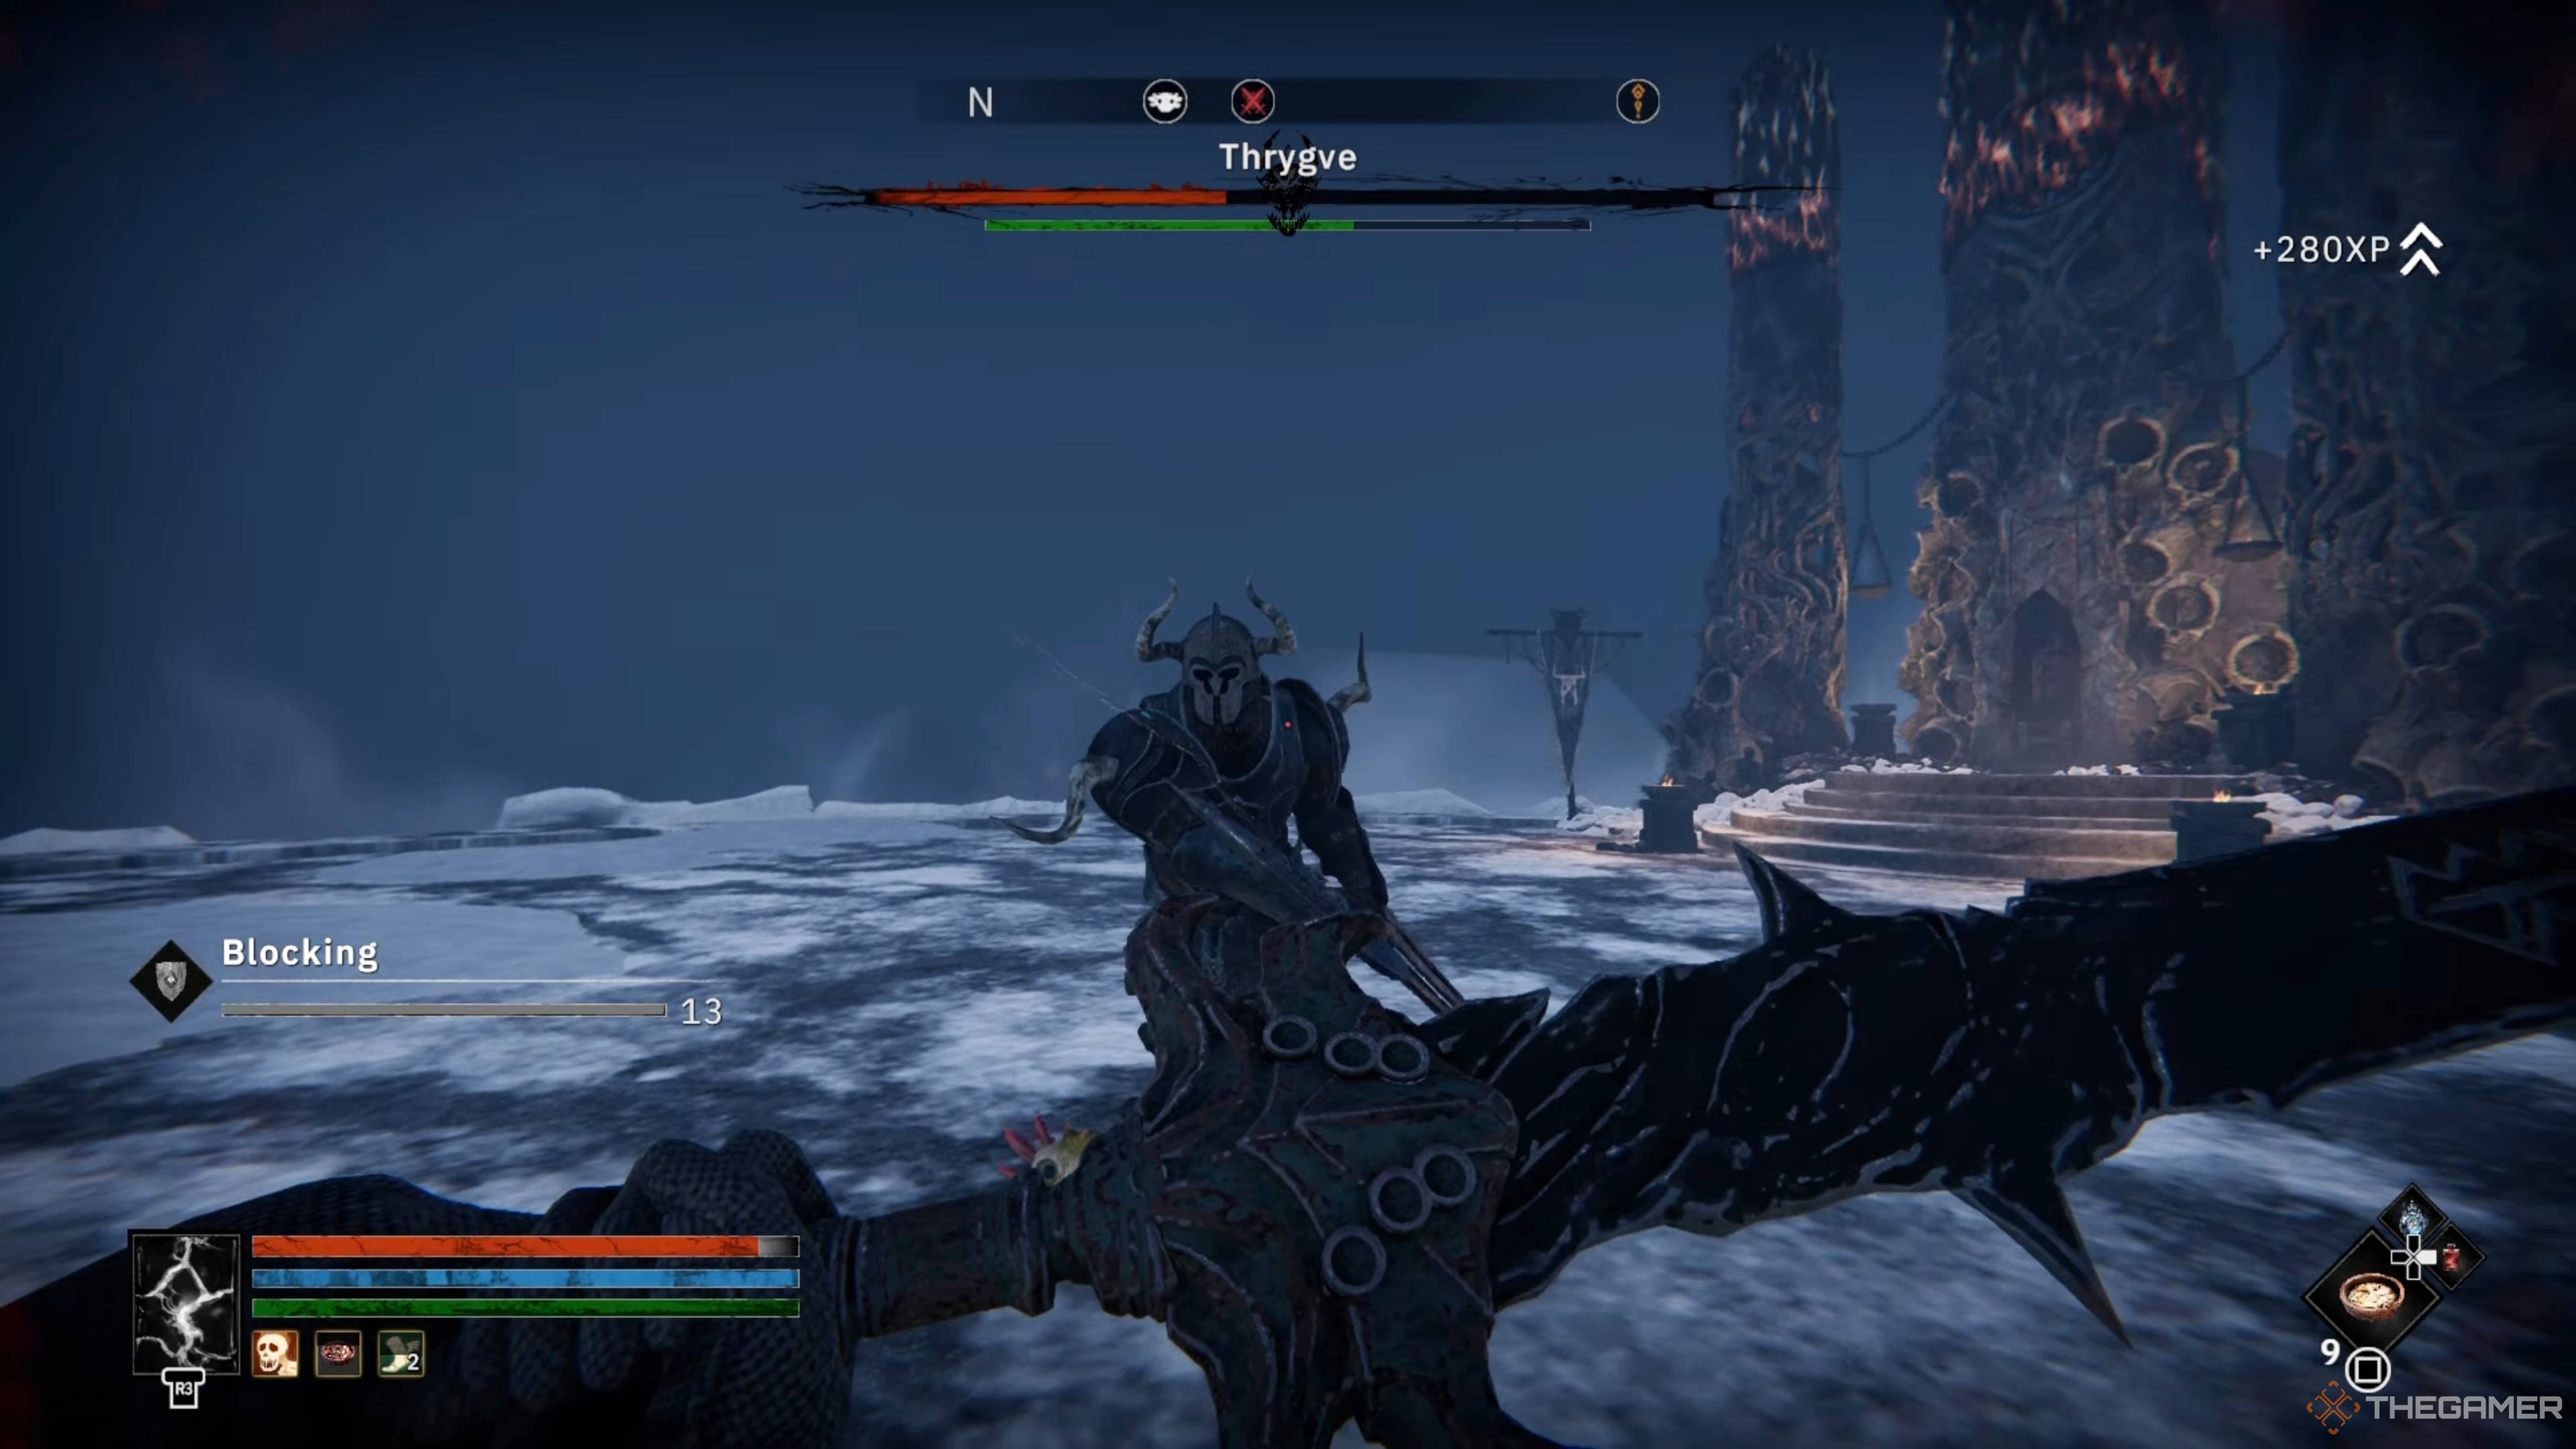
Head to the **altar near the Úlfr Village**, where you’ll see **Thrygve sitting on a throne** against the pillars. Engage him in conversation, and when you **challenge him to combat**, you’ll be transported to a special realm.
You’ll face him in a one-on-one fight, and only the **Giant’s Grudge** will be able to harm him. He can deal considerable damage, particularly if you’re low on stamina. However, since he wields a two-handed weapon, he is not particularly fast.
Use a mix of dodging and blocking during his attacks, and land your **Light and Heavy attacks** when you can. When his health dips to around half, he will pause to **drink a potion** to recover 25% of his health, but you can **interrupt** this by attacking him while he tries, forcing him to dodge.
If you miss that chance, continue with your strategy, keeping a close eye on your stamina to avoid running out while in his range, and utilize healing potions or food items to maintain your health.
As he’s nearly finished, the battle will conclude and you’ll face a choice: have either **Stron’ner or Darv’hanr** become the next chieftain of the Úlfr tribe.
|
Consequences of Choosing Stron’ner |
Consequences of Choosing Darv’hanr |
|
If you **choose Stron’ner** as the leader, he will **agree to attend the Moot**, advancing that part of **Divided We Fall.** |
Choosing **Darv’hanr** as leader means he will **refuse to attend the Moot**, preventing the tribe from coming to the Capital. However, the quest will not fail. |
You can **search Thrygve’s body for Thrygve’s Axe**, a two-handed greataxe, and a set of **Titansteel armor** once you finish the quest.
After you make your choice, you’ll return back to the mortal realm and have a scene with both leaders, resulting in **progress for Divided We Fall**. Additionally, this completes **Rise the Mountain, Face the Storm**, earning you around **5,000 EXP**.