Select Language:
Things are getting a bit strange in what seems like a new version of Tsukudo-cho, the main hub in Raidou Remastered: The Mystery of the Soulless Army. When a mysterious black cat shows up and takes you to a boy who resembles you but has a huge scar on his face, the timeline becomes even more confusing.
In this episode of Raidou Remastered: The Mystery of the Soulless Army, Raidou Kuzunoha XIV finds himself in the Showa era and needs to return to Taisho 20. Get ready for another round of puzzles in the Dark Realm!
Episode Nine Overview
Follow the black cat that resembles Gouto-Doji through this unusually pristine version of Tsukudo-cho. Feel free to explore a bit on your way and uncover hidden treasures, but the main goal is to visit Tamonten Shrine to meet two versions of Raidou and Gouto from parallel worlds—Raidou and Raido—who look nearly identical except for the scar on Raido’s face.
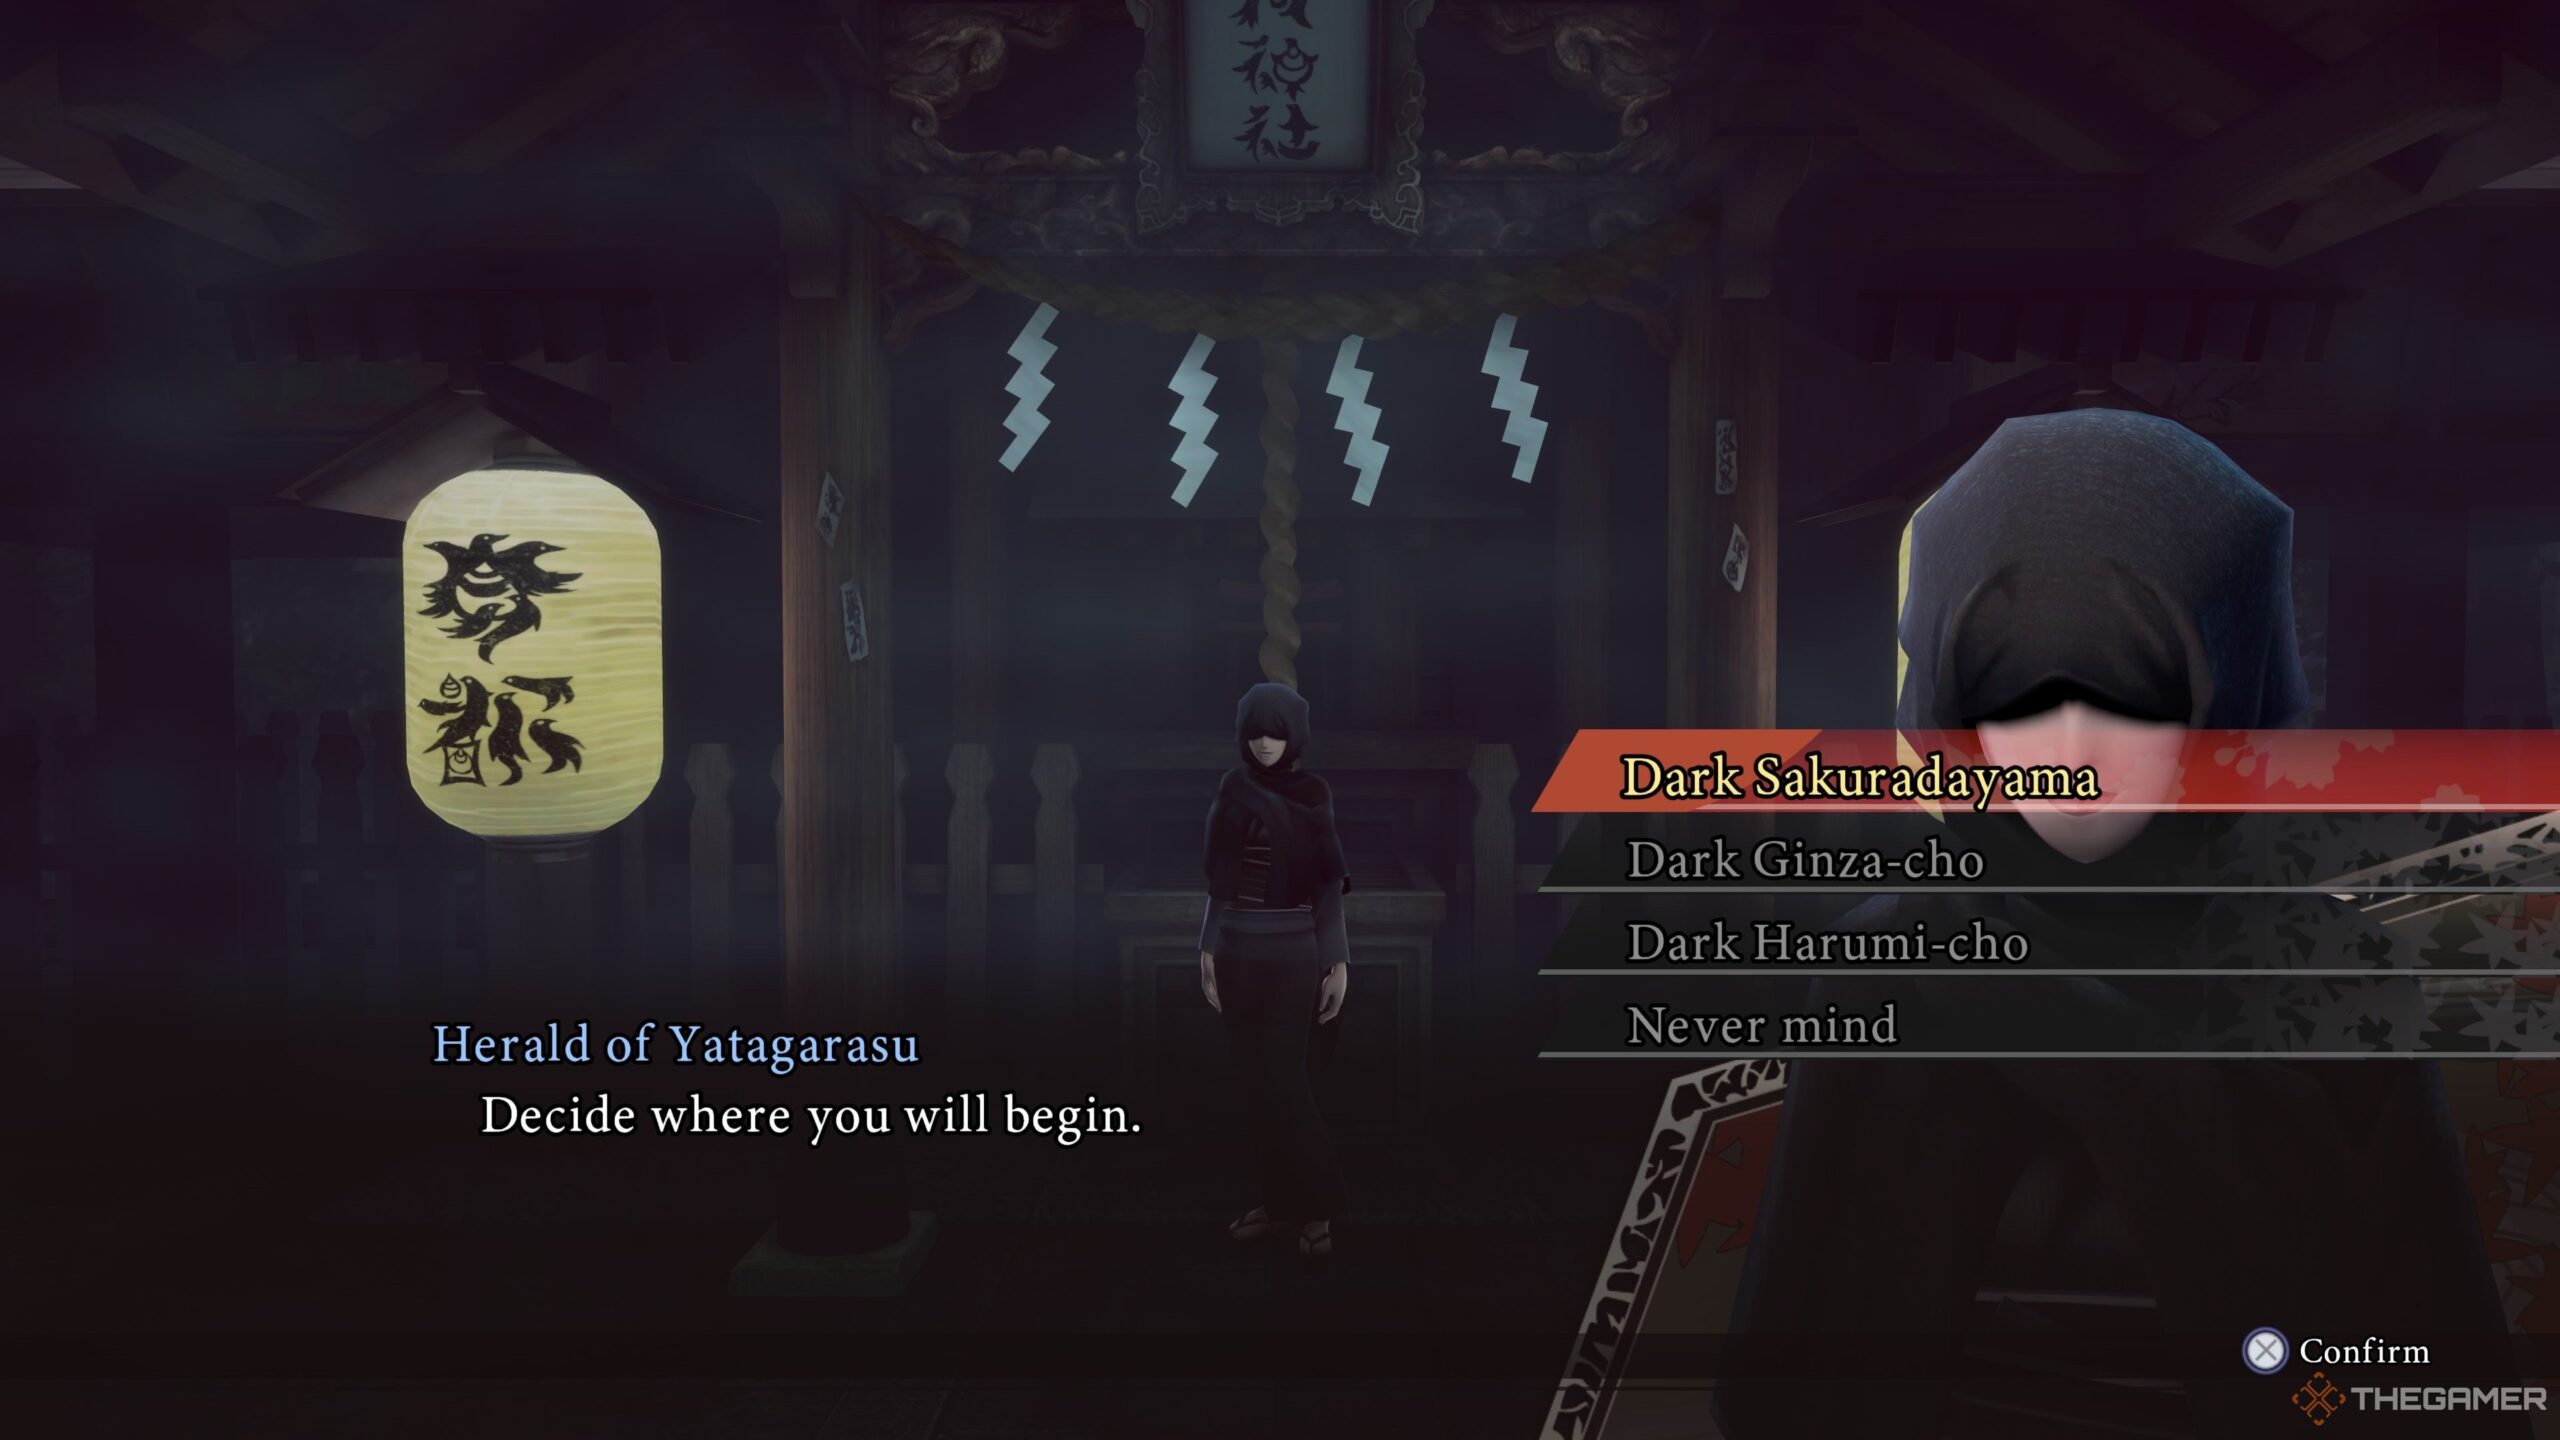
Raido will take you to the Herald of Yatagarasu at the Nameless Shrine in Shinoda, where she explains that you’ll need to solve three puzzles to piece together the Amatsu Kanagi, an artifact she claims will help return you to your world.
The puzzles will lead you back into familiar towns from previous episodes of Raidou Remastered: The Mystery of the Soulless Army, but expect them to look a bit different this time and contain new items to gather. Don’t hesitate to explore a bit to stock up on goodies, as you’ll encounter new demons to capture and use for future fusions in the Goumaden while leveling up your character.
You can tackle the three puzzles in any order, so just pick a neighborhood to begin. All three must be completed by the end of the episode, and Yatagarasu will call you back once you solve a puzzle, so make sure to explore before starting any boss battles in these neighborhoods. After retrieving all three pieces of the Amatsu Kanagi, you’ll witness a cutscene with Raidou and Raido at Uki-Gaeomi Bridge before Episode Nine wraps up.
Dark Ginza-Cho Puzzle Solution
The standard version of Dark Ginza-cho in Raidou Remastered: The Mystery of the Soulless Army held the first Red Cape battle earlier in the game, but this time, you’ll notice some changes. There are green walls that block your path, forcing you to navigate a more winding route through the city than before, where you could previously walk directly along the two main lanes in the northern part of town.
Before venturing too far, head to the Dragon’s Fount to access the Goumaden and summon a demon with Use Force, as you’ll be doing some heavy lifting in this episode. It’s best to avoid those from the Frost Order!
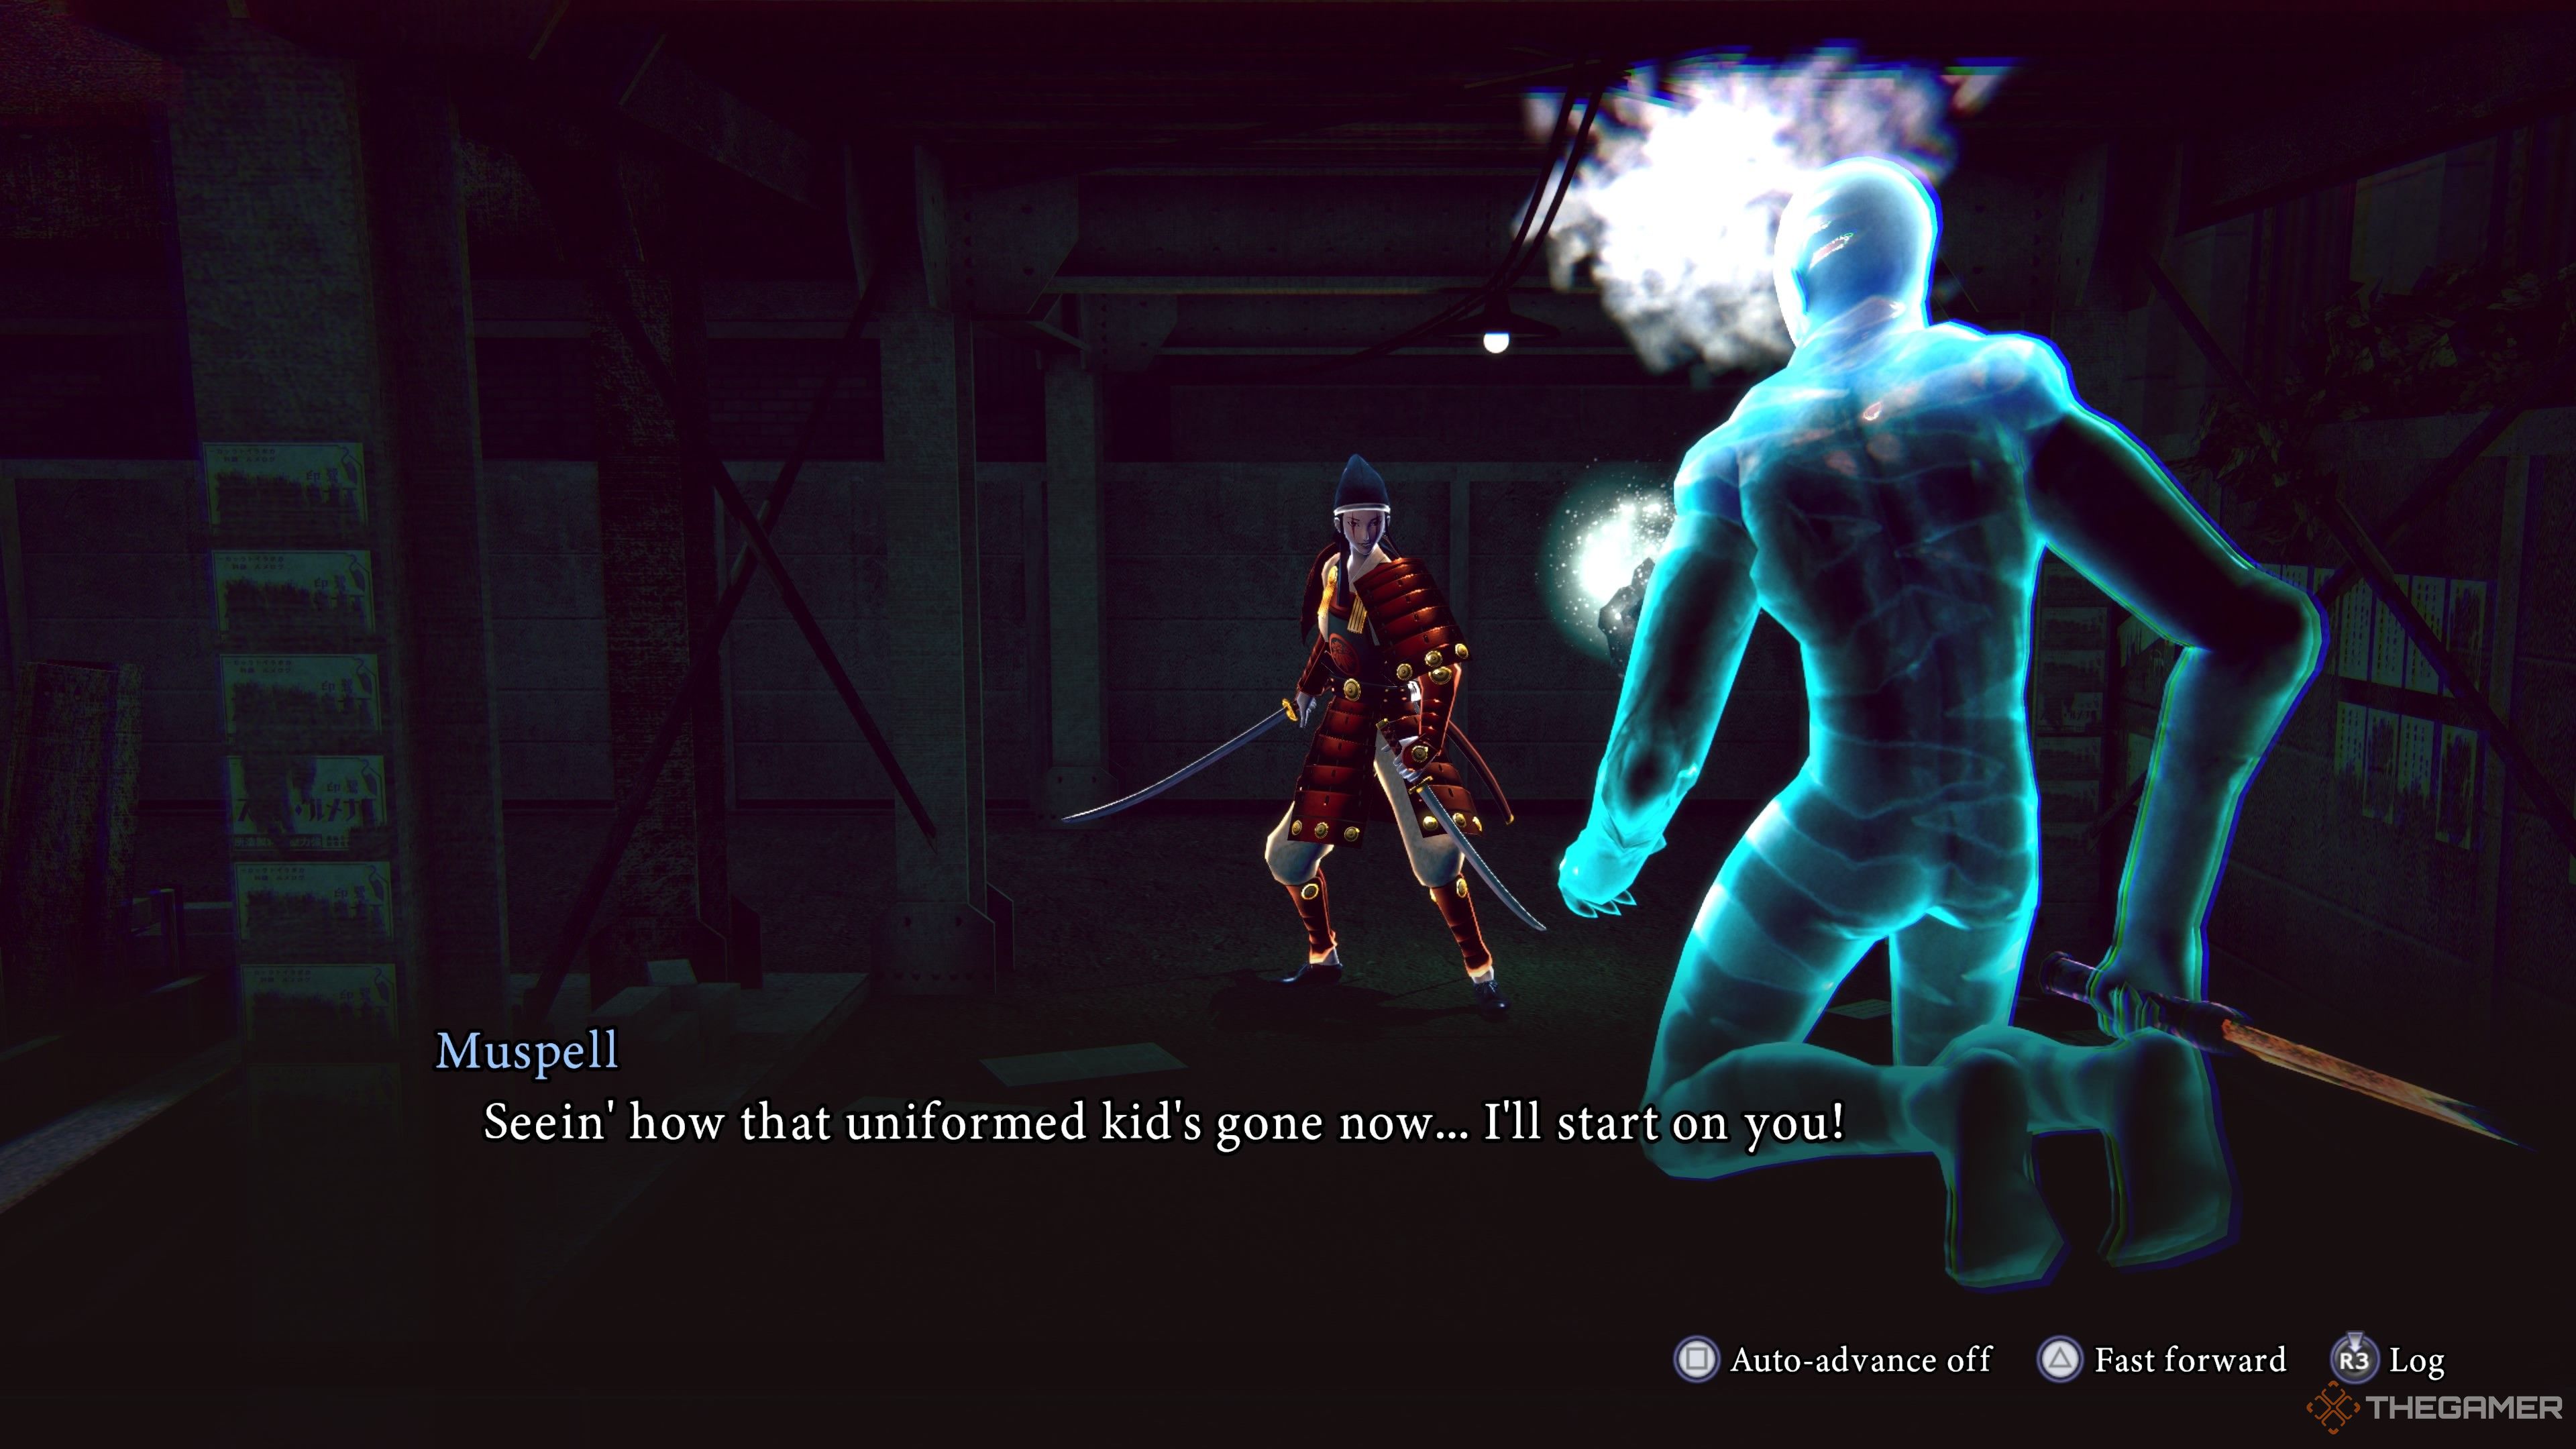
Once you have your demon in tow, head toward the northwest section of Dark Ginza-cho for your first miniboss encounter against a Pyro Muspell. Use Frost Order demons to take advantage of its ice weakness before moving on to the actual puzzle.
Back near the construction site, notice that a city bus has crashed into the area under the temporary bridge. This puzzle may remind you of one from the second episode. You’ll need that demon with Use Force, so summon it and send a demon that can Use Force on a Solo Investigation after clearing part of the bus.
Make sure this demon can hold its own, as a solo battle will start once you clear the puzzle. Send this demon through the red wall on the left, then navigate to move the bus again and use effective magic attacks to stun the boss while fighting as your demon. After the battle concludes, return to Raidou and go upstairs to the temporary overpass, getting ready for another fight for the next prism.
Dark Harumi-Cho Puzzle Solution
Upon first arriving in Dark Harumi-cho in Episode Nine of Raidou Remastered: The Mystery of the Soulless Army, you’ll spot a Shouten near the Dragon’s Fount at the main entrance. Talk to it and find out that several other Shouten are hiding around Dark Harumi-cho. This Shouten wants you to find and battle the others to earn Purifying Charms and demonstrate your combat skills.
You can locate these Shouten:
- In the northern part of town, just outside the ruins of the Catholic Church, between where you talked to the owners of Kounno-ya and Ryugu during the investigative chapter, and the Western Hospital at the east end of this path.
- On the overlook bridge accessible from the ladder where you previously used Cool Down to create a frozen path to rescue one of the sailors.
- Near the Navy HQ building, at another spot where you saved a sailor.
- From the Navy HQ building, retrace your steps and continue south toward the Big Tarrasque port.
After defeating all four sets of Shouten, head back to the one near the entrance of Dark Harumi-cho to activate another miniboss battle for this chapter and acquire the prism for Dark Harumi-cho.
Dark Sakuradayama Puzzle Solution
Just as you leave Dark Sakuradayama, the Herald of Yatagarasu sends you back to solve a puzzle at the shrine near Waden One’s base. In the real world, there were people wandering around and plenty of items to find, but in this version of Dark Sakuradayama, you must complete a light stone puzzle near the shrine.
The catch is that the lights switch off if Raidou strays too far, so you’ll need to cleverly combine Raidou’s abilities with a demon on a Solo Investigation. The solution to the stone puzzle in Dark Sakuradayama is as follows:
- As Raidou, approach the left set of stones. When you interact with the middle one, a barrier will trap you in a small space.
- With the stones lit, switch to a demon for a Solo Investigation that can safely move away from Raidou to interact with the stones.
- Interact with the stone closest to the shrine on the left side by Raidou.
- Cross over to the right side of the screen and reach the other set of stones.
- Interact with the middle stone on the right side.
Once successful, you’ll summon a demon prepared for battle, triggering the miniboss fight against Omitsunu. It wields electric magic, so confront it with pure force to earn the prism for this area.