Select Language:
The Forge Guard is one of the three Class Mastery choices available to the Sentinel in Last Epoch. This warrior, equipped with heavy armor and summoned Forged Weapons, offers a distinct gameplay experience focused on fire damage, minions, and throwing attacks—setting it apart from the other two Sentinel Masteries.
While it may not be as popular as the Paladin or Void Knight, the Forge Guard can become quite powerful when built correctly. If you’re aiming to progress smoothly through the campaign with this Mastery, you’re in the right place. Below, we’ll explore a beginner-friendly build for the Forge Guard.
Build Overview
|
Pros |
Cons ADVERTISEMENT |
|---|---|
|
|
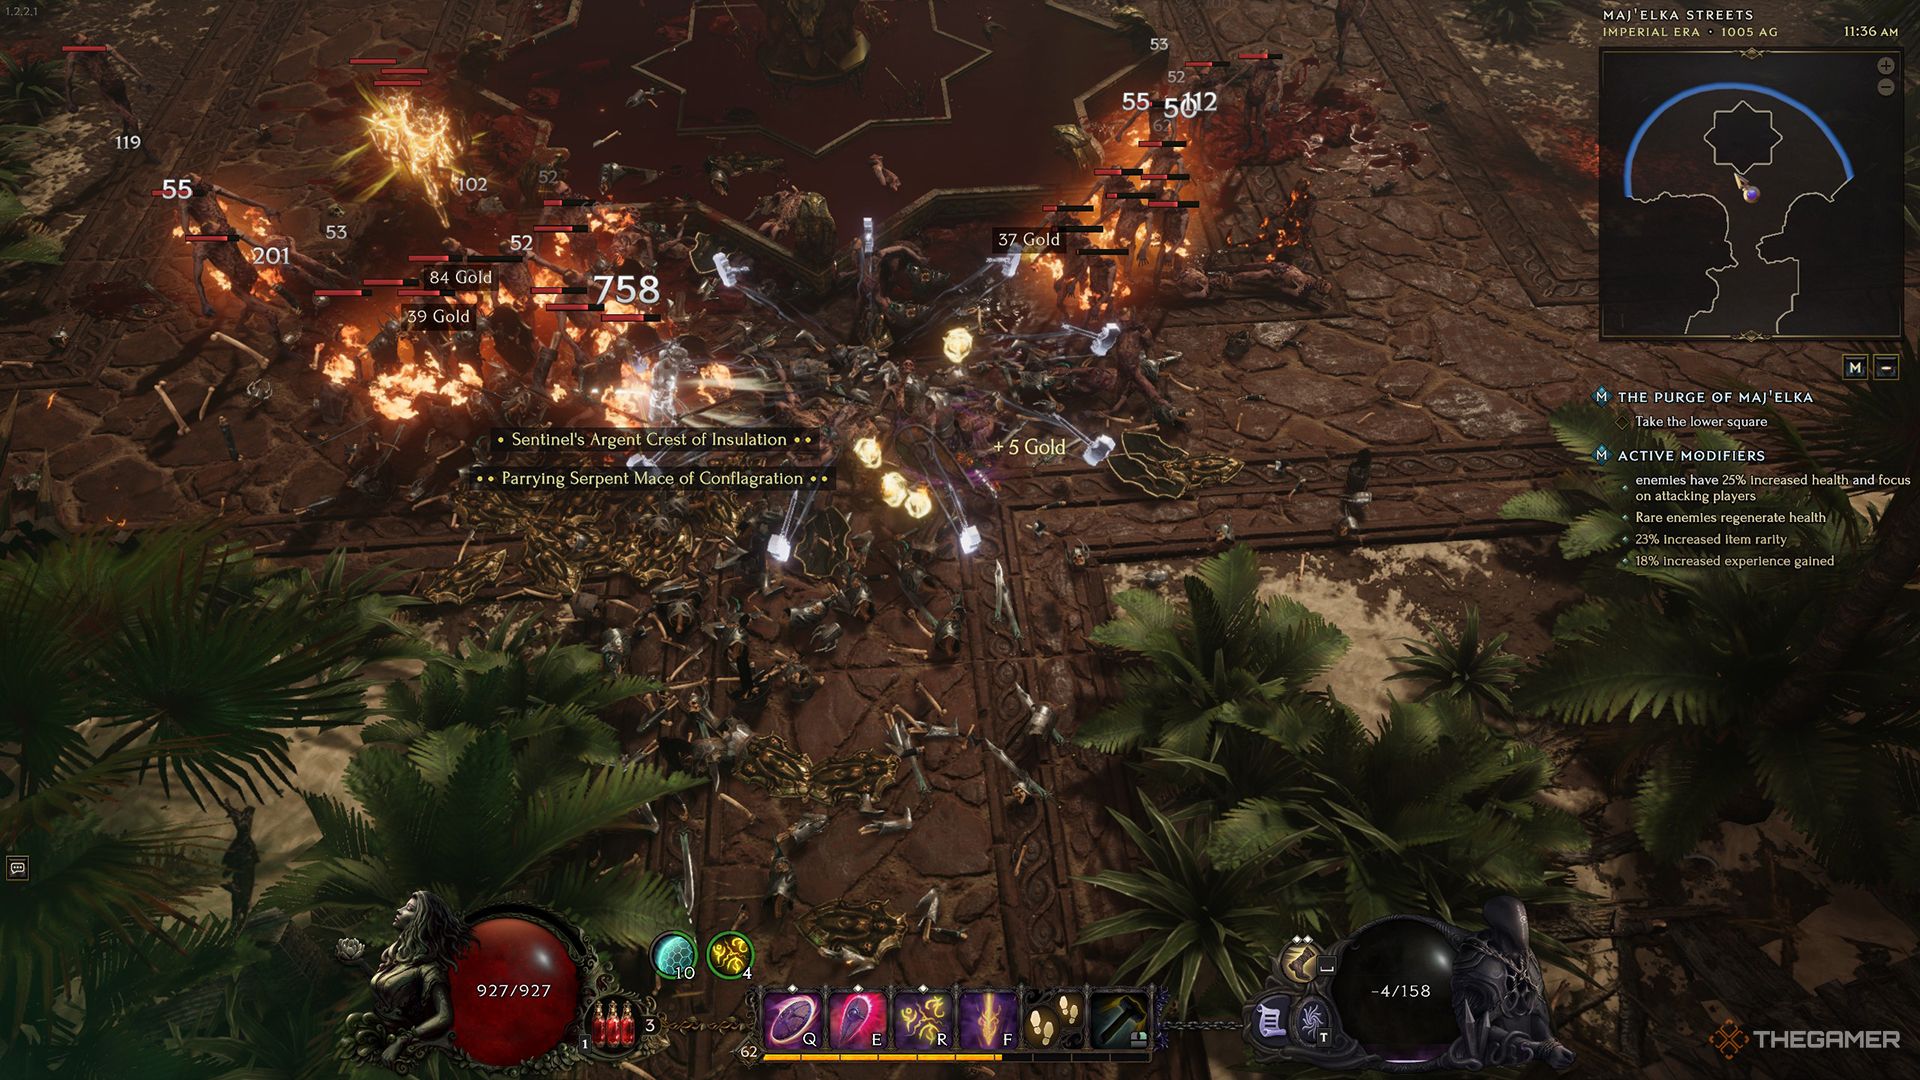
This build features two of the Forge Guard’s throwing skills: Hammer Throw and Shield Throw. These skills allow you to clear groups of enemies while maintaining high survivability through block chances and health recovery. Meanwhile, Smite and Symbols of Hope provide buffs and healing support, and Shield Rush enhances mobility and damage output.
The general playstyle involves using Shield Rush to maneuver between enemy groups and unleashing waves of hammers with Hammer Throw. The skill can initially be specialized to make the hammers orbit around you, later allowing them to be thrown out in waves, causing additional damage.
Shield Throw serves as a crucial single-target damage skill, compensating for Hammer Throw’s typical lack of effectiveness against individual foes. However, be aware that this build generally has lower single-target damage, requiring a bit more time to defeat bosses or tougher enemies. This shortcoming is offset by its impressive pack-clearing capabilities.
Skills and Passive
Unlock Hammer Throw at level three, making it your main source of damage. In its Skill Specialization tree, first focus on unlocking the Catapult and Avatar of the Spire nodes to increase its effectiveness by allowing the hammers to spiral and hit multiple enemies. Iron Spiral and Hammer Vortex further enhance this by making the hammers orbit around you.
For the final node, Enra’s Technique, changes the hammers’ attack pattern, allowing them to be thrown out in a fan shape for greater damage dispersion.
Mana Starved Forging will enable you to cast Hammer Throw at no cost when you’re out of Mana.
Next, focus on Shield Rush as your next skill. Prioritize reducing its Mana cost through Rush Mastery and enhance its defensive capabilities with Protective Speed and Unstoppable Charge. Add points into Consuming Path and Warrior’s Entrance for increased damage.
Once you have the Forge Guard unlocked, move to specializing in Shield Throw. Unlock nodes like Siege Breaker, Defender’s Rage, Throwing Arm, and Colossus. Upgrade your Shield Throw with Aeroplates, Vampiric Steel, and Hemrin’s Technique to enhance survivability and damage through additional hits.
Next, focus on Smite for extra damage and health recovery. In Smite’s skill tree, start by boosting health regeneration with Soothing Balm after using the skill. Round off this tree with Righteous Fury and Righteous Flurry for added damage.
Finally, invest 15 points in the Paladin Passive Tree to unlock Symbols of Hope, which grants various buffs. Start by focusing on nodes like Iron Symbols and Meditation to maximize effectiveness.
Passive Trees
This setup utilizes both the Forge Guard and Paladin passive trees, ensuring you have a minimum of 20 points in Sentinel. Begin with Juggernaut for a boost in Strength, then max out Armour Clad. Allocate points into Fearless and Stalwart to unlock Time and Faith and max out that node as well.
Once you’ve unlocked Forge Guard, start with three points in Steel Aegis and two in Weapons Master to unlock Shield Throw. You’ll then want to put 15 points into the Paladin tree to unlock Symbols of Hope.
In the Paladin tree, maximize Conviction and then add points into Defiance and Honor until you reach 15.
Back in the Forge Guard tree, target damage nodes like Fresh from the Forge, Siege Captain, Hammer and Anvil, and Might. Don’t forget to unlock Walls of Solarum for a significant defensive boost.
For resistances, consider investing a few points in the Abyssal Endurance passive from the Void Knight tree, which provides health and resistances at a low cost.
Stats and Uniques
This build is suitable for gearing, but a few unique items can significantly enhance performance. Given that Hammer Throw and Shield Throw are your key damaging skills, look for buffs to Throwing Damage and Throwing Attack Speed during your leveling process.
Furthermore, both Hammer Throw and Shield Throw benefit from Strength and Dexterity, so boosting these attributes will improve overall damage.
For survivability, remember to keep building up your resistances and health. Block Chance is also crucial for enhancing your defenses, particularly with the Walls of Solarum passive.
For Idols, aim for two Adorned Rahyeh Idols (the two-by-two type) featuring the Chance to Cast Smite on Hit with Throwing Attacks property. This will significantly boost your damage and health regeneration.
Additionally, use four Large Rahyeh Idols that focus on Throwing Critical Strike Multiplier and Chance to apply Shred Armor on Throwing Hit. While these are less essential than the Smite-triggering stats, they can still provide valuable damage increases.
Here’s how to prioritize offensive stats for this build:
- Throwing Damage
- Throwing Attack Speed
- Level of Hammer Throw
- Dextirity
- Strength
- Critical Strike Chance
- Critical Strike Multiplier
And for defensive stats:
- Health
- Block Chance
- Endurance
- Resistances (focus on Physical for campaign)
Uniques
This build is relatively easy to gear, but certain unique items can significantly enhance it and are obtainable early on.
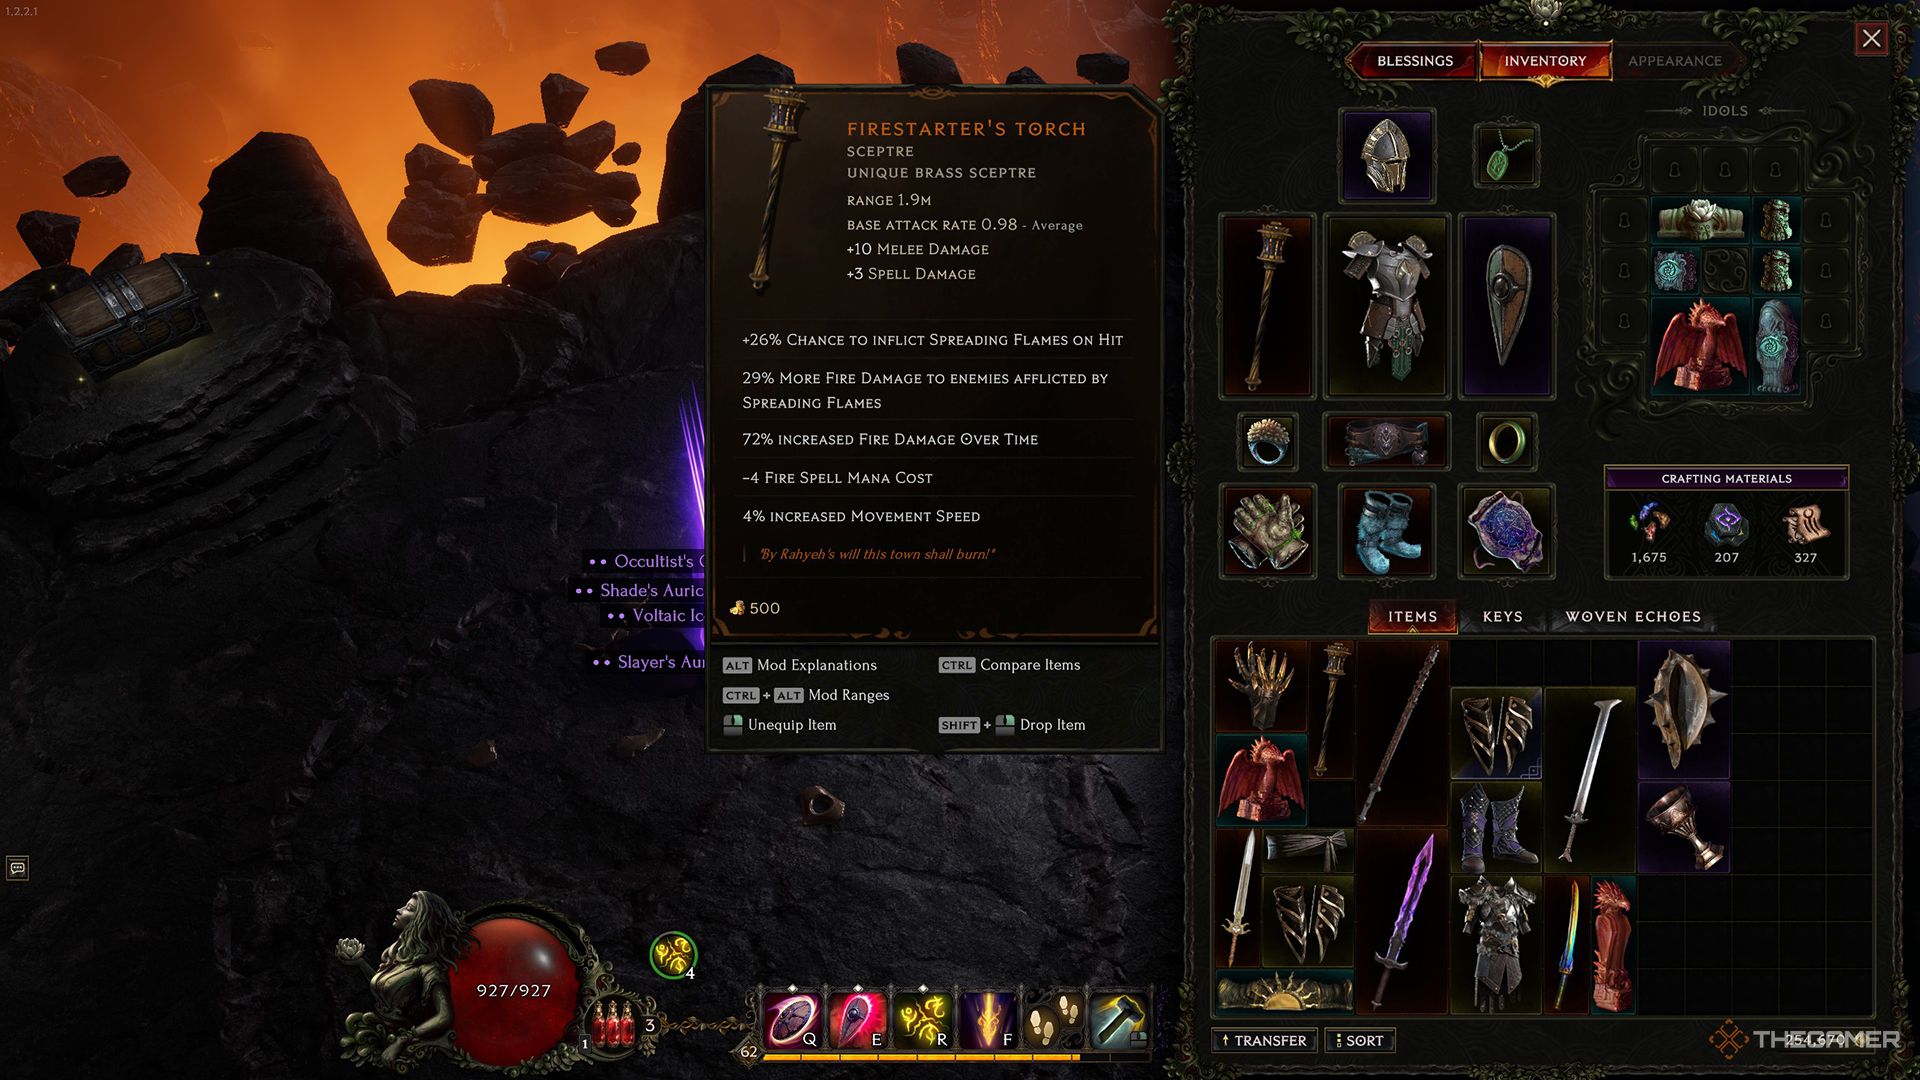
Firestarter’s Torch drops as early as level one, making it a common find from early-game encounters. This Sceptre inflicts Spreading Flame with its hits, dealing considerable damage over time. It also lowers the Mana cost for Fire spells like Smite.
Bleeding Heart is another solid early-game Unique that aids with sustain until you unlock Smite. Other useful options include Thorn Slinger and Riverbend Grasp, which can enhance your throwing attacks.
If you manage to find Sigeon’s Reprisal, it can elevate your build to its full potential. This shield allows you to automatically use Shield Throw when hit and boosts its damage for every 10 Damage Reflected to Attackers stat you acquire.
Using Small Weaver Idols, you can stack this stat effectively, amplifying the damage from Shield Throw with relative ease. If you come across Sigeon’s Reprisal, focus on this stat to see Shield Throw decimate enemies throughout the campaign.