Select Language:
If you’re eager to dive into an adventure with your favorite characters in Palia, now’s your moment! The Hunt For Prismbeard’s Treasure quest is a lengthy journey packed with puzzles, intrigue, treasure, and plenty of fun.
Team up with Auni and Nai’o as you uncover the secrets of the Grimalkin pirate, Prismbeard, and his long-hidden treasure. Complete this questline to earn exciting rewards like Prismbeard’s Map, Prismbeard’s Figurehead, and Prismbeard’s Journal, along with other cool items.
How to Start the Hunt for Prismbeard’s Treasure Quest
To kick off this storyline, you need to meet the following requirements:
- Character Level 30
- Visit Elderwood at least once
- Complete the “Learning the Ropes” quest
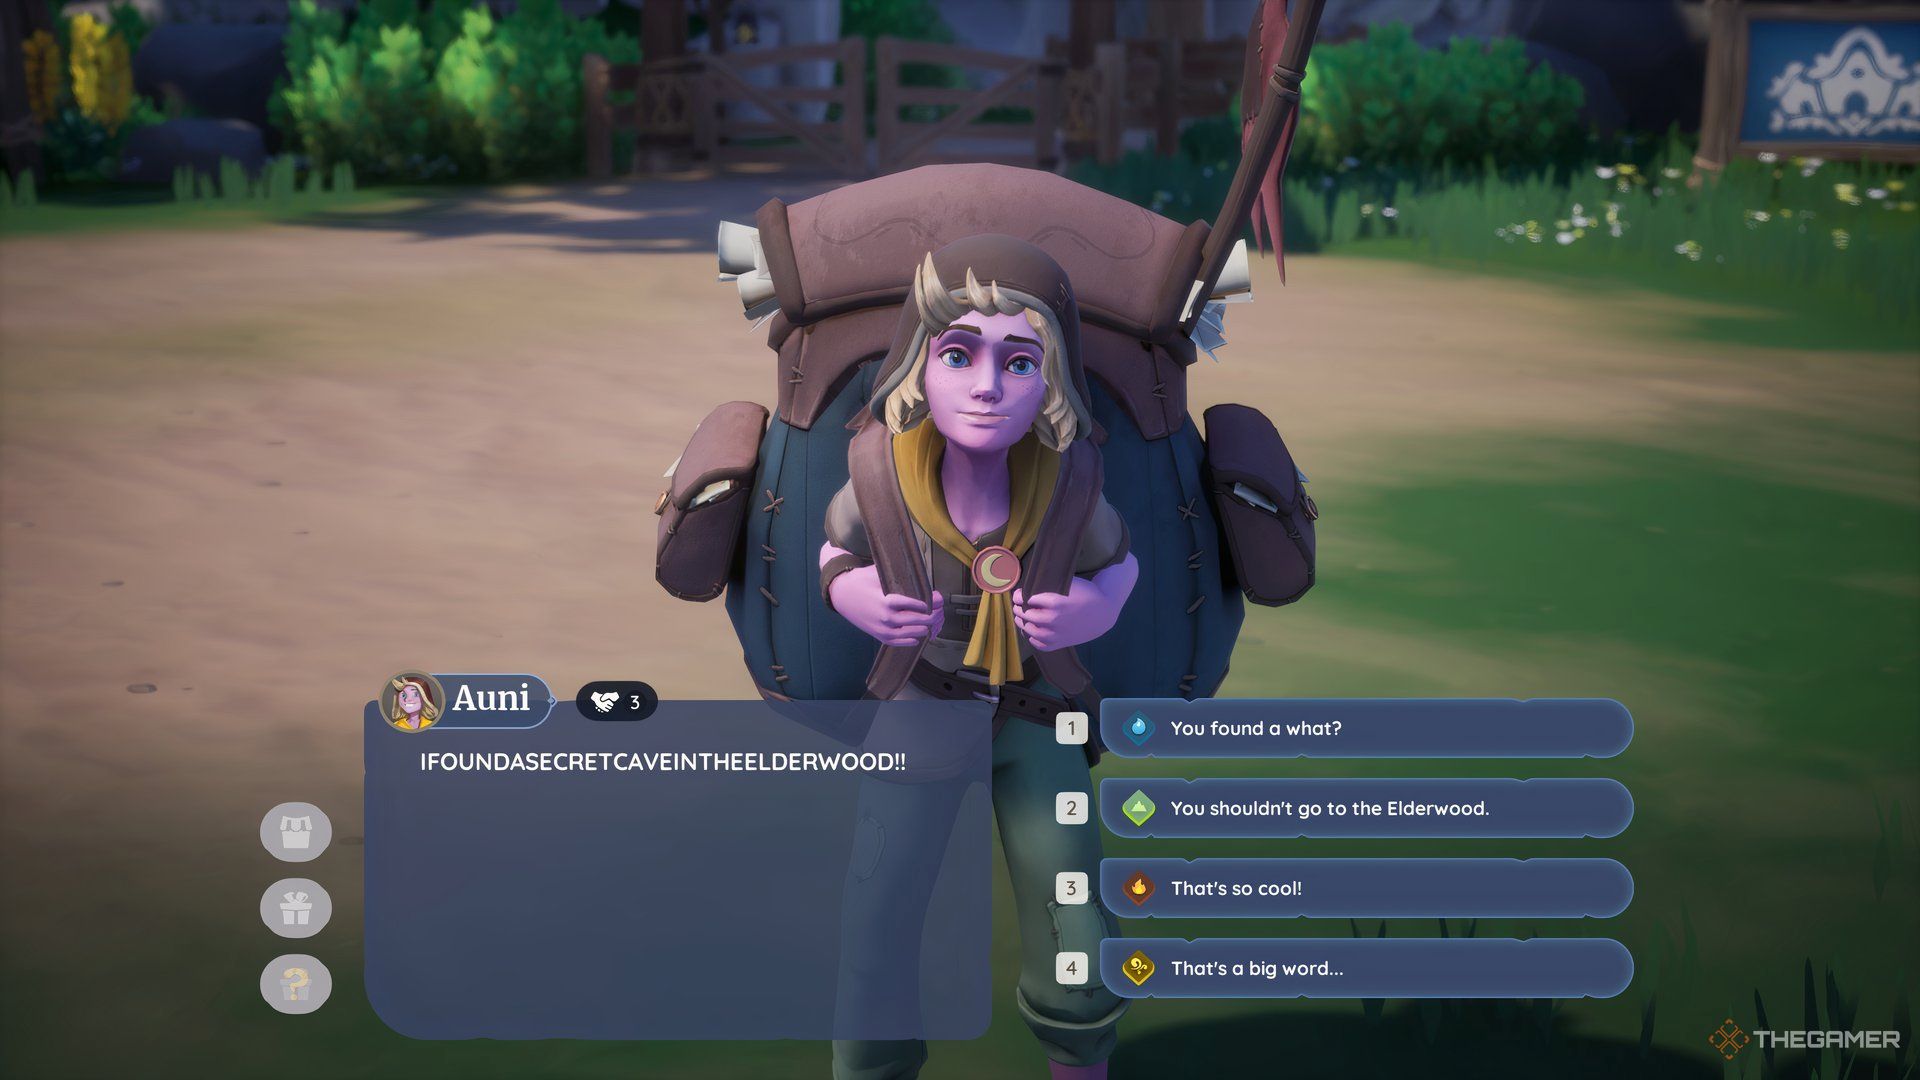
Once you’re ready, Auni will appear at your plot to share his discovery of a secret cave in Elderwood, asking you to meet him there. This begins the Adventure On The Horizon quest.
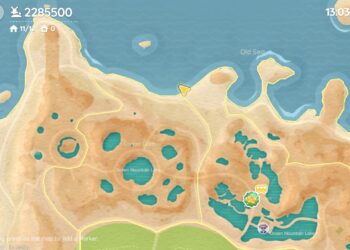
The cave is located in the southeast corner of Okanaa Bog, and you can easily reach it by fast traveling to De Mer Dock. Inside, after a brief conversation with the brothers, you’ll slide down a large slope and land safely at the bottom.
Don’t attempt to launch your glider during this part, or you’ll be sent back to the top of the slide.
How to Solve the Prismbeard Sliding Puzzle
Nai’o and Auni wait in front of a decorative door. After chatting with them, go through the door to tackle one of Palia’s famous sliding puzzles.
Auni will mention he tried to solve it but wasn’t successful, and Nai’o isn’t much help either. Fortunately, this puzzle is relatively simple – perhaps Auni gave you a hint?
To solve the Prismbeard sliding puzzle, follow these steps:
- Second row, first tile: Slide right
- First row, first tile: Slide down
- First row, second tile: Slide left
- Second row, second tile: Slide up
- Third row, second tile: Slide up
- Third row, first tile: Slide right
- Second row, first tile: Slide down
- First row, first tile: Slide down
- Lastly, slide left on each tile in the first row.
How to Find All the Prismbeard Treasure Maps

Once you solve the sliding puzzle, Prismbeard’s image will light up, and a treasure chest will appear at your feet. Open it to find a treasure map, then share it with Auni and Nai’o.
The map resembles a location in Elderwood, pointing specifically to the Red Blossom Cave. The red X marks a spot inside the cave where your next clue awaits.
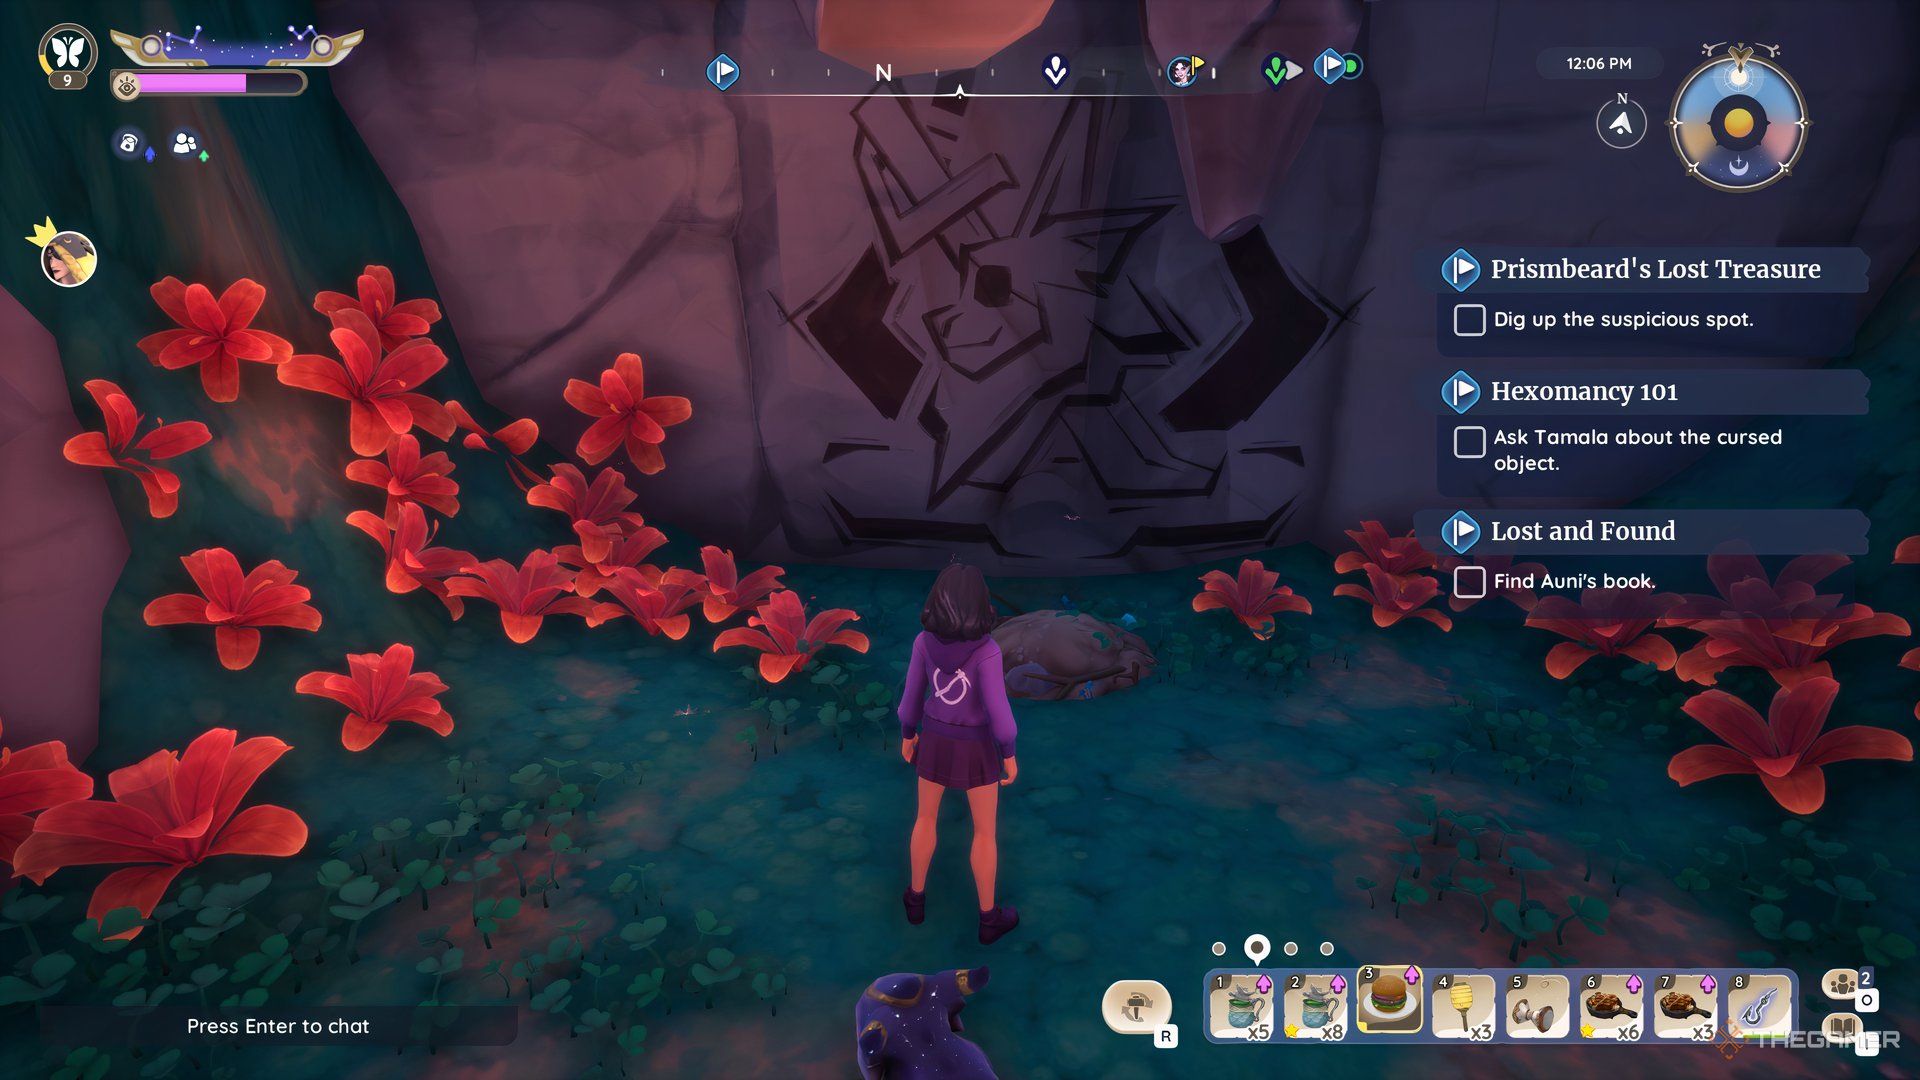
When you arrive, look for Prismbeard’s logo graffiti on a wall. Use your hoe to dig up the dirt pile below it for the next clue.
Next, you’ll head to Jeunesse Pass. You’re searching for a cave located at its northern end.

This time, the Prismbeard design is on the ground, and the dirt pile is nearby. Dig there again to uncover another treasure map.
This is the third and final treasure map for this part of the quest. Your next destination is on the western side of Mitana Grove, up on a cliff. When you dig here, you’ll find a note from Prismbeard that requires you to return to the sliding puzzle you just solved.
Head back to the puzzle in the hidden cave, and when you interact with it, choose the phrase “A fitting reward for Prismbeard’s demise” to move forward with the quest.
A new chest will appear, and inside you’ll discover the Pirate’s Spyglass.
To continue, equip the spyglass. Open your character menu, where you’ll find a slot for Quest Gear under Accessories. Click this slot and equip the spyglass.
How to Find Every Prismbeard Statue
With the spyglass in hand, you’re now able to spot things that were previously hidden. For this quest, you’ll notice clues that Prismbeard left behind.
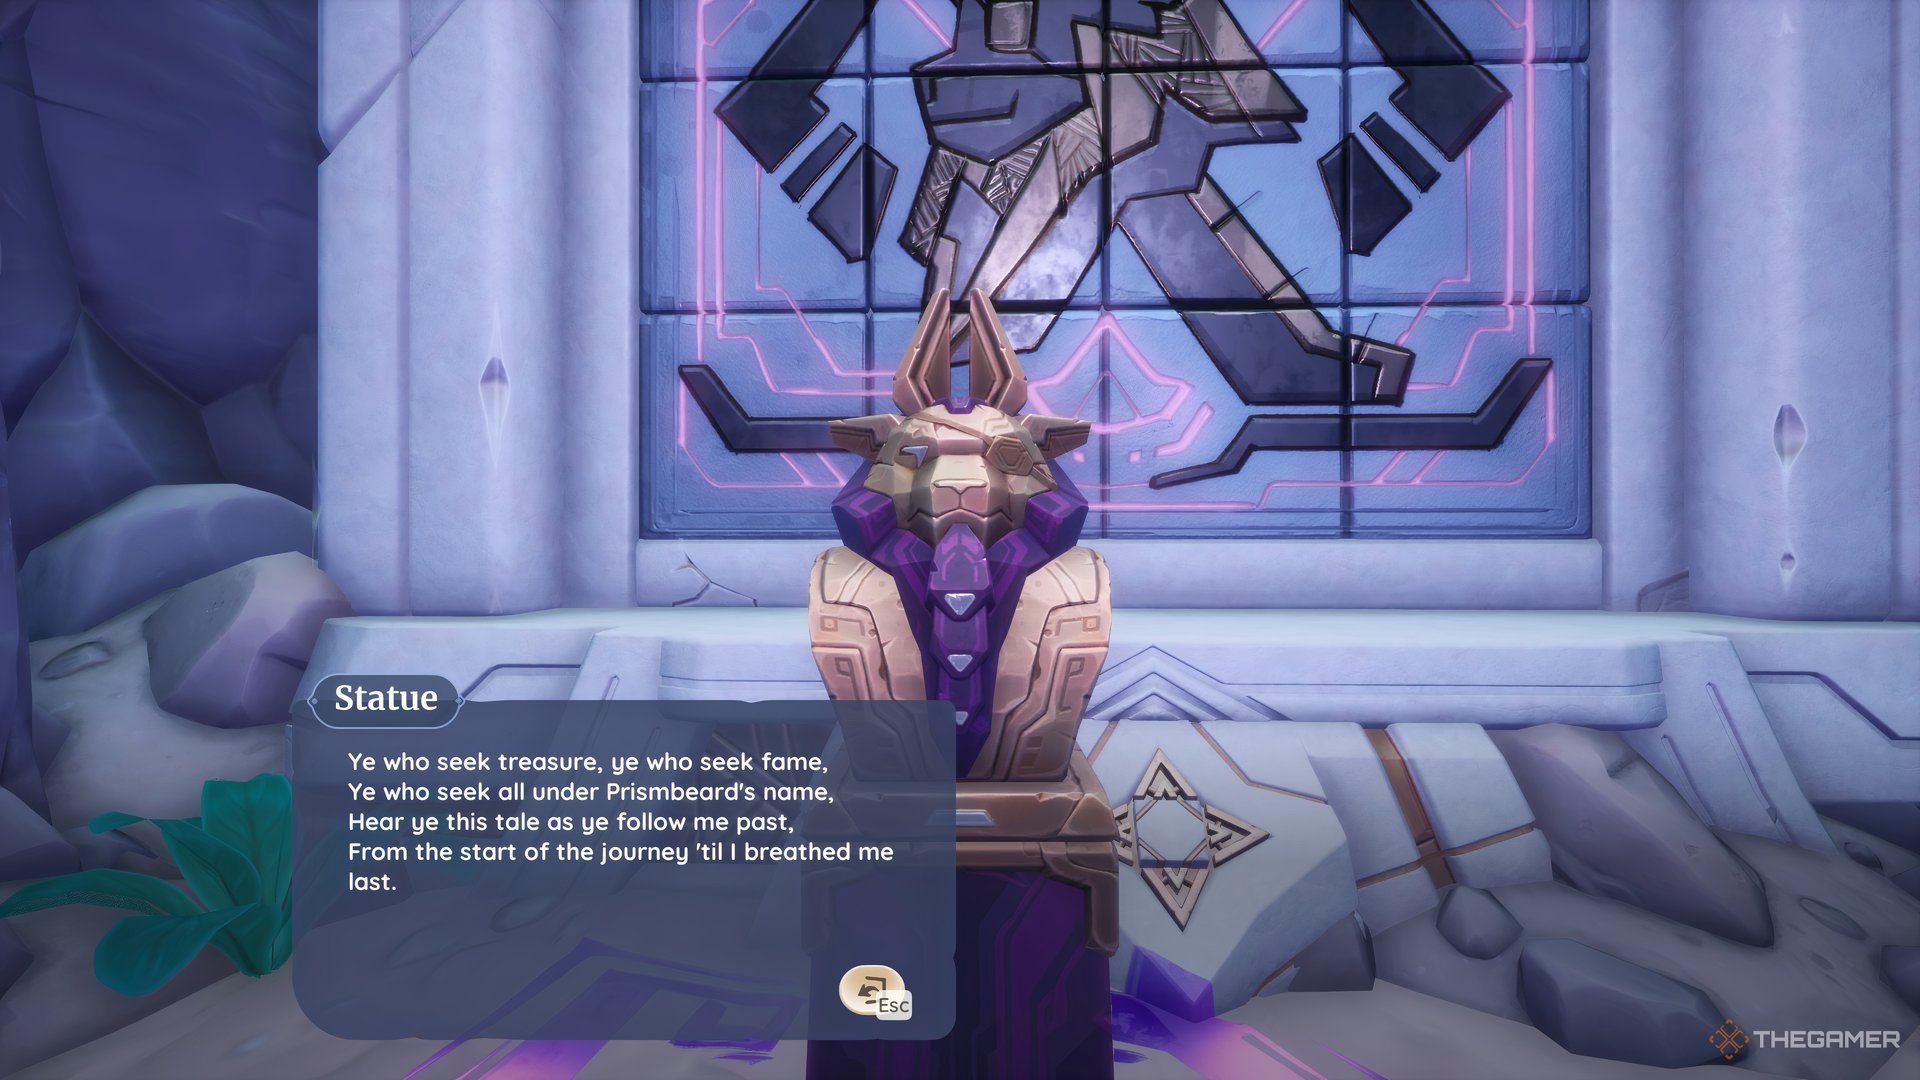
The first thing you’ll see is a gold and purple statue of Prismbeard at the base of the sliding puzzle. Interact with it to receive your first riddle:
Ye who seek treasure, ye who seek fame,
Ye who seek all under Prismbeard’s name,
Hear ye this tale as ye follow me past,
From the start of my journey ’til I breathed me last.
This will complete the Adventure On The Horizon quest and initiate the next quest, The True Treasure. Your next move is to speak with Caleri to learn about Prismbeard’s life, from birth to his final days.

She will provide you with some old newspaper clippings about Prismbeard’s life, which include pictures of various spots in Elderwood. These images will give you clues linked to the riddles from each Prismbeard statue, guiding you to your next destination.
After touching base with Auni, follow the hints and check each of the locations mentioned in the newspaper clippings. After receiving a riddle from a statue, make sure to connect with Auni and Nai’o again before moving on to the next one.
Sometimes the brothers won’t show up on the map when it’s time to talk, but they will always be near the last statue you visited. Keep walking around that area, and you’ll find them.
The statue by the sliding puzzle is the first statue that gives you your initial riddle. After getting the newspaper clippings from Caleri, your first job is to locate Prismbeard’s childhood home.
Here are all the statues and their locations:
| Statue | Clue | Location |
|---|---|---|
| #2: Prismbeard’s Childhood Home | The only clue is the image in the newspaper clippings, revealing cliffs in Elderwood. | Western side of Mauvais Way, nestled in the cliffs by the Vieuxport Sea. |
| #3: Where Prismbeard Sailed His First Ship | “Next ye must take a little trip To the place where I sailed me first ship.” |
Look for a pond with a small dock at the northernmost part of Deep Woods, just below Elderwood Stables. |
| #4: The Dock Where Prismbeard Left | “Next ye must find where I first set sail On this dock I once kept me lucky pail.” |
The newspaper clippings pinpoint De Mer Dock as the place where “young Zayid left by boat.” |
| #5: Where Prismbeard Was Caught | “Next ye must find where Prismbeard was caught There in the dark many fires were shot.” |
If you check the fourth image among the newspaper plates, you’ll find this statue is on the walkway above near Elderwood Stables. |
| #6: Where Prismbeard Escaped | “Next ye must find where I made me escape T’was at that old tower where it all took shape.” |
Your next stop is the pier in Mitana Grove, where the statue is located right in the center. |
| #7: Eobard’s Revenge | “Now ye must find where this chapter ends O’erlooking the ruins of Eobard’s Revenge.” |
This clue will direct you back to the cave where your journey began. After sliding down, walk up the path until you find a cliff with a view, where the final statue awaits. |
How to Solve Prismbeard’s Final Puzzle
When you interact with the final statue, the riddle isn’t crucial for the quest, but it will cause the door behind you to light up and unlock.
Beyond this door lies Prismbeard’s final puzzle. Completing it will finally give you Prismbeard’s treasure and the plunder you’ve been seeking. While it might seem intimidating, here’s how to solve it.
On the sides are four scrolls with clues. Each scroll refers to a cardinal direction and a creature. Each dial is set to North, South, East, or West. To solve the puzzle, turn each dial to the image specified in the scrolls.
The solution is:
- North: Siren
- East: Kraken
- South: Leviathan
- West: Charybdis
Once you set the dials correctly, interact with the podium nearby to check your answer. If everything is in place, the door will open to reveal your treasure!
If you encounter a glitch that prevents you from opening the chest, try reloading the area by leaving and coming back. It should work eventually.